Bringing Heirlooms Back to Life: A Restorer's Guide
Every antique holds a story, a whisper of the past etched into its wood grain, unique patina, and distinct imperfections. While the desire to restore these heirlooms is understandable, the process is filled with potential pitfalls. An impulsive repair or an overly aggressive cleaning can permanently erase an item’s historical character, significantly diminishing both its financial and sentimental value. This is why a methodical approach is essential.
This guide offers more than just surface-level advice. Here, we present a structured collection of professional antique restoration tips, grounded in the same core principles used by museum conservators. You will learn the foundational pillars of ethical and effective restoration, covering everything from proper documentation and assessment to the critical importance of reversible repairs and sourcing period-appropriate materials.
Before you pick up a tool, the journey begins with deep understanding. An app like Curio can be invaluable here, helping you identify an item's origin and materials from a simple photo. This provides the context needed to make informed decisions. Whether you are a seasoned collector or a beginner sorting through an inheritance, these insights will empower you to become a responsible steward of the past, ensuring the objects you love continue to tell their stories for generations to come.
1. Start with Thorough Documentation and Assessment
Before you pick up a single tool or cleaning cloth, the most critical step in any antique restoration is a meticulous assessment. This foundational phase involves creating a comprehensive record of the item in its current state. It’s a systematic process of observation and documentation that informs every subsequent decision, ensuring you preserve the piece's character, history, and value. Think of yourself as a detective, gathering clues before solving the case.
This initial diligence is one of the most vital antique restoration tips because it prevents irreversible errors. By understanding the materials, construction, and areas of damage, you can devise a restoration plan that is both effective and respectful to the object. Major conservation bodies like the American Institute for Conservation (AIC) champion this approach, mirroring the protocols used by world-class institutions like the Winterthur Museum for its furniture collections.
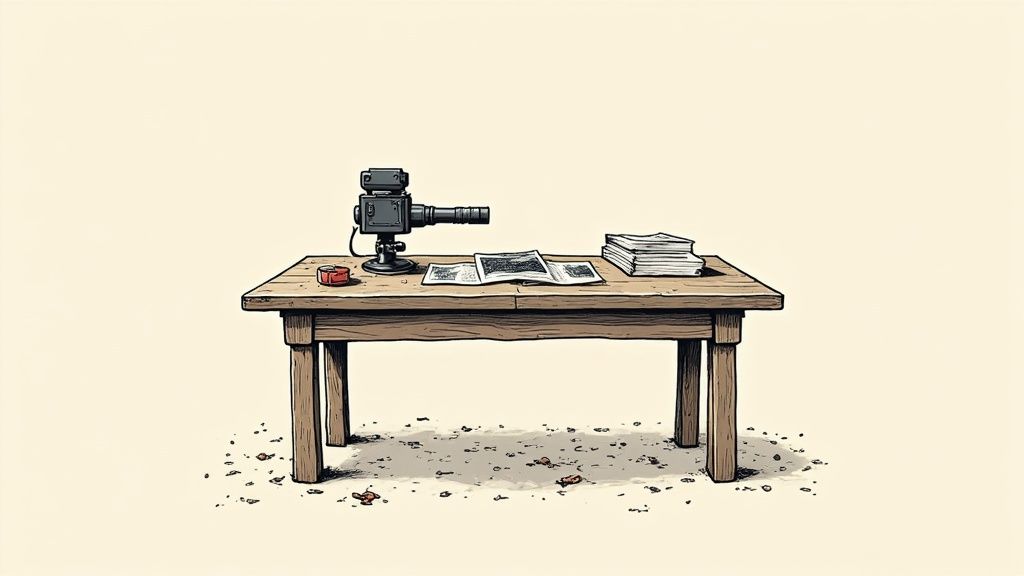
How to Create a Restoration Record
A thorough record combines written notes with detailed photography. This baseline documentation becomes your guide and historical snapshot.
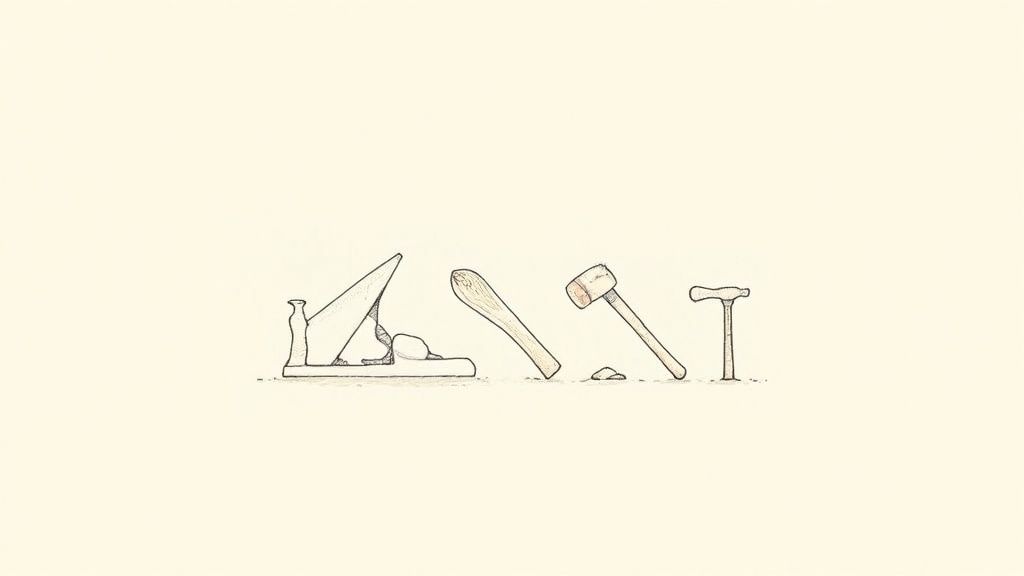
- Photograph Everything: Use a digital camera to take high-resolution photos from all angles: front, back, sides, top, and bottom. Capture close-ups of maker's marks, joinery (like dovetails or mortise and tenon joints), hardware, and any existing damage.
- Use Raking Light: Shine a light source at a low angle across surfaces. This technique, used by professionals at the Getty Conservation Institute, reveals subtle details like hairline cracks, finish crazing, and old repairs that are invisible in direct light.
- Keep a Written Log: Note the object’s dimensions, materials, and any unique features. Catalog every single bit of damage, from a tiny scratch to a large structural failure. This log will track your progress and justify your restoration choices.
- Research Its History: Investigate the piece’s style, period, and potential maker. This research is crucial for understanding its potential value and historical context, which directly influences how you should approach its restoration. A utilitarian 19th-century farm table requires a different touch than a delicate Hepplewhite chair.
This methodical assessment ensures that your work enhances the antique rather than diminishing its story. It provides a clear roadmap, transforming a potentially haphazard repair into a thoughtful and successful restoration.
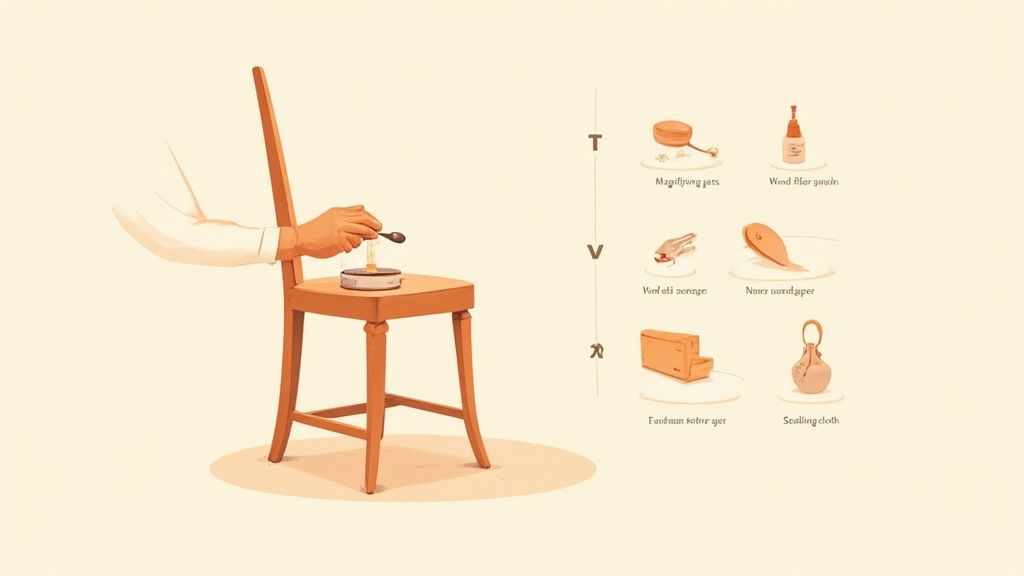
2. Clean Gently and Gradually
Proper cleaning is often the most transformative yet dangerous step in antique restoration. The guiding principle is to always use the gentlest method that achieves the desired result, escalating only when absolutely necessary. This "less is more" philosophy minimizes the risk of damaging original finishes, patinas, and delicate details. It’s the difference between revealing an object's hidden beauty and stripping away its soul.
This methodical process is one of the most essential antique restoration tips, championed by conservation pioneers like Caroline Keck and practiced rigorously by the Smithsonian Institution's conservation labs. The famous and painstaking cleaning of Michelangelo's Sistine Chapel frescoes serves as a monumental example; conservators spent years using the mildest effective solvents to remove centuries of soot without harming the original paint. Your approach should mirror this professional caution, albeit on a smaller scale.
The Step-by-Step Cleaning Method
Adopting a gradual cleaning strategy prevents irreversible mistakes. Follow these stages to safely remove grime while preserving the antique’s integrity.
- Start Dry: Begin with the least invasive tools. Use a soft, natural-bristle brush (like a goat-hair hake brush) and a vacuum with a brush attachment covered in cheesecloth to remove loose dust and debris.
- Test Everything First: Before applying any liquid, always test your cleaning solution on a small, inconspicuous area, such as the underside of a chair or the back of a drawer. Wait for it to dry completely to check for any adverse reactions like discoloration or softening of the finish.
- Use Distilled Water: If dry cleaning is insufficient, move to a slightly dampened cloth with distilled water. Tap water contains minerals that can leave white spots or react with old finishes. Wring the cloth out thoroughly so it is damp, not wet.
- Work in Small Sections: Clean one small area at a time. This allows you to constantly evaluate your progress and the surface's reaction, preventing a small problem from becoming a large one.
- Allow Proper Drying Time: Ensure the piece is completely dry before moving to another cleaning stage or applying any polish or wax. Trapped moisture can cause wood to swell, joints to loosen, and finishes to cloud.
By following this careful, tiered approach, you honor the object’s history. You are not just cleaning an old item; you are carefully curating its surface to let its true character shine through without causing harm.
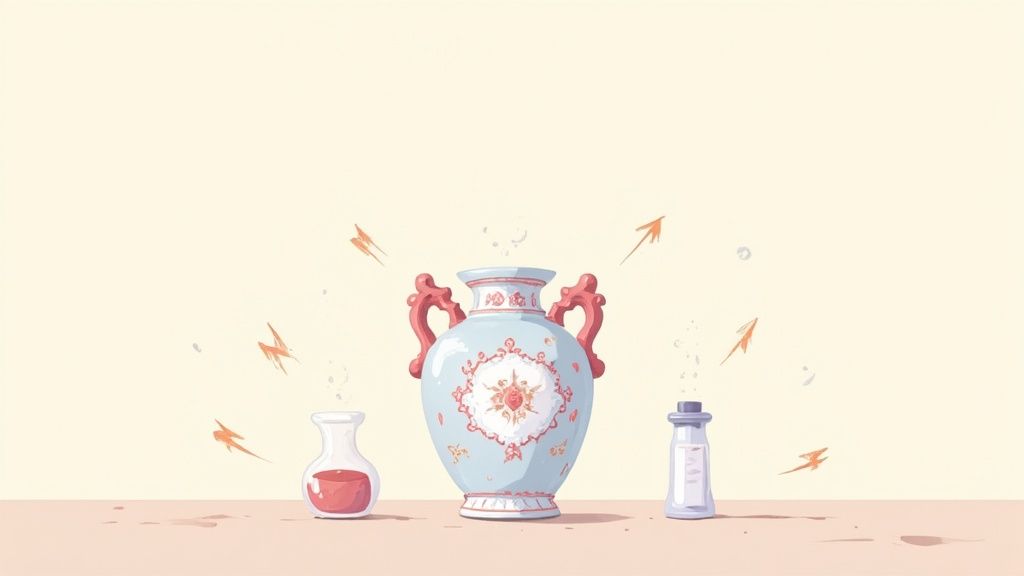
3. Preserve Original Materials Whenever Possible
The guiding principle of ethical antique restoration is to retain as much of the original material as possible. This "conservation-first" approach prioritizes stabilizing, reinforcing, and cleaning existing components over replacing them. Every piece of original wood, every hand-forged nail, and every layer of aged finish tells a story. Replacing these elements erases that history and can significantly diminish an antique’s authenticity and value.
This philosophy was championed by thinkers like John Ruskin and William Morris, whose ideas formed the basis for modern conservation bodies like the Society for the Protection of Ancient Buildings (SPAB). It’s a core concept seen in monumental projects, from the careful preservation of original charred timbers after the Windsor Castle fire to the meticulous work at living history museums like Old Sturbridge Village, where authenticity is paramount. Following these professional-grade antique restoration tips ensures you act as a custodian of history, not just a repair person.
How to Prioritize Preservation
When approaching a repair, your first thought should always be "Can this be saved?" rather than "How do I replace this?" This mindset shift is critical for responsible restoration and separates a restorer from a mere furniture flipper.
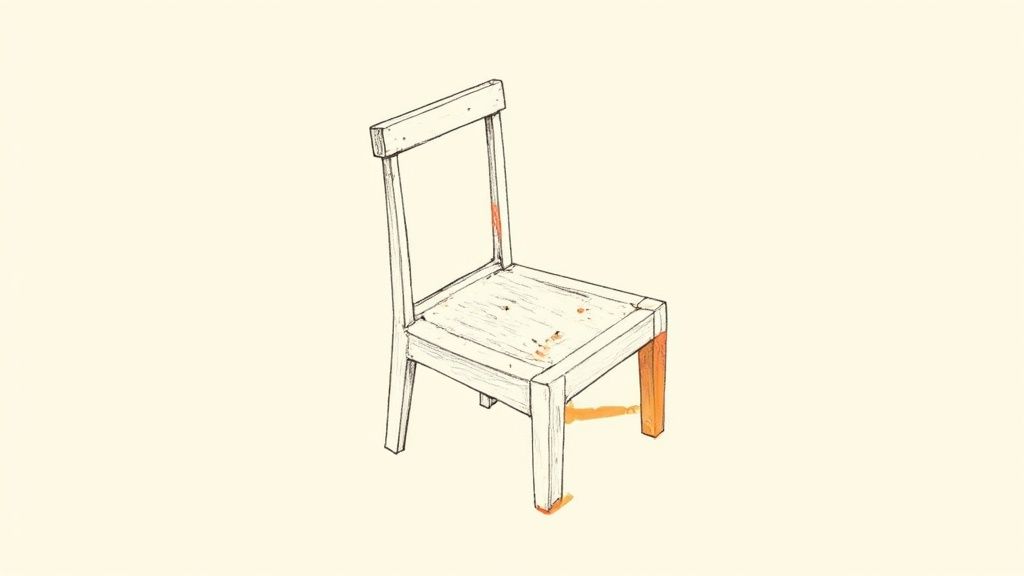
- Stabilize, Don't Rebuild: Before replacing a wobbly leg, try to re-glue the original joint. Use period-appropriate, reversible adhesives like animal hide glue, which allows for future repairs without damaging the wood. This is a common practice in museum conservation.
- Employ "Sister" Repairs: For a cracked structural piece, like a chair stretcher, consider adding a new, supportive piece of wood alongside the original rather than removing it. This maintains the original component while ensuring structural integrity.
- Match New Materials Meticulously: If a piece is missing and replacement is the only option, use wood of the same species and match the grain pattern and color as closely as possible. The new piece should be "in-spirited," not a jarring modern addition.
- Preserve Evidence of Craft: Protect original tool marks, saw marks, and signs of wear. These details are invaluable evidence of the object's construction and history. Avoid over-sanding or aggressive stripping that obliterates this character.
- Document All Interventions: Any replacement or significant repair should be fully documented in your restoration log. This transparency is crucial for maintaining the piece's provenance and value for future owners and appraisers.
By focusing on preservation, you honor the original craftsman's work and the object's journey through time. This thoughtful approach protects the soul of the antique, ensuring it remains a genuine historical artifact.
4. Match Period-Appropriate Materials and Techniques
When a restoration moves beyond cleaning and into repair or reconstruction, maintaining authenticity becomes paramount. This means using materials and techniques that are consistent with the era in which the piece was originally created. This approach ensures that any additions or repairs blend seamlessly with the original work, preserving the antique’s historical integrity, character, and financial value.
This principle is a cornerstone of professional conservation and one of the most respected antique restoration tips. Institutions like the Colonial Williamsburg Foundation are famous for employing craftsmen who use period-accurate tools and methods to maintain their collections. This dedication ensures that a repair doesn't become an anachronism. Using modern screws on an 18th-century chest or a polyurethane finish on a Victorian table would be historically jarring and could significantly decrease its value. This is why thorough research is vital to properly identify antique furniture styles and their associated construction methods.
How to Source Authentic Materials and Apply Traditional Methods
Integrating period-correct elements requires diligence and a commitment to historical accuracy. Your goal is to make the repair as indistinguishable from the original craftsmanship as possible.
- Research Specifics: Investigate the exact time period and regional variations of your piece. A Boston-made Chippendale chair might use different woods or joinery than one made in Philadelphia. Look into historical manufacturing methods for hardware, finishes, and wood types.
- Source Reclaimed Materials: Whenever possible, use reclaimed materials. Old-growth wood from a salvaged, non-restorable piece will have a similar grain, color, and patina to your antique. Specialty suppliers and architectural salvage yards are excellent sources for period-appropriate wood, veneers, and hardware.
- Learn Traditional Techniques: Modern power tools and fasteners can leave tell-tale signs. Practice traditional skills like cutting dovetails by hand, using hide glue, or applying a shellac finish with a French polish technique. Authors like Ernest Joyce provide deep dives into traditional woodworking.
- Maintain a Reference Library: Build a collection of books, catalogs, and guides on period furniture, construction, and finishing. These references are invaluable for double-checking details and ensuring your work is accurate.
This meticulous approach elevates a repair from a simple fix to a true restoration. By honoring the original craftsman's materials and methods, you ensure the antique’s story continues authentically for generations to come.
5. Make All Restoration Work Reversible
One of the most profound ethical principles in modern conservation is reversibility. This guiding concept dictates that any alteration or addition you make to an antique should be undoable by a future conservator without damaging the original object. It’s a forward-thinking approach that acknowledges our understanding and technology will inevitably evolve, ensuring the piece can be re-treated as better methods become available.
Adopting this mindset is one of the most professional antique restoration tips you can follow, moving your work from simple repair to true conservation. This principle was championed by theorists like Cesare Brandi and became a cornerstone of the modern conservation movement, now standard practice in institutions worldwide. When a museum conservator inpaints a loss on a masterpiece or repairs a delicate ceramic, they use materials and techniques designed specifically to be removed, preserving the authentic object for generations to come.
How to Practice Reversible Restoration
Integrating reversibility into your work requires deliberate material choices and techniques. It's about planning for the future, not just fixing the present.
- Choose Soluble Adhesives: Opt for traditional glues like animal hide glue for structural repairs on wood. It creates a strong bond but can be softened and removed with controlled heat and moisture, unlike modern epoxies or polyurethane glues that form a permanent, often irreversible, plastic bond.
- Use Mechanical Fasteners Thoughtfully: For some structural reinforcements, consider using small screws or dowels in hidden areas that can be easily backed out. This is often preferable to slathering on a permanent, high-strength adhesive that could permanently alter the original material.
- Select Reversible Finishes: Use traditional finishes like shellac and wax. Shellac is easily removed with denatured alcohol, and wax can be removed with mineral spirits. Avoid modern polyurethanes, which are difficult to strip without sanding and damaging the original patina and wood surface.
- Document Your Materials: As part of your restoration record, keep detailed notes on every product you use, from the specific type of glue to the brand of varnish. Include instructions or notes on how to safely reverse the application for any future restorer.
By prioritizing reversibility, you show the ultimate respect for the object. You are not its final owner or restorer, but a temporary custodian preserving its integrity for the future.
6. Know When to Seek Professional Help
Perhaps the most underrated antique restoration tip is recognizing the limits of your own expertise. The wisdom to step back and call a professional is not a sign of failure but of respect for the object's history and value. Certain repairs, materials, and conditions demand specialized knowledge, tools, and controlled environments that are simply beyond the scope of even the most dedicated DIY restorer. Attempting a complex repair without proper training can cause irreversible damage, potentially destroying the very character and value you sought to preserve.
This principle of professional consultation is a cornerstone of museum-quality conservation. Organizations like the American Institute for Conservation (AIC) and the International Institute for Conservation (IIC) exist to set standards for professionals who handle everything from fine art to archaeological artifacts. When you are dealing with a piece of significant monetary or historical value, such as a fragile 18th-century marquetry chest or a piece with delicate inlays, a professional assessment is non-negotiable. This is especially true for items where identification is complex; for example, properly identifying antique jewelry is a prerequisite to understanding whether a simple cleaning or a specialist's intervention is required.
How to Find and Vet a Professional Conservator
Finding the right expert is a critical step in protecting your investment. A true professional will be transparent, knowledgeable, and respectful of the antique's integrity.
- Research Credentials and Specializations: Look for a conservator with documented experience in your specific type of object, whether it’s French polishing, paper conservation, or textile repair. A furniture expert may not be qualified to restore a painting.
- Get Multiple Opinions: For any valuable piece, obtain at least two or three independent assessments and treatment proposals. This helps you compare approaches, costs, and professional philosophies.
- Request a Detailed Treatment Proposal: A professional should provide a written document outlining the current condition, the proposed work, the materials to be used, and a firm cost estimate. Vague promises are a red flag.
- Ask for a Portfolio: Request to see examples of their past work, paying close attention to projects that are similar to yours. This provides tangible proof of their skill and results.
- Verify Insurance and Affiliations: Ensure the conservator has adequate insurance to cover your item while it is in their possession. Membership in professional organizations like the AIC is a strong indicator of commitment to ethical standards.
Ultimately, deferring to a professional for challenging restorations protects the object’s soul and its story. It’s a decision that honors the craftsmanship of the original maker and ensures the piece survives for future generations to appreciate.
6 Key Antique Restoration Tips Comparison
| Restoration Approach | Implementation Complexity 🔄 | Resource Requirements ⚡ | Expected Outcomes 📊 | Ideal Use Cases 💡 | Key Advantages ⭐ |
|---|---|---|---|---|---|
| Start with Thorough Documentation and Assessment | High – requires specialized equipment and research | Moderate to High – photography, testing gear, expert consultation | Accurate, reversible restoration decisions; preserves historical integrity | Valuable, rare antiques needing detailed records and provenance | Prevents mistakes; guides restoration; supports insurance/appraisal |
| Clean Gently and Gradually | Moderate to High – requires material knowledge and careful process | Moderate – various solvents, tools, controlled environment | Surface cleaning with minimal damage; reveals original beauty and detail | Items with accumulated grime where surface preservation is key | Preserves patina; removes contaminants; prepares surface |
| Preserve Original Materials Whenever Possible | High – needs specialist skills and materials | High – reversible adhesives, consolidation agents | Stabilized original materials; maintains authenticity and historical value | Pieces where preserving craftsmanship and patina are priorities | Maintains historical integrity; meets museum standards |
| Match Period-Appropriate Materials and Techniques | High – time-intensive, requires traditional skills | High – sourcing period materials and tools | Seamless addition preserving historical character and compatibility | Restorations needing reconstruction aligned with original period | Maintains accuracy; preserves traditional craftsmanship |
| Make All Restoration Work Reversible | High – complex techniques needing careful planning | Moderate to High – reversible adhesives, documentation effort | Easily undone interventions; flexibility for future improvements | High-value antiques requiring ethical, long-term conservation | Allows future corrections; reduces irreversible errors |
| Know When to Seek Professional Help | Low to Moderate – mostly decision-making and planning | Variable – depending on professional involvement and tools | Avoids damage; ensures expert treatment; certification and insurance | Complex, high-value, or structurally compromised antiques | Prevents irreversible damage; access to expertise and resources |
Your Journey as a Steward of the Past
Embarking on the path of antique restoration is to accept a unique and rewarding responsibility. It is more than a technical skill; it is a commitment to becoming a guardian of history. As we have explored, the process is guided by a philosophy of respect, patience, and knowledge. You are not simply fixing an old object, you are preserving a tangible piece of the past, ensuring its story can be told to future generations. This shift in perspective, from owner to steward, is the most crucial tool in your entire kit.
The most effective antique restoration tips are not secrets, but principles. By internalizing these core concepts, you build a framework for making sound decisions on any project, from a simple wooden box to a complex piece of furniture.
From Owner to Guardian: Core Principles of Restoration
True mastery lies in understanding the interconnectedness of these guiding rules. Each step informs the next, creating a holistic approach that honors the object's integrity. The most important takeaways from our discussion include:
- Documentation as Your Foundation: Your work begins long before you pick up a tool. Thorough photography, written notes on condition, and initial research create the essential roadmap that will guide every subsequent decision. Without this, you are working blind.
- A Gentle and Gradual Hand: Always start with the least invasive method. Whether cleaning or repairing, this principle prevents irreversible damage and preserves the delicate patina and character that time has bestowed upon the piece.
- The Primacy of Authenticity: Your goal is stabilization, not transformation. This means preserving original materials whenever possible and, when replacement is unavoidable, meticulously sourcing or creating period-appropriate substitutes using historical techniques.
- The Reversible Mandate: A cornerstone of professional conservation, ensuring your repairs can be undone by a future restorer allows the object to continue its journey. It is an ethical commitment to not being the final word in an object's history.
- The Wisdom in Seeking Help: Recognizing the limits of your own skill is a sign of an advanced restorer, not a novice. Deferring to a professional for complex or highly valuable pieces protects the item and provides a valuable learning opportunity.
Putting Your Knowledge into Practice
The best way to solidify these concepts is to apply them. Find a small, low-value, and structurally simple item for your first project, such as a basic wooden picture frame or a small stool from a thrift store.
First, practice documentation. Photograph it from every angle in good light. Write down every flaw: the loose joint, the water stain, the grimy surface. Research its potential age and style based on its construction.
Next, apply gentle cleaning. Start with a soft, dry microfiber cloth. Then, progress to a cloth slightly dampened with distilled water. Observe how the finish reacts. This simple exercise builds the critical skill of observation. As you work, you are not just cleaning; you are learning the story of how this object was used and where it has been. This hands-on experience is where theoretical antique restoration tips become ingrained skills.
Finally, you transition from mere ownership to true stewardship. Every choice you make, guided by these principles, honors the original artisan and the object's unique journey through time. Your work ensures that this small piece of history does not end with you, but instead is stabilized, celebrated, and ready for its next chapter.
As you continue to restore and build your collection, documenting your process becomes an essential part of the object's renewed story. Tools like Curio are designed to be your digital companion in this journey, helping you create a detailed archive of each piece's history, condition, and the careful restoration work you performed.
Preserve your legacy as a restorer and the stories of your treasures. Download Curio today to start building a beautiful and organized digital catalog of your collection.