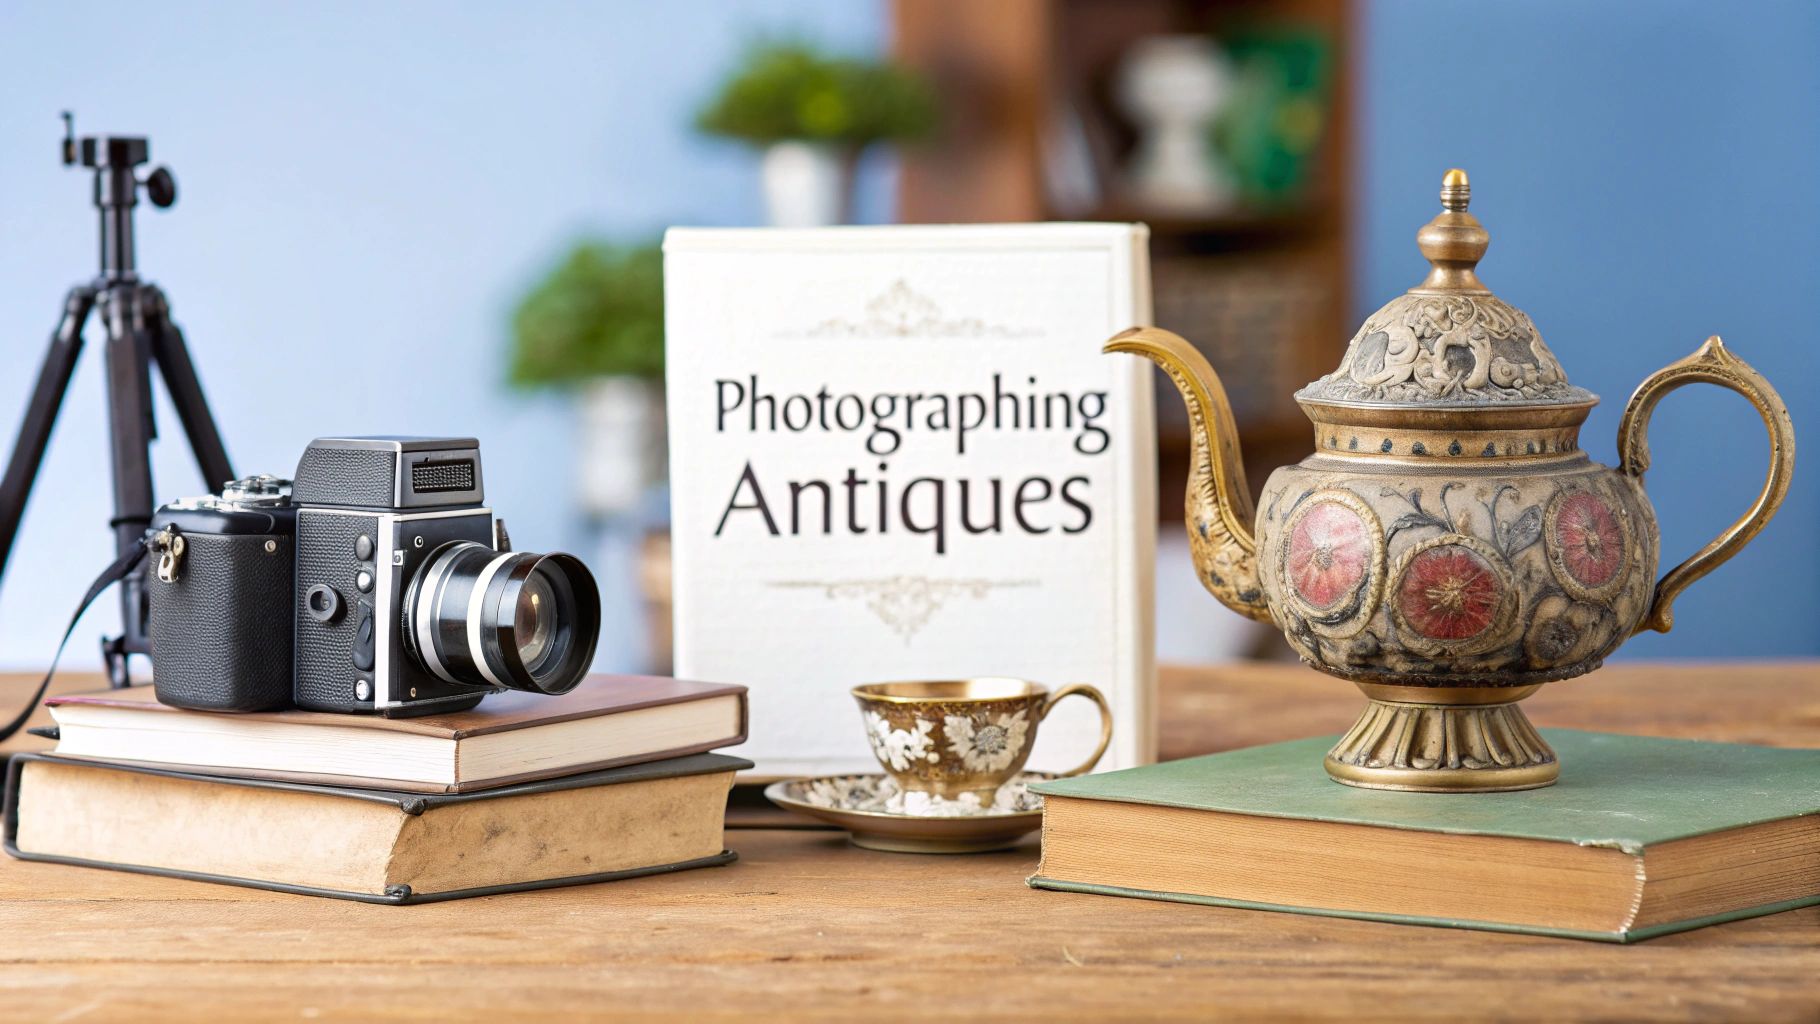
Before you even think about pressing the shutter button, the real work of antique photography begins. It’s all about preparation—getting your gear in order, handling each piece with the respect it deserves, and setting up a space where the item's history can truly shine. This groundwork is what separates a simple snapshot from a compelling photograph.
Setting The Stage For Perfect Antique Photos
Great antique photography is less about the camera and more about the environment you create. Your job is to let the piece be the star of the show, free from any distracting clutter. This means thinking through every detail before you start shooting.
Let's talk gear first. A solid tripod is an absolute must-have. I can't stress this enough. It completely eliminates camera shake, giving you tack-sharp images every time. This is especially crucial when you're trying to capture fine details, like a tiny maker's mark or the delicate patina on a piece of silver. A tripod also gives you the freedom to use slower shutter speeds in lower light without worrying about a blurry mess.
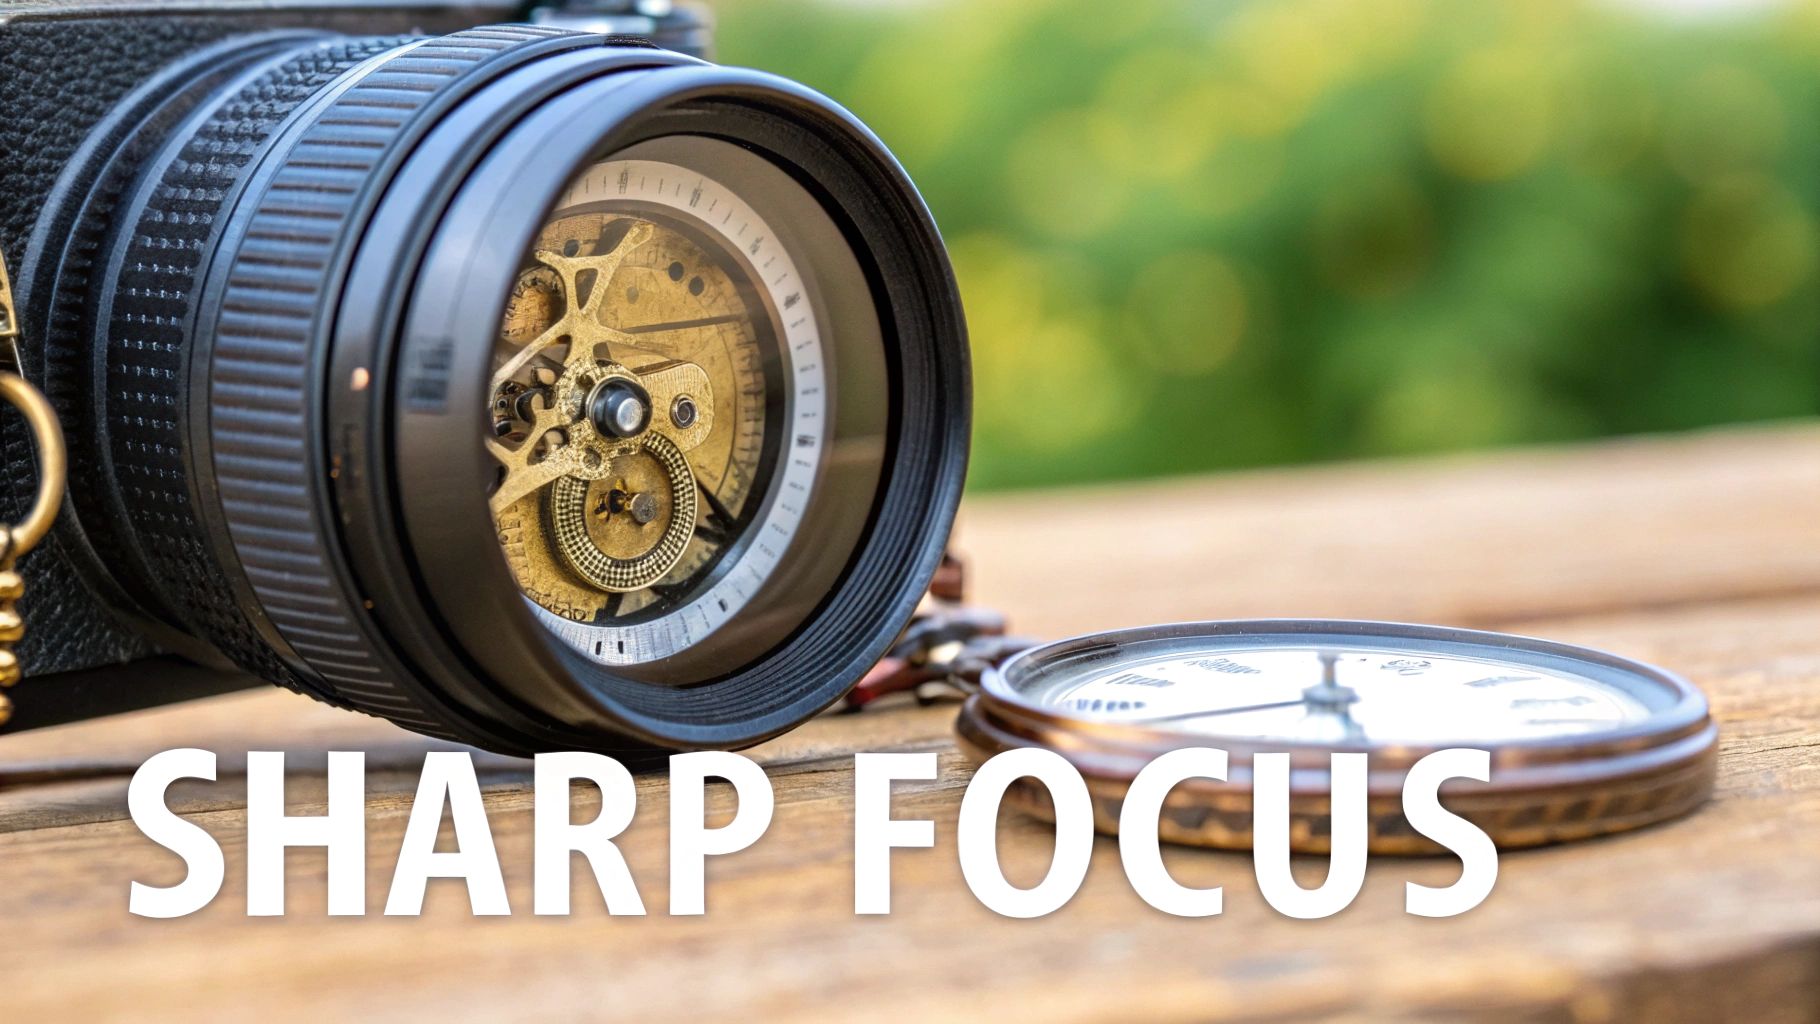
Your lens choice also makes a huge difference. For most situations, a 50mm lens—often called a "nifty fifty"—is a fantastic all-rounder. It captures objects much like the human eye does, resulting in very natural and proportional photos. But if you’re shooting something with tiny, intricate details like the workings of a pocket watch or a delicate inscription on a ring, you’ll want to reach for a dedicated macro lens.
To make it easier, here's a quick rundown of the essential gear I always have on hand.
Essential Gear for Antique Photography
This table covers the core equipment that will help you produce professional-quality photos of your antiques.
| Equipment | Why It's Essential | Pro Tip |
|---|---|---|
| DSLR or Mirrorless Camera | Gives you manual control over settings like aperture and shutter speed for creative shots. | Start with Aperture Priority mode (A or Av) to easily control the depth of field. |
| Tripod | Prevents camera shake, ensuring your photos are sharp, especially for detailed close-ups. | Get a tripod with a versatile head (like a ball head) for easy angle adjustments. |
| 50mm "Nifty Fifty" Lens | Creates a natural perspective similar to the human eye, perfect for most antique items. | Its wide aperture (e.g., f/1.8) is great for creating a soft, blurry background. |
| Macro Lens | Captures extreme close-ups of small details like signatures, hallmarks, or intricate patterns. | Look for a 1:1 magnification ratio to capture life-size details. |
| Softbox or Diffuser | Softens harsh light, reduces glare, and creates even, flattering illumination. | Don't have one? A white sheet hung over a window can work in a pinch. |
Getting the right equipment is just the first step. Now, you have to get the antique ready for its close-up.
Handling and Preparing Your Antiques
This is where you need to be extra careful. Always, always handle antiques with clean hands—or even better, wear cotton gloves. The oils from your skin can easily damage fragile surfaces and leave fingerprints that are a nightmare to edit out later.
Next, give the item a gentle cleaning. A soft, dry microfiber cloth or a fine-bristled brush is usually all you need to get rid of dust. Be very wary of cleaning chemicals; they can cause irreversible damage to old paper, textiles, or aged wood finishes. Your goal is to clean, not restore. You want to preserve the item's authentic character, not strip it away. Understanding what the item is made of is key here. If you're unsure, consulting an antique appraisal guide can offer clues about its material and fragility.
Pro Tip: When shooting anything reflective like silver or glass, dust becomes your worst enemy. I always keep a can of compressed air nearby. It lets me blow away tiny specks of lint and dust right before the shot without ever touching the surface.
While these tips are geared toward antiques, many core photography principles apply. It never hurts to brush up on some general tips for taking professional shots to improve your overall technique.
Getting Your Camera Settings Just Right
You don't need a top-of-the-line camera rig to take great photos of antiques, but using a DSLR or mirrorless camera really opens up a world of control. The secret sauce is switching over to Manual Mode (M). This is where you, not the camera, make the creative decisions. Sure, a new smartphone can get you a decent shot if the light is perfect, but manual settings are how you get consistently beautiful, professional-looking images.
Interestingly, this desire for hands-on control isn't just for photographers. The market for vintage cameras—a classic antique subject themselves—was valued at a whopping $277.93 million in 2023. Experts predict it will climb to over $387 million by 2031. It seems everyone is falling back in love with the authentic, tactile experience of analog gear. You can dive deeper into this trend by checking out this detailed vintage camera market report.
Mastering the Exposure Triangle
To truly capture the soul of an antique, you need to get a handle on three core settings: aperture, ISO, and shutter speed. Nailing the balance between them is everything.
Aperture (f-stop): This is all about what’s in focus. Want to capture an entire grandfather clock in crisp detail from top to bottom? A narrow aperture like f/8 or f/11 will give you a deep depth of field, keeping everything sharp. But if you want to highlight a single, elegant detail—like an ornate key on a vintage typewriter—open up that aperture to something wide like f/2.8 to create a beautifully soft, blurry background.
ISO: Think of this as your camera's sensitivity to light. My biggest piece of advice for antique photography? Keep your ISO as low as you can possibly go. Stick to 100 or 200. Pushing it higher introduces digital "noise" (that grainy look), which will muddy the very textures and fine details you're working so hard to show off.
Key Takeaway: A low ISO is your best friend for clean, detail-rich photos. This setting demands more light, meaning you’ll often need a slower shutter speed. That's precisely why a sturdy tripod isn't just a recommendation—it's essential.
Once your camera is locked down on a tripod, you can slow down your shutter speed without worrying about camera shake. I always set my aperture and ISO first. Then, I simply adjust the shutter speed until my camera’s light meter hits '0', showing a perfectly balanced exposure. This simple workflow is your ticket to stunningly crisp and detailed images, every single time.
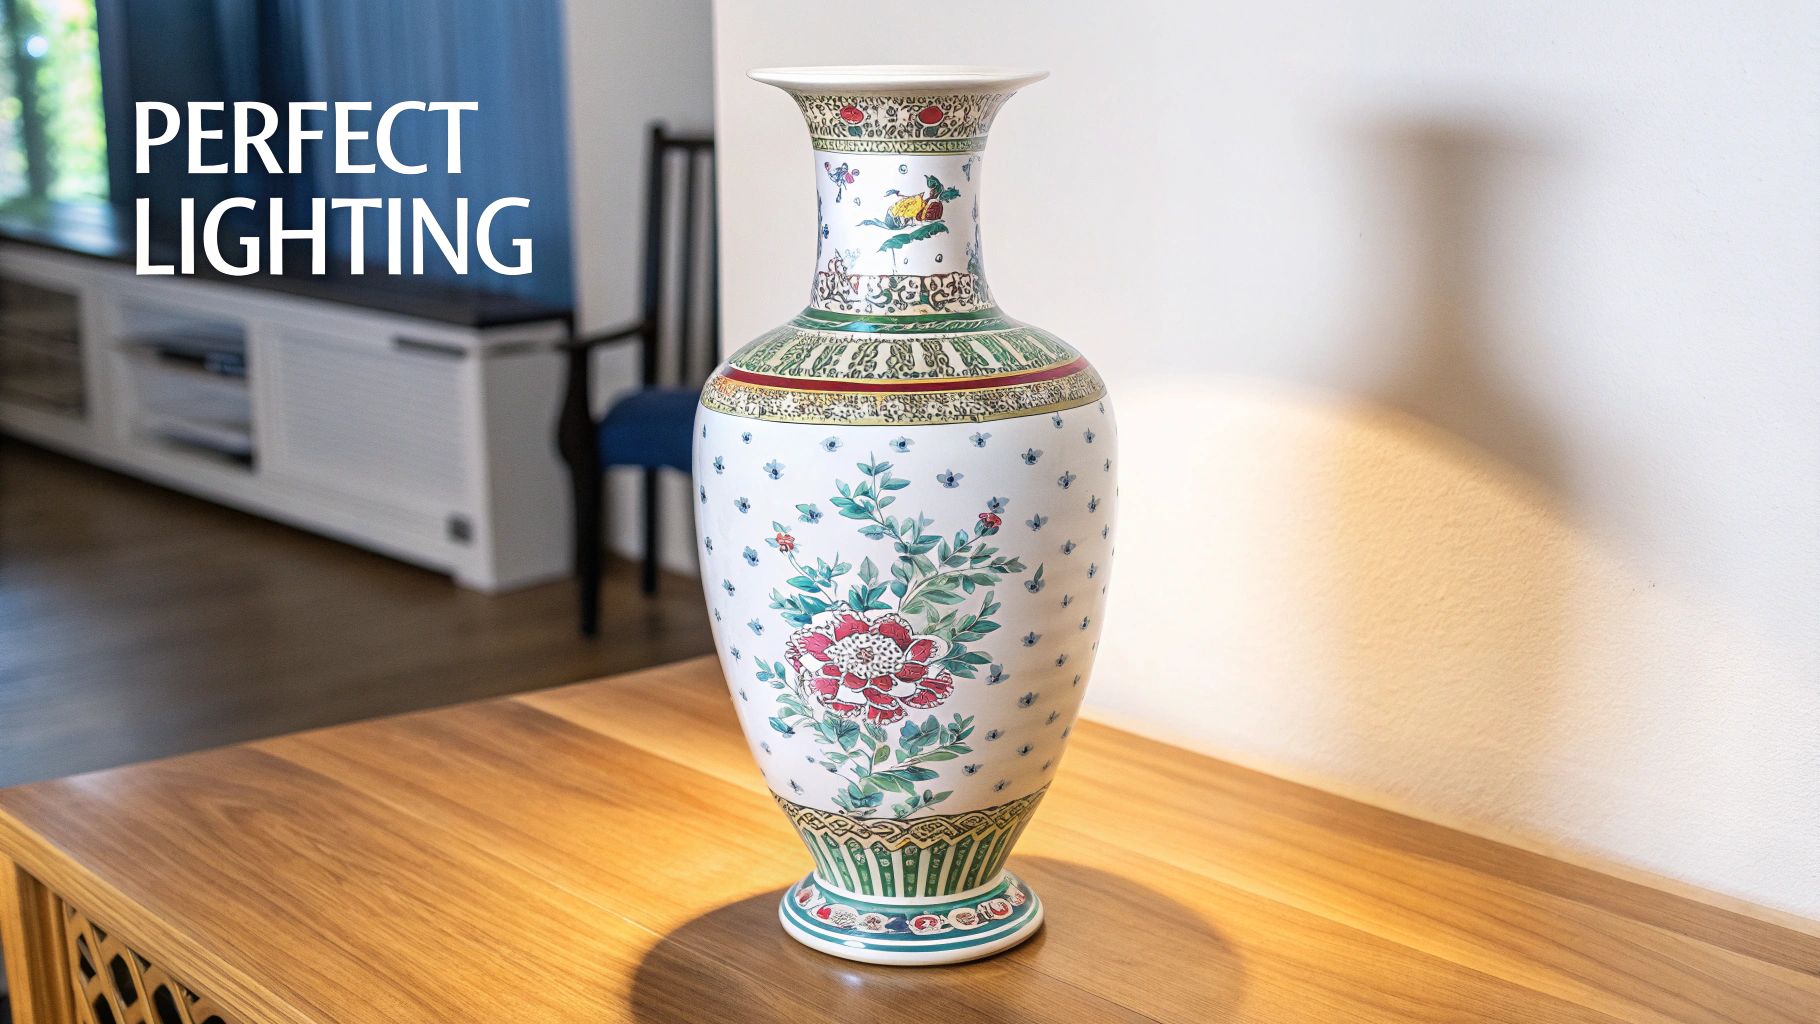
Using Light to Reveal Timeless Details
 When it comes to photographing antiques, light is everything. It's your most powerful tool, capable of sculpting an object's form, highlighting delicate textures, and setting a mood that tells a story. Poor lighting, however, can completely ruin a shot. It creates harsh glares, washes out rich colors, and hides the very character that makes a piece unique.
Your best bet is often the simplest one: a large window on an overcast day. This gives you soft, diffused light that wraps gently around your subject and keeps ugly shadows at bay. If you're serious about this, thinking about how you can increase natural light in your home can be a game-changer for your photography.
You don't need a studio full of expensive gear to get this right. A couple of cheap tools are all it takes to wrangle that natural light.
- Diffuser: Got a window with direct sun? Just hang a thin white sheet or some sheer fabric over it. This instantly turns the harsh sun into a beautiful, soft light source.
- Reflector: Even a simple piece of white foam board or a large sheet of paper works wonders. Use it to bounce light back into the shadowy areas of your antique, bringing out hidden details.
Real-World Lighting Setups
Let's put this into practice. Imagine you’re trying to photograph a shiny silver teapot. If you put it in direct sunlight, you’ll get blown-out hotspots that look awful. Instead, place it near your window with the diffuser sheet hung up. Then, position a white foam board on the opposite side to gently fill in the shadows. This simple setup creates an even, flattering glow that shows off the teapot’s shape without any distracting glare.
Now, picture a piece of dark, antique furniture, like a mahogany table. To really show off that deep wood grain, you need to use light to define its shape. Different woods and finishes react to light in unique ways, something you can learn more about as you get better at how to identify antique furniture.
The Go-To One-Light Setup: When natural light just isn't working, grab a single artificial light and a softbox. Place the light at a 45-degree angle to the side of your object. This is called side lighting, and it's a classic for a reason. It creates soft, defining shadows that reveal the texture and form of the piece, making its details pop.
By getting a feel for these simple lighting techniques, you'll add a layer of professionalism and depth to your photos. Don't be afraid to experiment. Move your reflector closer or farther away. Change the angle of your light. The goal is to play with the light until you find the perfect balance that truly honors the history and beauty of the object in front of you.
Composing a Powerful Antique Story
A good photograph shows what an antique looks like. A great photograph tells its story. When you’re setting up your shot, the first instinct is often to just stick the item right in the middle of the frame. Resist that urge. A little creative composition is what separates a sterile product shot from an image that truly connects with people.
Your best friend here is the rule of thirds. Just imagine your viewfinder has a tic-tac-toe grid over it. Instead of centering your subject, try placing it along one of the lines or where two lines cross. This simple trick instantly makes the photo feel more balanced and guides the viewer's eye around the frame, making them an active participant in the image.
Find the Most Flattering Angle
Never settle for the first angle you see. Walk around the piece. Crouch down low to make a heavy desk or armoire feel more imposing and grand. Or, for smaller things like a set of old keys or a piece of jewelry, get directly overhead for a clean, "flat lay" look. Pay attention to how the light hits the object from different spots—it can completely change the mood.
Often, the most revealing view isn't straight-on. A three-quarters angle can show off the depth and shape of an object far better than a flat shot. It’s perfect for highlighting the detailed craftsmanship that makes an antique so special.
Remember, a photograph's job is to communicate the condition and history that give an antique its value. This is especially true in growing collectibles markets. The vintage camera market, for instance, was valued at USD 1.2 billion in 2024 and is expected to reach USD 1.8 billion by 2033. That growth shows just how much people care about heritage, which your photos can powerfully convey. You can dive deeper into the numbers with the full vintage camera market forecast.
Quick Tip: Your background should be a supporting actor, not the star. Simple, neutral backdrops like a piece of linen, some weathered wood planks, or even a slate tile can add lovely texture without stealing focus from your antique.
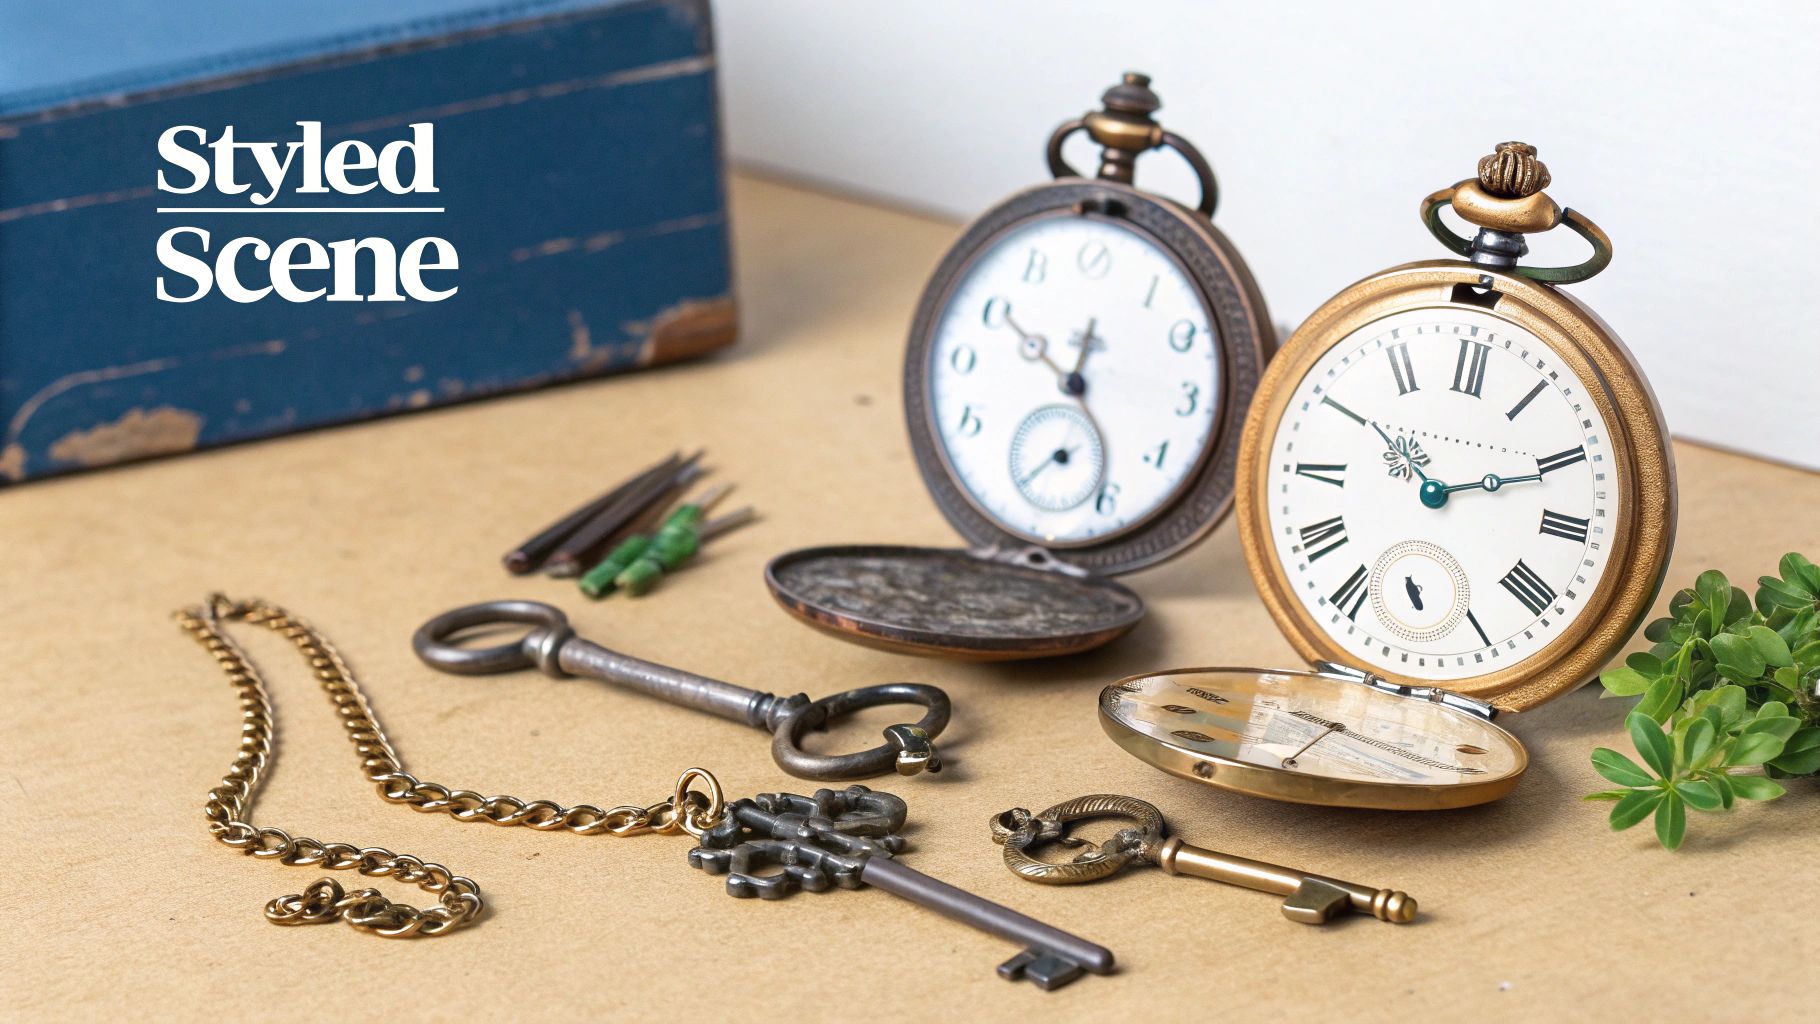
Capture the Details That Matter
Getting a full shot of the piece is essential, of course, but the real story often whispers from the details. Don't be afraid to get in close and let your lens explore the textures and marks that give an item its soul.
- Maker's Marks: A clear shot of a hallmark, signature, or stamp is your proof of authenticity. It’s a must-have.
- Intricate Carvings: Get close to the detailed woodwork on a chair leg or the chasing on a piece of silver. This highlights the incredible artistry involved.
- Worn Textures: Focus on the patina of aged brass, the crackle of old paint, or the soft wear on a leather-bound book. These details make the object feel real and lived-with.
These close-ups add a rich layer of context and provide crucial information for collectors or appraisers. They transform your photos from simple pictures into valuable records.
Refining Your Photos with Simple Edits
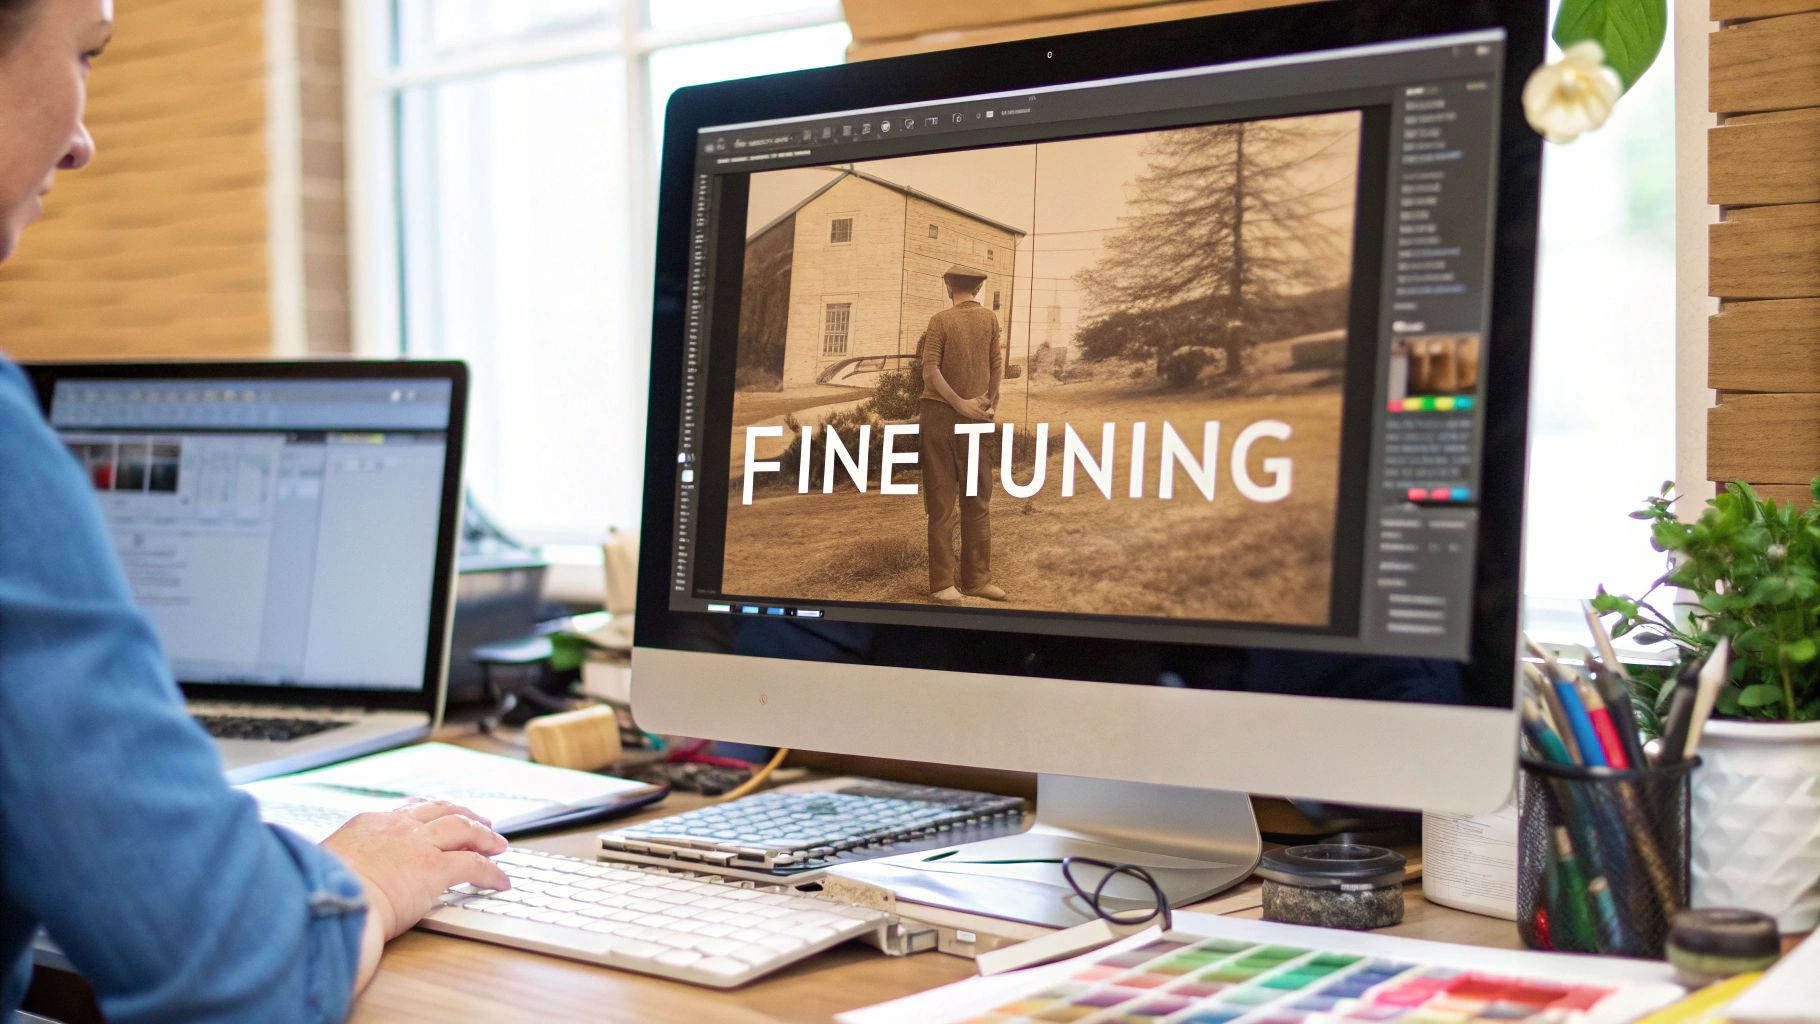
The shot is in the bag, but the work isn't quite done. Post-processing is where you can take a good photo of an antique and make it truly captivating. The trick is to enhance, not to overhaul. Your goal is a clean, honest image that faithfully represents the piece, and you can get there with just a few simple tweaks in software like Adobe Lightroom or even capable free alternatives.
Think of your editing workflow as a final quality check. I always start with basic exposure and contrast. Is the image bright enough? Are the details in the dark corners visible? You want to make sure nothing is lost in the shadows or blown out in the highlights. Once that’s dialed in, it's time to look at color.
Correcting Color and Sharpening Details
Getting the color right is non-negotiable. An antique plate that’s a brilliant white in person shouldn't look yellow or blue in your photo. This is where your white balance tool comes in. Find something in the frame that should be a neutral white or gray, click on it, and watch the entire photo snap into its true-to-life colors.
Next, I add just a touch of sharpening. This is what makes the intricate details pop—the delicate grain of the wood, the subtle weave of a fabric. A word of caution: it's easy to go overboard here, which results in a gritty, unnatural look. My pro tip is to always zoom in to 100% to see exactly how the sharpening is affecting the image.
Key Insight: Before you export, do one last sweep for dust. No matter how meticulously you clean an item, a stray speck always seems to find its way into the shot. The spot removal tool is your best friend here. A few quick clicks can erase those tiny blemishes for a perfectly polished result.
Ultimately, the photograph must reflect the antique's actual condition and character. This isn't just about aesthetics; it’s about accuracy, which directly impacts how the item is perceived and valued. Understanding what gives a piece its worth can guide your eye during editing. For a deeper dive, check out our guide on how to value antiques.
Common Questions About Photographing Antiques
https://www.youtube.com/embed/peiUgxbb4Ds
Even after you’ve got your camera and lights set up, shooting antiques can throw some real curveballs. Let's tackle some of the most common headaches you’ll run into and get them sorted out.
How Do I Photograph Shiny Objects Without Reflections?
Ah, the classic problem. You’re trying to shoot a beautiful silver teapot or a delicate glass vase, and all you see is yourself and your camera staring back. The trick is to use a large, soft light source. Think big. A window with a sheer curtain pulled across it or a large softbox is perfect for this.
The key is placement. Don't put your light source directly in front of the object; that’s a recipe for glare. Instead, position it off to the side, at an angle. For extra control, a circular polarizing filter (CPL) on your lens is a lifesaver for cutting down unwanted reflections. If you're dealing with something incredibly polished, you can even build a quick "light tent" around it with a few pieces of white foam board to create a clean, reflection-free space.
What Is the Best Background for Antique Photography?
You want your antique to be the star of the show, so the background should never steal the spotlight. A simple, non-distracting background is almost always the right call. Neutral colors are your best friends here—think shades of gray, soft off-whites, or even muted beige.
Pro Tip: Don't be afraid to introduce textures that complement the piece. A weathered piece of barn wood, a simple linen cloth, or a slab of dark slate can add a ton of character and help tell the antique's story without being distracting. The goal is to match the vibe of the background to the era and style of the object itself.
If these photos are part of a larger project, like a blog or online shop, it helps to think strategically. This complete guide to content creation can be a great resource for planning how your images fit into your bigger goals.
Do I Absolutely Need a Macro Lens?
Not necessarily. While a true macro lens is the gold standard for getting those ultra-tight shots of tiny details like a silversmith's hallmark or a potter's signature, you don't always need one.
Many standard kit lenses can focus surprisingly close and will work just fine for most detail shots. If you're on a budget but still want to get closer, look into a set of extension tubes. They're hollow tubes that fit between your camera body and your lens, allowing the lens to focus much closer than it normally could. It's a fantastic and affordable way to dip your toes into macro photography without buying a dedicated lens.
Ready to identify the treasures you've just photographed? Curio acts as an antique expert in your pocket. Snap a photo, and our app provides the item's history, origin, and an estimated value in seconds. Uncover the story behind your finds at https://www.curio.app.