When you first pick up an old glass bottle, you're holding a piece of history. The real fun is figuring out just how old it is. The best way to start is by examining a few key physical clues—things like mold seams, a rough scar on the base called a pontil mark, the color of the glass, and any embossed lettering.
These features are like a timeline etched in glass. They can quickly tell you if you're looking at a hand-blown bottle from before the 1900s or a more modern, machine-made piece from the 20th century.
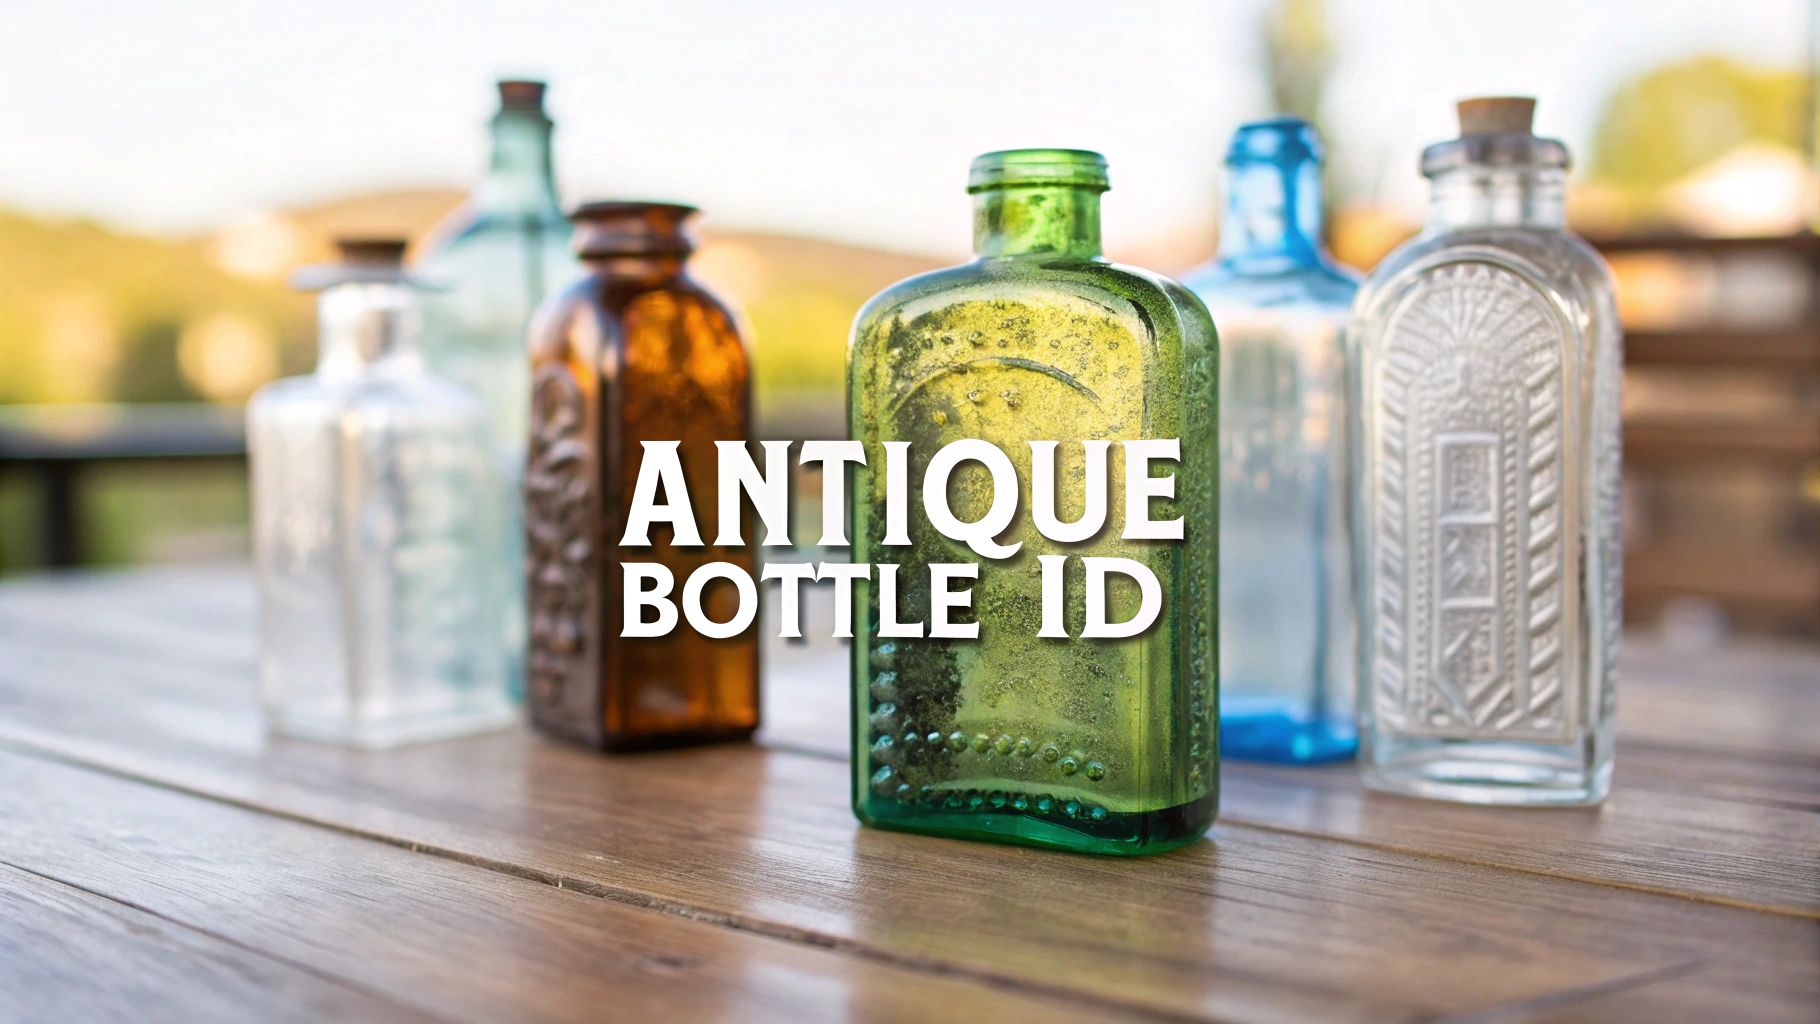
Decoding Your First Antique Bottle
So, you’ve found a bottle. Maybe you dug it up in your backyard, or perhaps it caught your eye at a flea market. Either way, its story is just waiting to be told.
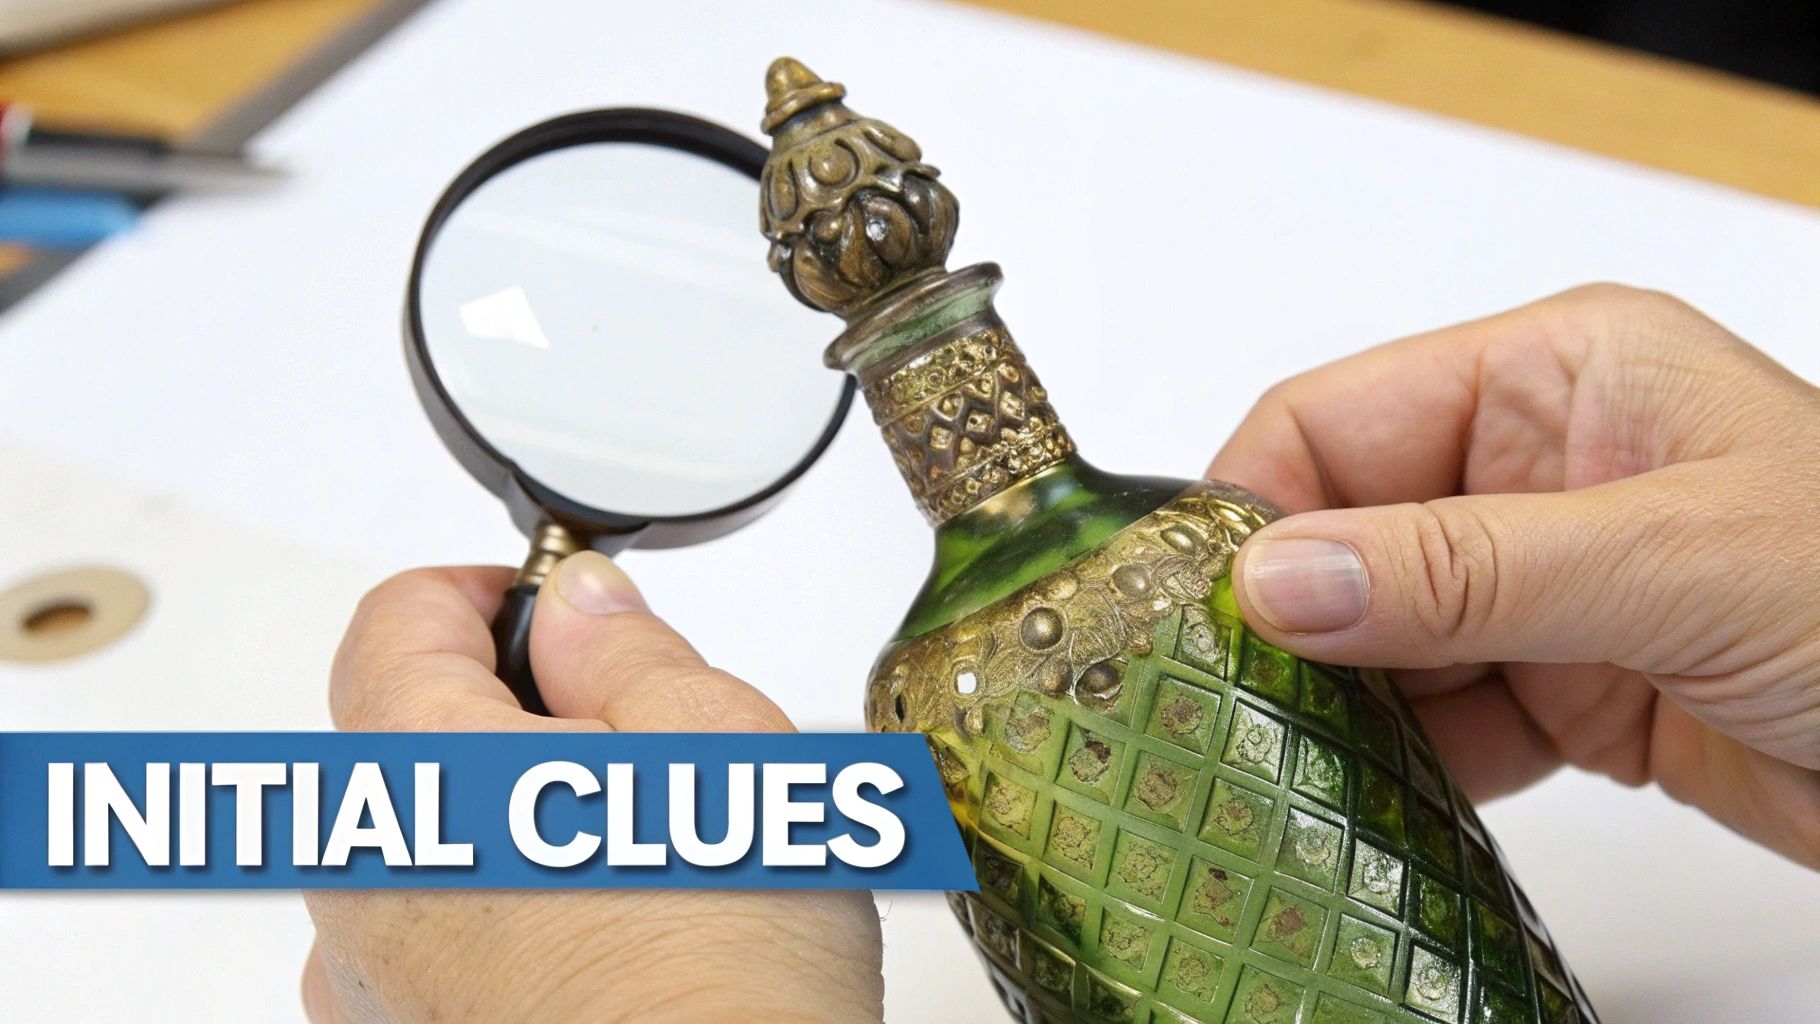
The first thing I always do is a quick visual inspection. You don’t need to be an expert to spot the big giveaways that point to a bottle's age and origin. Just think of yourself as a detective, and you're looking for the most obvious evidence first. This initial once-over should focus on four core areas that reveal how the bottle was made.
The Four Foundational Clues
Before you get lost in maker's marks or historical records, always start with these fundamentals. From my experience, they are the most reliable way to get a solid preliminary age estimate.
- Mold Seams: Look for faint vertical lines running up the sides of the bottle. If the seam stops below the lip, you're likely looking at a bottle made between 1880 and 1920. A bottle with no seams at all? That’s often a sign of an even older, hand-blown piece.
- Pontil Marks: Flip the bottle over and check the base. A rough, circular scar is a pontil mark, which means the bottle was hand-finished while attached to an iron rod. This technique was largely abandoned by the 1860s, so it’s a great clue for early glass.
- Embossing: Raised lettering or designs are fantastic clues. They can give you the product name, the company, or even the city where it was made. Even the style of the font can help narrow down the era.
- Color and Quality: Early glassmaking wasn't perfect. This meant impurities often tinted the glass, resulting in the beautiful aqua, green, and amber tones we love to find. Tiny bubbles and uneven thickness are also tell-tale signs of older manufacturing.
These clues are your foundation. It's fascinating to think that the sturdiness of these old bottles is why we can still find them today. Many were part of a return-and-reuse system, with some bottles seeing around 40 reuse cycles. If you want to learn more, you can dive deeper into the vintage packaging market to see how these trends have evolved.
Pro Tip: Never rely on just one clue. I've seen bottles with features from transitional periods in manufacturing. Always look at how the seams, base, and lip work together to tell the full story.
To make it easier, here's a quick reference table that breaks down what these clues mean. I use a mental checklist like this every time I evaluate a new find.
Quick Guide to Bottle Dating Clues
| Key Feature | What It Indicates | Likely Era |
|---|---|---|
| No Mold Seams | Fully hand-blown construction | Pre-1860s |
| Rough Pontil Mark | Hand-finished on a pontil rod | Pre-1860s |
| Seam Stops at Neck | Hand-finished lip on a molded body | 1880s–1920s |
| Seam Runs Over Lip | Fully automatic bottle machine | Post-1903 |
| Embossed Lettering | Common method before paper labels | 1860s–1920s |
| Bubbles in Glass | Older, less controlled manufacturing | Common pre-1920s |
This table is a great starting point, but remember that bottle-making technology didn't change overnight. You'll often find bottles with overlapping features as manufacturers slowly adopted new methods.
Your Bottle Identification Toolkit
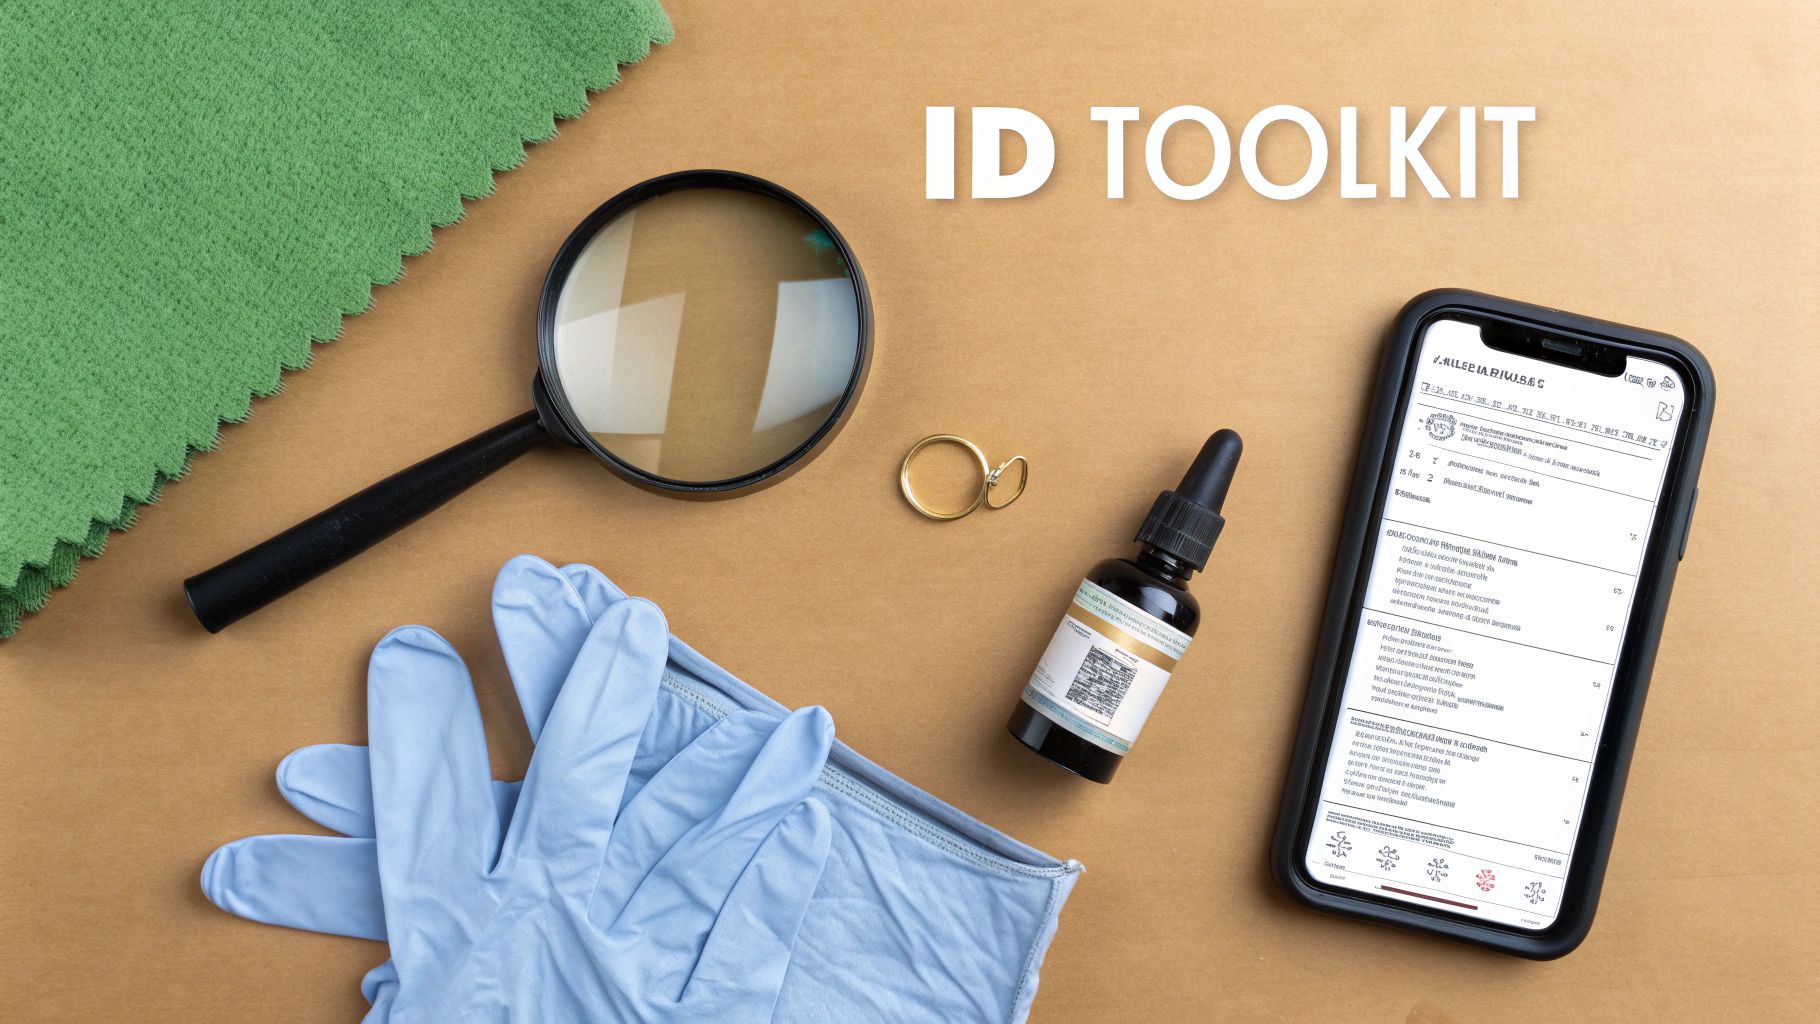
Before you start trying to decipher seams and embossing, it pays to get your gear in order. You don’t need a high-tech lab to identify old glass, but having a few simple tools on hand will make the whole process much smoother. It can be the difference between a frustrating guessing game and a satisfying historical investigation.
Think of it this way: you wouldn't try to read the fine print in a dim room. The same logic applies here. Setting yourself up with the right tools from the get-go means you’re less likely to miss those tiny, crucial details that tell the bottle’s story.
Essential Physical Tools
Your hands-on kit is all about bringing hidden details to light and, just as importantly, protecting the bottle. The right tools help your eyes see what they might otherwise miss and ensure you don't damage your find.
- Magnifying Glass or Jeweler's Loupe: Honestly, this is your number one asset. A simple 10x magnification loupe is perfect for reading the tiny, worn-down letters in a maker’s mark or tracing a faint mold seam on the base.
- Soft Microfiber Cloths: A bit of dust can easily hide important marks. A quick, gentle wipe is often all it takes to reveal a clue that was right there in plain sight.
- Nitrile Gloves: Getting fingerprints all over a piece of historic glass is a bad look, but the real reason for gloves is protection—for both you and the bottle. They keep skin oils off delicate labels and protect your hands from whatever grime a freshly unearthed bottle might be carrying.
- Good Lighting: Don’t underestimate this one. A bright, adjustable lamp can work wonders. Hitting the bottle with light from a low angle often makes faint embossing jump right out, a trick photographers have used for years to capture subtle textures.
Before you do anything else, make sure your bottle is clean enough to actually inspect. You can't identify what you can't see. For the best ways to safely get the grime off, take a look at our guide on https://www.curio.app/blog/how-to-clean-antique-bottles.
Must-Have Digital Resources
Once you've found all the physical clues on the bottle, it's time to head to your computer to figure out what they mean. The internet is an incredible resource, giving us access to decades of research and the combined wisdom of thousands of collectors.
I’ve found it’s best to focus your online search on a couple of key places to avoid getting overwhelmed. Start with the maker's mark, and if you get stuck, turn to the community.
- Maker’s Mark Databases: Websites like the Bottle Makers and Their Marks page, hosted by the Society for Historical Archaeology, are pure gold. You can look up the specific symbols, letters, and numbers on your bottle to find out who made it and when.
- Collector Forums: When you hit a wall, forums like Antique-Bottles.net are the next best thing. You can post pictures of your bottle and ask for help. More often than not, a seasoned collector will spot a detail you completely overlooked.
- Online Museum Archives: It’s always worth checking the digital collections of local historical societies and museums. A quick search can sometimes pull up identical bottles, giving you incredible context about how it was used and where it came from.
Reading the Story in a Bottle's Seams and Shape
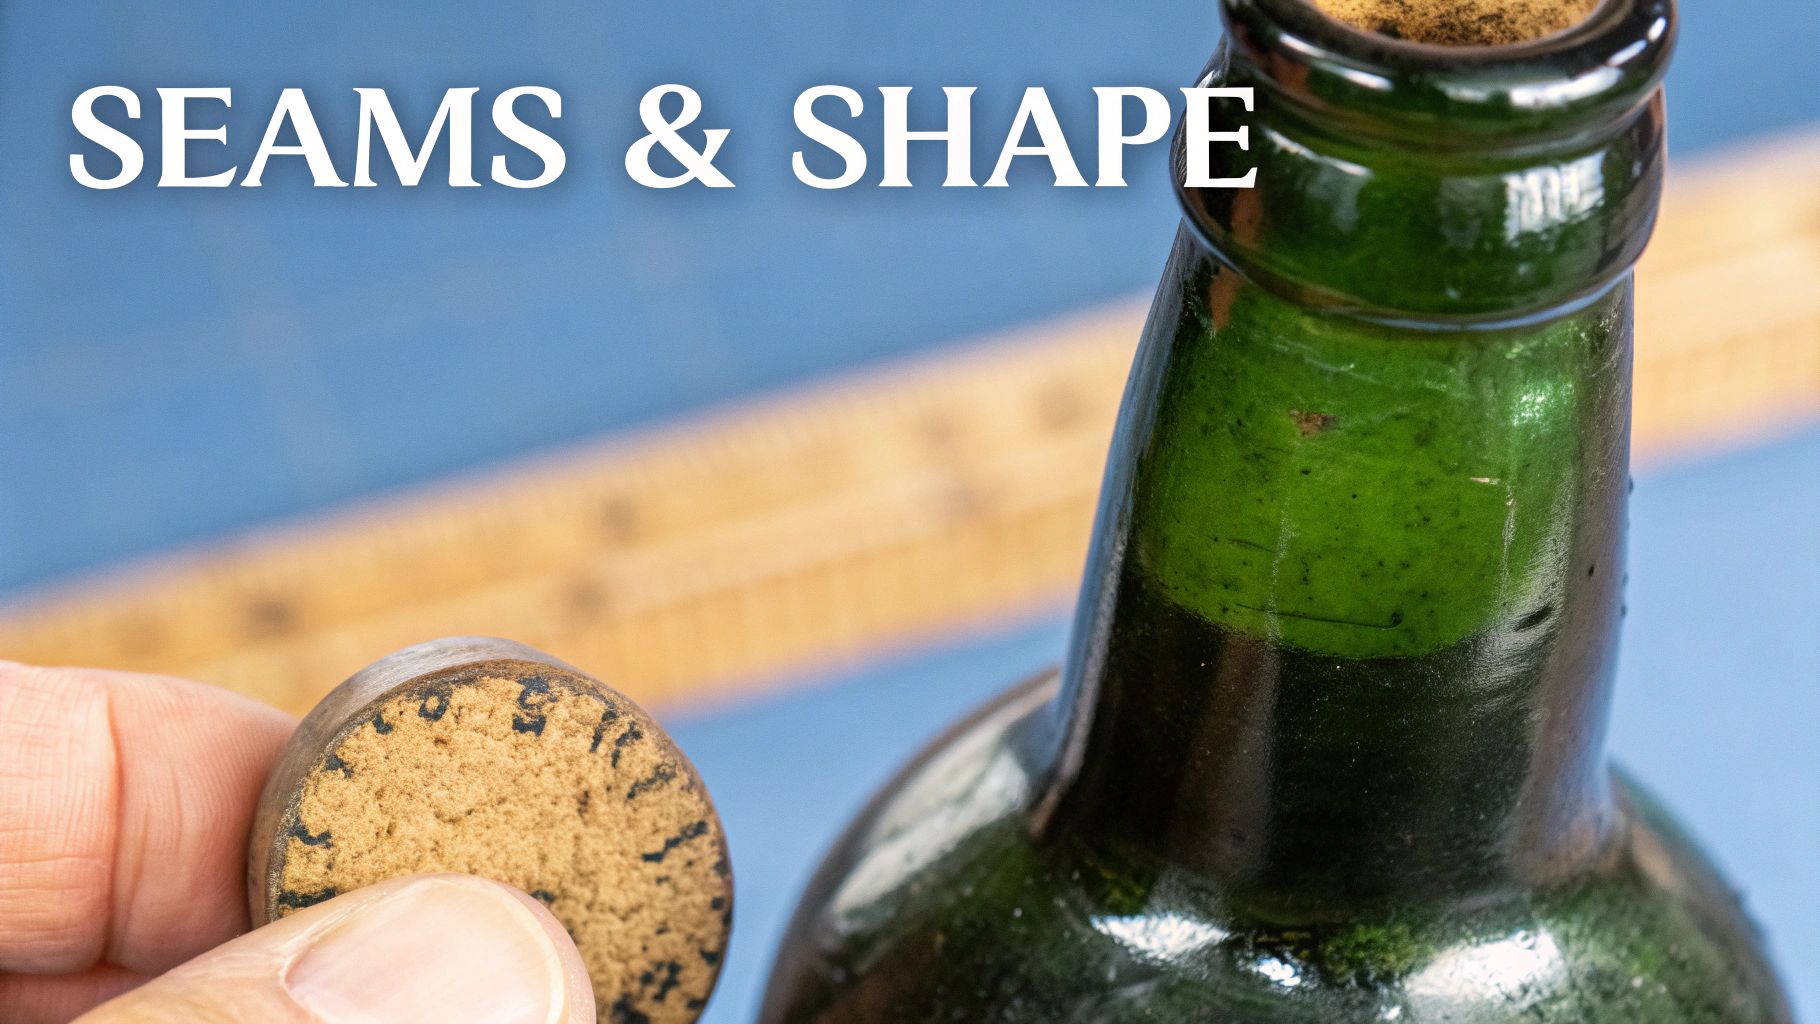
Long before you even think about deciphering a maker's mark, the bottle itself has a story to tell. Its physical form—the overall shape, the symmetry (or lack thereof), and especially its seams—is a direct reflection of how it was made. These details are your most reliable first clues, often narrowing down the production era in just a few seconds.
For example, early hand-blown bottles have a certain charm. They often feel a bit off-balance or lopsided, with uneven glass thickness. The dead giveaway for these pre-1860s treasures is the pontil mark on the base. It’s a rough, circular scar left by the iron rod that held the bottle while the glassmaker finished the top. If you find one, you're holding a truly old, handcrafted piece.
Tracing the Mold Seams
As technology improved, glassmakers started using molds to speed things up and create more consistent bottles. This new process left faint vertical ridges where the mold pieces met—what we call mold seams. The placement and height of these seams are like a timestamp.
Here’s what to look for:
- No Seams at All: A bottle with no visible seams was likely "free-blown," meaning a glassblower shaped it entirely by hand and tool. These are typically the oldest bottles, often dating before the 1860s.
- Seam Stops Below the Lip: This is a very common feature. If you see a seam running up the side but it fades away at the neck or shoulder, you're looking at a bottle where the body was molded but the lip was applied and finished by hand. This was the dominant method from the 1880s through around 1920.
- Seam Runs Over the Top: When a seam goes all the way up the side, over the very top of the lip, and down the other side, that's the tell-tale sign of a fully automatic bottle machine. This game-changing technology, invented by Michael Owens in 1903, quickly took over the industry.
Looking at the photo above, you can see two clear side mold seams. The seam on the left bottle stops right at the shoulder, a classic sign of a hand-finished lip. On the right, however, the seam travels much higher up the neck, pointing to a later manufacturing date.
What Subtle Imperfections Reveal
Don't stop at the major features; the little imperfections are just as revealing. Tiny bubbles trapped inside the glass, often called "seeds," are a hallmark of older bottles made with less controlled methods.
Even the quality of the seam line itself offers clues. Early molds often left behind crude, thick seams, while later machine-made bottles have much finer, almost imperceptible lines.
Collector's Insight: You have to combine clues. I once found a bottle with a seam that stopped at the neck, which screamed pre-1920. But the base had a maker's mark I knew wasn't used until after 1925. It took a little digging, but I realized it was from a smaller company that was just slow to adopt the fully automatic machines. It’s a great reminder that nothing is 100% certain.
Learning to read these manufacturing artifacts is the foundation of dating bottles. While research suggests around 65% of antique bottles have a maker's mark, nearly every single molded bottle has seams, giving you a reliable starting point for any piece you find. You can learn more about the evolution of the glass packaging market to get a better sense of these historical shifts in production.
Uncovering Clues in Marks and Embossing
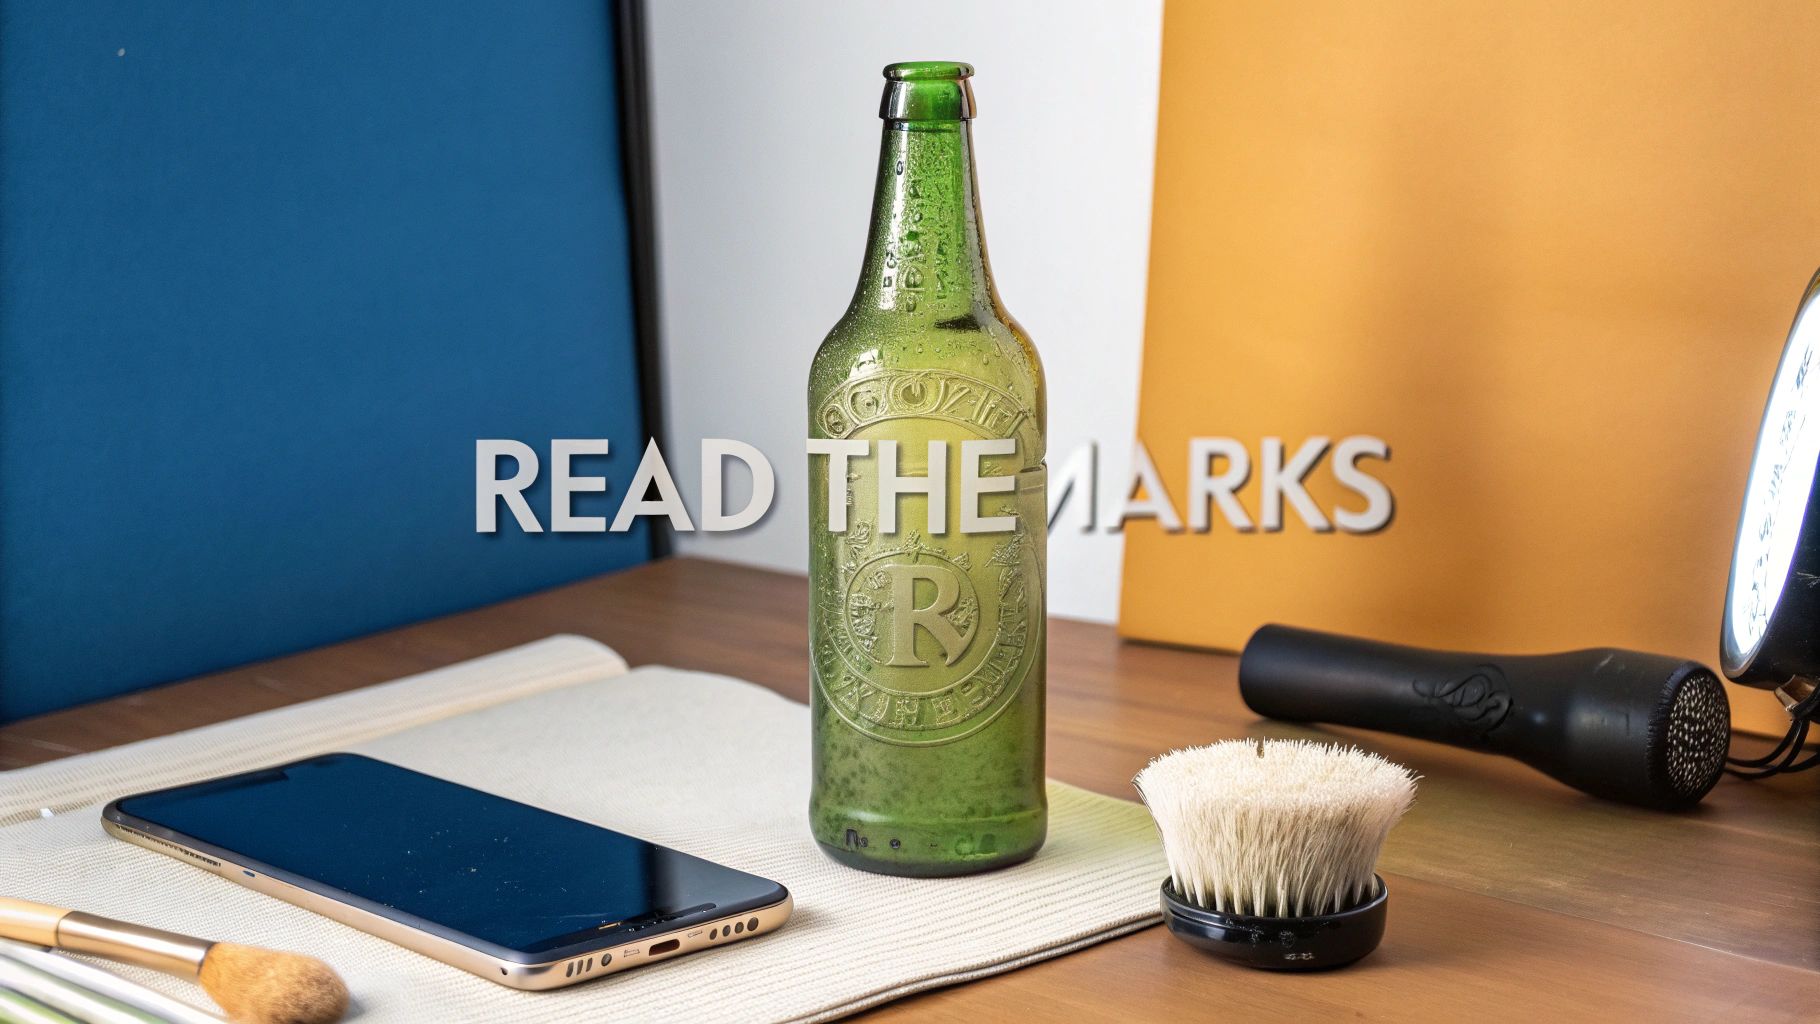
While the seams give you a general production era, it’s the embossing—the raised letters, numbers, and symbols—that tells the bottle's specific story. These marks are the closest thing you'll get to a birth certificate, often revealing the manufacturer, the original contents, and sometimes even a patent number or date code.
Think of embossing as the final set of clues that turns a good guess into a confident identification. Most of these markings are on the base, but I've found some real gems hidden on the heel (that little curve just above the base) and even up the sides. As a rule of thumb, early embossing tends to be a bit cruder, while later machine-made bottles boast crisp, detailed designs.
Interpreting Maker’s Marks
A maker's mark is the logo, name, or initials of the glass company that produced the bottle. For any bottle hunter, these are your absolute best friends. Just learning a few of the most common ones will dramatically speed up your ability to date your finds out in the field.
For instance, if you spot a diamond with an "I" in the middle, you're looking at a piece from the Owens-Illinois Glass Company made after 1929. Find an "AB" inside a circle? That's the mark for the Adolphus Busch Glass Manufacturing Company, which was in business from 1886 to 1928. These tiny symbols are packed with an incredible amount of historical data.
Below is a look at some of the common marks you might encounter and what they can tell you about your bottle's origins.
Common Maker's Marks and What They Mean
| Maker's Mark | Associated Company | Typical Date Range |
|---|---|---|
| "H" over "A" | Hazel-Atlas Glass Company | 1920s–1964 |
| Diamond with "I" | Owens-Illinois Glass Company | Post-1929 |
| "AB" in a Circle | Adolphus Busch Glass Mfg. Co. | 1886–1928 |
| "ROOT" | Root Glass Company | 1901–1932 |
| "W" in a Circle | T.C. Wheaton Co. | 1901–Present |
| Anchor with "H" | Anchor Hocking Glass Corp. | Post-1937 |
This table is just a starting point, of course. The world of maker's marks is vast, and new discoveries are always being made as collectors share their finds.
Finding and Reading Faint Embossing
Over time, these crucial marks can get worn down, making them frustratingly difficult to read. This is where a little technique and the right tools can make all the difference. Don't just rely on your naked eye.
Pro Tip: To make faint embossing pop, get a flashlight and shine it across the glass at a very low, sharp angle. This trick, known as raking light, creates shadows in the indentations and makes the letters jump right out. I also always snap a picture with my phone using this technique—the camera often picks up details I missed.
Once you have a clear look at the mark, even if it's just a partial one, you can cross-reference it with online databases. For a deeper look into specific symbols and their backgrounds, you can explore our comprehensive guide to antique glass maker’s marks.
Beyond the maker's mark, keep an eye out for other embossed details:
- Patent Numbers: These are fantastic clues. You can look them up to find the exact date the patent was issued, giving you a definitive "not made before" date for your bottle.
- Mold or Date Codes: Many bottles, especially from the 20th century, have a two-digit number to the right of the maker's mark. This often indicates the year of production, so a "38" likely means 1938.
- City and State Names: Old liquor, soda, and pharmacy bottles were frequently embossed with the name of the local business they were made for. This gives you an immediate and specific geographical origin.
What the Color and Quality of the Glass Tells You
The way a bottle was made is a huge clue to its age, but the glass itself holds just as many secrets. The color isn't just for looks; it’s a direct fingerprint of the minerals and manufacturing processes available at the time. Learning to read these historic colors is a crucial skill for any collector.
If you dig up or find an old bottle, there's a good chance it will have a light green or aqua color. This wasn't a deliberate choice. It was the result of iron impurities that were naturally in the sand used to make the glass. Early glassmakers just couldn't get it perfectly clear, which left us with these beautiful, subtle tints.
From Purple Haze to Perfect Clarity
As the 1800s wore on, manufacturers got serious about making clear glass so customers could see the contents. The trick they discovered was adding manganese dioxide, a mineral that acted as a decolorizer to cancel out the green tint from the iron. It worked like a charm, but it had an unexpected side effect that collectors wouldn't discover for many years.
Bottles made with manganese, roughly between 1880 and 1920, have a very special tell. After decades of sitting in the sun, the ultraviolet light causes a chemical reaction, turning the glass a lovely amethyst or purple color. We call this "sun-purpled" glass.
A true sun-purpled bottle is a beautiful accident of chemistry and time. Spotting this subtle lavender hue is a reliable indicator that you're holding a piece made in that specific pre-WWI time frame.
Assessing the Quality of the Glass
Color is one thing, but the actual quality and texture of the glass are just as important. Run your fingers over the surface. Hold it up to a window and let the light shine through it. Older, hand-finished glass is full of imperfections that tell its story.
Keep an eye out for these tell-tale signs of age:
- Bubbles and Seeds: Tiny trapped air bubbles, known as "seeds," are everywhere in older glass. This happened because melting temperatures weren't as precisely controlled back then.
- Waviness: You might notice a slightly distorted or wavy texture, sometimes called "whittle marks." This comes from the imperfections in early, hand-carved molds.
- Uneven Thickness: Feel the bottle. You'll often find that the walls or base are thicker in some spots and thinner in others—a dead giveaway of hand-blown or early machine-assisted work.
Modern glass, in contrast, is almost flawless. It's smooth, uniform, and perfectly clear. Those little imperfections in an old bottle aren't defects; they're the marks of a human touch and older methods. Getting a feel for these details is a skill that comes with handling lots of glass. For a deeper dive into these characteristics, our guide to identifying antique glassware and crystal has even more tips.
What the Books Don't Tell You: Tips from a Seasoned Collector
After you've handled a few hundred bottles, you start to develop a feel for things that go beyond the textbook features. It becomes less about a checklist and more about intuition. I see a lot of new collectors make the same mistake: they latch onto a single clue and ignore everything else.
A rough pontil mark might shout "pre-1860s," but if the embossing looks like it was made with a machine from the 1920s, you've got a puzzle to solve. You have to weigh all the evidence together to see the bottle's true story.
I remember finding a stunning cobalt blue medicine bottle years ago. The color was electric, and the applied lip seemed to place it squarely in the mid-19th century. But something just felt… off.
Grabbing my loupe, I went over it inch by inch. Tucked away on the heel was a tiny, almost invisible maker's mark—a symbol I recognized from a company notorious for making high-quality reproductions in the 1970s. That one tiny detail saved me from what would have been an expensive mistake, and it hammered home a lesson I'll never forget.
Watch Out for Fakes and Alterations
With more experience, your eyes will get sharper at spotting the little red flags. Be wary of a pontil mark that looks too clean or has been recently polished. Someone might be trying to artificially age a bottle or hide signs of modern manufacturing. Real, honest wear should look consistent across the entire base.
Another trick to watch for is artificial purple coloring. Some sellers will irradiate clear glass to mimic the beautiful amethyst hue of authentic "sun-purpled" glass, which took decades of natural sun exposure to create.
A Collector's Two Cents: True expertise isn't just about memorizing facts. It's about developing an instinct for when a piece just doesn't feel right. If a bottle seems too good to be true, trust your gut and dig a little deeper.
Finally, get into the habit of documenting everything. When you identify a new piece for your collection, take good, clear photos of its key features—the lip, the seams, the base, and any embossing. Jot down its dimensions, color, and where you found it.
This kind of logbook does more than just track your collection. It’s an invaluable tool for insurance appraisals or if you ever decide to sell. It’s these disciplined habits that really separate the casual hobbyist from a serious, well-respected collector.
Questions I Hear All the Time
As you get deeper into collecting, you'll find that the same questions tend to pop up again and again. Let's tackle some of the most common ones I've heard over the years. Getting these basics down will give you a much stronger footing as you start identifying your own finds.
The first major hurdle for newcomers is often telling the difference between a hand-blown bottle and a machine-made one. It's actually simpler than it sounds.
Flip the bottle over and look at the base. If you see a rough, circular scar—that’s a pontil mark. It's where an iron rod held the bottle during finishing, and its presence almost always means the bottle was hand-finished before the 1860s. In contrast, fully machine-made bottles, which became the norm after 1903, won't have this mark. They'll also have mold seams that extend all the way up and over the lip of the bottle.
How Much Can Color Tell You About Age?
Color is an exciting clue, but it can also be a bit of a trap if you rely on it too much. It's true that some colors were wildly popular during specific eras, like the beautiful sun-purpled amethyst glass created by manganese in the glass from roughly 1880-1920.
But here's the catch: color alone is rarely definitive. Glassmakers produced all sorts of colors for long stretches, and modern reproductions are notorious for mimicking those beautiful historic shades.
My advice? Think of color as a supporting actor, not the star of the show. Let the seams, the lip style, and the base tell the main story, and use color to add another layer of confirmation.
Where Should I Look Up Maker’s Marks Online?
Once you find an embossed mark on a bottle, the real detective work begins, and the internet is your single best tool. My first stop is always the Bottle Makers and Their Marks page, which is an incredible database from the Society for Historical Archaeology. It’s the gold standard for deciphering the letters and symbols that link a bottle to a specific glass manufacturer.
What if you've got a really obscure mark that isn't in the big databases? That's when I turn to the community. Collector forums like Antique-Bottles.net are full of seasoned experts. Post a few clear photos, and there's a good chance someone has seen that mark before and can point you in the right direction.
Ready to turn your curiosity into expertise? Let Curio be your guide. Just snap a photo of any bottle, and get instant identification, historical context, and an estimated value. Download the app today and uncover the stories hidden in your finds. Learn more at https://www.curio.app.