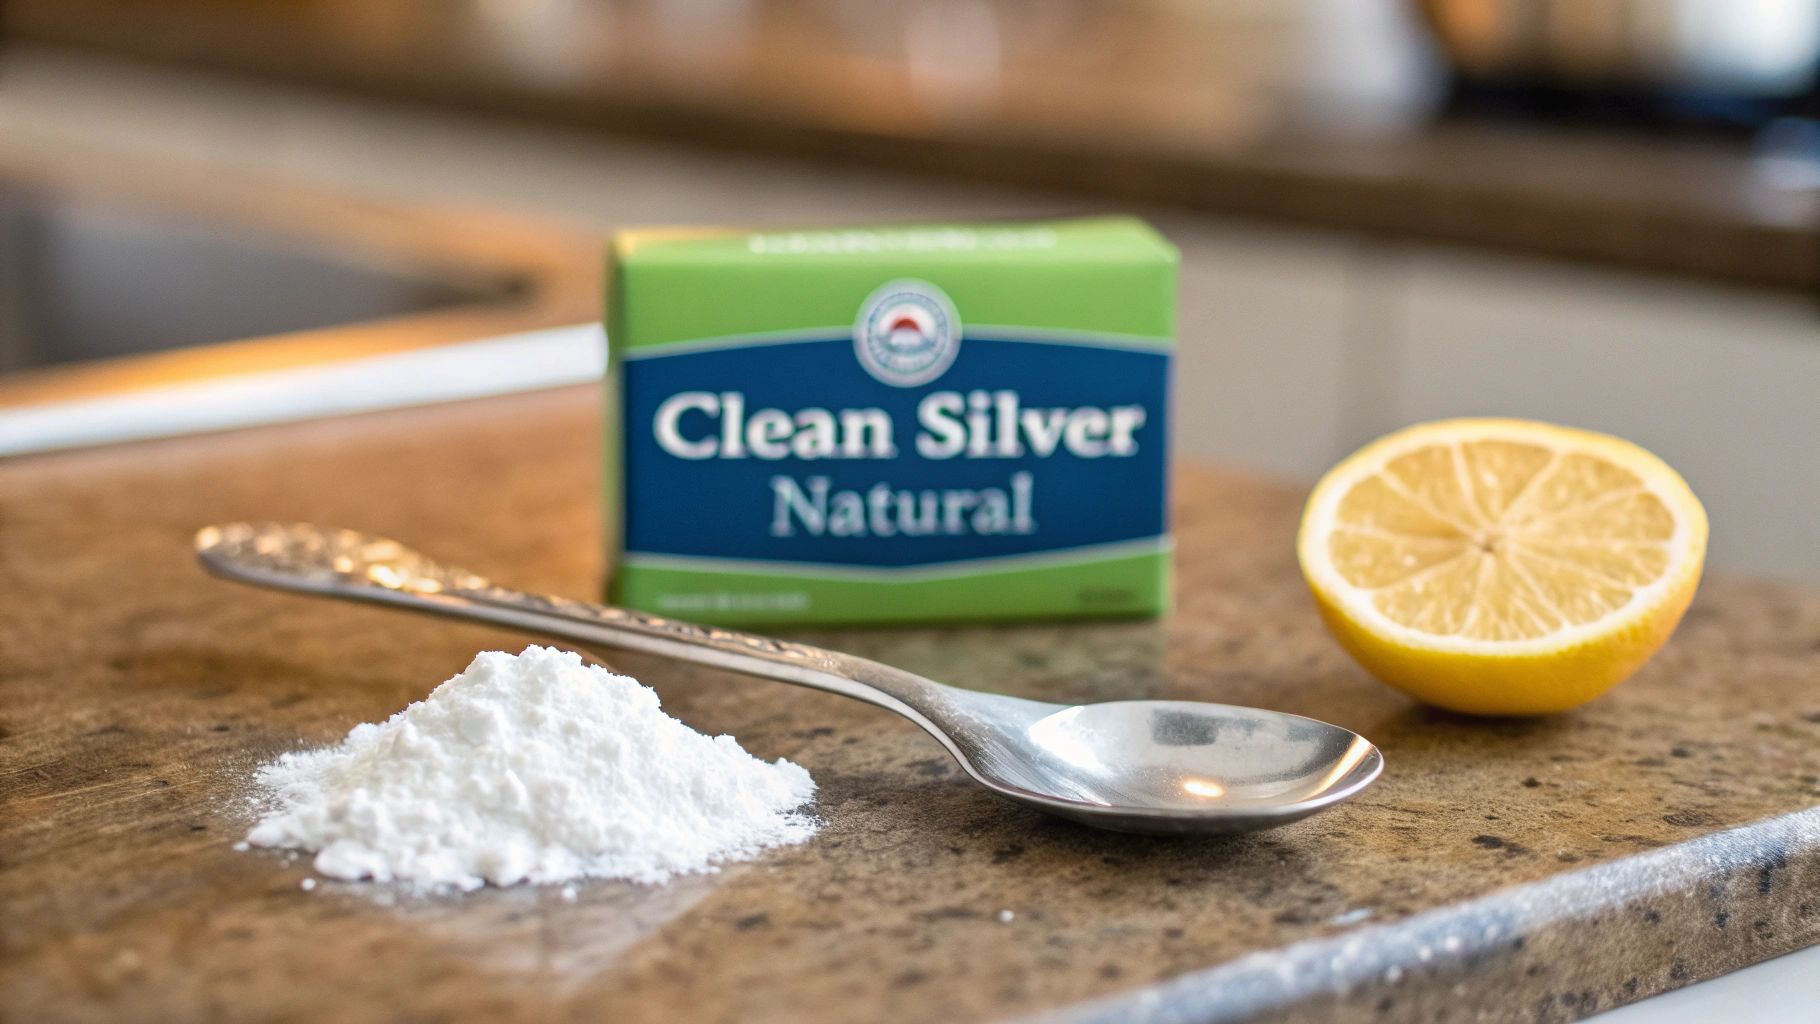
You can easily clean silver naturally with a few simple things you probably already have in your kitchen, like baking soda, lemon, and vinegar. These methods are much gentler on your treasured items, especially antiques, and they work without harsh chemicals.
Why Natural Methods Are Better for Your Silver
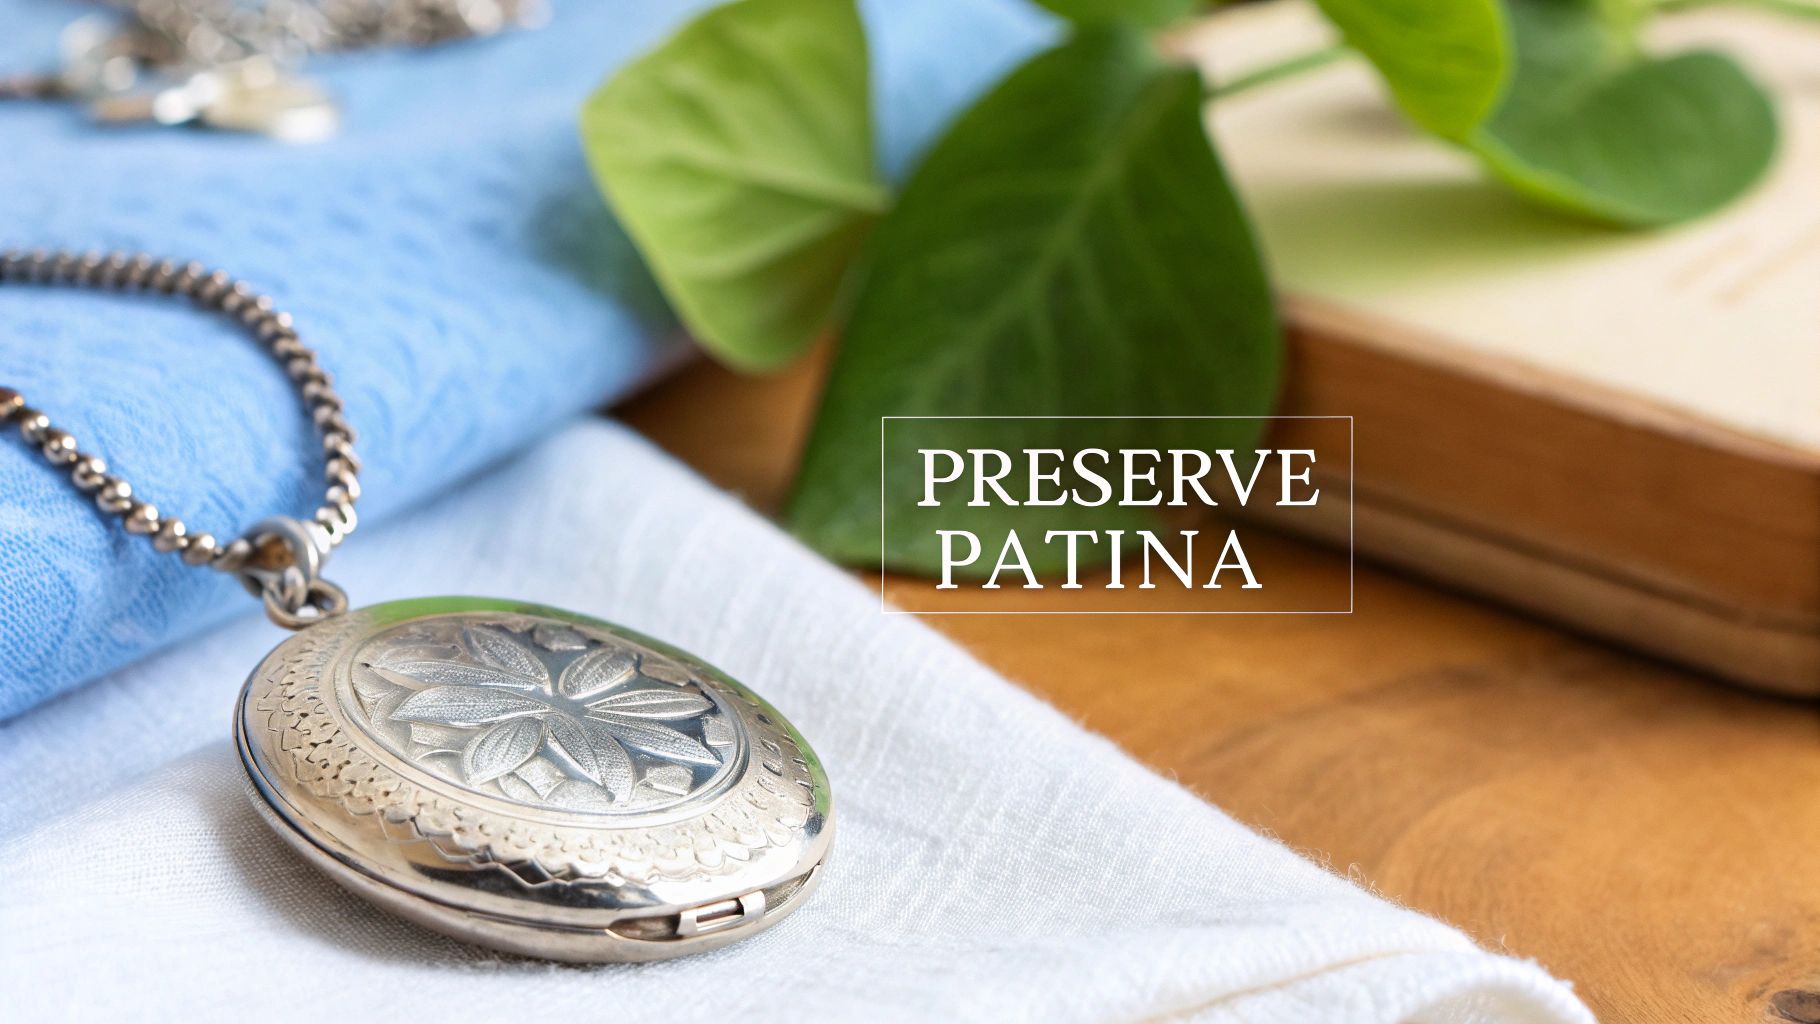
Before you reach for a bottle of commercial silver polish, take a moment to think about the story behind your piece. When it comes to cherished heirlooms and antiques, opting to clean silver with natural methods is a far safer and smarter move. This isn't just about making something shiny; it's about preserving it responsibly.
Many commercial polishes contain harsh abrasives that can leave tiny scratches on the silver's surface. With each cleaning, these micro-abrasions accumulate, dulling the finish and slowly wearing away delicate engravings and intricate details. This is a huge risk for older pieces, where the patina—that soft, dark layer nestled in the design's crevices—is a beautiful sign of age and authenticity.
Preserve Value and History
Aggressively stripping away that patina can seriously diminish an antique's character and even lower its appraisal value. Natural cleaning methods, on the other hand, are much gentler. They specifically target the surface tarnish (silver sulfide) without harming the metal beneath or its historical integrity. For collectors, this is non-negotiable.
This shift toward natural cleaning isn't a new fad. It really took off during the environmental movement of the 1970s. By 1975, growing concerns about water contamination from the chemicals in polishes led many households to look for safer alternatives. That’s when things like vinegar and salt soaks became popular again—these mild acidic solutions use ion exchange to dissolve tarnish without etching the fine details on valuable silver.
Preserving an antique is about more than just its appearance. It's about protecting a piece of history for the next generation. Natural cleaning ensures that the story, not just the shine, is what lasts.
By choosing a natural approach, you’re not just cleaning your silver; you're acting as a caretaker of its legacy. For more detailed advice, check out our guide on how to clean antique silver safely.
The Easiest Way to Clean Silver with Foil and Baking Soda
If you're looking for a powerful, scrub-free way to bring back the shine to your silver, this method is my absolute go-to. It’s like a little science experiment that does all the hard work for you, using just a few things you already have in your kitchen.
This technique is a lifesaver for those tricky pieces with intricate details—think ornate silverware or detailed jewelry—where polishing by hand is a nightmare. Instead of rubbing the tarnish off, you're actually reversing the chemical reaction that caused it in the first place.
So, how does it work? Tarnish is just silver sulfide, which happens when silver meets sulfur in the air. By creating a simple electrochemical reaction, the sulfur atoms leave your silver and latch onto the aluminum foil instead. You can literally watch the tarnish disappear.
Getting Set Up
You only need a few basic items. First, grab a glass baking dish or another non-metal bowl.
- Start by lining the dish with a sheet of aluminum foil, shiny side up.
- Bring some water to a boil. For every cup of water, you’ll need one tablespoon of baking soda.
- Pour the boiling water into your dish and give it a good stir to dissolve all the baking soda.
- Now, gently place your silver pieces into the hot water, making sure every item is touching the aluminum foil. This contact is the key to making the magic happen.
Imagine you've just found a beautiful, tarnished silver tea set at a flea market. All those gorgeous details are hidden under a dull, dark layer. This is the perfect method to restore it. The aluminum, baking soda, and hot water work together to pull the sulfur right off the silver and onto the foil.
Let your silver soak for about 5 to 10 minutes. You’ll see the foil start to turn a yellowish-black as it absorbs the tarnish. If you’re dealing with seriously heavy tarnish, you might need to dump the solution and start over with fresh water, baking soda, and foil.
Once the time is up, use a pair of tongs to carefully lift the pieces out of the hot water. Rinse them well under warm running water, then immediately buff them dry with a soft, clean cloth to avoid any water spots.
This process is incredibly gentle, but if you suspect your items are silver-plated rather than sterling, it’s always best to be cautious. You can find more specific advice in our guide on cleaning silver-plated silverware.
Whip Up a Gentle Polishing Paste from Your Pantry
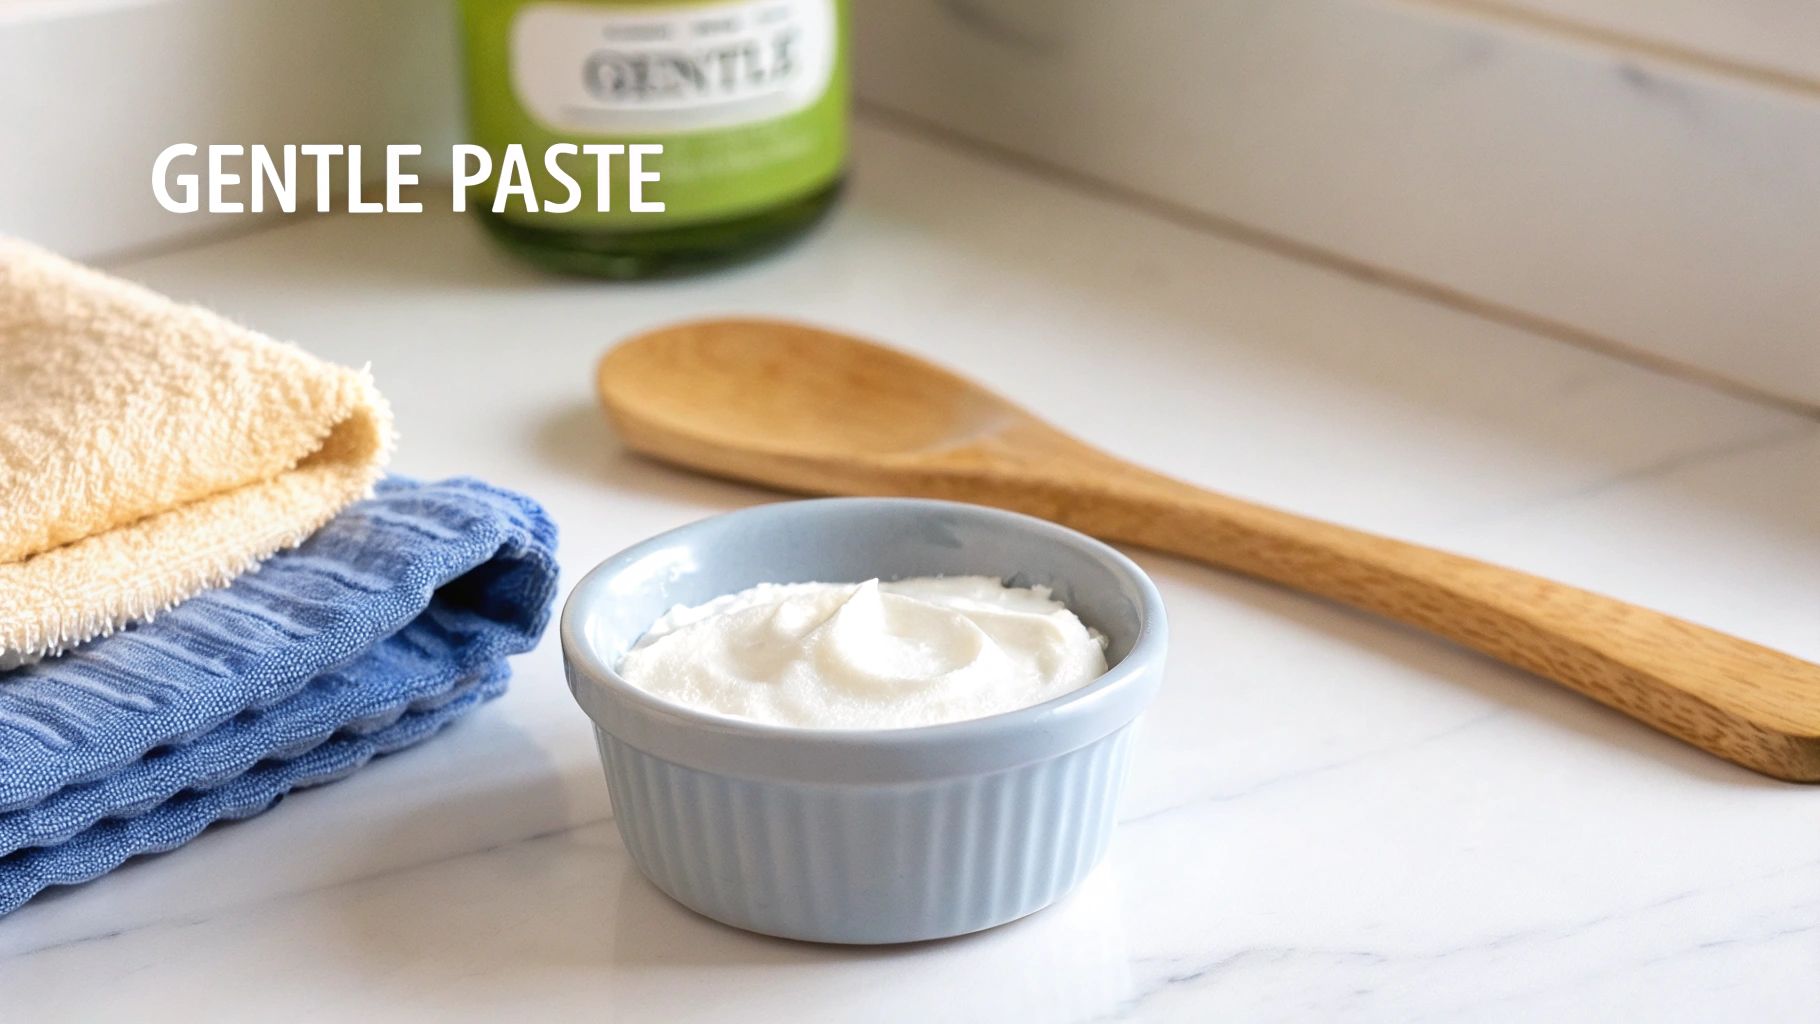
Sometimes, your silver doesn't need a deep soak. For those light touch-ups or when you spot a bit of developing tarnish, a simple paste from your kitchen cabinet is all it takes to clean silver naturally. This approach is perfect for routine maintenance because it gives you precise control over where you're cleaning.
Think of this as a gentle buff rather than a heavy-duty scrub. It’s my go-to method when I notice the silverware basket looks a little dull before a dinner party—it’s quick, easy, and gets the job done without a big production.
The Classic Baking Soda Paste
Baking soda is a fantastic mild abrasive, but the trick is getting the consistency just right. You're aiming for a smooth paste—think toothpaste—not a grainy, watery mess that could scratch the delicate surface.
It's a simple recipe: just mix two parts baking soda with one part water in a small bowl. For instance, two tablespoons of baking soda and one tablespoon of water usually does the trick for a few pieces. Stir until it's perfectly smooth.
Dab a little onto a soft microfiber cloth (never paper towels, which can be surprisingly abrasive!) and gently rub your silver. Use a straight, back-and-forth motion, not circles.
Rubbing in circles is a common mistake that can leave fine swirl marks, especially on flatware or trays. Always follow the grain or shape of the piece with a linear motion to keep the finish looking uniform and professional.
Once you're done, rinse the piece thoroughly under warm water. The final, crucial step is to dry it immediately and completely with a fresh, soft cloth to prevent any water spots from ruining your hard work.
An Even Gentler Cornstarch Alternative
Got a really delicate heirloom or a silver-plated piece you're nervous about? Cornstarch is your best friend. Its particles are finer than baking soda, making it an exceptionally gentle polisher. I swear by this for anything with intricate engravings that I don't want to risk damaging.
The steps are exactly the same:
- Mix two parts cornstarch to one part water to create a smooth, creamy paste.
- Apply it with a soft cloth, using those same gentle, back-and-forth motions.
- Rinse it all off and buff it dry with a separate clean cloth.
This method is practically foolproof for bringing back a brilliant shine to your most precious items without any worry.
When to Use Mild Acids Like Lemon or Vinegar
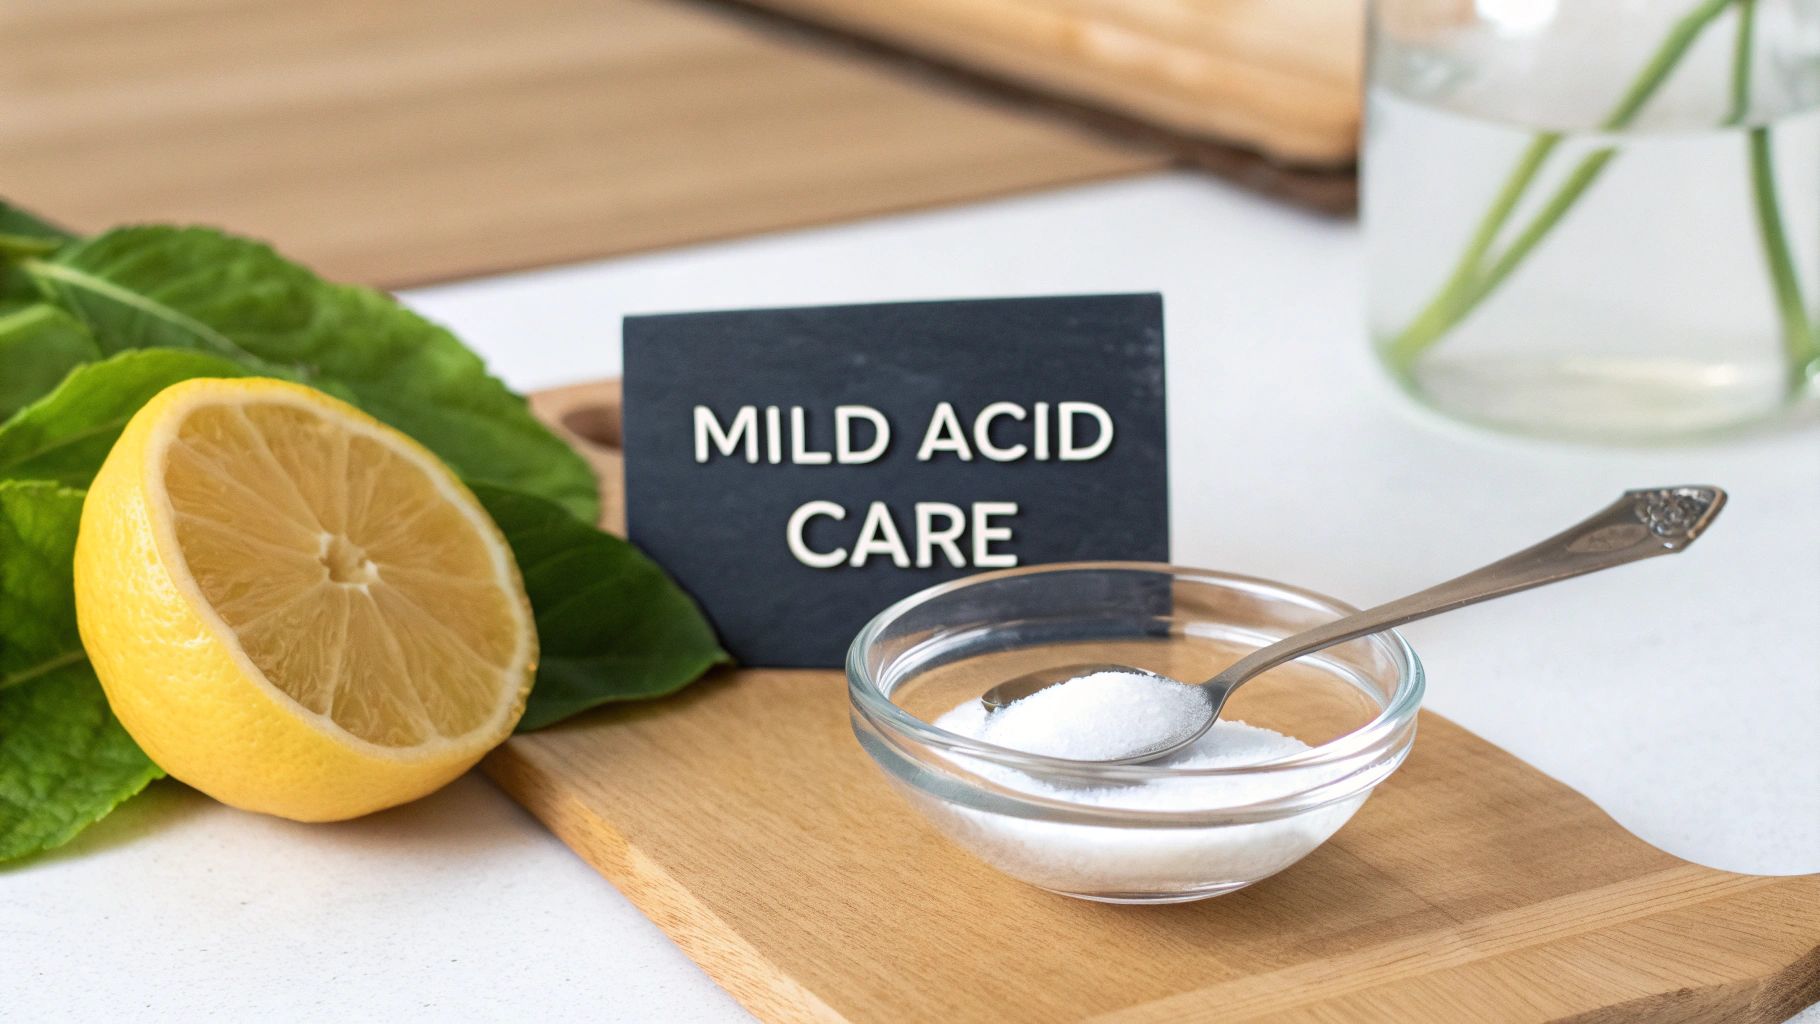
While pastes and soaks are great for everyday tarnish, sometimes you'll run into discoloration that just won't budge. This is where a mild acid like lemon juice or white vinegar can really save the day when you need to clean silver naturally.
Think of it as a targeted treatment. These acids work by chemically dissolving the silver sulfide—that dark, pesky tarnish—right off the surface. It’s an incredibly effective method for sturdy, solid silver items like a simple silver tray or your everyday cutlery. The mild acidity is just potent enough to cut through the tarnish without damaging the metal itself.
But, and this is important, this method isn't for every piece of silver in your collection. You have to be careful.
Knowing When to Avoid This Method
It’s crucial to know which items just aren't suited for an acidic bath. You wouldn't use a power washer on a delicate painting, right? Same principle here.
Steer clear of this method for silver pieces with:
- Soft Gemstones: Pearls, opals, turquoise, and coral are especially vulnerable. These stones are porous, and the acid can easily etch their surface, permanently dulling their beautiful luster.
- Intentional Patinas: A lot of antique or artisan silver has a dark, oxidized finish purposefully added to make the details pop. An acid soak will strip that patina right off, which can ruin the look and value of the piece.
- Glued Components: If your jewelry has stones held in place with adhesive instead of prongs, the acid can dissolve the glue. You risk losing the stones completely.
My rule of thumb is simple: If your item is solid, sturdy silver with no delicate extras, a quick acid bath is probably safe. For anything else, play it safe and stick to a gentler method like a simple baking soda paste.
Ready to give it a try? You can mix one-half cup of white vinegar with two tablespoons of baking soda or create a paste from lemon juice and salt. Let the silver soak for just a few minutes—no more than five—and then rinse it completely under cool water to neutralize the acid.
Don't forget the final step: dry it immediately and give it a good buff with a soft cloth to bring back that brilliant shine. If you're exploring citrus-based cleaning, you might also be interested in how lemon oil can fit into a natural cleaning toolkit.
Keeping Your Silver Bright and Tarnish-Free Longer
So, you've just finished getting your silver gleaming with one of these natural methods. What now? The real trick isn't just cleaning it—it's keeping it that way. Honestly, prevention is so much easier than restoration.
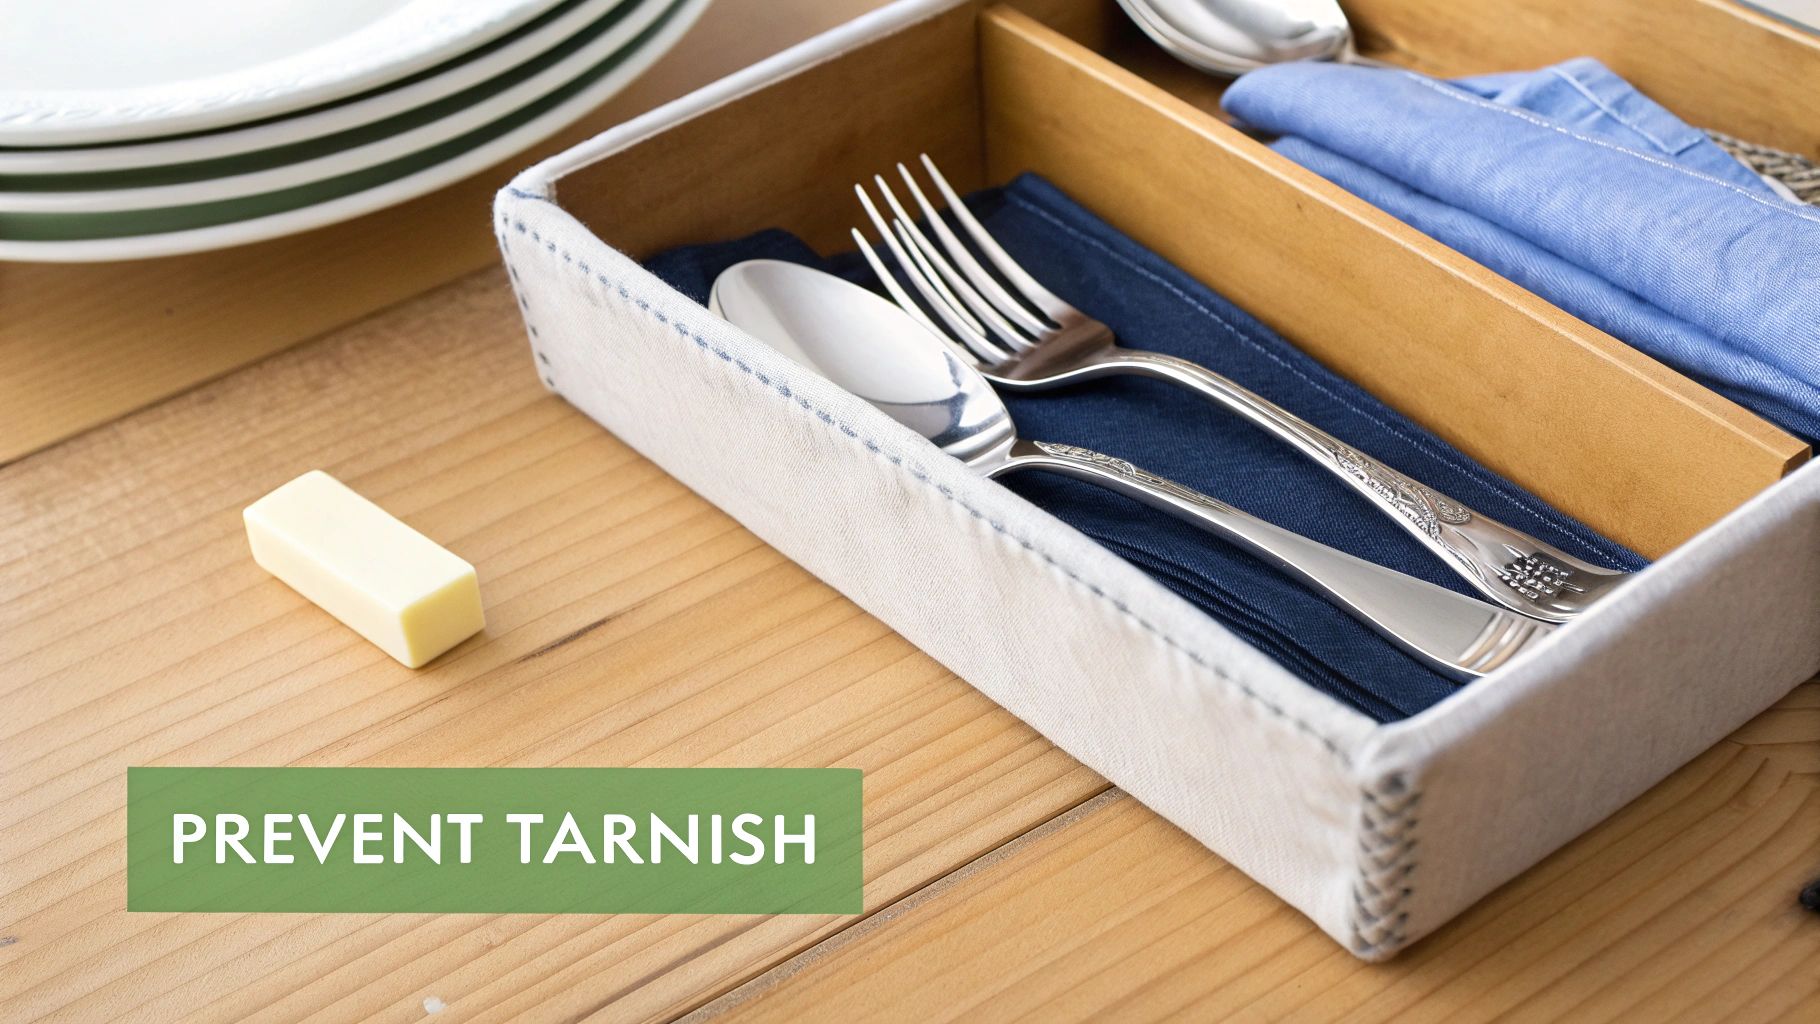
The culprit behind tarnish is sulfur, which is just floating around in the air. When it meets silver, it causes a chemical reaction that creates that dreaded dark layer. Humidity supercharges this process, which is why silver might tarnish in a kitchen drawer much faster than in a sealed cabinet.
Smart Storage Solutions
How you store your silver makes all the difference. You want to create a little protective bubble for your pieces, shielding them from the very air that wants to dull their shine.
- Anti-Tarnish Cloths are a Game-Changer: This is your best bet. Storing silver in special flannel bags or cloths treated to resist tarnish works wonders. They're designed to absorb those airborne sulfur compounds before they can reach your silver.
- Airtight is Always Right: Don't have any special bags? No problem. A good old-fashioned airtight container does a great job. The one rule is to make sure your silver is 100% dry before you seal it up.
- Toss in an Absorber: A simple piece of white chalk or one of those little silica gel packets you find in new shoeboxes can be a lifesaver. Just drop one in your silver chest or storage container to soak up moisture and slow down the tarnishing process.
I once left a silver serving spoon on a wooden sideboard for a week after a holiday dinner. The constant exposure to air and humidity left a distinct yellow tint that required a full cleaning. Now, every piece goes directly into a flannel-lined drawer after use.
Handling matters, too. The oils from your skin can leave behind fingerprints that eventually turn into stubborn tarnish spots. When you're putting away freshly polished silver, try using a pair of simple cotton gloves. It feels a bit formal, but it completely prevents those smudges.
With a few of these simple habits, you’ll find your silver stays brilliant and ready for use, meaning a lot less time spent polishing.
Common Questions About Cleaning Silver Naturally
Even with the best natural cleaning methods, a few questions always come up. Let's walk through some of the most common ones I hear, so you can tackle your silver with confidence and avoid any accidental damage.
How Often Should I Clean My Silver?
Honestly, there’s no magic number. It really depends on the item. For things you use all the time, like your favorite fork or a daily-wear necklace, a simple rinse and a thorough dry after each use is usually plenty.
Decorative pieces that are just sitting pretty? A light dusting and a gentle buffing every few months should keep the tarnish at bay.
The real secret is good storage. If you keep your silver in anti-tarnish bags and away from humid spots like the kitchen or bathroom, you'll find yourself needing to do a deep clean maybe only once or twice a year. Prevention is everything.
Is Toothpaste a Safe Option for Cleaning Silver?
This is a big one, and the answer is a hard no. It's an old myth that just won't quit. Most toothpastes today are packed with abrasive ingredients like silica, which are fantastic for your teeth but terrible for precious metals.
Using toothpaste will leave a network of microscopic scratches on the surface of your silver. Over time, this builds up and permanently dulls the piece's beautiful shine. For a much safer (and effective) abrasive, stick with the baking soda paste we talked about earlier.
What About Silver-Plated Items?
You have to be extra careful here. The natural cleaning methods we've covered are gentle, but silver plating is just a very thin layer of silver over a different base metal. Because it's so delicate, you definitely want to avoid long soaks, which can cause the plating to flake or wear away.
Your best bet for plated pieces is the baking soda paste method. It gives you maximum control over where you’re cleaning and how much pressure you apply, helping you preserve that thin silver layer.
When you're sorting through your silver, especially if you have sterling pieces, you might get curious about their value. A tool like a Sterling Scrap Silver Calculator can give you a quick idea of its current market worth.
And while you're inspecting your silver, take a look at the tiny stamps on it. These are hallmarks, and they can tell you a lot about the item's purity and origin. To dive deeper, check out our guide on what are hallmarks on silver.
Have you ever wondered about the history or value of a family heirloom or a recent thrift store find? With the Curio app, you can get instant identification and appraisals right from your phone. Download Curio today at https://www.curio.app and uncover the stories hidden in your antiques.