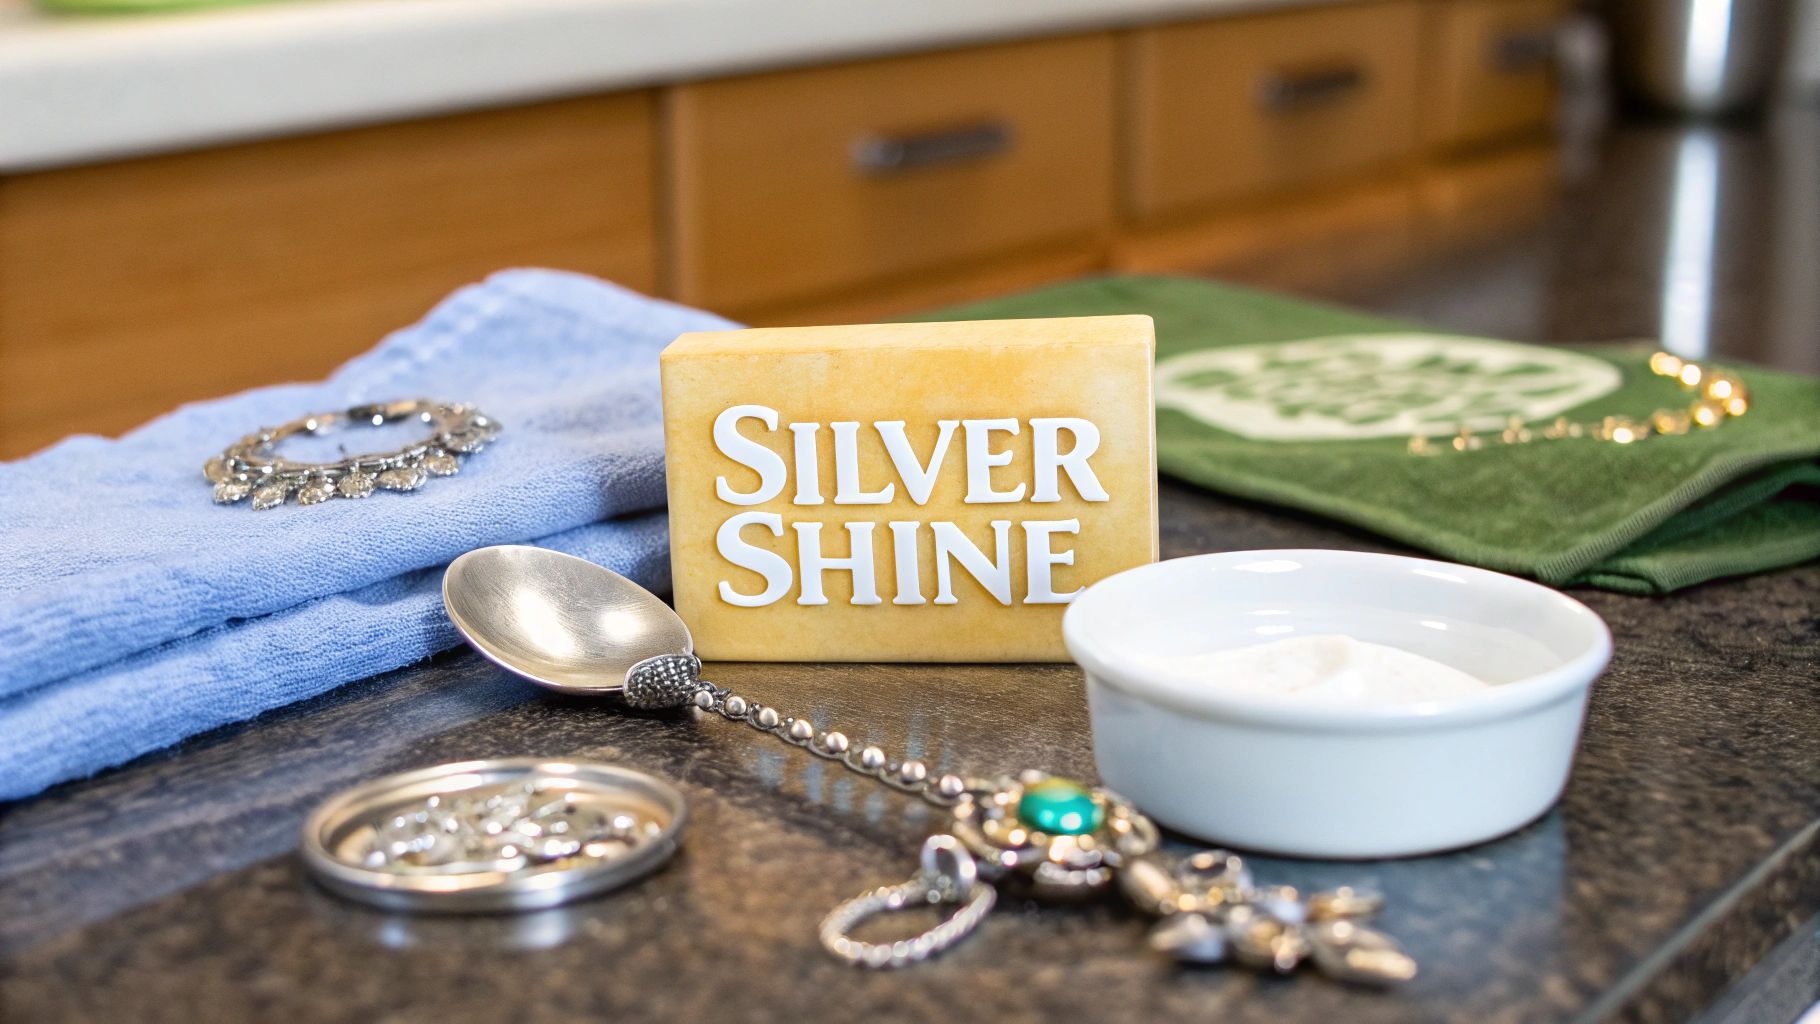
You have several fantastic ways to remove tarnish right in your kitchen, from making a simple abrasive paste to setting up a hands-off chemical reaction. Things like baking soda, aluminum foil, and even basic toothpaste can bring back that brilliant shine, often better than pricey commercial polishes.
But before we dive into the cleaning methods, let's talk about what's actually happening to your silver. Understanding the enemy is half the battle, right?
What Causes Silver to Tarnish, Anyway?
First things first: that dark, cloudy layer on your favorite silver pieces isn't just dirt. It’s actually the result of a chemical reaction, one that happens slowly and silently all around us.
That discoloration is a compound called silver sulfide (Ag₂S). It forms when silver atoms on the surface of your item meet up with sulfur-containing compounds floating around in the air. The main one to blame is hydrogen sulfide (H₂S), a gas that’s pretty much everywhere, from the air we breathe to certain foods we cook.
The Science Behind the Stains
This tarnishing process doesn't always happen at the same speed. A few environmental factors can really put the pedal to the metal. High humidity, for instance, creates the perfect moist environment for this chemical reaction to kick into high gear. This is why a silver tray stored in a damp basement will tarnish way faster than one kept in a dry, sealed cabinet.
It's not just the air, either. Lots of everyday items can speed up the process:
- Foods: Ever notice dark spots on your silver forks after a big brunch? That's because foods like eggs, onions, and even mayonnaise are loaded with sulfur.
- Materials: Be careful what you wrap your silver in for storage. Wool, latex gloves, and rubber bands are notorious for releasing sulfur compounds as they break down.
- Air Quality: If you live in a city, you're likely dealing with more air pollution, which often means higher levels of sulfur gases. This can cause your silver to tarnish more quickly.
Once you get what's causing the tarnish, you're in a much better position to fight it. Knowing the triggers helps you pick the right cleaning method and, more importantly, prevent it from coming back so fast.
This reaction can happen surprisingly quickly. Under the right conditions, you can see visible tarnish form in less than a day. For a really great breakdown of the science behind silver tarnish and comprehensive cleaning methods, there are some excellent resources that get into the nitty-gritty. This kind of knowledge helps you tackle the problem at its root, making your cleaning efforts count for a lot more in the long run.
Taking Control with a Gentle Abrasive
Sometimes, a quick chemical dip just won't do. When you're working with a delicate family heirloom or an antique with a story to tell, you need precision and control. This is where a gentle abrasive method, trusted by museum conservators, really shines.
It’s all about giving you the power to lift the tarnish carefully, without harming the precious silver underneath. Think of it less as a fast-and-dirty cleaning job and more as a careful act of preservation.
The Museum-Grade Paste Method
The secret here is a simple slurry made from pharmaceutical-grade calcium carbonate and deionized water. This combination is a classic in the world of professional conservation because it's incredibly effective at removing tarnish while being exceptionally gentle on the metal's surface. For a deeper dive into the science behind this, the professionals at the American Institute for Conservation have some fascinating insights on how delicate silver restoration is handled.
Ready to try it yourself?
First, you'll mix up the paste. You're aiming for the consistency of toothpaste—not too runny, not too thick. Just put a little calcium carbonate powder in a small bowl and add deionized water drop by drop until it feels right.
Next, grab a soft cloth. An old, clean cotton t-shirt or a microfiber towel is perfect for this. Dab a small amount of the paste onto the cloth and start working on the tarnished area.
Use small, circular motions and light pressure. This is key. You don't need to scrub hard; let the fine abrasive particles do their job. You’ll quickly see the tarnish transferring from the silver to your cloth.
My Go-To Tip: Don't try to clean the whole piece at once. Work in small, manageable sections. This lets you see your progress clearly and ensures you're applying even pressure everywhere.
Once a section is clean, rinse it well with more deionized water and dry it right away with a fresh, soft cloth to prevent any water spots from forming. This technique is ideal for items with moderate tarnish where you want to avoid the harshness of a chemical bath.
It’s a fantastic method for solid silver, but you need to be extra cautious with plated items. For more specific guidance on that, take a look at our guide on how to properly clean silver-plated silverware.
2. Using Science to Make Your Silver Shine Again
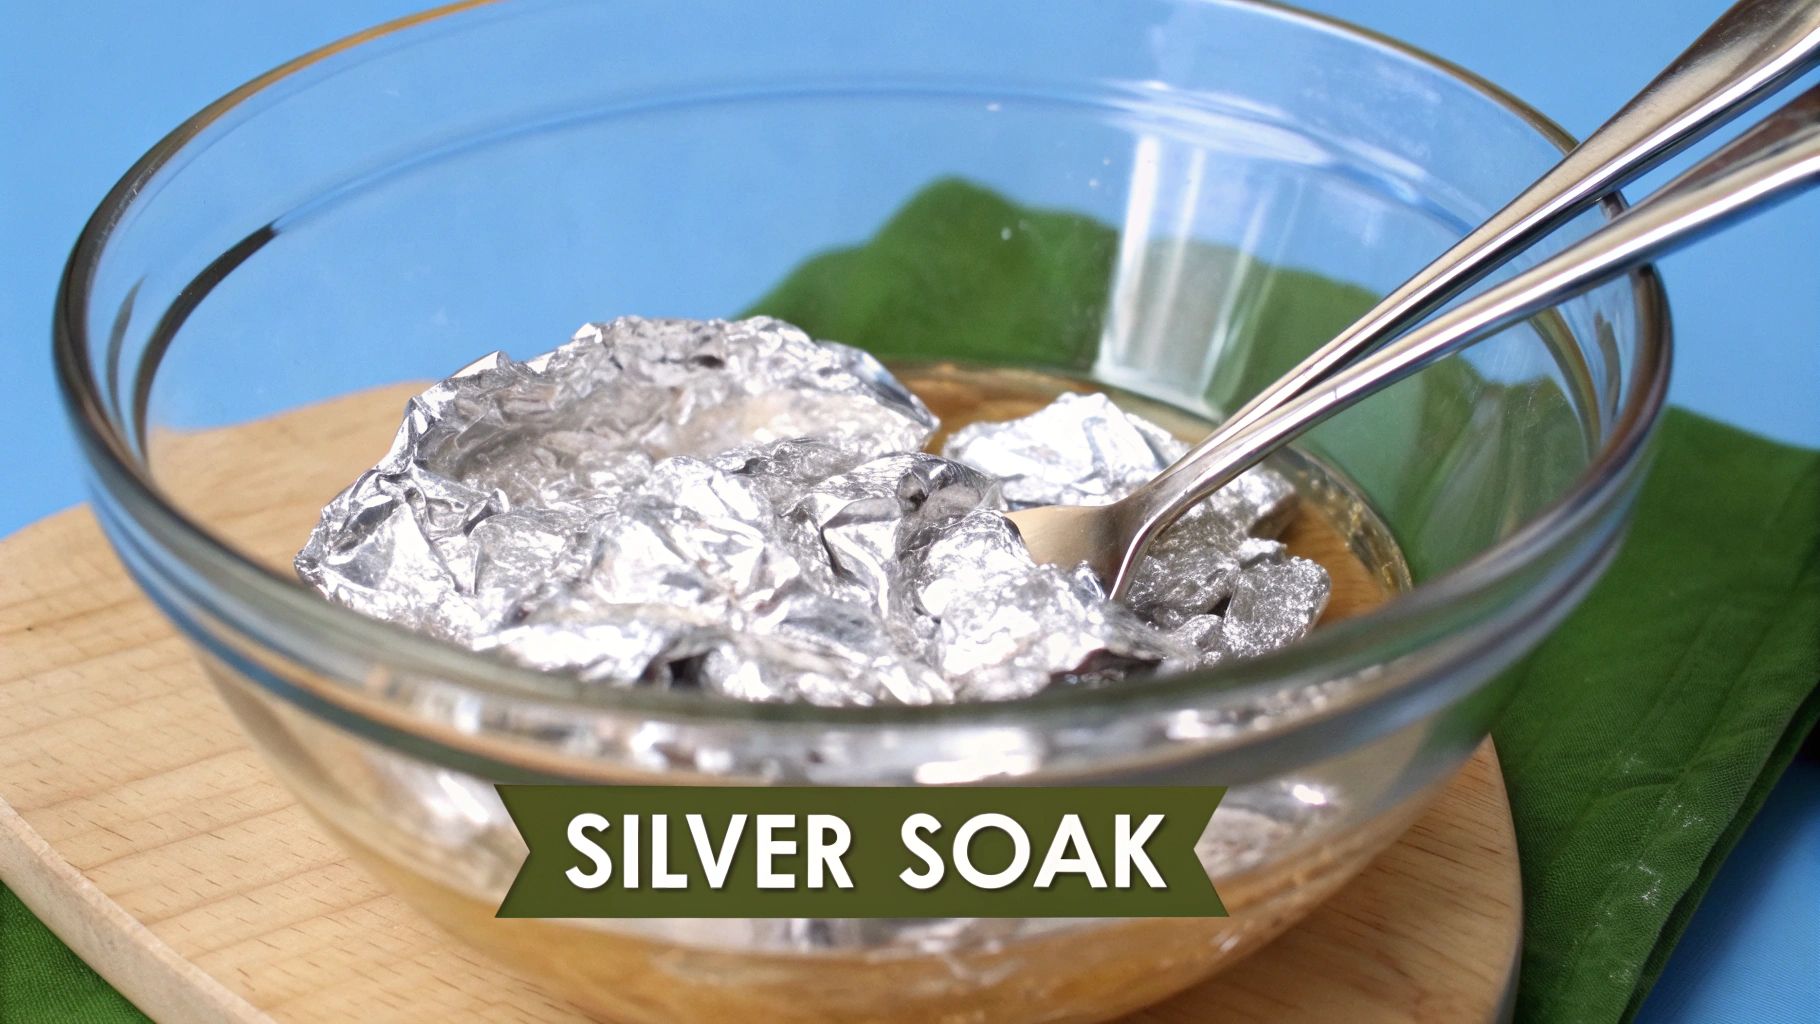
If you've got silver with lots of nooks and crannies—think detailed jewelry or ornate silverware—polishing can be a real pain. This next method feels a bit like a magic trick, but it's pure science. It uses a simple chemical reaction to literally reverse the tarnish, turning the ugly silver sulfide back into beautiful, gleaming silver without any rubbing at all.
What’s happening is a process called electrochemical reduction. You’re essentially creating a tiny battery in a bowl. The aluminum foil acts as an anode, your silver becomes the cathode, and the baking soda solution is the electrolyte that gets things moving. It's a safe and fascinating technique used even in professional conservation, as detailed in this guide on the care of silver from the Canadian Conservation Institute.
Putting the Cleaning Bath Together
First, grab a non-metal container that's big enough to completely submerge your silver. A glass baking dish or even a plastic tub is perfect.
- Start by lining your container with a sheet of aluminum foil, shiny side up.
- Next, place your tarnished silver pieces inside, making sure they are directly touching the foil. This contact is non-negotiable; it’s what allows the chemical reaction to happen. Don't pile everything on top of each other.
- Sprinkle baking soda generously over the silver. As a general rule, use about a quarter cup of baking soda for every gallon of water.
- Finally, carefully pour boiling water into the dish until the silver is completely covered. You should see some fizzing and might even smell a bit of sulfur. That's a good sign—it means the tarnish is coming off!
Let everything soak for about 5 to 10 minutes. If your silver is particularly dark, you might need to leave it in a bit longer.
When the time is up, use tongs to carefully fish out your silver—remember, the water is still hot! Rinse each piece well under cool water and then immediately buff it dry with a soft, clean cloth. This final step is crucial for preventing water spots and revealing that brilliant shine.
Choosing Your Tarnish Removal Method
Not sure which DIY approach is right for you? This quick table breaks down the two main methods to help you decide.
| Feature | Gentle Abrasive (Calcium Carbonate) | Chemical Reaction (Aluminum Foil & Soda) |
|---|---|---|
| Best For | Smooth, flat surfaces like trays, platters, and simple jewelry. | Intricate, detailed items like filigree, chain links, and ornate cutlery. |
| Effort Level | Medium. Requires manual polishing and some elbow grease. | Low. It's a "set it and forget it" soaking method. |
| Mechanism | Physically removes the top layer of tarnish by gentle abrasion. | Chemically reverses the tarnish, converting silver sulfide back to silver. |
| Silver Loss | Very minimal, but some silver is removed with the tarnish. | Zero silver loss. It only converts the existing tarnish. |
| Key Tip | Use a soft, lint-free cloth and apply light, even pressure. | Ensure every silver piece makes direct contact with the aluminum foil. |
Ultimately, both methods work wonderfully. The gentle abrasive paste gives you more control for polishing smooth surfaces, while the chemical reaction bath is a lifesaver for those hard-to-reach spots on detailed pieces.
Quick Polishing Solutions for Minor Tarnish
Sometimes your silver doesn’t need a deep clean. For pieces that are just starting to look a little dull or have a faint yellow hue, a quick polish is all it takes to bring back their shine. These methods are my go-to for routine touch-ups and for stopping light tarnish in its tracks.
One of the best and easiest solutions is probably already in your pantry: baking soda. Just mix a few tablespoons of baking soda with a little water until you get a thick paste. You’re aiming for a consistency like toothpaste—something that will cling to your cloth without being runny.
Take a soft, lint-free cloth (a microfiber towel or even an old cotton t-shirt works great) and apply the paste. Gently rub it onto the tarnished spots using straight, back-and-forth strokes. I always recommend this over circular motions because it helps you avoid creating tiny swirl marks on the silver’s surface.
A Surprising Household Alternative
If you don't have baking soda handy, check your bathroom cabinet. A basic, non-gel, non-whitening white toothpaste can work wonders in a pinch. The mild abrasives in old-school toothpaste are just enough to lift light tarnish without being too harsh.
Here’s how to do it right:
- Pick the Right Paste: It’s critical to use a simple white toothpaste. Avoid gels, whitening formulas, or anything with gritty microbeads, as these can easily scratch your silver.
- Use a Tiny Bit: You only need a pea-sized dab on a damp, soft cloth.
- Polish with Care: Rub the paste onto the silver using light pressure and those same linear motions. You'll actually see the dark tarnish transfer from the silver to your cloth.
No matter which method you use—baking soda or toothpaste—the final rinse is non-negotiable. You have to rinse the piece completely under warm running water to get all the paste residue off. If any is left behind, it can actually cause new discoloration down the line.
Once it's rinsed, grab a clean, soft cloth and dry the silver immediately and thoroughly. This is key to preventing water spots and leaving you with a gorgeous, streak-free gleam. These little tricks are perfect for keeping your silver looking its best with hardly any effort.
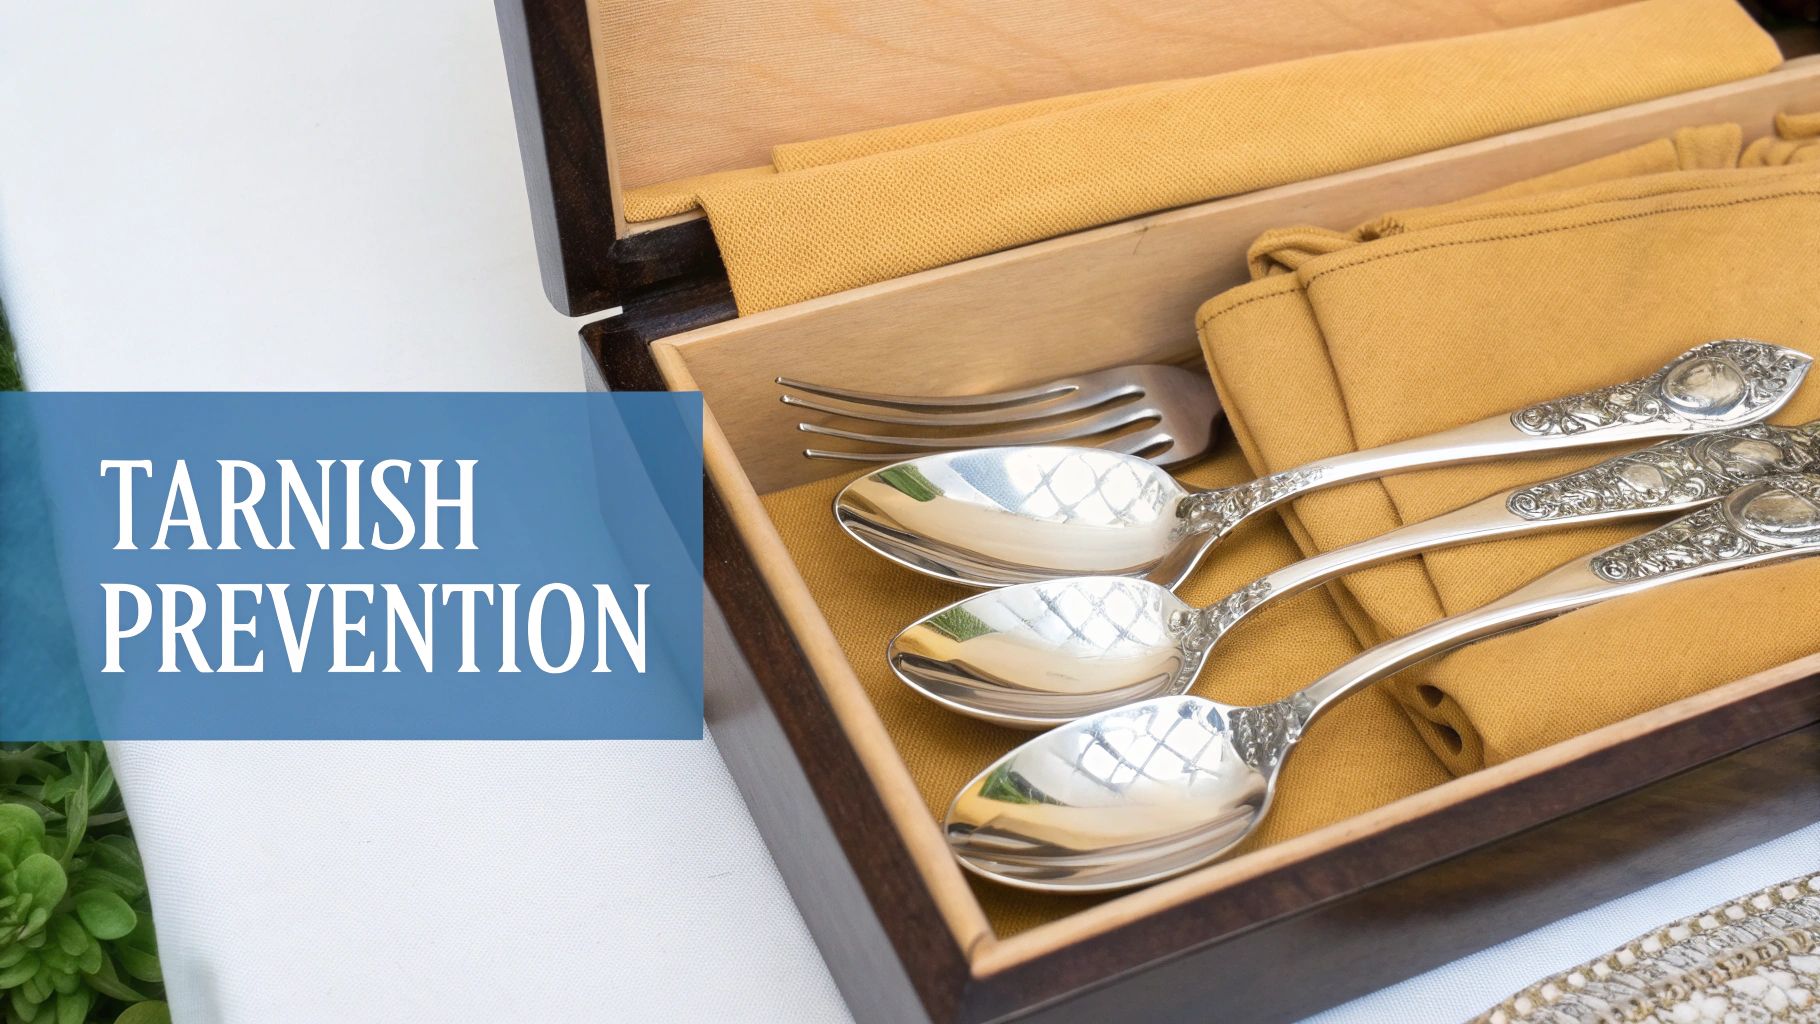
Keeping Your Silver Shiny After Cleaning
Alright, you've put in the work and brought back that brilliant shine. So, how do you keep it that way? The secret isn't more cleaning; it's smart prevention. You can save yourself a ton of future scrubbing by simply controlling your silver's environment.
Proper storage is, without a doubt, your best line of defense. The enemies of silver are moisture and sulfur in the air, which team up to cause that familiar yellow-then-black discoloration.
Smart Storage Solutions
I’ve found that a few simple tools make a world of difference. Here’s what really works:
- Anti-Tarnish Cloths and Bags: This is my go-to recommendation. These are specially treated to absorb the airborne pollutants that attack silver, creating a safe little haven for your pieces.
- Sealed Plastic Bags: If you're in a pinch, a simple zip-top bag is surprisingly effective. Just be sure to squeeze out as much air as you can before you seal it shut. Adding a small anti-tarnish strip inside is a pro move.
- Acid-Free Tissue Paper: For a basic but helpful barrier, wrap each item individually in acid-free tissue. It’s a decent option if you don't have dedicated anti-tarnish bags on hand.
Expert Tip: The best place to store your silver is somewhere cool, dark, and dry. Definitely avoid leaving it out on a dresser or in the kitchen or bathroom, where humidity is always high.
Your daily habits play a huge role, too. If you’re using silver flatware, always wash and dry it right after a meal. This is especially important after contact with sulfur-heavy foods like eggs, onions, or mayonnaise.
These principles of care aren't just for silver. If you have other treasures, you'll find similar preservation insights in our guide on how to clean bronze sculptures. A little bit of consistent effort goes a very long way in keeping your collection looking its best.
Common Questions About Removing Silver Tarnish
Even after you've learned a few techniques, some questions always seem to pop up. Let's walk through some of the most common ones I hear so you can clean your silver with complete confidence.
Is This Safe for Silver-Plated Items?
This is a big one. You have to be extra gentle with silver-plated pieces. The silver layer is incredibly thin, and anything abrasive—even some of the milder DIY pastes—can slowly wear it away, exposing the base metal underneath.
For plated items, a chemical reaction method like the aluminum foil and baking soda bath is usually the safest route. It lifts the tarnish off without any scrubbing.
My number one rule: always test any cleaning method on a small, hidden spot first. This simple check has saved me from ruining a prized piece more than once.
How Often Should I Actually Clean My Silver?
There’s no single answer here; it really depends on the piece and its environment. If you're using your silver flatware every day, a simple wash after each meal is all it needs. For decorative items that sit on a shelf, just clean them when you start to see tarnish forming.
Keep in mind that over-cleaning, especially with polishes that have any grit, will cause unnecessary wear over time. The goal isn't to polish constantly but to store your silver properly to slow down tarnishing in the first place.
It also helps to know exactly what you're working with. Understanding what hallmarks on silver mean can tell you if a piece is solid sterling or just plated, which completely changes your cleaning and care strategy.
What About Commercial Silver Polishes?
Commercial polishes are definitely effective, and they have their place. They're specifically formulated to cut through heavy tarnish, but they can be harsh. Many contain strong chemicals and more aggressive abrasives than the simple household solutions we've talked about.
If you go this route, make sure you're in a well-ventilated space and follow the product's directions perfectly. For most situations, though, the DIY methods give you a gentler, more controlled, and much cheaper way to get the job done using ingredients you probably already have in your kitchen.
Have a piece you're not sure about? Curio can help you identify its history, material, and value with just a photo. Uncover the story behind your treasures before you clean. Download Curio today