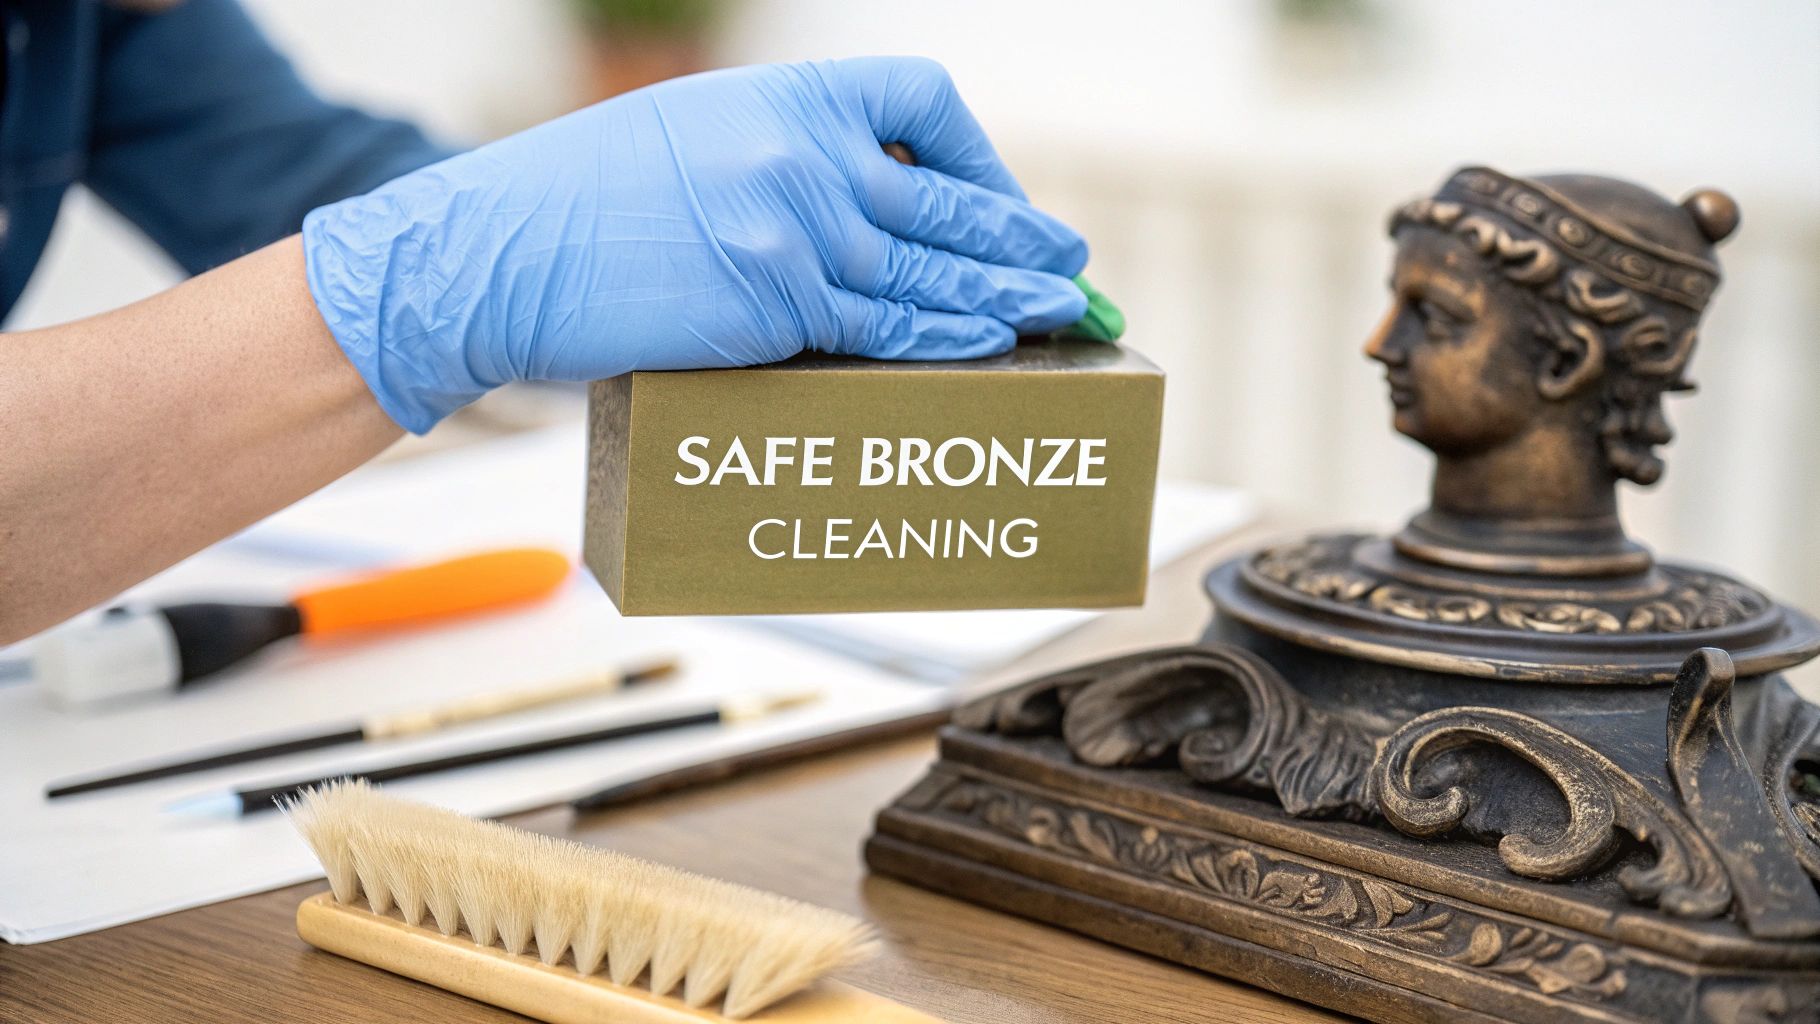
Cleaning a bronze sculpture isn't just about wiping off dust. It’s a careful process that calls for gentle tools like distilled water, a mild, pH-neutral soap, and soft-bristle brushes or microfiber cloths. The whole point is to protect the sculpture's patina—that delicate surface color that gives the piece its character and value. Using harsh chemicals or abrasive tools can strip this layer in an instant, causing damage you can't undo.
Understanding Bronze Before You Clean
Before you even think about cleaning, you need to put on your conservator hat. The golden rule is simple: "do no harm." You're not just cleaning an object; you're preserving a work of art. The most critical feature of any bronze sculpture is its patina, which is the colored layer that develops on the surface over time from oxidation and exposure to the elements.
This patina isn't dirt. It's a protective, beautiful, and essential part of the piece. It can be anything from a rich brown or deep black to a vibrant green or blue, and it tells the story of the sculpture’s journey through time. Aggressive cleaning can easily remove this layer, which would dramatically change how the artwork looks and could slash its value by up to 50% or more in a collector's eyes.
Assessing Your Sculpture's Condition
The first real step is to just look. Take your sculpture into good light and get a close, honest look at what’s really on the surface. You need to figure out if you're dealing with simple dust or something more serious.
Before you start any cleaning, it's a good idea to run through a quick mental checklist to gauge the sculpture's condition. This helps you decide how to proceed and whether you might need an expert's opinion.
Initial Assessment Checklist for Your Bronze Sculpture
| Check For | What It Looks Like | Recommended Action Level |
|---|---|---|
| Loose Dust & Cobwebs | Fine, powdery layer or silky strands sitting on the surface. | DIY-Friendly: Safe to remove at home with a soft brush. |
| Surface Grime | Dull film, fingerprints, or slightly sticky areas. | DIY-Friendly: Usually treatable with a gentle wet cleaning. |
| Active Corrosion | Powdery, flaky, or bright green spots (verdigris). | Caution: This is the metal deteriorating. If it looks unstable, consult a professional. |
| Old Wax Coatings | Cloudy, dull, or yellowed finish; may feel slightly tacky. | Caution: Requires specific solvents to remove without damaging the patina underneath. |
| Scratches or Dents | Physical marks or indentations in the metal itself. | Professional Help: Do not attempt to polish or buff these out. |
This quick evaluation helps you understand what you're up against. Simple dust and grime are usually fine to handle yourself, but active corrosion or concerns about the finish mean it's time to slow down and maybe even call a pro.
A Conservator's Insight: I always tell people to think of the patina as the bronze's skin. You can gently wash skin to remove dirt, but you would never use a harsh scrub that removes the skin itself. The same principle applies here—preserve that essential layer at all costs.
Identifying the Artwork's History
Knowing a little bit about your sculpture's past can make a huge difference in how you approach cleaning it. Is it a modern piece with a patina that was applied with chemicals in a studio, or is it an antique that has developed its surface naturally over a hundred years?
Sometimes, you can find clues right on the piece itself. Learning what foundry marks on bronze sculptures mean can give you incredible insight into where it came from and what the artist intended for the finish. This isn't just about cleaning; it's about respecting the art's history and original vision. Your goal is to reveal the beauty under the grime, not to create a brand-new surface.
Getting Your Bronze Cleaning Kit Together
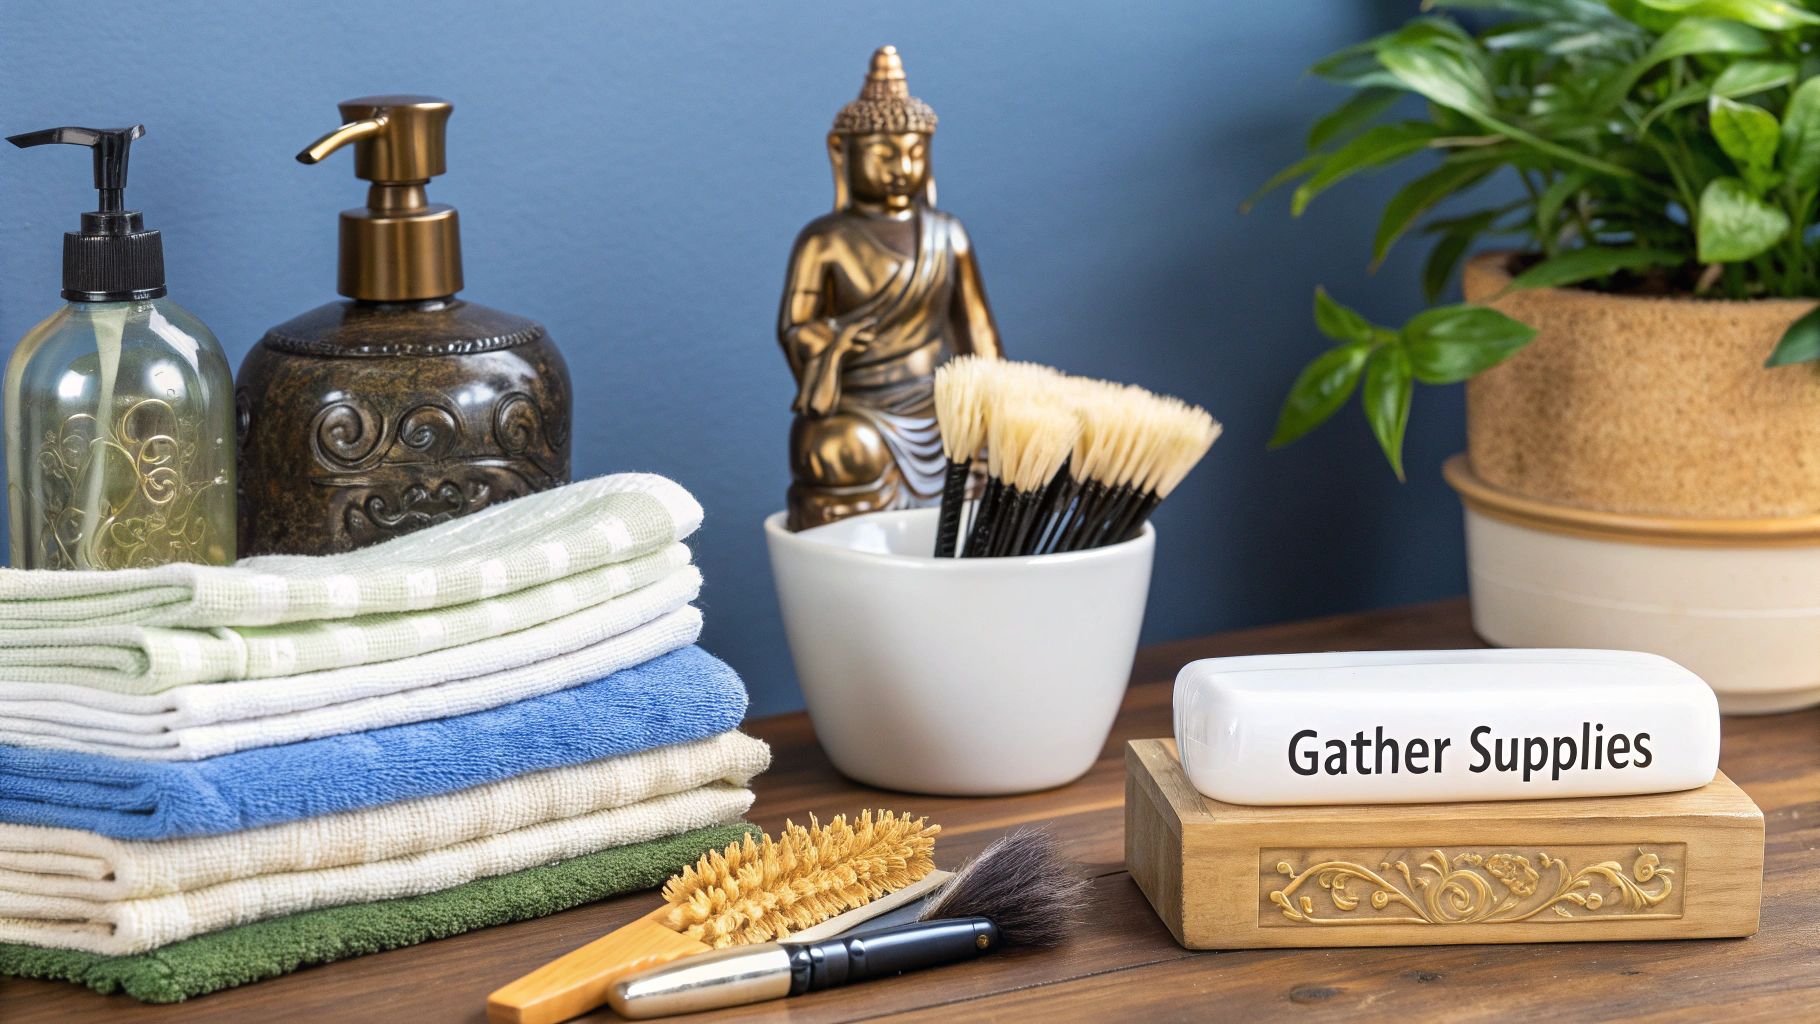
Before you even think about touching your sculpture, you need the right tools. I can't stress this enough. Going in with the wrong supplies is a surefire way to cause damage that's hard, if not impossible, to reverse. Grabbing a kitchen sponge or splashing on some tap water seems innocent, but you're likely introducing harsh abrasives and minerals that will scratch the patina or leave ugly spots.
That’s why putting together a proper toolkit is the most critical first step. This isn’t about spending a fortune on fancy equipment. It’s about being deliberate and choosing gentle, proven materials that will remove the grime but leave the character and finish of the artwork untouched.
Soft Tools for Dusting and Application
The first pass on any bronze piece is always a dry one to get rid of surface dust. This is where your choice of brush and cloth really matters. A stiff-bristled brush can easily etch fine lines into a delicate patina, which is why professionals are so picky about their tools.
For this initial stage, everything should be exceptionally soft. These tools are your first line of defense against creating micro-scratches.
- Natural-Bristle Brushes: Think hog hair, goat hair, or even a soft makeup brush. They're perfect for gently flicking dust out of all the little nooks and crannies without scuffing the surface.
- Microfiber Cloths: A good, lint-free microfiber cloth is your best friend for wiping down larger areas. The fibers are designed to grab and hold onto dust particles, not just push them around.
- Cotton Swabs: When you need to get into really tight corners or clean a tiny, detailed spot, nothing beats the precision of a cotton swab.
Choosing the Right Liquids
When you’re ready to move on to wet cleaning, purity is everything. Your goal is simply to lift off the dirt without leaving anything else behind.
Tap water is a major no-go. It’s full of minerals like calcium and magnesium, and when it evaporates, it leaves a chalky white film on the bronze. These spots are a pain to remove and can ruin the look of a beautiful patina.
Expert Tip: Always, and I mean always, use distilled water. It's pure H2O, free from the minerals that cause residue, ensuring you get a clean, spot-free finish when the sculpture dries.
Your cleaning solution needs to be just as carefully chosen. Stay away from harsh chemical cleaners and even basic dish soaps—they can be too acidic or alkaline and might strip the patina right off. You need something that’s chemically neutral.
The gold standard here is a non-ionic, pH-neutral detergent. A product like Orvus WA Paste is what museum conservators swear by, because it cleans beautifully without reacting with the metal. You barely need any—just a few drops mixed into a bowl of distilled water is all it takes to create a safe, effective cleaning solution.
Protection and Final Touches
Last but not least, you need to protect both yourself and the sculpture. The natural oils and salts on your skin can easily tarnish bronze, leaving behind fingerprints that can become a permanent part of the finish.
A few simple items will complete your toolkit and ensure you're working like a pro.
- Nitrile Gloves: Wear them from start to finish. This is non-negotiable for preventing skin oils from contaminating the surface.
- Soft Towels: Have a couple of clean, soft towels ready for patting the sculpture dry. Old, clean cotton t-shirts or extra microfiber cloths work perfectly.
- A Clean Workspace: Set up in a well-lit area. Lay down a soft mat or towel to protect the sculpture from accidental slips or scratches while you work.
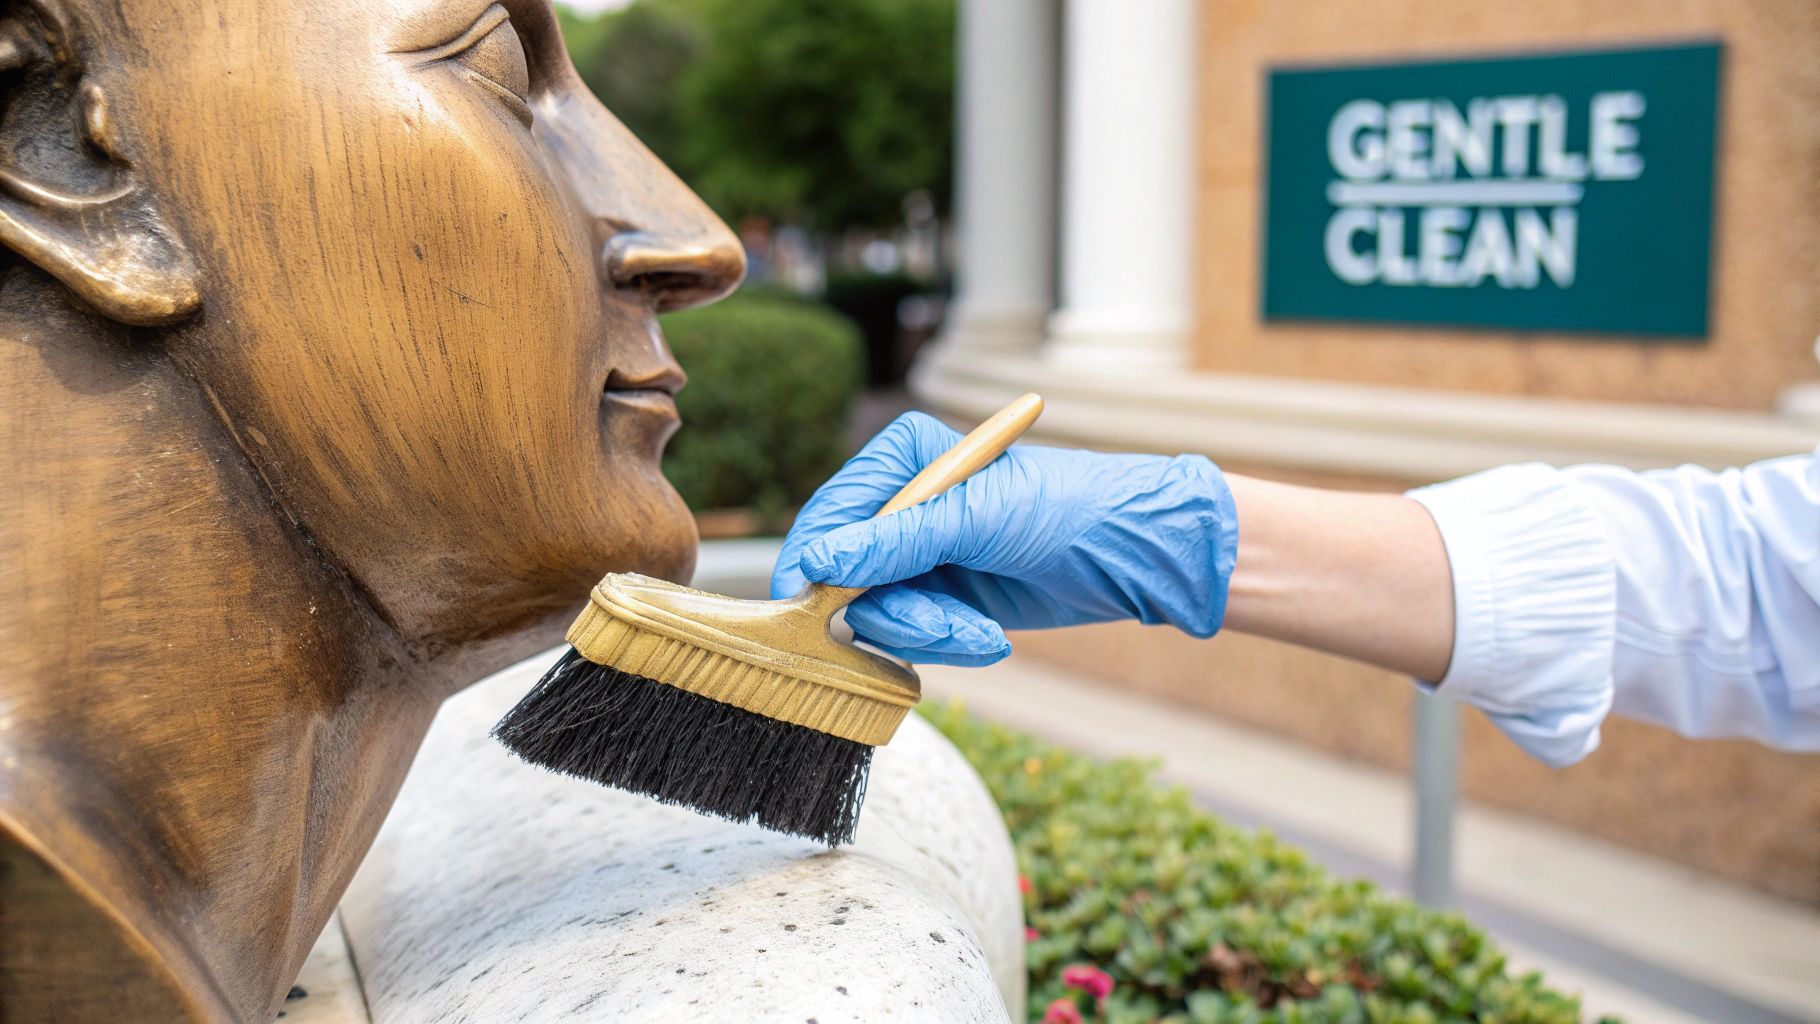
The Gentle Cleaning Method for Most Sculptures
This is where we get down to business. Now that you've assessed your sculpture and have your tools ready, it's time to carefully lift away the years of dust and grime. This gentle, water-based approach is my go-to for the vast majority of indoor bronze pieces. It’s effective, but more importantly, it’s safe for that precious patina.
Think of this process as a restorative treatment, not a race. If you rush through the cleaning, and especially the rinsing and drying, you risk creating new problems like water spots or streaks. Slow and steady is the name of the game.
Start with a Thorough Dry Dusting
Before a single drop of water touches that bronze, your first job is to get rid of all the loose dust and debris. If you skip this, you’re just turning dust into mud, which makes the whole process messier and a lot less effective.
Take your soft, natural-bristle brush and work from the top down. Use gentle, sweeping motions to coax the dust off the surface. For those really intricate spots with deep crevices, a smaller brush or even a cotton swab can help you dislodge any trapped particles. The goal here is to be as thorough as you can before moving on.
Mixing and Applying the Cleaning Solution
Once the surface is dust-free, it’s time to mix your cleaning solution. In a clean bowl, add just a tiny amount of your non-ionic, pH-neutral detergent to some distilled water. And I mean tiny—a few drops is plenty. Too much soap will just create a sudsy mess that's a real pain to rinse off completely.
Here’s the right way to apply it:
- Dampen, Don't Soak: Dip a clean microfiber cloth or cotton ball into the solution, then wring it out until it’s just damp, not dripping. Excess water is your enemy; it can seep into joints or cracks and cause trouble down the line.
- Work in Small Sections: Always start at the top and clean in small, manageable areas. This tactic ensures no part of the sculpture air-dries with soap residue still on it.
- Use Gentle Motions: Wipe the surface with a light, circular motion. There’s no need for aggressive scrubbing or heavy pressure. Let the mild detergent do the work of lifting the grime.
When you get to delicate or highly detailed parts of the sculpture, switch over to a cotton swab dipped in the solution. This gives you the precision you need to clean every nook and cranny without oversaturating the surface. This is a crucial part of the process, and our comprehensive guide on how to clean a bronze sculpture dives even deeper into techniques for different situations.
Key Takeaway: The golden rule here is "less is more." Use the absolute minimum amount of water and detergent needed. The less residue you have to rinse away, the lower your risk of leaving behind streaks or mineral deposits.
The Critical Rinsing and Drying Stages
I can't stress this enough: rinsing is probably the most important step of all. Any soap residue left behind can get sticky over time, attracting even more dust. Worse, it can slowly react with the patina and cause discoloration. A meticulous rinse is simply not negotiable.
Professional conservationists take this seriously. For instance, the U.S. General Services Administration (GSA) guidelines for professional cleaning involve using a 3-5% solution of non-ionic detergent followed by repeated, thorough rinsing to ensure every trace is gone. While you won't be using a pump sprayer in your living room, the principle of complete removal is exactly the same.
To rinse your piece, grab a new cloth or cotton ball and dampen it with plain distilled water. Go back over every section you just cleaned, effectively "lifting" the soap away. You’ll likely need to rinse your cloth in fresh distilled water a few times to make sure you aren't just spreading the residue around.
Finally, gently pat the entire sculpture dry with a clean, dry microfiber towel. Blot, don't rub. Patting and blotting will absorb the moisture without leaving lint or creating streaks. Pay extra close attention to any crevices where water might hide. Lingering moisture is the number one cause of verdigris (that unwanted green corrosion), so make absolutely certain the piece is 100% dry before you call it a day.
Handling Tough Grime on Outdoor Bronze
Outdoor bronze sculptures have a much rougher life than their indoor cousins. They’re out in the elements, battling everything from city pollution and acid rain to bird droppings and wild temperature swings. Over the years, this constant exposure can lead to a buildup of stubborn grime—and sometimes even light corrosion—that a simple wash just can't handle.
When you're up against that kind of serious buildup, you'll need to move beyond the basic wet-cleaning method. This doesn't mean grabbing the nearest abrasive metal polish or harsh chemical cleaner, though. That’s a one-way ticket to ruining the patina for good. Instead, we’ll look at some controlled, professional-grade techniques that can clean your sculpture without stripping away its character.
When to Consider a Deeper Clean
Before you break out the bigger guns, you need to be sure the sculpture actually needs it. The goal isn't to make the bronze shiny and new; it's to remove harmful gunk that could speed up its deterioration.
Think about moving to these more advanced techniques if you see:
- Thick, Caked-On Grime: A dark, crusty layer that won't budge with a soft brush and detergent. You see this a lot in urban areas with heavy air pollution.
- Friable Green Corrosion: Light green, powdery spots (verdigris) that flake off when you touch them. This is an unstable type of corrosion that needs to be carefully removed before it spreads.
- Stubborn Organic Stains: Hardened bird droppings or tree sap that have basically fused with the surface.
Now, if you're just seeing hard, stable green or black patina layers, it's almost always best to leave them be. Those are the desirable, protective layers you want to keep.
A Note of Caution: The methods we're about to discuss take a bit more skill and a lot more care. If your sculpture is especially valuable, has historical significance, or you just feel out of your depth, the smartest move is to call a professional art conservator.
Controlled Mechanical Cleaning with Walnut Shells
For truly stubborn surface grime and that light, powdery corrosion, professionals often rely on a method called micro-abrasive blasting. It sounds harsh, I know, but when it’s done right with the right material, it’s surprisingly gentle. The go-to medium for this is finely ground walnut shells.
This technique uses a low-pressure stream of air to shoot these soft, organic particles at the bronze. Unlike sand or glass beads, which would obliterate the patina in seconds, walnut shells are just hard enough to break up the grime without damaging the stable patina or the metal underneath.
This is a well-established and effective method used in major restoration projects. In fact, a National Park Service project on the Kosciuszko Monument used walnut shell blasting to great effect, noting its ability to remove grime and unstable corrosion without harming the historic surface. You can learn more about these professional conservation techniques in their technical notes.
- Pressure is Key: The air pressure has to be incredibly low, typically between 25-30 psig (pounds per square inch gauge). Any higher, and you risk doing real damage.
- Specialized Equipment: This isn't a job for your standard industrial sandblaster. It requires specialized, low-pressure equipment designed for conservation work.
Tackling Light Corrosion and Stains
If walnut shell blasting feels a bit too intense for your situation, you can still handle minor issues with a careful, hands-on approach. For isolated spots of light green verdigris or a few tough stains, you just need to be more targeted.
First rule: never use a wire brush or steel wool. They will leave permanent scratches on the bronze and strip the patina right off.
Instead, try using wooden or bamboo skewers to gently pick away at the raised, powdery bits of corrosion. Afterward, you can use a nylon bristle brush to sweep away the loose particles. This manual method gives you total control and dramatically lowers the risk of damaging the good, stable patina underneath. Once you’ve dislodged the grime, it’s a good idea to finish up with a gentle wash using distilled water and a non-ionic detergent.
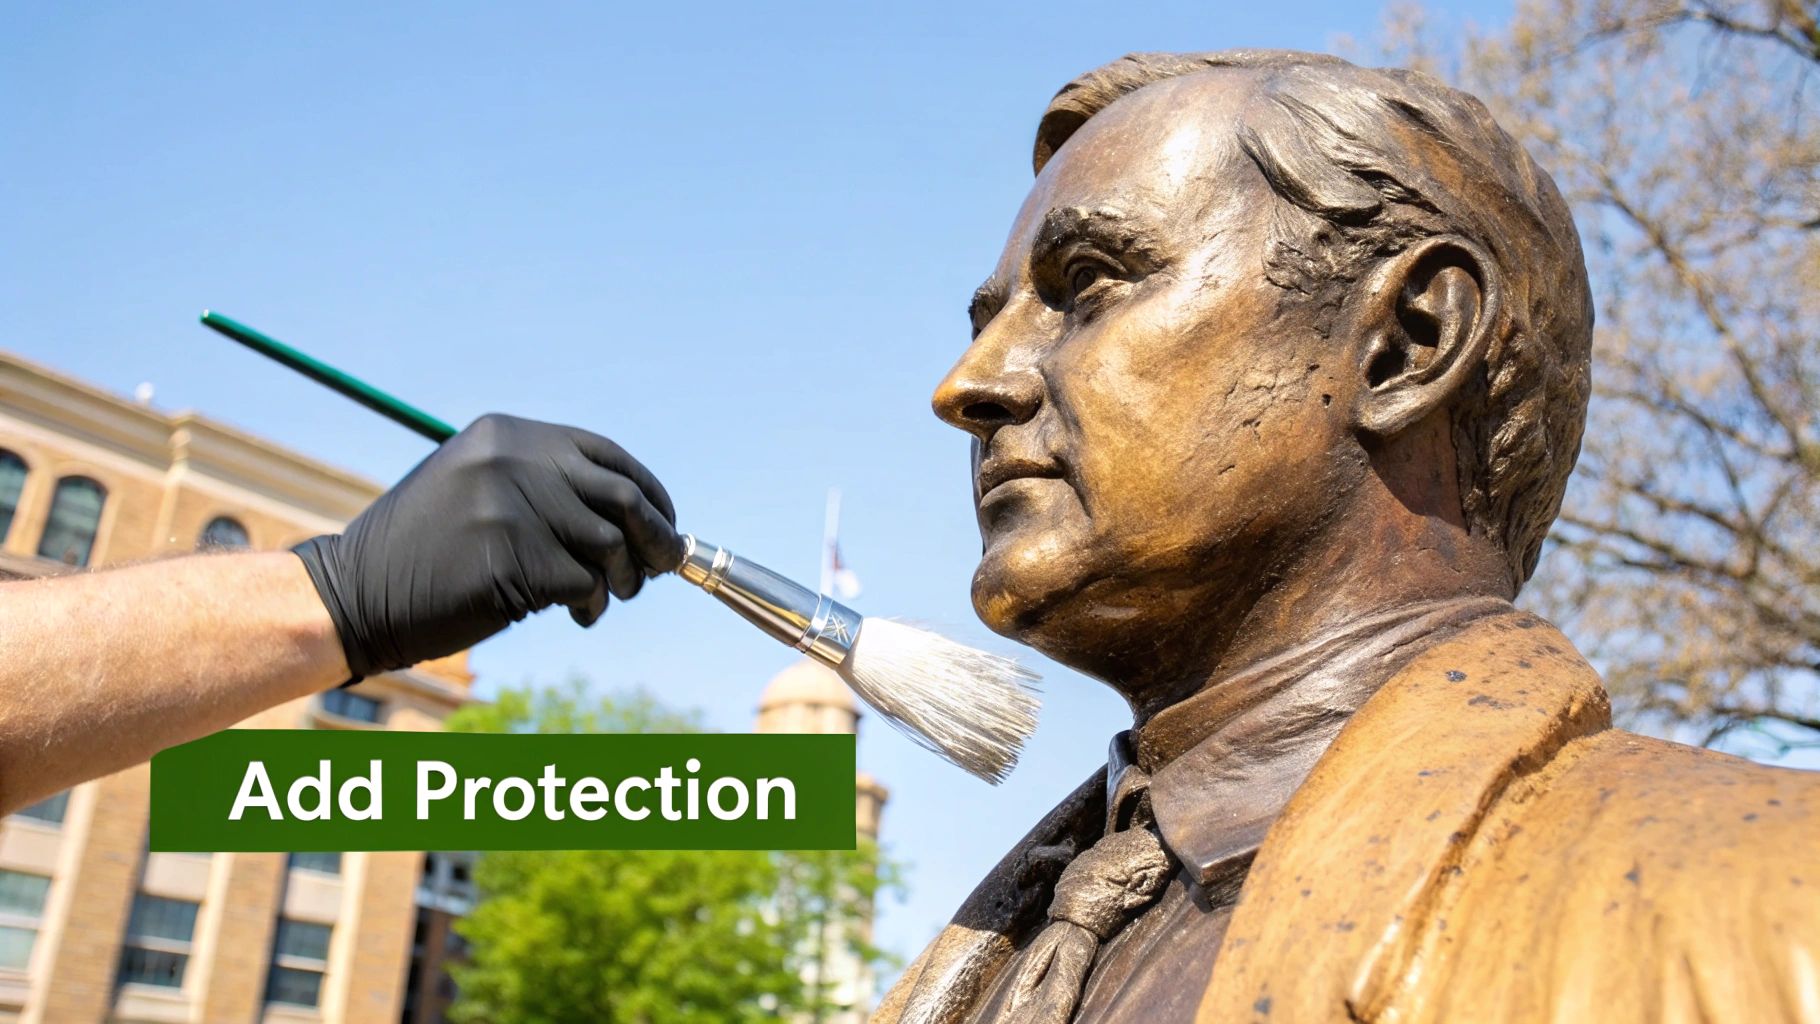
Applying a Protective Wax Coating
After all that careful cleaning, your bronze sculpture is finally free from grime. But the job isn't quite done. This next step is arguably the most important for its long-term preservation: protection.
Without a protective barrier, the bronze is left exposed to the very same elements you just worked so hard to remove. This is where a proper wax coating comes in. It’s the final, crucial shield.
This isn't about giving your sculpture a glossy, artificial shine like a freshly polished car. Think of it more as a thin, breathable, and reversible shield that guards the patina against moisture, dust, and airborne pollutants. A quality wax will actually enhance the depth and richness of the existing patina, bringing out its subtle colors and creating a soft, deep luster that looks completely natural. It’s the key to long-term care and will dramatically cut down on how often you'll need to do a deep clean.
Choosing the Right Conservation-Grade Wax
The type of wax you choose really matters. Steer clear of common household furniture polishes or automotive waxes. These often contain silicones, oils, or cleaning agents that can harm a delicate patina over time, sometimes leaving behind a sticky or yellowed residue that’s a real pain to remove.
For bronze, the professional standard is a microcrystalline wax. This is a special, highly refined petroleum wax that museum conservators swear by for a few key reasons:
- It's Chemically Inert: This wax won't react with the bronze or its patina, so you can be sure it's stable for the long haul.
- It's Reversible: A conservator can easily remove it with gentle solvents if needed. That’s a core principle in professional art preservation.
- It Provides a Hard, Clear Finish: It creates a tough barrier that doesn't yellow or discolor, protecting the sculpture’s true appearance.
Products like Renaissance Wax are a top choice among professionals, but other pure paste waxes like Mohawk Blue Label or Johnson’s Paste Wax can work well too. Just make sure you read the label and confirm you're using a pure wax without any added cleaners. This isn't just a niche practice; in one survey, 87% of conservators reported applying protective coatings after cleaning outdoor bronze. You can find more details about these professional bronze care practices online.
The Correct Application Technique for Waxing Bronze
When it comes to applying wax to a sculpture, the mantra is "less is more." A thick, heavy coat will just look greasy and end up attracting more dust. You're aiming for an incredibly thin, even layer that you can buff into a beautiful, soft sheen.
First things first: make sure the sculpture is completely dry. Any moisture trapped under the wax is a recipe for corrosion.
- Use a Soft Cloth: Grab a clean, lint-free cotton or microfiber cloth and dab a very small amount of paste wax onto it.
- Apply a Thin, Even Layer: Work in small, manageable sections. Gently rub the wax onto the bronze with a soft circular motion. The layer should be so thin it's barely visible.
- Cover the Entire Surface: Be methodical. Make sure you get every part of the sculpture, paying attention to all the little details and crevices.
- Let the Wax Haze: Let the wax dry according to the manufacturer's instructions, which is usually about 15-30 minutes. You'll see it develop a slightly cloudy or hazy look.
Pro Tip: Never apply wax directly onto the sculpture. Always put it on your cloth first. This gives you far better control and helps you avoid those thick, gloopy patches that are a nightmare to deal with.
Buffing to a Perfect Luster
Once the wax has properly hazed over, it's time to buff. This is the magic step that removes the excess wax and polishes that thin protective layer into a soft, deep glow. You’ll want a new, clean microfiber or soft cotton cloth for this part.
Using gentle, sweeping motions, buff the entire surface of the sculpture. You'll see the hazy film disappear, revealing a rich, lustrous finish that really brings the patina's natural beauty to life. For the more intricate areas, a soft-bristle brush can be your best friend, helping you buff the wax out of crevices without leaving any residue.
The core ideas here apply to protecting all sorts of delicate surfaces. While the materials are different, understanding the general process of applying a protective wax coating to a surface can give you a feel for achieving a flawless finish. The same concepts come up when caring for other heirlooms; in fact, our guide on how to clean antique furniture dives into similar preservation tips.
And with that, your bronze sculpture is now clean, protected, and ready to be admired for years to come.
Common Questions About Cleaning Bronze
Even with the best instructions, it's natural to have a few questions swirling in your head before you touch a beloved piece of art. The fear of making a mistake is real, and frankly, it's a good sign—it means you care.
Let's walk through some of the most common uncertainties I hear from collectors. My goal here is to give you that last little bit of confidence you need to get started.
How Often Should I Clean My Bronze Sculpture?
There’s no magic number here. The right cleaning schedule really comes down to where the sculpture lives. A piece displayed in a quiet, climate-controlled living room is worlds away from a statue braving the elements in a city garden.
For an indoor sculpture, a simple, gentle dusting with a soft brush every week or two is usually all it needs. As for a proper wet cleaning with that mild detergent solution we talked about, you'll likely only need to do that once a year at most.
Outdoor sculptures are a different story. They're constantly battling rain, pollutants, bird droppings, and temperature swings. For these pieces, an annual cleaning and re-waxing is non-negotiable. It’s essential maintenance that stops grime from becoming permanent and protects the surface from corrosion.
My Two Cents: Your eyes are your best guide. Forget the calendar for a moment and just look at the piece. If you can see a noticeable layer of dust, smudgy fingerprints, or those tell-tale powdery green spots (verdigris), it's time for a clean—no matter when you last did it.
Can I Use Household Cleaners Like Vinegar or Brass Polish?
Let me be crystal clear on this: absolutely not. Reaching for a common household cleaner is probably the single fastest way to cause permanent damage to a bronze sculpture. It's a mistake I've seen far too many times.
Products like vinegar, lemon juice, or even standard metal polishes are designed to be aggressive. They work by chemically stripping away the oxidized top layer of metal to reveal a bright, raw shine. On a sculpture, that "oxidized layer" is the patina—the beautiful, intentional finish that gives the artwork its depth, character, and value. Using these products will literally erase the artist's work.
To be safe, you need to stay away from:
- Acidic Cleaners: Vinegar, lemon juice, and most general-purpose cleaners fall into this category.
- Abrasive Polishes: Products like Brasso are the enemy of a fine arts finish. They will scratch the surface and remove the patina.
- Ammonia-Based Products: Window cleaners and similar products can cause a nasty chemical reaction with the copper alloys in the bronze.
Just stick to the conservator's toolkit: distilled water and a couple of drops of a pH-neutral, non-ionic detergent. That's it.
What if My Sculpture Is a Valuable Antique?
If you have even the slightest inkling that your sculpture could be a valuable antique or have historical importance, my advice is simple: stop. Don't touch it. Your first and only step should be to consult a professional art conservator.
An expert has the experience and equipment to properly assess the piece. They can identify the specific type of patina, test how stable it is, and spot underlying problems an untrained eye would miss. Trying to clean a valuable work yourself, no matter how gentle you are, can inadvertently strip away its history and diminish its value.
A conservator will create a treatment plan tailored specifically to your artwork, ensuring it's preserved correctly for future generations to enjoy. It's an investment in the life of the piece.
Is It Normal for My Cleaning Cloth to Turn Black or Green?
Yes, this is completely normal and, in most cases, nothing to worry about. Seeing some color come off on your cloth is just part of the process, especially with older pieces that have accumulated years of history.
A black or dark residue is usually a combination of old wax, oils from handling, embedded dust, and surface grime finally being lifted away. If you see a green residue, you're likely removing loose, unstable corrosion—that powdery verdigris. Getting that flaky stuff off is a good thing; it prevents the corrosion from spreading.
The key is to pay attention to the pressure you're using. If you notice yourself scrubbing hard and the metal underneath is starting to look shiny or raw, you've gone too far. Back off immediately. The goal is to lift the dirt off the patina, not to scrub the patina off the bronze.
Feeling uncertain about the history or value of your bronze sculpture? Let Curio provide the answers. Snap a photo, and our app can help you identify its origin, time period, and estimated value, giving you the confidence to care for it properly. Discover the story behind your treasures at https://www.curio.app.