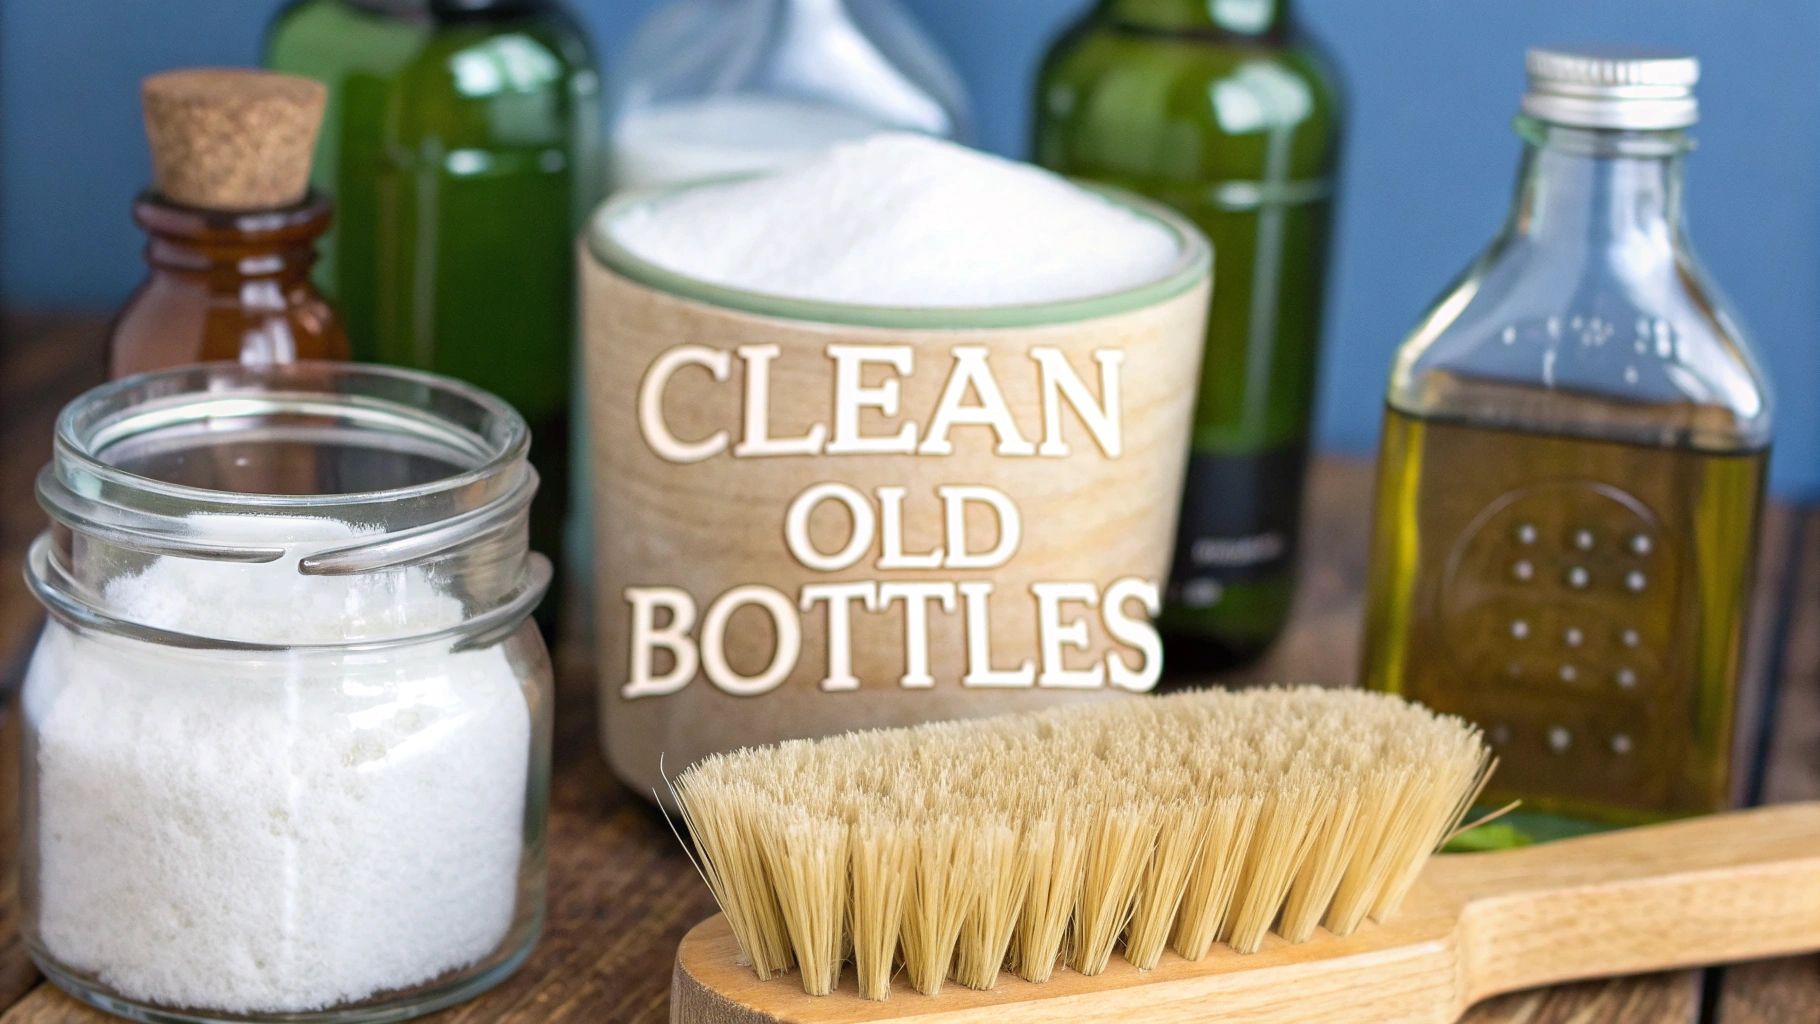
Cleaning an old glass bottle is more of an art than a science. The process should always start with a gentle rinse to get rid of any loose dirt, followed by a very careful inspection for cracks. For the deeper clean that comes later, the best approach is usually a simple soak in warm, soapy water. Sometimes, you might need a soft brush or a gentle abrasive like uncooked rice or coarse salt to tackle stubborn grime on the inside.
Your First Steps in Cleaning Old Bottles
It's tempting to grab a brush and start scrubbing the moment you get your hands on a dusty old bottle. But hold on. Diving in too quickly is one of the easiest ways to ruin a piece with potential. The first steps are all about patience and observation.
This initial phase isn't just about rinsing off surface grime; it's about getting to know the bottle's condition. You're looking for weaknesses and figuring out a game plan. Think of it as a doctor assessing a patient before treatment—it's a critical first step that ensures you don't do more harm than good.
Most experienced collectors rely on simple, manual techniques. In fact, a recent study on cleaning methods found that 73.5% of people use manual shaking and 77.2% use sponges. These low-tech approaches are often the safest and most effective place to start.
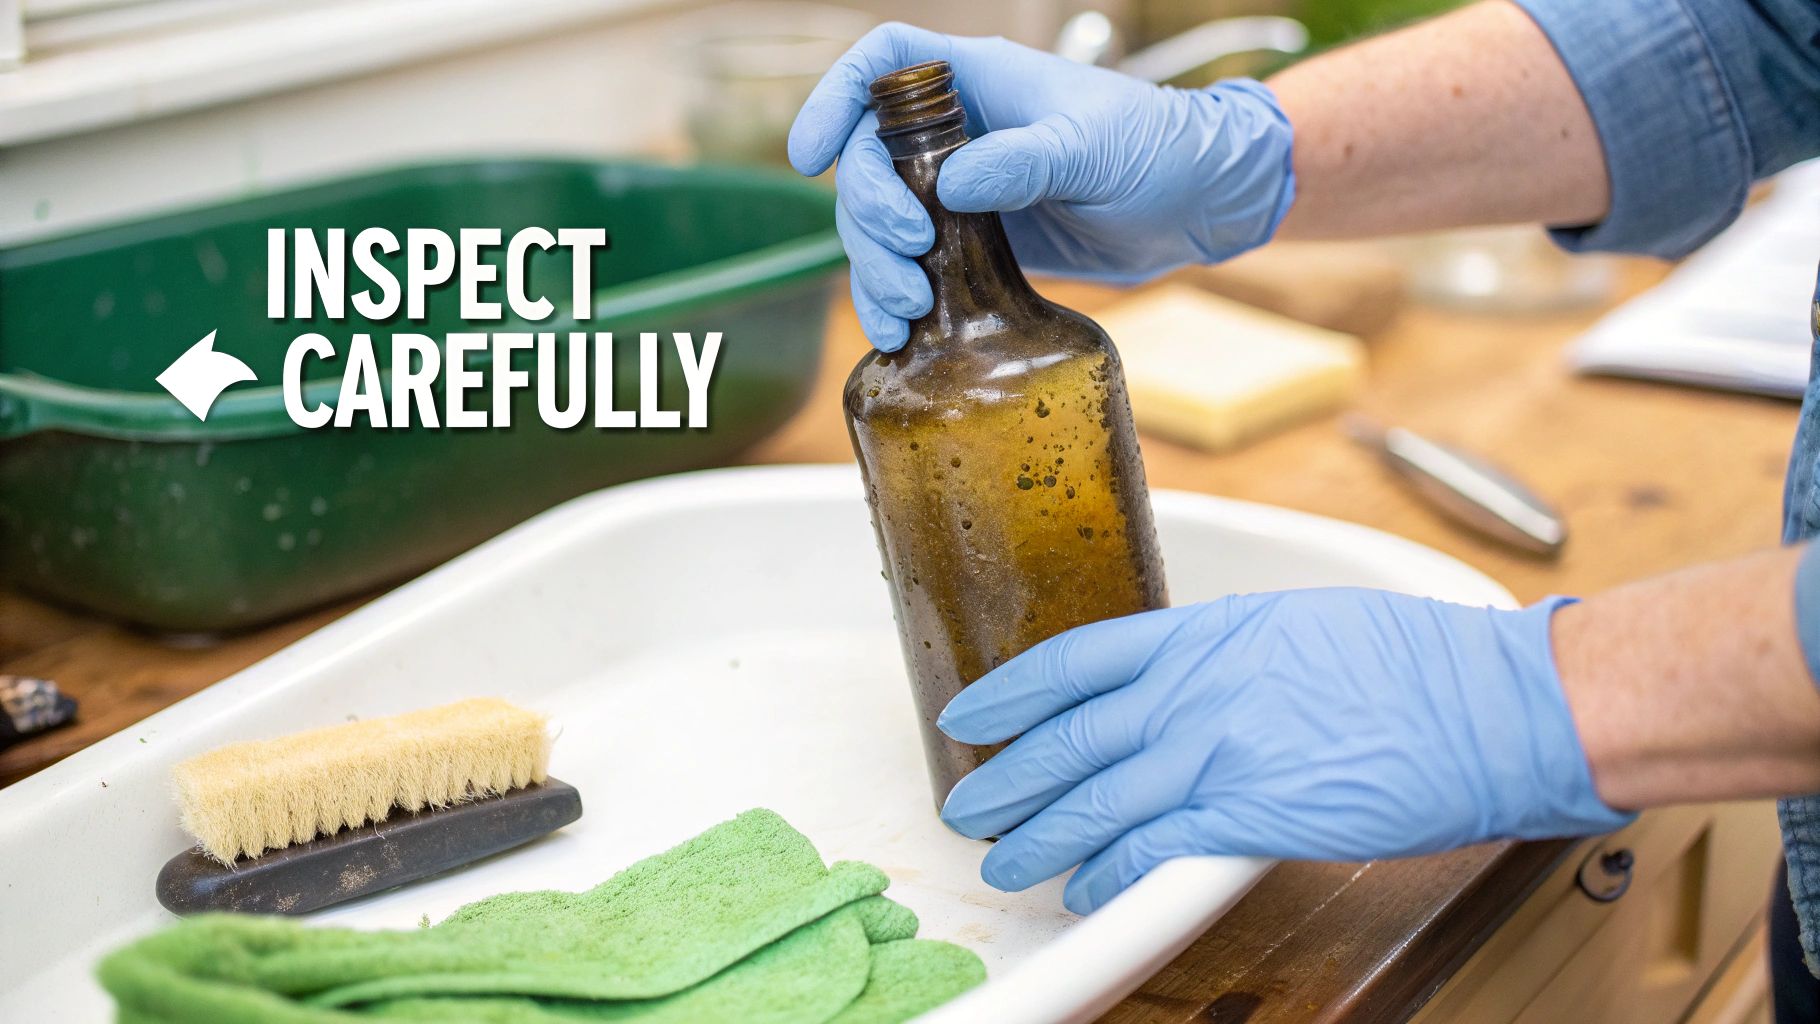
Inspecting Your Glassware for Damage
The golden rule of cleaning antique glass is simple: do no harm. Old glass can be incredibly fragile, and a layer of dirt might be hiding hairline cracks or weak spots.
Before you do anything else, hold the bottle up to a bright light and slowly turn it. Pay close attention to:
- Hairline cracks: These look like faint, web-like lines, and they're most common around the neck and base. A sudden change in water temperature can make them spread in an instant.
- Chips: Gently run your finger around the rim and the base. You're feeling for any sharp edges or missing pieces.
- "Sick" glass: If you see an iridescent, rainbow-like film on the surface, that's a sign of glass deterioration. Aggressive cleaning will only make it worse.
If you spot any significant damage, you need to be extremely careful or perhaps stop the cleaning process altogether. Knowing a bit about the bottle's history can also offer clues about its durability. Our guide on antique glass bottle identification can help you figure out what you're working with.
Setting Up Your Cleaning Station
An organized workspace is a safe workspace. You don’t need a fancy lab, just a few thoughtful preparations to protect both the bottle and your sink.
The easiest trick is to lay a soft towel or a rubber mat at the bottom of your sink. This creates a cushion, which can save a bottle if it slips from your wet hands. Always use lukewarm water—never hot or cold. The rapid temperature change, known as thermal shock, is notorious for cracking old glass.
Pro Tip: Work on one bottle at a time. Juggling multiple bottles in a crowded sink is a classic recipe for accidental chips and scratches. Give each piece your undivided attention.
The Gentle First Rinse
Once your station is set up, it's time for the first wash. The goal here is just to remove loose debris like surface dirt, dust, and cobwebs without any harsh scrubbing.
Start by filling the bottle with lukewarm water and just let it sit for 15-20 minutes. This gives any caked-on grime a chance to soften.
After the soak, gently swirl the water inside and pour it out. You might need to repeat this a few times. If some dirt is still clinging on, you can use a very soft-bristled bottle brush, but don't apply much pressure. This initial rinse just sets the stage for the more focused cleaning methods to come.
Getting the Inside of Your Bottles Sparkling Clean
Okay, you've given your bottle a good first rinse. Now for the satisfying part: tackling that stubborn gunk caked on the inside. This is where you'll see a dusty old find transform into a real treasure. Depending on what you're up against—whether it's loose dirt, a cloudy film, or crusty white deposits—the approach will be a little different.
The good news? You don't need a cabinet full of harsh chemicals. Most of the time, the best tools for the job are already in your kitchen. We'll start with the gentlest techniques and work our way up to the heavy-duty solutions for those really tough cases.
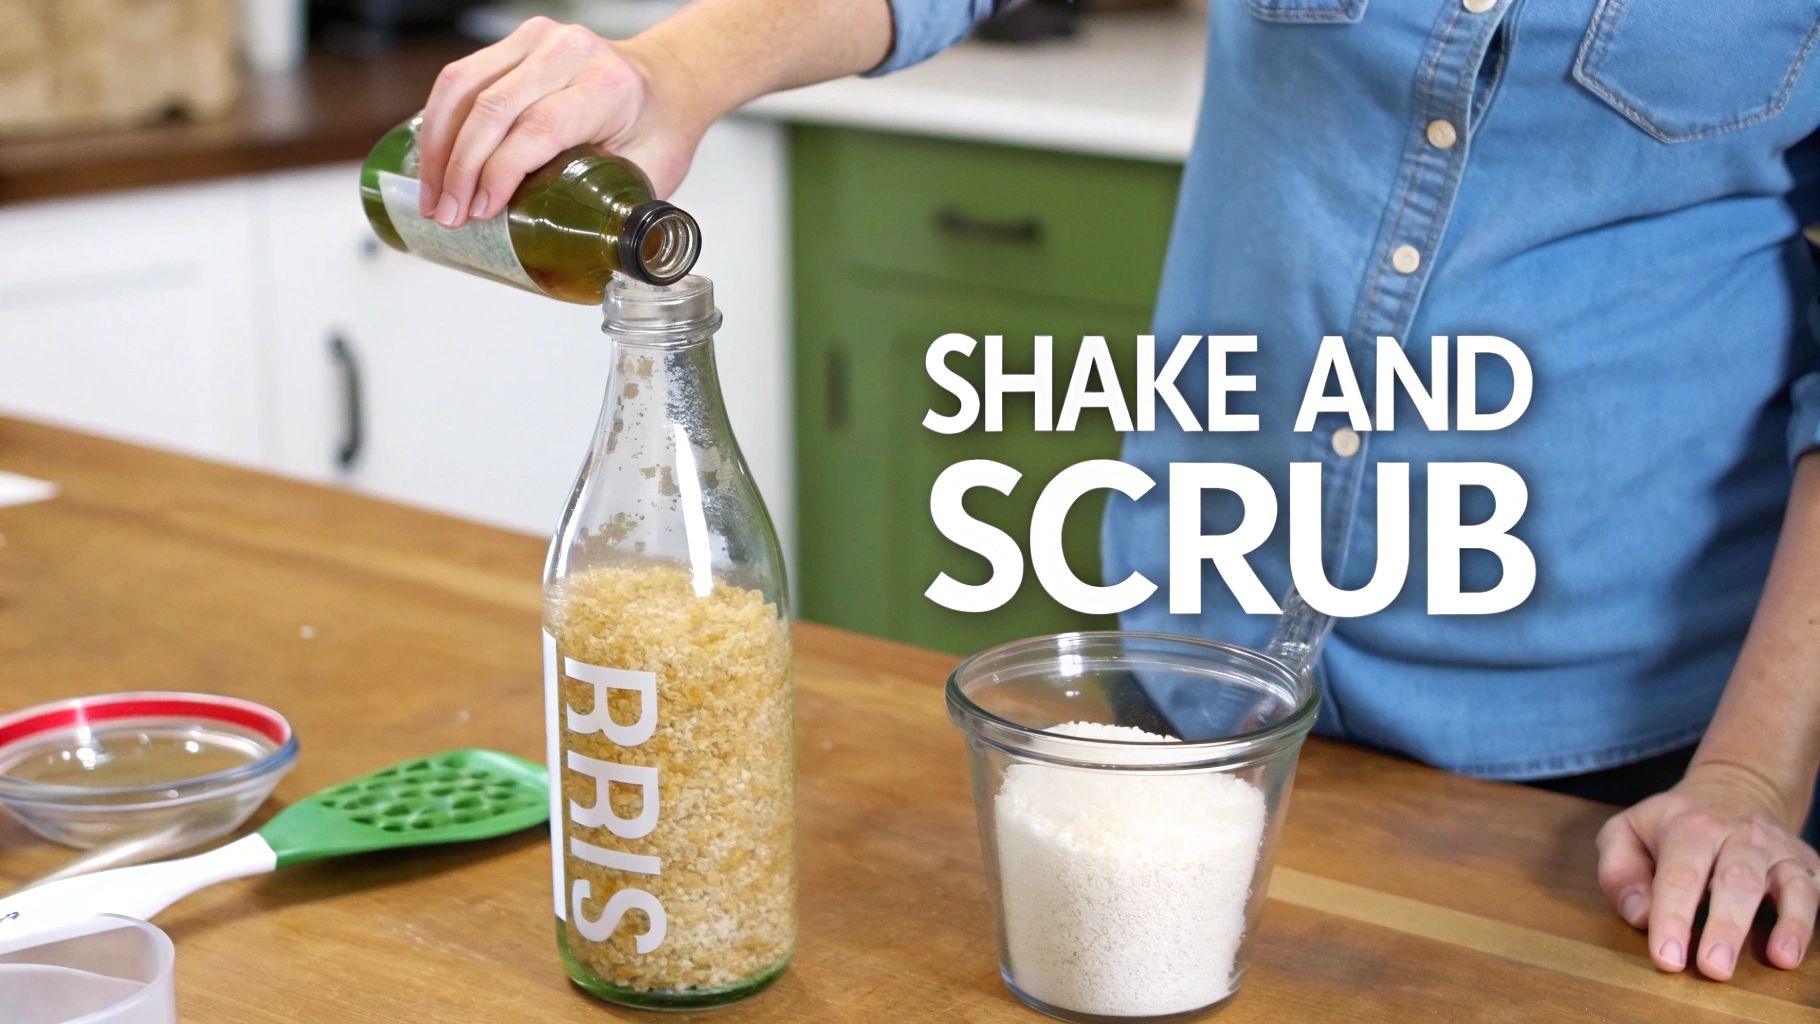
The "Shake and Scrub" for Loose Sediment
For bottles with a simple layer of dried dirt, dust, or other loose bits, my go-to is what I call the "shake and scrub." It’s a brilliant way to scour the inside without ever needing a brush, which is a lifesaver for those old narrow-necked medicine bottles.
Think about an old milk bottle with that thin, dried film at the bottom. A brush can't always get into the corners, but a gentle abrasive can.
Here’s what you need:
- A Scrubber: Uncooked rice, coarse salt, or sand are perfect. I've even used small aquarium gravel in a pinch. Just pick something that fits easily through the opening.
- A Cleaner: A little squirt of mild dish soap and some warm water is all it takes.
Just drop a tablespoon or two of your abrasive into the bottle, add the soap, and then pour in enough warm water to fill it about one-third of the way. Plug the top with your thumb or a stopper and give it a really good, vigorous shake. The rice or salt will swirl around like thousands of tiny scrubbers, knocking all that grime loose from every surface.
Once it looks clean, pour the mixture out through a strainer to catch the abrasive (and save your drain from a clog). Give it a final rinse with warm water, and you're all set.
Banishing Odors and Hazy Film
Sometimes the problem isn't dirt you can see, but a musty smell or a light, cloudy haze that just won't rinse away. This is really common in old food jars or apothecary bottles. For this, a little bit of kitchen chemistry works wonders.
White vinegar and baking soda are the classic cleaning power couple for a reason. The vinegar’s acid dissolves minerals and kills odors, while the baking soda fizzes up to help lift stubborn residue off the glass.
Heads Up: Combining baking soda and vinegar creates a lot of foam! Always do this over a sink and don't fill the bottle more than halfway, or you’ll have a science fair volcano on your hands.
Start by spooning a tablespoon or two of baking soda into the bottle. Slowly—and I mean slowly—pour in about a half cup of white vinegar. You’ll see it fizz up right away. Let that mixture sit and bubble for at least an hour. This gives it time to really work on breaking down that film.
After the soak, you can add a little warm water, cap it, and give it another good swirl. Pour it all out and rinse the bottle several times with clean water until you can no longer smell the vinegar. It’s amazing how well this trick clears up that foggy look.
Conquering Tough Mineral Deposits and Stains
But what about those bottles with thick, white, crusty buildup? That’s almost certainly years of caked-on mineral deposits from hard water. I see this a lot on old water carafes or bottles that were used as vases.
For this kind of heavy-duty grime, a quick fizz isn't going to cut it. You need to bring out the big guns: more acid and more time.
- Mix a Stronger Soak: Fill the bottle with a 50/50 solution of white vinegar and warm water. If you're facing a really stubborn case, you can go with straight vinegar, but it’s always best to start diluted.
- Play the Waiting Game: This step is all about patience. Let the bottle soak for a minimum of 24 hours. Find a spot where it won't get knocked over and just let the acidic solution work its magic dissolving the lime and calcium.
- Add a Scrubber (If Needed): If you still see deposits after the long soak, the minerals have been softened. Now, pour some coarse salt or sand into the vinegar solution still in the bottle. Cap it and shake vigorously for a few minutes to physically scrub away the weakened buildup.
Once the stains have vanished, rinse the bottle thoroughly with warm water. You might have to repeat the process for the most caked-on deposits, but this is one of the safest and most effective ways to restore brilliant clarity to your glass.
Restoring Your Bottle's Exterior Shine
Once you've conquered the grime inside, it's time to turn your attention to the outside. A sparkling interior is great, but the exterior is what everyone sees. The outside of an old glass bottle often tells its own story of neglect, from brittle paper labels and hazy films to that stubborn sticky residue left behind.
Bringing back the original luster requires a different approach than cleaning the inside. The goal here is to carefully remove years of surface buildup without scratching the glass or, worse, damaging any original painted details. Let's walk through the best ways to tackle each common problem.

Tackling Old Labels and Sticky Glue
Before you can even get to the glass, you usually have to deal with a crusty, peeling paper label and the frustratingly sticky mess it leaves behind. How you approach this really depends on whether the label has any value.
For most common, non-valuable paper labels, a simple soak is your best first move.
- The Hot Water Soak: Just submerge the bottle in a sink of warm, soapy water for at least 15-20 minutes. This is often all it takes to make the paper dissolve and slide right off.
- Gentle Scraping: If stubborn bits remain, use a plastic scraper or even the edge of an old credit card to gently lift them. Whatever you do, don't use metal—it's a surefire way to scratch the glass.
But what about that glue? Some adhesives seem almost fossilized, refusing to budge with just soap and water. This is where you might need to bring in something a little stronger.
Dissolving Stubborn Residue
For that tacky film left by old labels or tape, household oils can be surprisingly effective. The oil works by breaking down the adhesive's chemical bonds, making it easy to just wipe away.
Try applying a small amount of cooking oil, mineral oil, or even peanut butter directly onto the sticky spot. Let it sit for about 10-15 minutes. You should then be able to wipe the softened gunk away with a paper towel. Afterward, just wash the bottle with dish soap to get rid of any oily film.
For really tough, dried-on adhesives, rubbing alcohol or a commercial goo remover can work wonders. Just be sure to test it on a small, hidden spot first to make sure it doesn't harm any painted lettering or logos on the bottle.
Expert Tip: Never, ever use abrasive scrubbers like steel wool on the outside of a glass bottle. They might get the residue off, but they'll leave behind a network of fine scratches that permanently dull the glass and can seriously tank a collector's item's value.
Erasing Hazy Film and Water Spots
Sometimes the outside of a bottle is just cloudy with a dull, hazy film. This is usually caused by mineral deposits from hard water or just a general buildup of grime over the decades. Luckily, a gentle acid is all you need to cut right through it.
White vinegar is the perfect tool for the job. Its mild acidity dissolves those alkaline mineral deposits without posing any threat to the glass itself.
- Mix Up a Vinegar Solution: Combine equal parts white vinegar and warm water in a spray bottle or a small bowl.
- Apply and Wait: Spray the outside of the bottle down thoroughly. For really stubborn spots, you can soak a paper towel in the mix and wrap it around the bottle to keep the surface saturated. Let it sit for about 15 minutes.
- Wipe and Buff: Use a soft, lint-free cloth (a microfiber towel works great) to wipe away the film. The mineral buildup should come off easily. If any spots are still clinging on, a paste of baking soda and water can provide a gentle scrubbing action.
After the vinegar treatment, give the bottle a final rinse with clean water and dry it completely. This final buff is what really brings out that brilliant shine. If you're looking to achieve a truly pristine finish, you might find some great pointers from professional glass cleaning techniques.
By using these targeted methods—soaking for labels, oil for glue, and vinegar for mineral film—you can systematically bring your old glass bottles back to their former glory, letting their history shine through with a crystal-clear finish.
How to Avoid Damaging Antique Bottles
When you're cleaning an old bottle, the golden rule is preservation over perfection. It’s a delicate dance. One wrong move with a harsh chemical or an aggressive scrubber can permanently strip away its history, character, and, ultimately, its value.
Before you even reach for the soap, just stop and look at the bottle. Some pieces are actually more valuable with their story left intact. Does it have a fragile paper label clinging on? A partial tax stamp? These are irreplaceable pieces of its past and should be protected at all costs. Sometimes, the best cleaning method is the one you don't do.

Recognizing When to Stop
The most important skill you can develop is knowing when to just leave a bottle alone. Some "flaws" aren't flaws at all—they're what collectors prize. Over-cleaning is a rookie mistake, and it can be a costly one.
A classic example is what we call "sick glass." If you see an iridescent, rainbow-like film on the surface, that's not dirt. It’s a sign of permanent chemical deterioration that happened over decades of exposure to moisture. Trying to scrub it off will only scratch and worsen the damage.
Likewise, that unique patina or the specific mineral staining that developed underground can add to a bottle's appeal and historical significance. It’s always better to err on the side of caution. Understanding what makes a piece desirable is key. You can learn more about what makes for the most valuable antique glassware and see why some "imperfections" are best left alone.
Common Mistakes That Cause Irreversible Damage
So many well-intentioned cleaning attempts end in heartbreak. It usually comes down to a few common, and totally avoidable, mistakes. Protecting your finds means knowing what not to do.
Crucial Warning: The fastest way to destroy an old bottle is thermal shock. Never plunge a cool bottle into hot water or vice-versa. The sudden temperature change will cause it to crack instantly. Always use lukewarm water and let the bottle adjust gradually.
Beyond sudden temperature shifts, here are a few other disasters waiting to happen:
- Harsh Chemicals: Stay away from bleach, ammonia, and abrasive bathroom cleaners. They are far too aggressive for old glass and can etch the surface or cause irreversible cloudiness.
- Abrasive Scrubbers: Steel wool, scouring pads, and even the green side of a kitchen sponge will cover your bottle in a network of fine scratches, permanently dulling its shine.
- The Dishwasher: Don't even think about it. The combination of high heat, intense water pressure, and harsh detergents is a death sentence for antique glass.
Adopting a Preservation-First Mindset
Thinking like a conservator means you’re always prioritizing the long-term health of the object. It's about gentle, mindful care.
Interestingly, this mindset mirrors the very industry that created these bottles. The glass industry has learned a powerful lesson in preservation. For every ton of glass recycled, more than a ton of raw materials are saved—we're talking 1,300 pounds of sand and hundreds of pounds of limestone. This not only conserves resources but also massively cuts down on energy, since recycled glass melts at a much lower temperature.
By taking a gentle, preservation-focused approach, you ensure your old glass bottles can be admired for generations to come, with their unique stories still intact.
Tackling Your Toughest Bottle Cleaning Problems
https://www.youtube.com/embed/IQE4nW4-Jrc
Even after a good soak and scrub, some bottles just refuse to let go of their grimy past. This is where the real work begins. You've handled the easy stuff, and now it's time to troubleshoot the stubborn issues—the lingering smells, the caked-on gunk in a narrow-necked bottle, or a stain that simply won’t budge.
Think of this as the final restoration phase. Conquering these challenges is what makes a find truly rewarding.
Banishing Persistent Odors
Ever cleaned a bottle until it sparkles, only to find it still carries a musty, medicinal, or just plain unpleasant scent? It’s a common problem with old apothecary bottles or food jars where residues have seeped into the glass over many decades. A quick rinse with soap and water just won't cut it.
Your best friend here is activated charcoal, a fantastic natural deodorizer.
- First, grab a few activated charcoal tablets from a drugstore and crush them into a coarse powder.
- Pour the powder into the completely dry bottle.
- Seal it up with a cork or some plastic wrap and just let it sit for a few days.
The charcoal is incredibly porous and acts like a sponge, absorbing those stubborn, odor-causing molecules right off the glass surface. After a few days, give it a thorough rinse to wash all the charcoal out.
Getting to Gunk in Awkward Spaces
Perhaps the most frustrating part of cleaning old glass is seeing the gunk you just can't reach. That thick, hardened sediment at the bottom of a skinny bottle can feel like an impossible task for a normal brush.
This is when you bring in the specialized tools. A long, flexible brush can sometimes contort to hit the right spots. But for a truly ingenious, hands-off solution, a magnetic scrubber is a total game-changer. It’s a two-part device: a magnetic handle for the outside and a small, fabric-covered scrubber that you drop inside. As you move the handle on the exterior, the internal scrubber mimics its movement, scouring away grime from every nook and cranny.
Real-World Scenario: Picture an old ink bottle with a thick, dried crust of black ink welded to the bottom. A brush just smears it. But a magnetic scrubber, used after a vinegar soak to soften the ink, can methodically scrub that residue clean without a single scratch.
For particularly stubborn mineral deposits, it’s worth looking into specialized strategies for tackling hard water stains on glass.
Knowing When a Stain is Permanent
Here’s the hard truth: not every stain can be removed. Sometimes, what appears to be a dirty film is actually irreversible damage to the glass itself. This is especially true for "sick glass," which shows up as an iridescent, rainbow-like haze caused by a chemical reaction.
Likewise, certain chemicals can permanently etch or discolor glass over many years. If you’ve tried everything—long soaks, gentle abrasives, mild acids—and see no change, the stain is probably there to stay. Scrubbing harder at this point will only scratch and damage the piece. Certain types of glass, like the beautiful but fragile examples in our guide to antique Vaseline glassware, are especially prone to this kind of permanent damage.
It's interesting to note the difference between home and industrial cleaning. One study on commercial glass recycling found that while 93.2% of processes included a drying step, disinfection was far less common. If even industrial methods can't fix a stain, it's a good sign it's permanent.
Sometimes, you just have to accept a minor imperfection. It's far better than risking the entire bottle. If the piece is incredibly rare or valuable, your best and safest move is always to consult a professional glass conservator.
Common Questions About Cleaning Old Glass Bottles
Even with a solid plan, you're bound to run into a few tricky situations when cleaning old glass. I get these questions all the time from fellow collectors, and it's completely normal to feel a bit hesitant when you’re handling a piece of history.
Think of this section as a quick reference guide. Here are my go-to answers for the most common challenges you'll likely face.
Can I Put Old Glass Bottles in the Dishwasher?
Let me be direct: this is a hard no. I know how tempting it is to look for a shortcut, but the dishwasher is the enemy of antique glass. It's one of the fastest ways to destroy a bottle.
The high heat and harsh, modern detergents can cause thermal shock, which easily leads to cracks and fractures in older, more fragile glass. Plus, the abrasive powders can etch the surface, worsening any "sick glass" (that iridescent film that signals deterioration) and stripping away paint or old label fragments that give the bottle its character and value. Always, always stick to handwashing with lukewarm water.
How Do I Remove Rust Stains from Inside a Glass Bottle?
Rust stains, usually left behind by an old metal cap or the bottle's original contents, look intimidating but are often surprisingly easy to tackle. You don't need harsh chemicals; a mild acid from your kitchen pantry is typically all it takes.
Fill the bottle with a 50/50 mix of white vinegar and warm water and just let it sit overnight. The gentle acid will slowly dissolve the iron oxide. If you’re dealing with a really stubborn stain, toss in a tablespoon of coarse salt. The salt won't dissolve in the vinegar, so when you shake the bottle, the granules act like a gentle, tiny scrub brush on the inside.
A Quick Note on "Sick Glass": That rainbow-colored, oily film you sometimes see is called "bottle sickness." This isn't a stain; it's permanent chemical damage to the glass itself. It cannot be cleaned off. Trying to scrub it will only scratch the surface and make it look worse.
Is It Safe to Use Bleach on Antique Bottles?
You should only think about using bleach as a last-ditch effort, and only when sanitation is the top priority and nothing else has worked. Bleach is an incredibly harsh chemical, and it can be far too aggressive for the porous, delicate nature of old glass.
If you absolutely must use it, you have to be extremely careful.
- Dilute, Dilute, Dilute: Mix a very weak solution—no more than 1 part bleach to 10 parts water.
- Get Some Fresh Air: Make sure you're in a well-ventilated space so you aren't breathing in the fumes.
- Rinse Like Crazy: After a very brief soak, rinse the bottle repeatedly with clean water until every trace of bleach is gone.
Honestly, for almost any cleaning job, a simple mix of vinegar, baking soda, or a gentle dish soap is much safer. These methods are usually just as effective and won't put your treasure at risk.
Found an old bottle and want to know its story and value? Let Curio be your guide. Snap a photo, and our app instantly identifies your find, providing its history, origin, and an estimated appraisal. Download Curio today at https://www.curio.app and turn your mysterious finds into known treasures.