
Cleaning an antique bottle is more of an art than a science. It's a delicate dance that begins with understanding what you're working with and always, always starting with the gentlest method possible. For most bottles, a simple soak in warm, soapy water is enough to wash away years of surface dirt without putting the glass at risk. If you're dealing with tougher buildup, things like vinegar or even a bit of salt can work wonders on mineral deposits.
Getting Started: How to Clean Your Antique Bottles
There’s nothing quite like the thrill of finding a fantastic old bottle. Whether you dug it up yourself or found it at a flea market, it’s a tangible piece of history, often caked in decades of dirt and grime. But before you rush to make it sparkle, take a breath. The number one rule is to preserve the bottle, not just to get it clean. Aggressive scrubbing can do more harm than good.
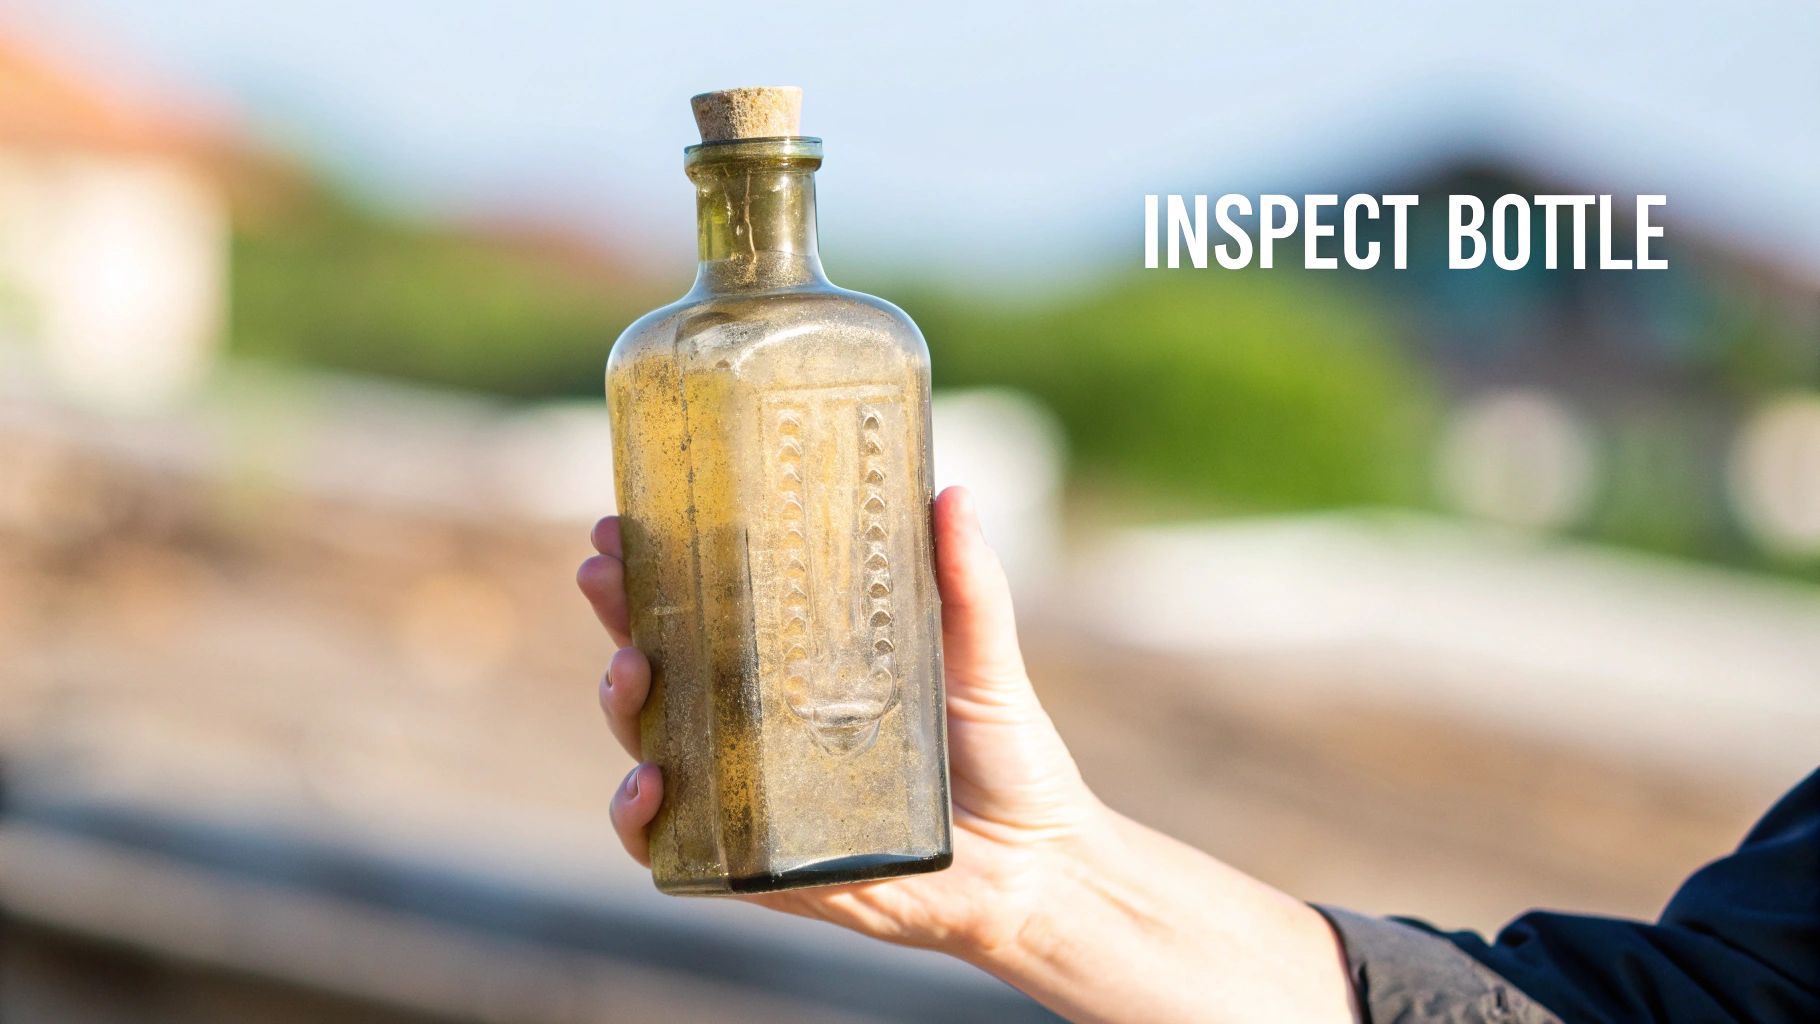
Your first move should always be a thorough inspection. You have to know what you're up against before you even think about water or brushes. This simple assessment is your best defense against accidentally damaging a valuable piece.
Know Your Grime
Take a good, hard look at the bottle, inside and out. Figuring out what kind of residue you're seeing is the key to choosing the right cleaning technique. Most of the time, you'll run into one of these three situations:
- Surface Dirt and Grime: This is the best-case scenario. We're talking about loose dust, soil, and general gunk that hasn't bonded to the glass. A gentle soak usually takes care of it.
- Mineral Deposits and Haze: This is that stubborn, chalky film or cloudy look you often see. It's caused by the bottle sitting in mineral-heavy water or soil for a long time. This requires a bit more persuasion, usually with a mild acid like white vinegar.
- "Sick" Glass (Permanent Etching): If you see an iridescent, rainbow-like sheen or an opaque stain that looks like it's in the glass, you're likely dealing with sick glass. Unfortunately, this is a chemical breakdown of the glass itself, and it can't be cleaned away.
Look for Clues Before You Wash
Before that bottle touches a drop of water, examine it for any historical evidence. Is there a tattered piece of a paper label still clinging on? What about the stopper or a maker’s mark on the base? These details are part of its story and its value. You can learn to identify these marks by checking out our guide to antique glass makers' marks, which is a huge help in dating and appraising your finds.
My Two Cents: I can't stress this enough: take pictures of your bottles before you start. It creates a "before" record and documents any fragile details, like paper labels, that might not survive the cleaning process.
Once you’ve sized up the situation and snapped a few photos, you’re ready to pick your cleaning method. This thoughtful approach ensures you bring out the bottle's true beauty without stripping away its history—or its value.
Matching Cleaning Methods to Bottle Condition
Not sure where to begin? This table will help you choose the right starting point based on what your bottle looks like. It’s always best to start with the least aggressive option and only move on if necessary.
| Bottle Condition | Recommended Starting Method | Key Considerations |
|---|---|---|
| Lightly dusty, surface grime | Gentle Soak (Warm, soapy water) | Safest first step for any bottle. Avoid for bottles with paper labels. |
| Stubborn interior film, hazy spots | Vinegar or Salt Solution | Use after a basic soak. Acetic acid in vinegar dissolves mineral deposits. |
| Thick, caked-on residue | Bottle Brush & Abrasive Mix | A physical method for tough grime. Be gentle to avoid scratching. |
| Iridescent, rainbow-like staining | Assessment Only | This is likely permanent "sick" glass. Cleaning will not remove it. |
Remember, this is a starting guide. Every bottle is different, and sometimes you'll need a bit of patience and a combination of techniques to get the results you want. The key is to proceed with caution and respect for the object's age.
Start with a Gentle Soak: Your First and Safest Step
When it comes to cleaning antique bottles, patience is your best friend. Before you even think about more aggressive tactics, your first move should always be a simple, gentle soak. This is the foundation of safe bottle restoration, and honestly, it’s often all you need to bring back the glass's original sparkle.
First things first, get rid of any loose dirt. You don't want to dunk a bottle caked in mud or packed with old leaves directly into your soaking tub. Give it a quick rinse under a gentle stream of warm water—never hot. Pay a little extra attention to the bottle's lip and the inside, as that's where gunk loves to hide.
Getting Your Soaking Station Ready
Once you've rinsed off the loose stuff, it's time to set up a proper soaking basin. I always recommend a plastic tub or bucket. Why? Because if a bottle accidentally tips over, the soft plastic won't chip the fragile, old glass like a hard sink basin might.
Fill your tub with warm water and add just a few drops of a mild dish soap. Something simple like Dawn works perfectly. Stay far away from harsh detergents or anything containing bleach; those chemicals are way too tough on antique glass and can cause permanent damage.
Carefully place your bottles into the water, making sure they're completely submerged. If you're cleaning several at once, give them some elbow room so they aren't knocking against each other. Now, just let them be. A few hours might do the trick, but for really stubborn grime, leaving them overnight or even for a full 24 hours is even better.
The whole point of this first soak is to let the water do the heavy lifting. You want to soften and loosen decades of buildup without any harsh scrubbing. It’s amazing how much dirt will just fall away on its own.
When Soap Isn't Enough: Bring in Vinegar and Salt
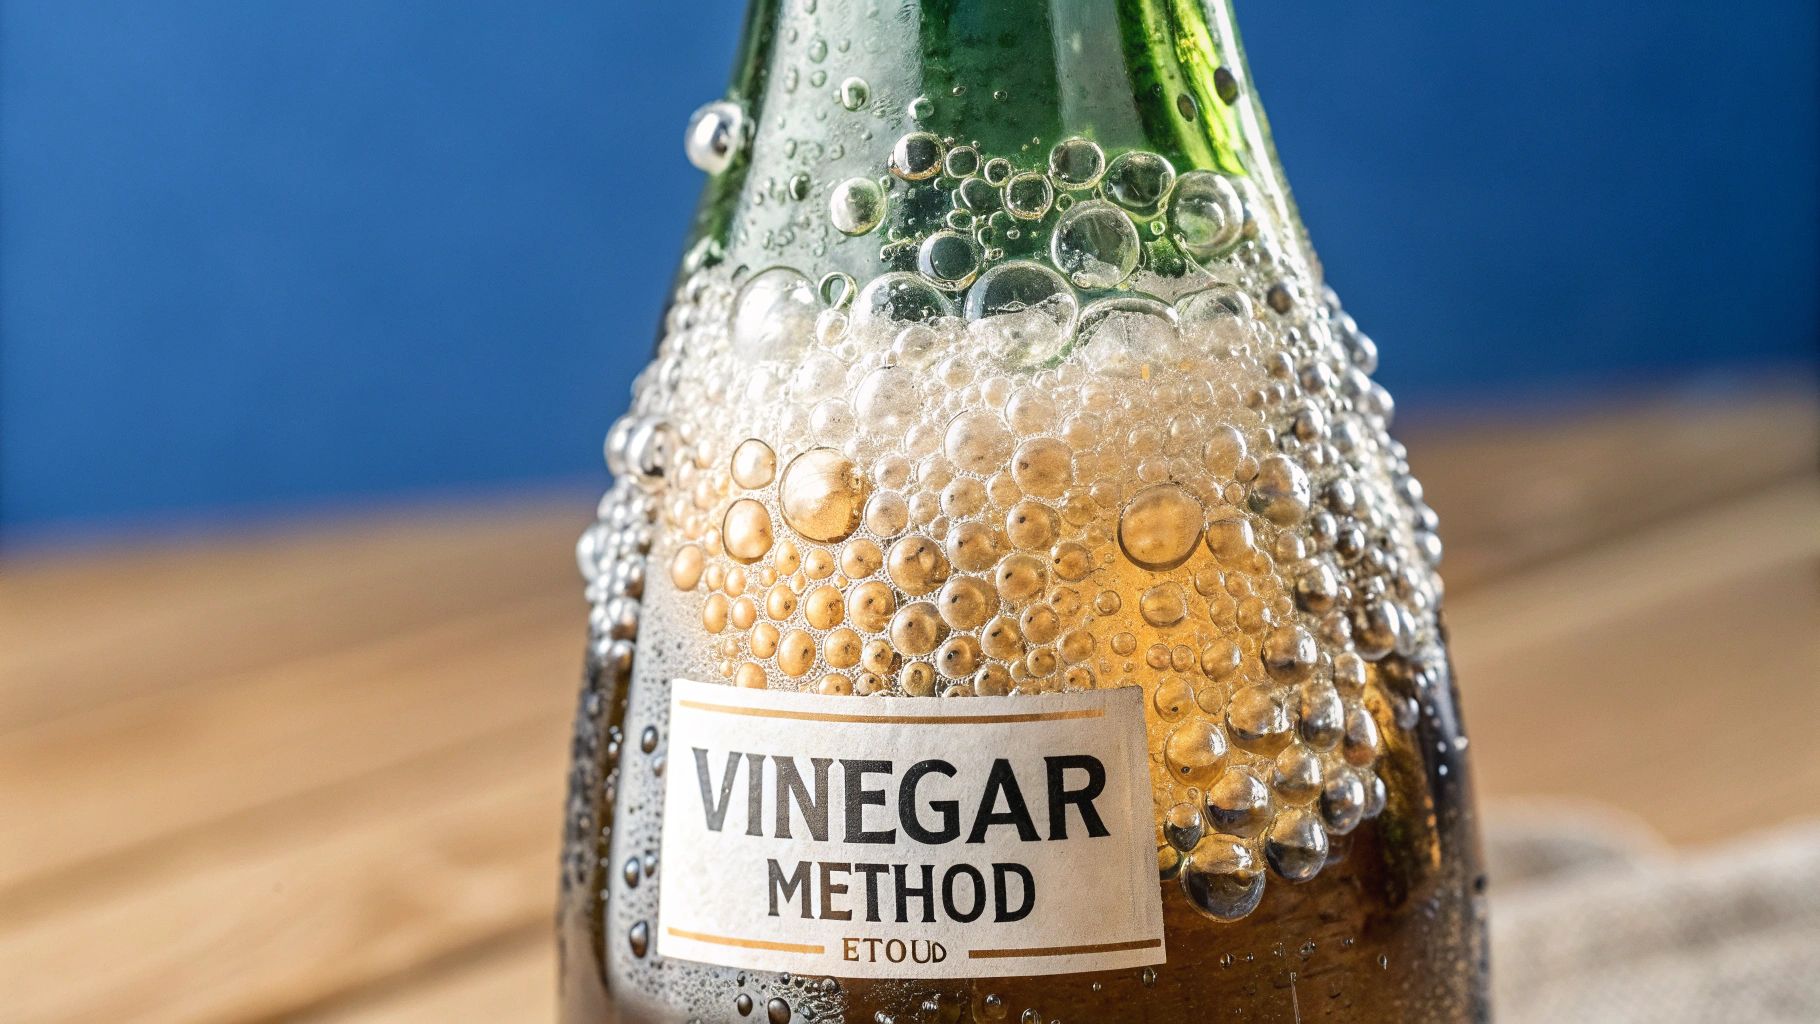
After a good long soak, you might still see a chalky film or some stubborn spots clinging to the inside. This is totally normal, and it's where a couple of household staples come into play: white vinegar and salt. The mild acidity in vinegar is fantastic for dissolving mineral deposits that hard water leaves behind over the years.
There's a great DIY tutorial from 2015 that breaks down a really effective method. It suggests soaking the bottle in pure white vinegar for at least an hour to tackle those tough mineral stains.
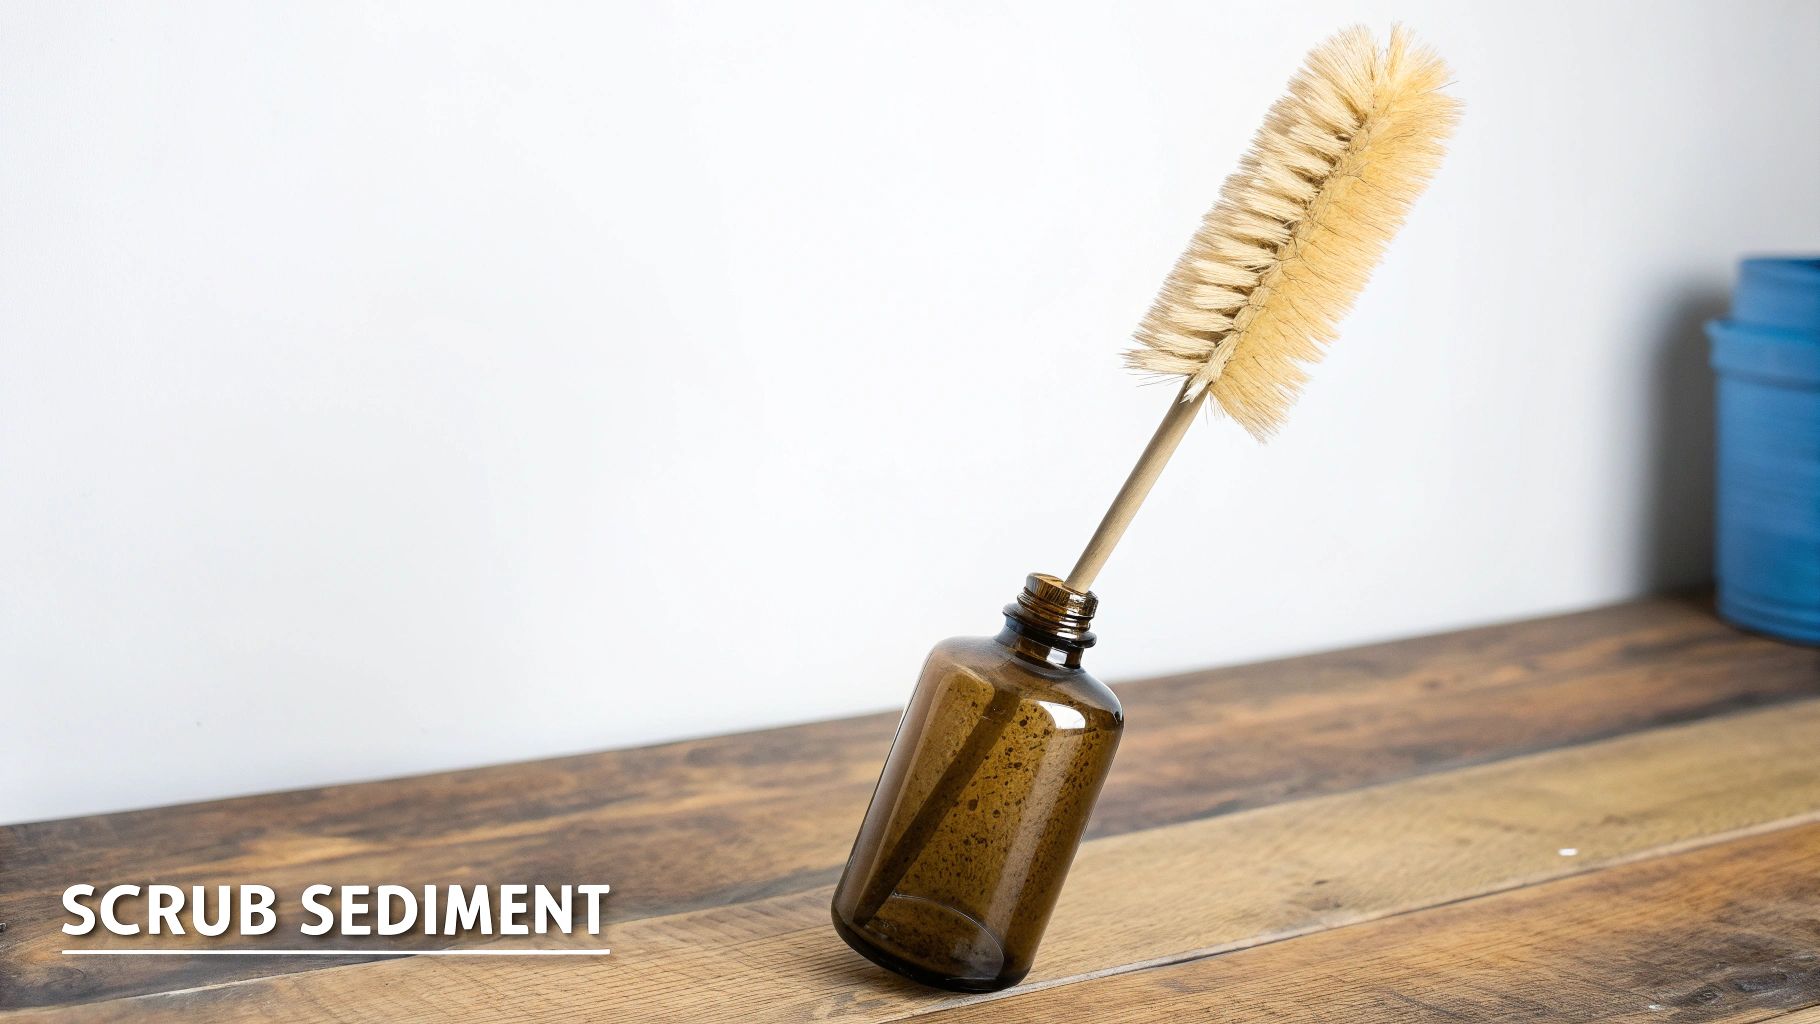
After the vinegar soak, you can create a gentle, natural abrasive. Pour about half an inch of coarse salt and a squirt of dish soap inside the bottle. Now for the fun part: shake it vigorously! The salt acts like a tiny scrubber, cleaning the interior surfaces without scratching the glass.
For many bottles, one round is all it takes. But if you're dealing with a particularly grimy find, don't be afraid to repeat the process. You can see how this simple technique works to take bottles from cloudy to crystal clear.
This multi-step approach is all about respecting the bottle's age. By starting with the mildest method and only moving on if necessary, you protect your antique find while gently peeling back the layers of time.
Dealing With Tough Stains and Mineral Deposits
So you've soaked your bottle, but some stubborn haze or crusty buildup just won't give up. It happens. After decades underground or sitting in a barn, some grime is just too tough for a simple bath. When you’re up against heavy mineralization or that cloudy film that seems fused to the glass, you have to bring out the bigger guns.
These next-level techniques are what seasoned collectors use, but they demand a healthy dose of respect and caution. They can work wonders, but they're definitely a last resort.
That persistent white film is one of the most common headaches for collectors. For a deeper dive, check out these expert tips on removing persistent water stains and mineral deposits. You'll have to adapt the advice for delicate antique glass, but the core principles are solid.
The Chemical Approach (With Extreme Caution)
For the absolute toughest stains, some old-school collectors reach for muriatic acid. It's essentially a diluted form of hydrochloric acid and has a long history of being used to clean glass. I have to be clear, though: this stuff is no joke. Safety is not optional.
If you're going to try this, you absolutely must do it right.
- Work Outside: Don't even think about doing this indoors unless you have a professional-grade ventilation system. The fumes are seriously hazardous.
- Gear Up: You need chemical-resistant gloves, safety goggles that seal around your eyes, and long sleeves. Protect your skin and your eyes at all costs.
- Dilute It Properly: Never use it full strength. A safe starting point is a 10:1 ratio—ten parts water to one part acid. And the golden rule is always add the acid to the water, never the other way around, to avoid a violent, dangerous reaction.
A quick dip, often just for a minute or two, is all it takes. Once you pull the bottle out, you’ll need to neutralize the acid immediately with a slurry of baking soda and water before rinsing it like crazy. For more context on handling delicate antiques, you can find some valuable antique restoration tips on our blog.
A Safer, Smarter Mechanical Method
If the idea of using strong acids makes you nervous (and it should), there's a brilliant and much safer alternative. This mechanical trick is perfect for getting into those weirdly shaped bottles or down those impossibly narrow necks where no brush could ever hope to reach.
It’s all about magnets. You’ll use a pair of powerful neodymium magnets to create a movable scrubber right inside the bottle.
This magnet method is a total game-changer for big carboys and demijohns. You can apply direct, focused pressure on a single spot inside the bottle without scratching the glass—something a regular bottle brush could never do.
Here’s the setup. You need two strong magnets and a small piece of a non-scratch cleaning pad or microfiber cloth. Tightly wrap one magnet in the cloth (you can tie it off with a bit of thread) and drop it into the bottle.
Now, take the second magnet and bring it to the outside of the glass. It will "grab" the cloth-covered magnet inside. By sliding the outer magnet around, you can guide the inner scrubber precisely over any stain. The magnetic force provides all the scrubbing pressure you need to dislodge grime and mineral deposits. It's surprisingly effective and completely chemical-free.
Your Essential Toolkit and Safety Practices
Before you even think about putting a bottle in water, let’s talk about getting your gear together. Just like a chef preps their ingredients, having the right tools on hand makes the whole process go smoothly and safely. A good cleaning kit for antique glass doesn't have to be complicated or expensive, but it does need to be smart.
A big part of that is choosing the right cleaners. I always recommend starting with the best eco-friendly cleaning products you can find. Harsh chemicals are not only overkill but can actually damage the glass or leave a residue, not to mention they aren't great for you or the environment.
Assembling Your Cleaning Kit
Your toolkit should be all about being gentle but effective. You want tools that can handle decades of grime without scratching or chipping the glass.
Here’s what I always have at my station:
- A Variety of Bottle Brushes: One brush won't cut it. You'll need a mix of long, flexible ones to hit the bottom of tall, skinny bottles and some with rounder heads to scrub the inside shoulders. The key is to always use soft, nylon bristles—never metal.
- Non-Abrasive Nylon Pads: For cleaning the outside, a simple nylon scrubber (the kind you use on non-stick pans) is perfect. It has just enough grit to remove caked-on dirt without leaving a network of micro-scratches.
- Plastic Tubs or Buckets: This is a non-negotiable for me. Never clean antique bottles directly in a porcelain or metal sink. One little slip and you've got a chipped rim. A plastic tub provides a soft, forgiving environment.
- Microfiber Towels: For drying, nothing beats a microfiber towel. They’re super absorbent, incredibly soft, and won’t leave lint all over your beautifully clean bottle.
Prioritizing Safety Above All
Knowing how to clean your bottles safely is far more important than any specific technique. Thankfully, the collecting world has moved on from the dangerous, old-school methods people used to recommend. There’s a huge emphasis now on protecting ourselves and our glass.
We've learned a lot over the years. Old-timers might have used harsh acids or even carcinogenic solvents to get bottles sparkling, but today’s experts and collector communities are all about safer alternatives like gentle detergents and non-scratching cleansers.
This isn't just about being cautious; it's about being smart. Common sense, good ventilation, and avoiding hazardous chemicals are the new gold standard. It’s all about protecting yourself and the long-term value of your collection.
Even when you're using something as seemingly harmless as vinegar, you need to take precautions.
- Gloves: A simple pair of rubber dish gloves is a must. They’ll keep your hands from getting waterlogged and protect them from any cleaning solutions.
- Eye Protection: It might feel like overkill, but safety glasses are a brilliant idea. All it takes is one accidental splash to the eye, especially when you’re shaking a bottle, to cause serious problems.
- Good Ventilation: Always work in a room with good airflow. Even vinegar fumes can get overwhelming in a small, closed-off space.
Setting up a safe and efficient workspace is the single best thing you can do to protect your health and ensure your collection stays pristine for years to come.
You’ve done the hard work and brought your antique bottles back to life. Getting them sparkling clean is a huge milestone, but we're not quite at the finish line yet.
What you do after that final rinse is just as crucial as the cleaning process itself. This is where we shift from restoration to preservation, making sure your collection stays beautiful for the long haul.
The Art of a Spotless Finish
Once you've given the bottle a final rinse with clean water, the next mission is getting it bone dry, especially on the inside. Any trapped moisture is a real problem—it can leave ugly water spots, create a musty smell, or even lead to mildew.
This is a real head-scratcher with narrow-necked bottles, but I’ve found a method that works every time.
- First, let gravity do the work. Flip the bottle upside down on a soft, absorbent towel. Just let it sit for a few hours. You'd be surprised how much water will drip out on its own.
- Next, bring in some air. Grab a can of compressed air that has one of those long, thin straw attachments. A few gentle puffs inside the bottle will chase out any stubborn droplets and dramatically cut down the drying time.
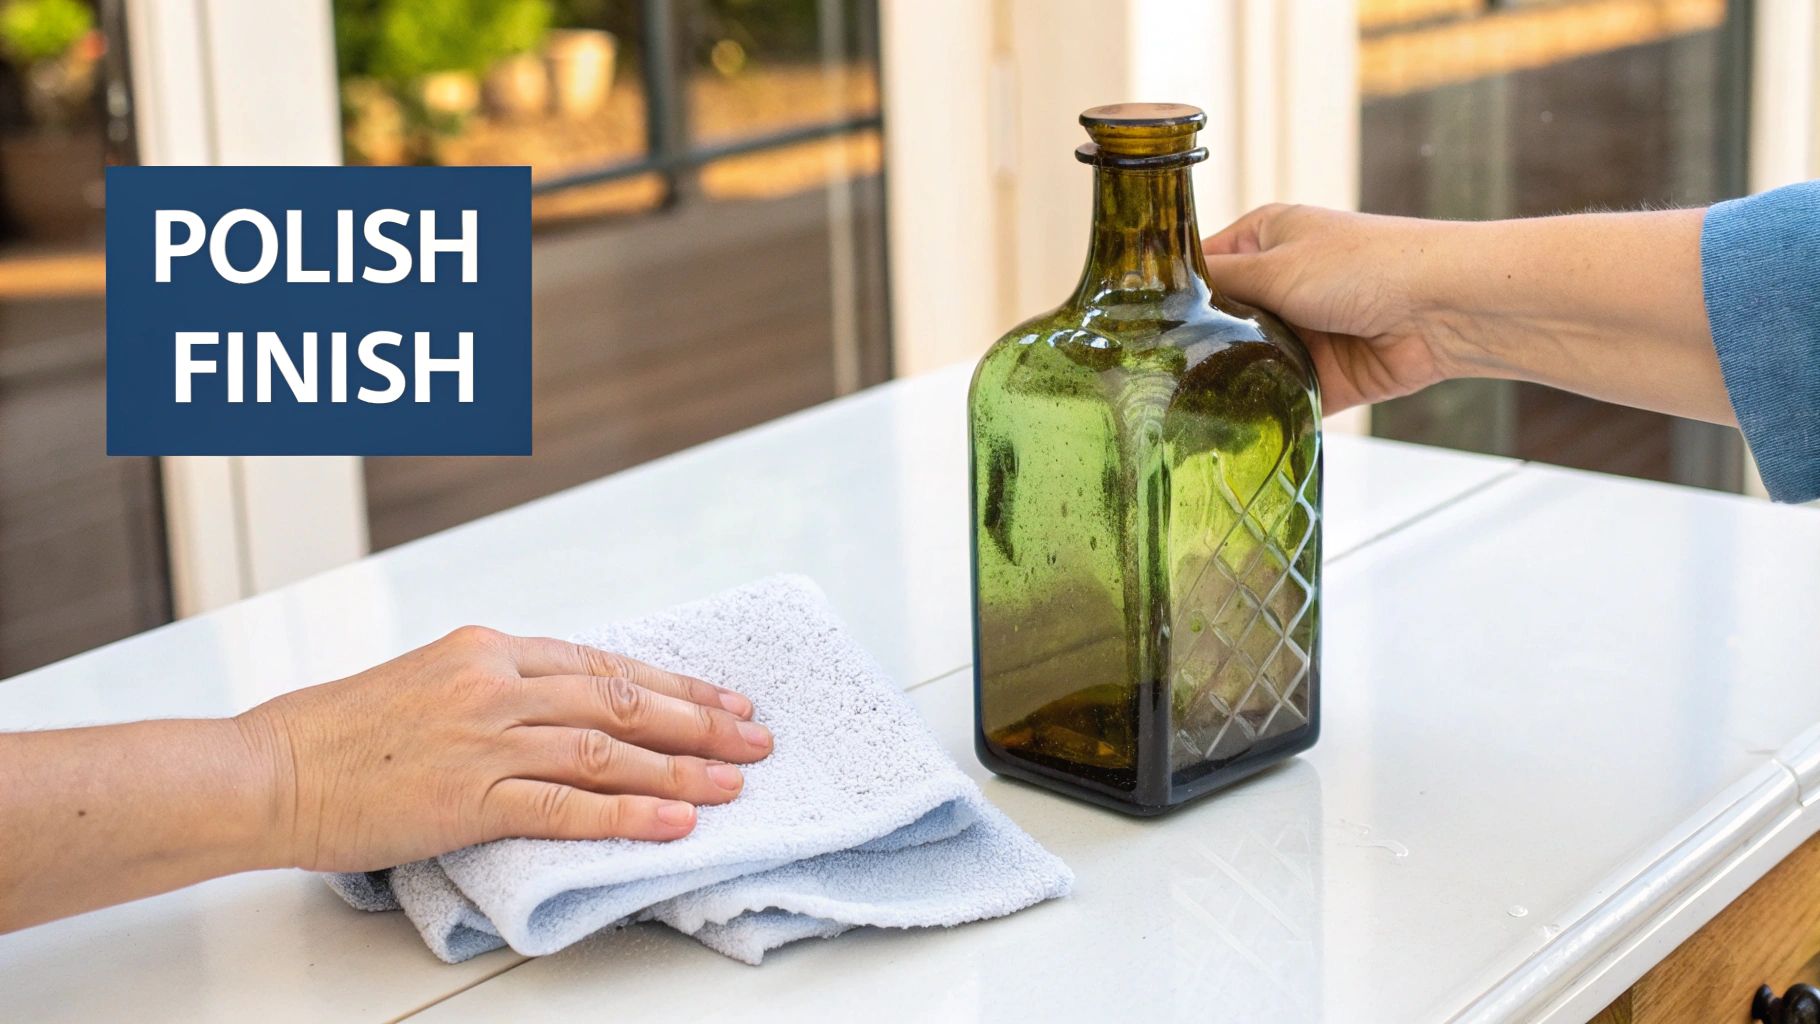
- Finally, polish it up. Once it’s completely dry, inside and out, take a soft, lint-free microfiber cloth and give the exterior a gentle polish. This will buff away any fingerprints and bring out that beautiful, natural luster without leaving micro-scratches.
A Word of Warning: Whatever you do, never use heat to dry an antique bottle. A hairdryer or leaving it in a sunny window might seem like a quick fix, but the rapid temperature change can cause thermal shock. That's a fast track to fine cracks or, even worse, a shattered piece of history.
Creating a Safe and Beautiful Display
Now for the fun part: showing off your gleaming, clean bottles. A good display is more than just about looking nice; it’s about protecting your collection from the things that can undo all your hard work. The biggest enemies of antique glass are UV light, extreme temperature swings, and accidental bumps.
Sunlight is a serious threat. I've seen it happen—prolonged exposure to direct UV rays can cause the color in glass, especially amethyst and some greens, to fade over time. Research on historic glass has shown that UV light can actually alter its chemical makeup, leading to discoloration. The takeaway is simple: always display your collection away from direct sunlight.
Here are a few practical ways to keep your bottles safe while they're on display:
- A sturdy cabinet with glass doors is your best friend. It keeps the dust off and protects from accidental knocks.
- Choose shelves that are far away from windows and aren't in high-traffic areas where someone might bump into them.
- Keep them clear of heat sources like radiators, fireplaces, or vents. Those constant temperature changes put a lot of stress on old glass.
Finding the right spot is a balance between safety and style. If you’re looking for more inspiration, you can find some fantastic collectible display ideas that do a great job of both. Taking these final precautions ensures your treasured finds will remain pristine artifacts for years to come.
Common Questions About Cleaning Antique Bottles
Even after you've cleaned dozens of bottles, new challenges always seem to find their way to your sink. It's just part of the hobby. Whether you're a seasoned digger pulling treasures from the earth or a new collector who just scored at an estate sale, a few common questions always come up.
Let's walk through some of the most frequent problems people run into. Getting these answers right can save you a lot of grief and prevent a beautiful piece of history from getting ruined.
Can I Put Antique Bottles in the Dishwasher?
I hear this one all the time, and the answer is an emphatic no. Please, never put an old bottle in the dishwasher. It might seem like an easy shortcut, but the combination of extreme heat and harsh detergents is a death sentence for antique glass.
The rapid temperature changes can cause thermal shock, creating invisible stress fractures or, in a worst-case scenario, causing the bottle to shatter outright. On top of that, the powerful water jets and abrasive dishwasher detergents can permanently etch the glass, leaving it with a cloudy, dull film that you'll never be able to remove. It's a gamble that's just not worth taking.
What Is Bottle Sickness and Can It Be Cleaned?
You may have come across a bottle with a cloudy, sometimes iridescent or rainbow-like haze that seems to be inside the glass itself. Collectors call this "bottle sickness" or "sick glass."
Unfortunately, this isn't a stain you can scrub away. It's a permanent degradation of the glass, a chemical breakdown that happens over decades of being buried in certain soil conditions, like highly acidic or mineral-heavy ground.
A huge part of learning how to clean antique bottles is knowing what can't be cleaned. Spotting sick glass early will save you from trying to fix the unfixable. It's a scar from the bottle's journey, not a layer of dirt.
How Can I Remove a Stubborn Stopper?
Dealing with a stuck glass stopper feels like trying to solve a delicate puzzle. Your first instinct might be to force it, but that's the quickest way to break the stopper or snap the bottle's neck. Patience is your best friend here.
Before you get aggressive, try a few gentle tricks:
- Try a Warm Water Soak: Place just the neck of the bottle in a bowl of warm water—not hot! This can cause the outer glass neck to expand ever so slightly, which is sometimes just enough to loosen the stopper's grip.
- Use a Penetrating Oil: If a soak doesn't do the trick, dry the area completely. Then, apply a tiny drop of penetrating oil, like WD-40, right at the seam where the stopper and neck meet. Give it a few hours to work its way into the joint.
- Gently Wiggle, Don't Pull: After letting the oil sit, try to gently wiggle the stopper from side to side with a slight twisting motion. The goal is to break the seal, not yank it out. Never grab a pair of pliers; you'll almost certainly end up with a broken bottle.
Feeling overwhelmed by a family inheritance or a recent thrift store haul? Let Curio help. Snap a photo of any antique, and our app can provide its history, origin, and an estimated value in seconds. Take the guesswork out of your treasures and uncover their stories today at https://www.curio.app.