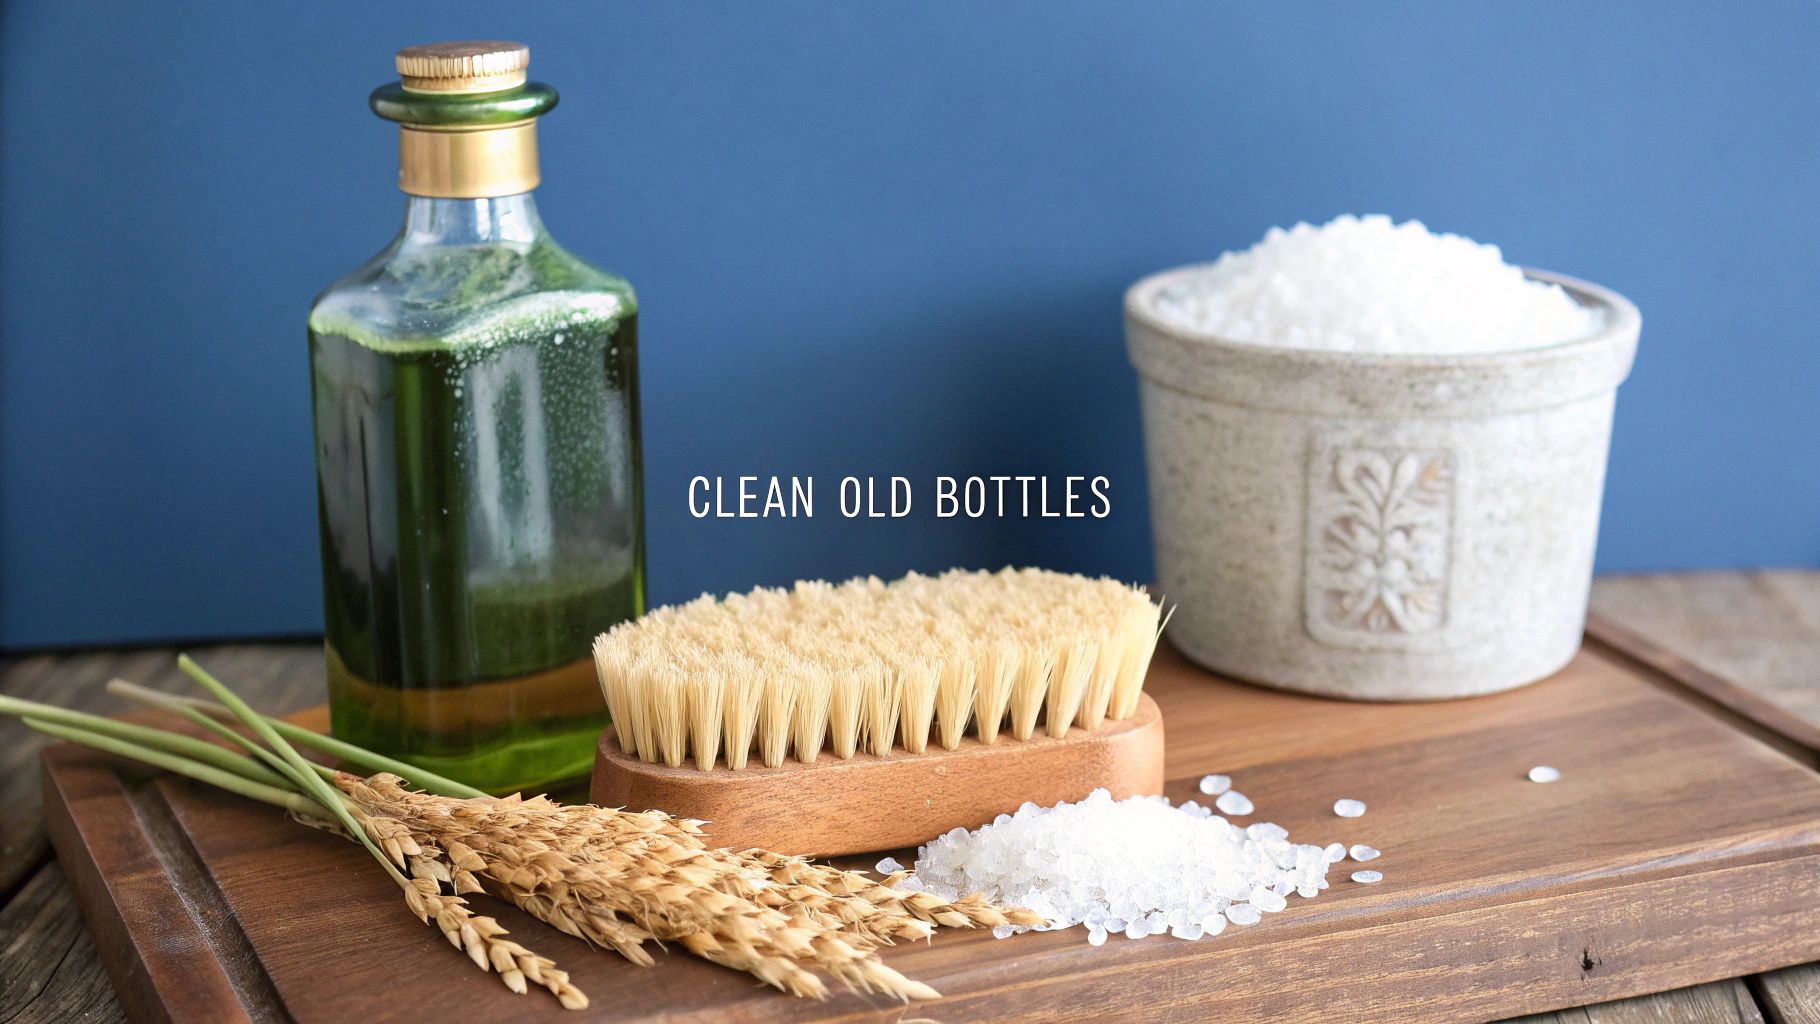
Before you grab the nearest scrub brush, let's start with a bit of patience. The first rule of cleaning old glass is to be gentle. A simple bath in lukewarm water with a few drops of mild dish soap is always the best first step. This isn't just about cleaning; it's about carefully waking up a piece that might have been dormant for decades.
Your First Steps in Cleaning Old Glass Bottles

Think of this initial stage as a gentle inspection. Old glass, especially pieces that have been buried or forgotten in a barn, can be incredibly fragile. Its biggest enemy? Sudden temperature changes.
Never, ever plunge an old bottle into hot or icy water straight from the tap. This can cause thermal shock, where invisible fissures in the glass expand rapidly, leading to cracks or even a complete shatter. Starting with a lukewarm rinse safely washes away the surface-level dust, cobwebs, and loose soil, giving you a much clearer view of the real challenge ahead.
Preparing Your Workspace
A little prep work goes a long way in preventing a heartbreaking accident. Creating a safe cleaning station is non-negotiable.
- Pad Your Sink: The bottom of a porcelain or steel sink is a danger zone. Lay down a thick towel, a rubber mat, or even a flexible silicone baking sheet to cushion any potential slips or drops.
- Gather Your Supplies: It's always a good idea to have your tools ready before you start. Consulting a comprehensive household cleaning supplies checklist can be a big help, but at minimum, you'll want mild dish soap, a soft cloth, and a few different-sized bottle brushes.
- Work with Good Lighting: You’d be surprised what you can miss in a dim room. Good light helps you spot everything from faint stains and hairline cracks to the subtle maker's marks that tell a bottle's story.
This isn't just about safety; it’s part of the discovery. As you handle the bottle, you might feel an embossed logo or notice a unique shape. If that sparks your curiosity, learning about antique glass bottle identification can turn a simple cleaning job into a fascinating historical treasure hunt.
Identifying the Grime
With the loose dirt gone, it’s time to play detective. What are you really up against? Is it a light, cloudy film that obscures the glass, or are there thick, crusty deposits cemented to the inside? Figuring this out now will save you a lot of frustration later.
Most bottle gunk falls into one of three categories:
- Organic Matter: This is the leftover gunk from the bottle's original contents, sometimes mixed with mold or mildew.
- Mineral Deposits: Often called "bottle sickness," this is a white, chalky film caused by hard water or liquids that have leached minerals into the glass.
- Stubborn Stains: These are deep-set discolorations from chemicals or other liquids that have essentially dyed the glass over many years.
For light dust and simple organic residue, that initial soak might be all you need. But for heavy mineral buildup or deep stains, you'll have to bring out the bigger guns, which we'll get into later.
Pro Tip: If your bottle has a paper label or any painted details you want to save, do not submerge it. Your focus should be on cleaning the inside only. Carefully wipe the exterior with a barely damp cloth, staying well away from the label.
To make things easier, I've put together a quick reference table. Use it to match the type of residue you're seeing with the best approach to start with. Getting this right from the beginning is the key to getting great results without damaging your find.
Choosing Your Cleaning Method by Residue Type
| Residue Type | Recommended Primary Method | Tools You'll Need | Caution Level |
|---|---|---|---|
| Surface Dust & Grime | Gentle rinse and wipe-down | Soft cloth, lukewarm water | Low |
| Light Interior Haze | Basic soap and water soak | Mild dish soap, bottle brush | Low |
| Caked-on Dirt/Mud | Extended soak, gentle abrasive | Rice or coarse salt, dish soap | Medium |
| Mineral Deposits/Cloudiness | Acidic soak (vinegar) | White vinegar, water | Medium |
This table should give you a solid starting point for most common situations. Remember to always start with the least aggressive method first before moving on to stronger solutions.
Mastering the Gentle Soak and Wash Method

When it comes to cleaning old glass, patience is your best friend. Seriously. For most bottles, especially the ones just covered in decades of dust or a light film inside, a good long soak is all you need to get a brilliant shine without touching harsh chemicals. This is my go-to first step—it's all about letting time and simple chemistry do the hard work for you.
The magic starts with a simple mix: warm water and a few drops of mild dish soap. Find a plastic basin or pad your sink, submerge the bottle completely, and just let it be. A few hours works for light surface dirt, but for that stubborn, caked-on grime, I've found a 24 to 48-hour soak can work wonders. This process slowly softens up all that old gunk, making it way easier to rinse away later.
It's a simple process. The soap's surfactants get to work breaking down the water's surface tension, letting it sneak under all the greasy, organic material that’s been bonded to the glass for years. This is hands-down the gentlest way to start, ensuring you don't scratch the glass or damage any delicate details.
Creating the Perfect Soaking Solution
While the recipe is basic, getting the details right will give you better results. The goal is a cleaning solution that’s tough on grime but completely safe for the glass.
- Water Temperature: Stick to lukewarm or room-temperature water. Never use hot water, as the sudden temperature change can cause thermal shock and crack your bottle.
- Soap Choice: I always reach for a simple, clear dish soap. Avoid anything with aggressive degreasers, bleach, or heavy dyes.
- Soaking Vessel: A plastic tub is your safest bet. A hard porcelain sink can be unforgiving if a bottle accidentally tips over.
Think of this initial soak as a diagnostic tool. Once it's done, you'll have a much clearer picture of what you're dealing with and what—if any—stubborn stains are left behind.
It’s not just a hunch; a long soak is scientifically proven to be more effective than just scrubbing away. Research on cleaning practices shows that methods including a soak dramatically reduce biofilm and are far more efficient at removing dirt. This is why learning how do you clean old glass bottles properly always starts with patience, not force.
Hands-On Interior Cleaning with Gentle Abrasives
After a good soak, you might still find some stubborn residue clinging to the inside, especially in those awkward nooks and crannies. This is where a gentle abrasive can save the day. Put away any thoughts of metal brushes or scouring pads—your best tools are probably sitting in your kitchen pantry.
Uncooked rice, coarse salt, or even tiny seeds make fantastic, gentle scrubbers. The method couldn't be simpler:
- First, drain the soaking water from the bottle.
- Add a bit of your abrasive—a tablespoon or two is usually enough for a standard bottle.
- Pour in a little warm water and just a single drop of dish soap.
- Cover the opening tightly with your thumb or a stopper and give it a good, vigorous shake.
The tiny particles will swirl around inside, gently scrubbing the interior walls and knocking loose any leftover grime. This trick is a lifesaver for bottles with narrow necks where a brush just can't reach.
Technique Tips for the Perfect Shake
Believe it or not, how you shake the bottle makes a difference. You're trying to create a little vortex inside that lets the abrasive hit every single surface, from the bottom right up to the shoulder.
Instead of just shaking up and down, try swirling the bottle in a circular motion. This creates a centrifugal force that presses the rice or salt against the glass for maximum cleaning power. After a minute or two of shaking, rinse the bottle out with clean, warm water until every last grain and all the soap is gone. You might need to rinse it a few times.
This multi-step approach is backed by science, too. Studies show that combining a soak with a mechanical action like shaking is far more effective at getting rid of contaminants. In fact, one study noted that over 73% of people who only shook their bottles without a pre-soak had worse results. It also found that structured cleaning could cut related health incidents by up to 30% in markets where bottles are frequently reused. You can find more insights from the study on bottle cleaning efficiency.
Mastering this gentle soak-and-shake method is the foundation of cleaning old glass. More often than not, it’s the only technique you’ll need to bring back that brilliant clarity to your finds and preserve them for years to come.
Tackling Stubborn Stains and Mineral Deposits
When a simple soak and a good shake just don't cut it, you're left with the real challenges: that stubborn, chalky film, a deep cloudy haze, or stains that look like they're part of the glass itself. This is where we need to get a little smarter, using some basic chemistry to dissolve years of buildup without harming the bottle.
The secret is to start gentle and only get more aggressive if you absolutely have to. This approach protects the glass while giving you the best shot at restoring its original sparkle. You'd be surprised what a few common household items can do.
Starting with Mild Acids and Bases
Your first move against that cloudy film—often called "bottle sickness"—should always be a mild acid soak. That haze is usually just mineral deposits like calcium and magnesium left behind by water over decades. A gentle acid is the perfect tool to break them down.
- White Vinegar Solution: Fill the bottle with a 50/50 mix of warm water and plain white vinegar. Let it sit for at least a few hours; for really tough cases, leaving it overnight is best. The acetic acid in the vinegar works slowly and safely to dissolve those mineral bonds.
- Baking Soda Paste: For stains on the outside of the bottle, a simple paste of baking soda and water works wonders. Smear it on the spot, let it dry completely, and then gently buff it off with a soft cloth. It’s a mild abrasive that can lift surface stains without scratching.
I can't tell you how many times a vinegar soak has saved a bottle I thought was a lost cause. If you've got an old milk bottle with that classic white haze, give it a full 24 hours in vinegar. More often than not, the film just rinses right off afterward.
Key Takeaway: Most mineral deposits are alkaline. A mild acid, like the acetic acid in white vinegar, creates a chemical reaction that neutralizes and dissolves the buildup, making it easy to wash away.
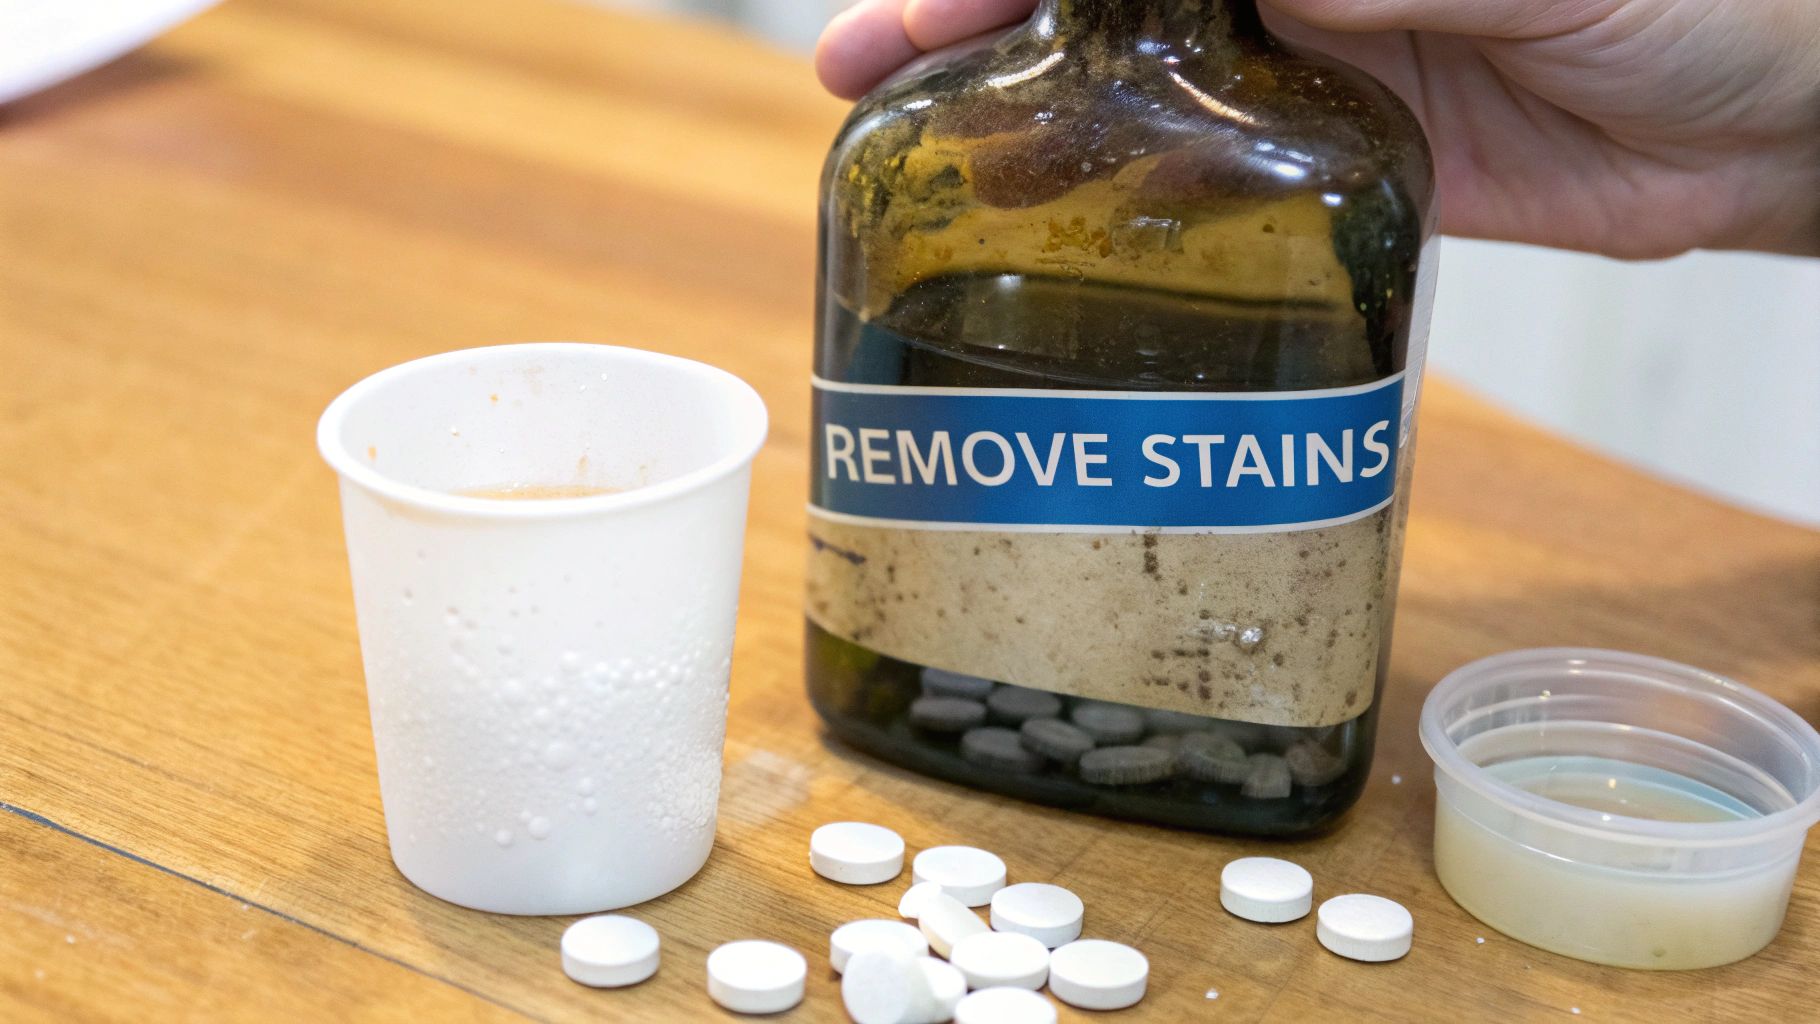
The Surprising Power of Denture Tablets
Here’s a trick that seasoned collectors have been using for years, and for good reason. Denture cleaning tablets are little fizzing powerhouses, designed to break down tough stains and mineral buildup on delicate materials. Their magic is all in the fizz.
Most denture tablets contain sodium bicarbonate and citric acid. When they hit the water, they create an effervescent action that produces tons of tiny, scrubbing bubbles. This gentle but persistent motion gets into every nook and cranny, dislodging grime where a brush could never reach.
Just fill your bottle with warm water, drop in one or two tablets, and let them do their thing. Give it several hours or even an entire day. It’s amazing to see what a product made for false teeth can do for antique glass.
Advancing to Stronger Solutions with Caution
Every now and then, you’ll run into a stain that laughs at vinegar and denture tablets. This is common with bottles that have been buried for a long time, leading to a rainbow-like iridescence or deep, ugly rust stains. For these, you might need to bring out the bigger guns—but you have to do it carefully.
Oxalic acid, sometimes sold as "wood bleach," is a much stronger option for dissolving rust and heavy mineral deposits. I have to stress this: it is a toxic substance and you absolutely must handle it with care.
Safety is non-negotiable when using chemicals like this:
- Always wear protective gear. That means waterproof gloves and proper safety goggles, no exceptions.
- Ensure proper ventilation. Work outside if you can, or at least with an open window and a fan to keep the air moving.
- Follow the instructions. Mix the acid exactly as the label says, and remember the rule: always add acid to water, never the other way around.
This is a last-resort method for the most hopeless cases. Think of a bottle dug from an old dump site that's covered in heavy, iron-based staining. For a deeper dive into the science, learning about removing water spots from glass can offer some great insights.
It's also smart to consider what kind of glass you're working with. Certain types, like the beautiful and collectible https://www.curio.app/blog/antique-vaseline-glassware, can have unique properties. If you’re ever unsure how a piece might react to a chemical cleaner, it's always best to test it on a small, hidden spot first.
Using Advanced Tools and Mechanical Cleaning
When a good soak and gentle scrubbing just won't cut it, you've got to bring out the big guns. Some residue is so stubborn it's practically cemented to the inside of the glass, especially in those old bottles with impossibly narrow necks. This is where mechanical cleaning comes in—it’s not about brute force, but about using the right tools to apply pressure in exactly the right spots.
This isn't some newfangled technique. Collectors today are actually taking a page from history. Back in the late 1800s, people were using clever mechanical devices with rotating wires and brushes to clean out wine bottles. It just goes to show that when it comes to cleaning truly stubborn old glass, sometimes the old ways are the best ways. You can actually see some of these fascinating early mechanical bottle cleaners and get a sense of how they tackled the problem.
Choosing the Right Bottle Brush
The simplest tool for the job is a good old bottle brush. But I have to stress—the right bottle brush is key. Picking the wrong one can permanently scratch up the inside of a beautiful old bottle, and that's a mistake you only make once.
Here’s what I look for in a brush that’s safe for vintage glass:
- A Flexible Wire Core: The brush needs to bend and snake its way into the shoulders and base of the bottle. A stiff, straight brush is pretty much useless for getting a thorough clean.
- Soft Bristles: Stick to nylon or natural fibers. Stay far away from hard plastic or, worse, metal bristles. They will absolutely tear up the soft glass of an antique bottle.
- A Padded Tip: This is non-negotiable. A good brush has a cotton or fabric tuft at the very end. If that metal wire tip is exposed, it acts like a tiny chisel, gouging circles into the bottom of your bottle as you work.
Once you have the right brush, add a little soapy water to the bottle and get to work gently. A swirling, twisting motion is much more effective and safer than aggressive up-and-down scrubbing. Let the bristles do the work for you.
The Collector’s Secret Weapon: The BB Method
For those impossible-to-reach spots inside old medicine or soda bottles, collectors have a tried-and-true trick up their sleeves: the "BB method." This technique is brilliant—it uses small, heavy objects to act as tiny scrubbers inside the bottle, perfectly mimicking those old mechanical cleaners.
The concept is simple. You add a small amount of abrasive material and some soapy water, then carefully shake the bottle to scrub the interior. It’s incredibly good at removing that last film of caked-on gunk that a soak or brush just can’t touch.
A Quick Warning: This method works wonders, but you need to be careful. Shaking too hard can, in rare cases, break thin or fragile glass. I always do this over a soft towel or a padded mat, just in case of an accident.
A Step-By-Step Guide to the BB Method
Ready to give it a shot? It’s a lot easier than it sounds, and the results can be fantastic. Here’s how to do it safely.
- Pick Your Scrubber: You've got a few options. Small steel BBs are the classic choice. A short piece of a metal ball fan pull chain also works great. If you don't have either, a pinch of clean, small aquarium gravel or even crushed walnut shells can work in a pinch.
- Load the Bottle: Drop a small amount of your abrasive into the bottle. If you're using BBs, a small handful—about a teaspoon's worth—is all you need. The goal is to have enough to scour the glass, not to fill the bottle up.
- Add Soap and Water: Squeeze in a few drops of mild dish soap, then fill the bottle about one-third of the way with warm water.
- Shake with Care: Plug the top with your thumb or a stopper. Now, swirl and shake the bottle in a controlled, circular motion. You want the BBs or chain to slide and tumble against the glass, not smash into it. Keep this up for a few minutes, focusing the motion on the problem areas.
- The All-Important Retrieval: This is the trickiest part. To get every single BB out, you need to turn the bottle upside down over a strainer and slowly rotate it while rinsing with water. The BBs will spiral right out into the strainer. If you used a ball chain, a pair of tweezers or forceps can usually fish it out easily. Always double-check that you got everything out before calling the job done!
How to Clean a Bottle Without Damaging Labels
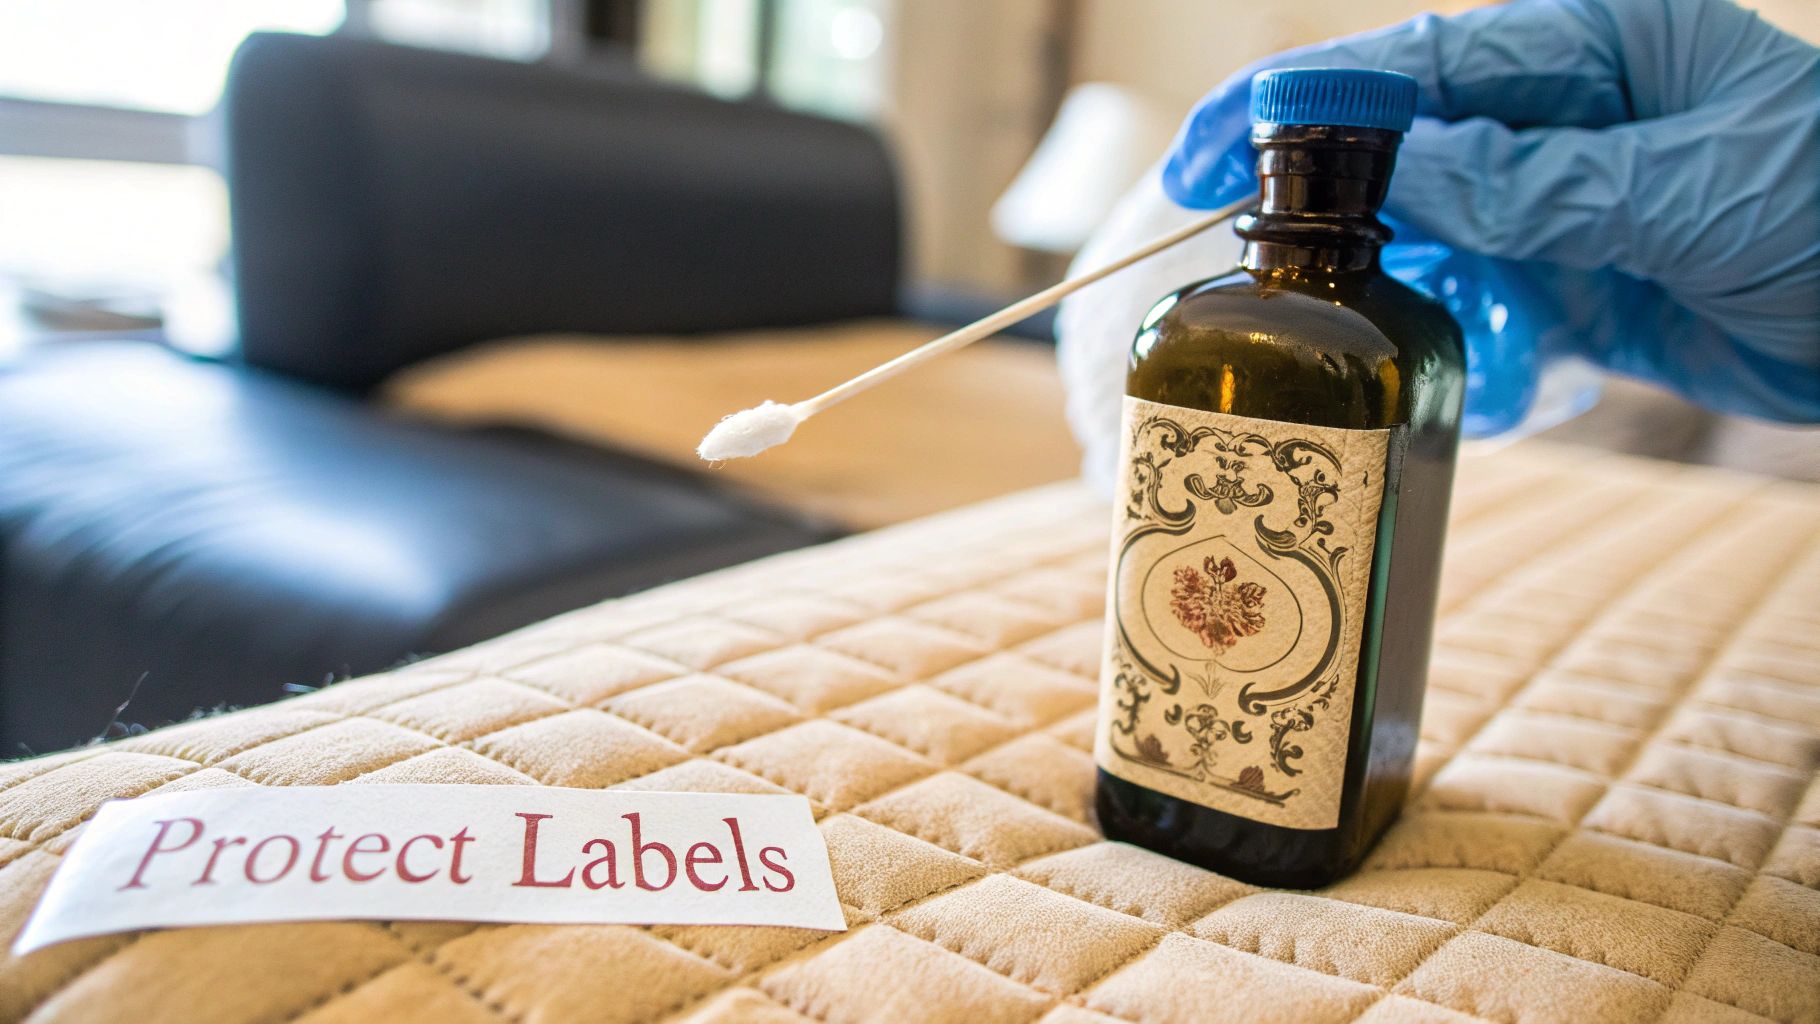
Sometimes, the most valuable part of an old bottle isn't the glass, but the story it tells through its label. A faded paper label or a painted logo is a direct link to the past, and preserving it is often far more important than getting the glass to sparkle. This is where cleaning becomes a delicate art, shifting from restoration to conservation.
Aggressive cleaning is the fastest way to destroy a labeled bottle's value. Water is the mortal enemy of old paper and the glues that held it in place for decades. Your goal is to clean the glass around the label, never the label itself. This takes precision, patience, and a very steady hand.
Protecting the Label During Cleaning
First thing's first: take a good, hard look at the label's condition. Is it peeling, flaking, or brittle? The more fragile it looks, the more careful you need to be. The entire game is about avoiding any direct moisture contact with that paper.
Here are the safest techniques I've found for cleaning the glass while protecting its history:
- The Cotton Swab Method: This is my go-to for any precision work. Lightly dampen a cotton swab with distilled water—it should be barely wet to the touch, not dripping. Carefully wipe the glass, working in small sections and staying at least a quarter-inch away from the label's edge.
- Dry Brushing: For loose dust and cobwebs, a very soft, dry brush works wonders. Think of something like a clean makeup brush or a fine-tipped artist's paintbrush. Gently whisk away the surface dirt without putting any real pressure on the label.
- Plastic Wrap Protection: If a label seems to be in pretty good shape, you can carefully wrap that section of the bottle with plastic wrap. I like to secure the edges on the glass with a bit of low-tack painter's tape. This creates a temporary waterproof barrier, letting you be a little less anxious when rinsing the rest of the bottle.
Don't forget, the inside of the bottle can still be cleaned using methods like the rice or BB shake. Just make sure you plug the bottle's opening securely to prevent even a single drop from splashing onto the exterior and ruining that fragile label.
To Clean or Not to Clean
This is the most important question you can ask: should this bottle even be cleaned at all? Often, the answer is a hard no. That "barn fresh" patina—the authentic layer of dust and age—can be a huge part of a bottle's appeal and value to collectors. Wiping it away can feel like erasing its history.
This decision often comes down to the bottle's rarity and age. Understanding key markers like pontil scars or mold seams can help you figure out what you have. When in doubt, it’s best to err on the side of caution.
Expert Insight: For a truly rare find, especially one with a pristine label, the best course of action is often to do nothing. A gentle dusting may be all that's needed. Over-cleaning is an irreversible mistake that can turn a valuable antique into just an old bottle.
Knowing when to stop is a crucial skill. If you're uncertain about a piece's significance, it's always wise to consult an expert before you do anything you might regret. Learning more about the most valuable antique glassware can also give you context on what makes certain pieces special and worth preserving in their original state. Ultimately, your goal is to enhance the bottle's beauty without erasing its journey.
Your Top Questions About Cleaning Old Bottles, Answered
Once you get the hang of the basics, you'll inevitably run into some specific head-scratchers. Bottle cleaning is part science, part art, and a lot of knowing what not to do. I've heard just about every question in the book, so let's tackle a few of the most common ones that pop up.
Can I Just Toss an Old Bottle in the Dishwasher?
I get this question all the time, and my answer is always a firm and fast no. A modern dishwasher is the absolute enemy of old glass. The extreme, rapid temperature changes can cause thermal shock, which will crack or even shatter a bottle that looked perfectly stable.
On top of the heat, harsh dishwasher detergents are far too abrasive. They can permanently cloud the glass with a hazy film called "etching"—and once that happens, there's no going back. If your bottle has any trace of a paper label or a painted logo, a cycle in the dishwasher will obliterate it. Always, always stick to cleaning by hand with lukewarm water.
What's the Trick for a Stuck Cork?
We’ve all been there: a cork that seems to have fused itself to the inside of the bottle’s neck. The first rule is to resist the urge to use brute force. You’re far more likely to snap the neck of the bottle than you are to get the cork out that way.
Patience is your best tool. Try soaking the neck of the bottle in warm water for several minutes. The gentle heat can cause the glass to expand just slightly, often enough to break the cork’s seal. Then, try a standard corkscrew with a slow, steady pull.
If the cork starts to crumble (a common issue with old, dried-out corks), it’s time to bring in the secret weapon: a two-pronged wine puller, often called an "Ah-So." This clever tool slides between the cork and the glass, letting you lift the whole thing out without pushing crumbling bits down into your bottle.
How Can I Get That Musty Smell Out?
That old, musty smell is a dead giveaway that some stubborn organic material is still lingering inside, even if the bottle looks clean. Getting rid of the odor is the final touch to get it ready for display. Luckily, you probably have the perfect solution right in your kitchen pantry.
Start with baking soda. It’s a fantastic natural deodorizer. Just drop a tablespoon or two into the bottle, add a splash of warm water to make a thin paste, and give it a good shake. Let it sit overnight to work its magic.
Another great option is a 50/50 mix of white vinegar and water. Let this solution sit for several hours to neutralize any lingering smells.
After using either method, rinse the bottle thoroughly with clean water. The most critical part of this whole process is letting it dry completely. Prop it upside down on a drying rack where air can circulate freely. Trapped moisture is what causes that musty smell to begin with, so don't rush this final step.
Curious about the story behind your newly cleaned treasures? Curio can tell you. Just snap a photo, and our app will give you instant identification, fascinating history, and a valuation estimate. Turn your collection into a catalog of known artifacts by downloading Curio today at https://www.curio.app.