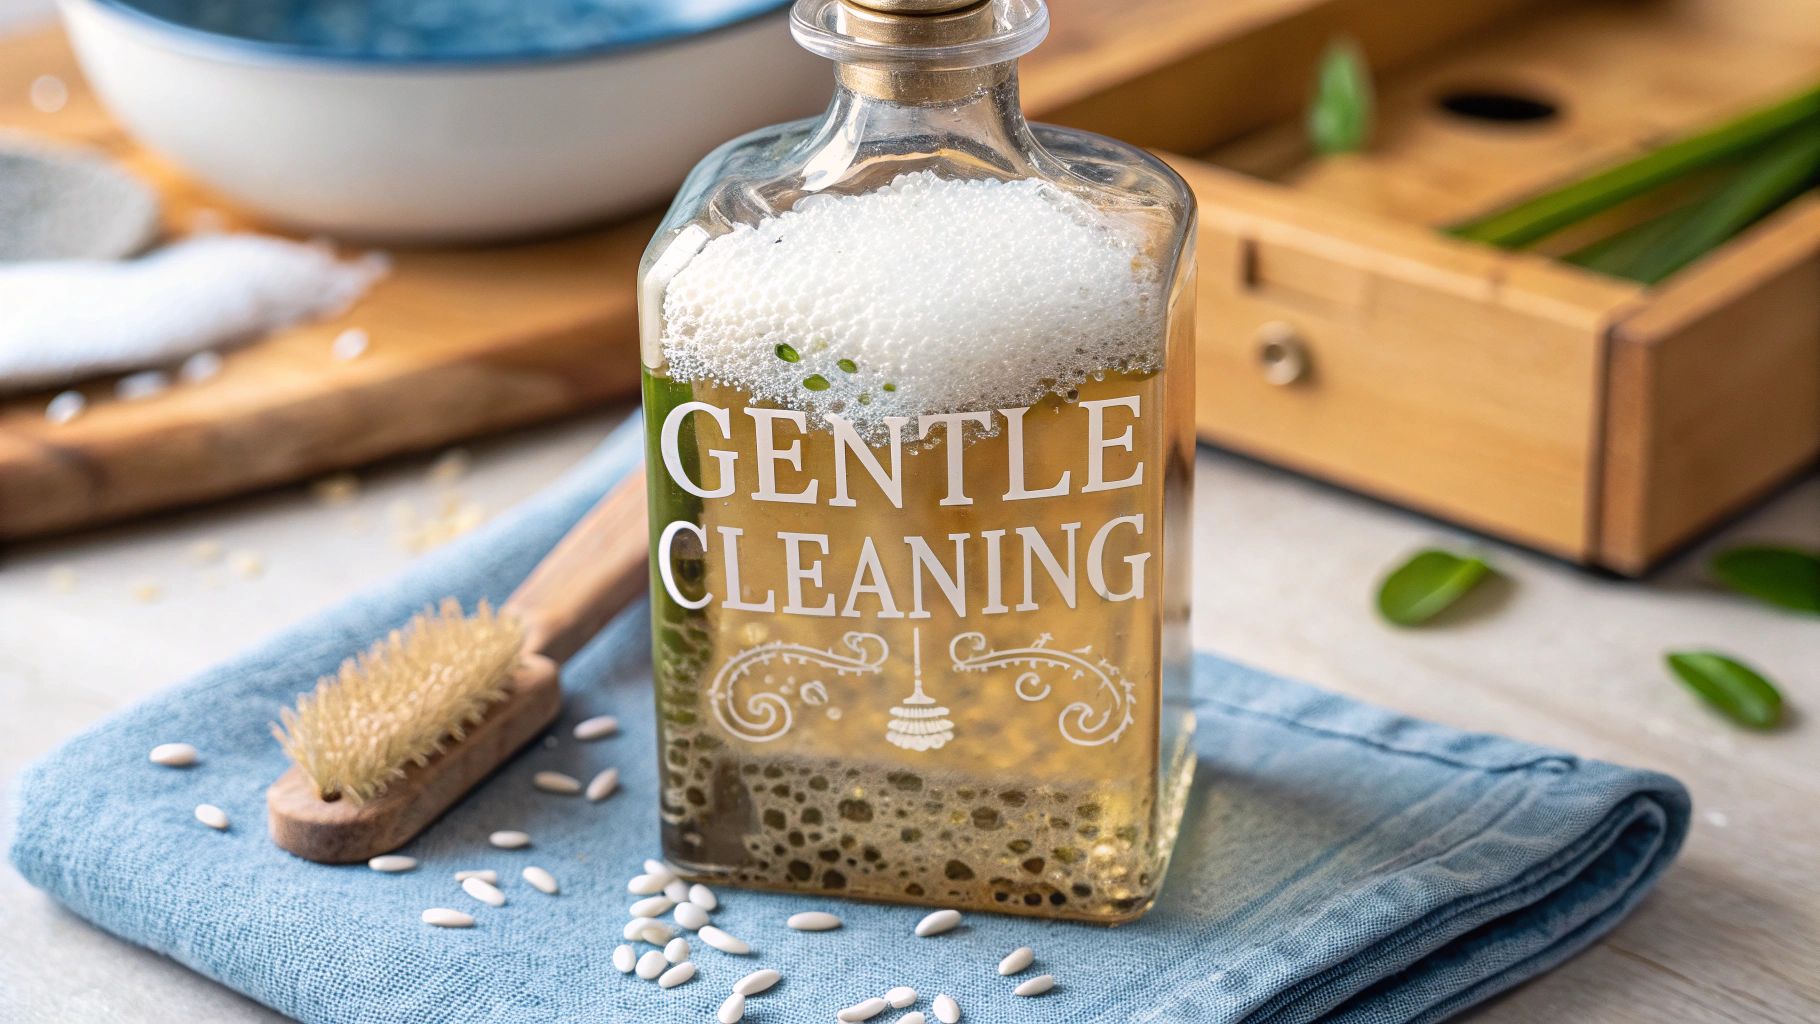
So you've found an antique glass bottle and want to bring back its sparkle. The secret is a gentle touch. It all starts with a simple soak in warm, soapy water, followed by a clever trick using soft materials like rice to scrub the inside. A final rinse with distilled water finishes the job.
The golden rule is to start with the least aggressive method possible. Patience is your best tool here, as it's the only way to remove years of grime without harming the fragile glass and erasing its history.
The Gentle Art of Cleaning Antique Glass
Before you even turn on the tap, take a moment to get in the right headspace. Cleaning an old bottle isn’t like washing tonight's dinner dishes. These are pieces of history, often with delicate imperfections that aggressive scrubbing can destroy in an instant.
Your goal isn't to make a 100-year-old bottle look like it just came off the factory line. It's to carefully reveal its original beauty while keeping its character intact. Think of it as a restoration, not a deep clean.
Many collectors—especially when they're just starting out—make the mistake of grabbing harsh chemicals or abrasive tools. This is a fast track to irreparable scratches, chips, or even a heartbreaking crack. Instead, we're going to embrace a "less is more" philosophy.
- Patience Over Power: A long, gentle soak can work wonders, achieving more than forceful scrubbing ever could.
- Safety First: Always work over a padded sink or inside a plastic basin. It’s a simple step that prevents devastating accidents.
- Preservation is Key: Remember, you're trying to remove dirt, not the story behind the bottle.
Understanding The Process
The methods trusted by seasoned collectors almost always involve a combination of soaking and gentle internal scrubbing. Interestingly, surveys show that around 73.5% of users prefer shaking the bottle with a soft material inside rather than using brushes, which can easily damage fragile glass.
For those especially delicate or valuable finds, your choice of cleaner is critical. A bit of research into choosing neutral pH cleaners for delicate surfaces can go a long way in protecting your entire collection from unintended harm.
The real art of cleaning antique glass lies in knowing when to stop. Sometimes, a little bit of residue or haze is part of the bottle's journey and story. Removing it completely can diminish its authentic character and historical value.
A Quick Overview Of The Cleaning Stages
To give you a clear roadmap, I've broken down the process into a few key stages. This structured approach helps ensure you’re always using the right technique at the right time, minimizing any risk to your precious find.
Here's a quick summary of the journey ahead.
Antique Bottle Cleaning At a Glance
| Stage | Objective | Key Consideration |
|---|---|---|
| Preparation | Assess bottle condition and set up a safe workspace. | Check for cracks, chips, and fragility before starting. |
| Gentle Soak | Loosen surface dirt and internal grime with minimal stress. | Use lukewarm, soapy water; avoid extreme temperatures. |
| Internal Agitation | Dislodge stubborn residue from inside the bottle. | Use soft materials like rice, never wire brushes. |
| Final Rinse & Dry | Remove all cleaning agents and prevent water spots. | A final rinse with distilled water is essential. |
Think of this table as your checklist. Following these steps in order will give you the best shot at a beautiful, clean, and—most importantly—intact antique bottle.
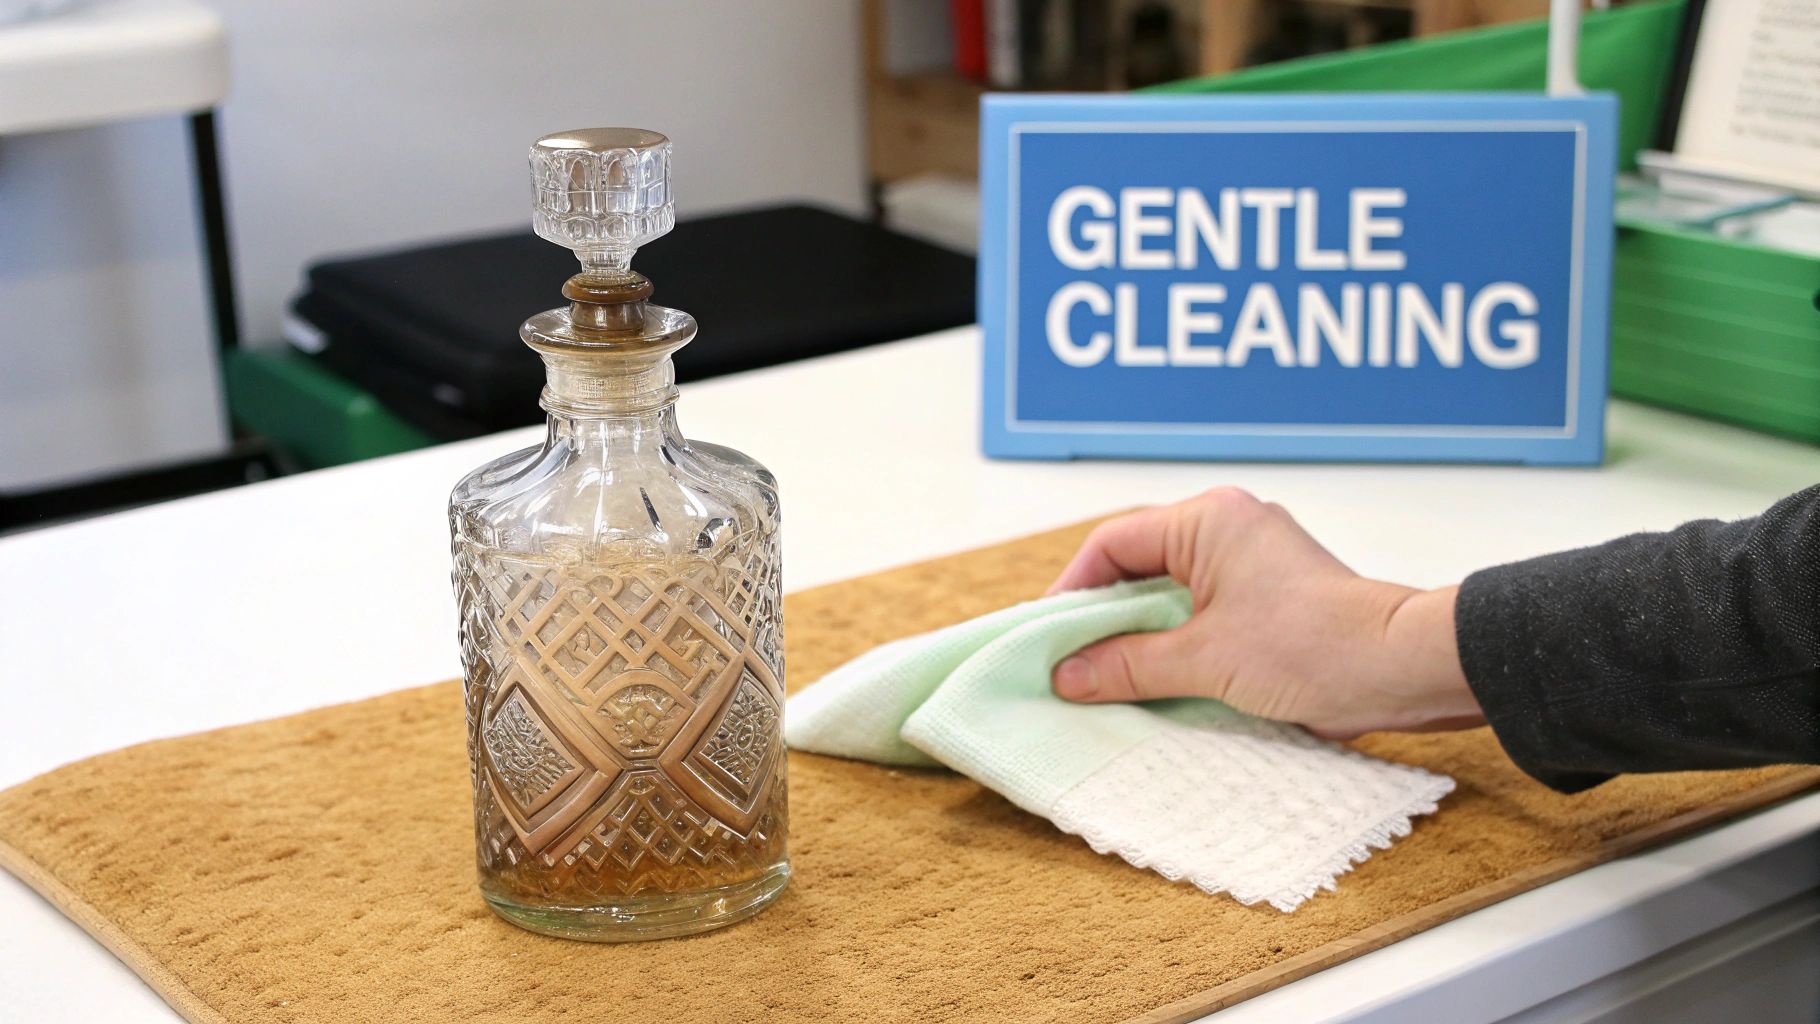
Preparing Your Bottles and Workspace
Before you even think about getting your bottles wet, the first move is always to set up a safe workspace. This is the single most important step in protecting your fragile finds from damage. It’s less about being tidy and more about creating a soft-landing zone to prevent the collector's nightmare: an accidental slip.
The biggest mistake I see beginners make is working directly in a hard porcelain or stainless-steel sink. One wrong move and you’ve got a chip or a crack. Always, and I mean always, pad the bottom of your sink. A thick, folded towel or a rubber mat will do the trick. A plastic dish basin placed inside the sink is even better, as it gives you a cushioned buffer on all sides.
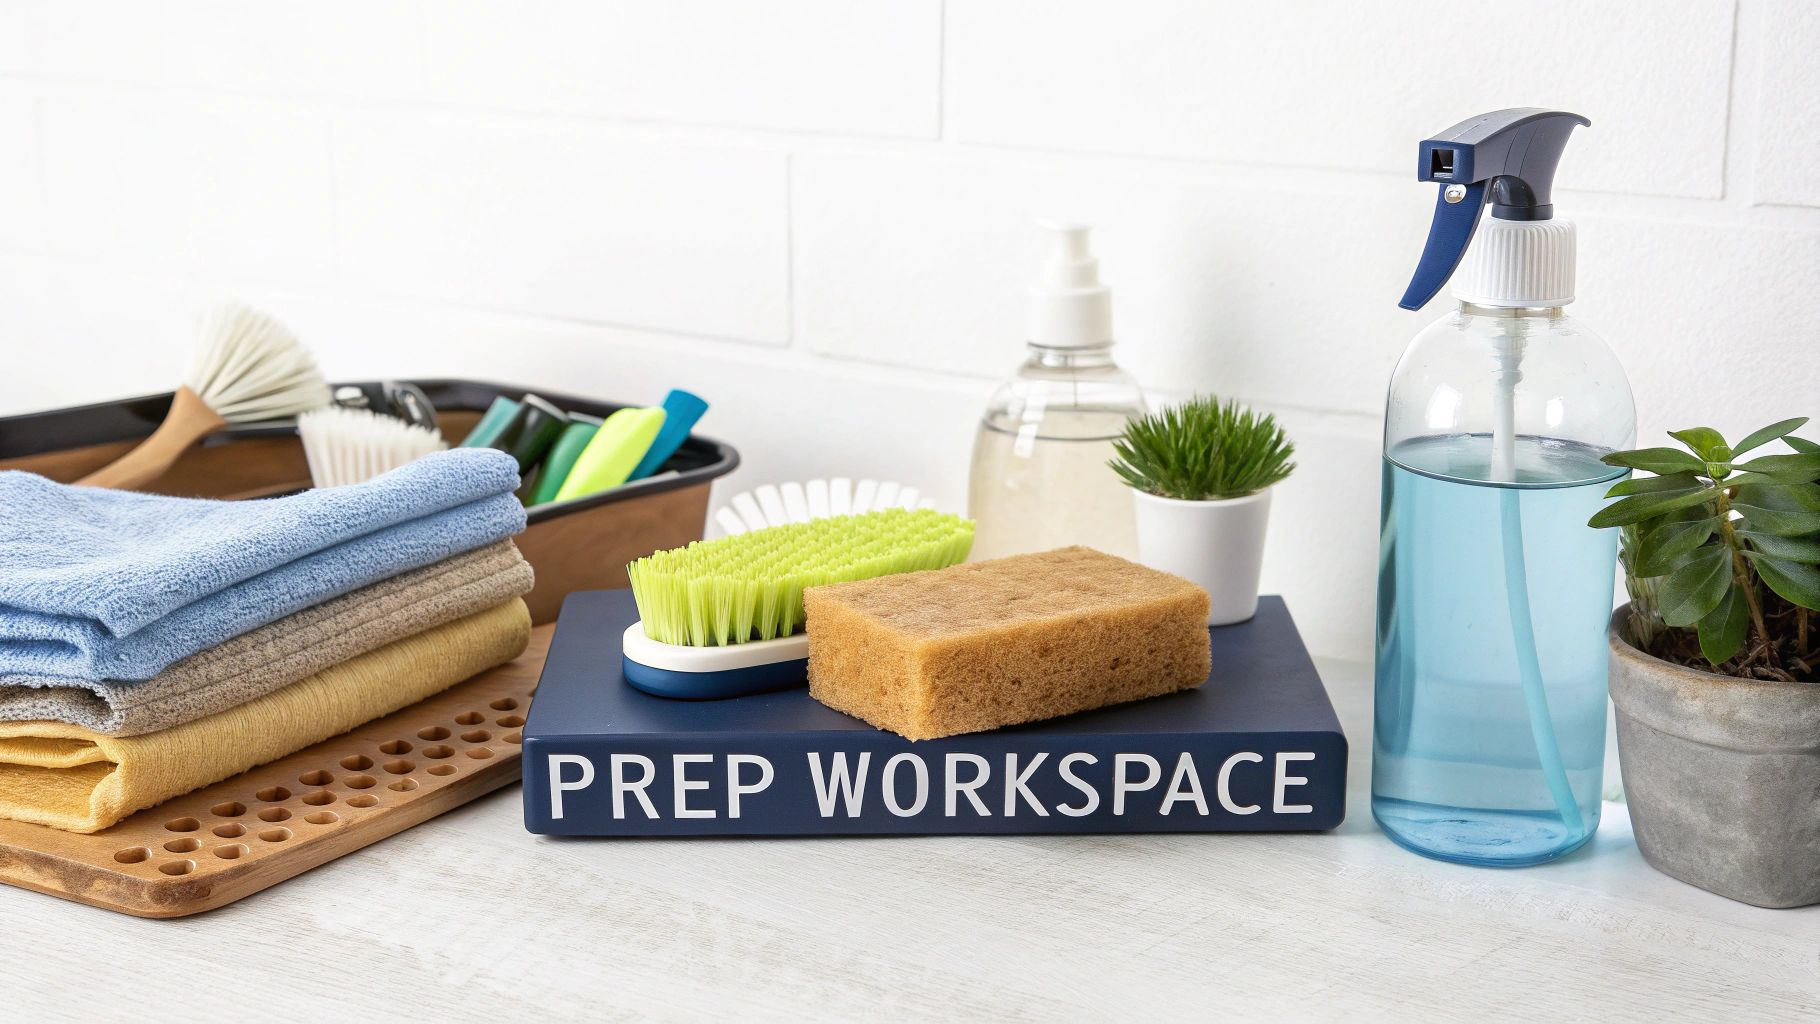
Once your sink is safe, it’s time to grab your tools. You don't need a lot of fancy equipment, but having the right supplies makes all the difference.
- Gentle Dish Soap: A simple, mild liquid soap is all you need to cut through basic grime.
- Soft Bottle Brushes: Find ones with nylon or foam tips. Never use a brush with a wire core—that metal stem will scratch the inside of your bottle in a heartbeat.
- Microfiber Cloths: These are perfect for gently handling and drying the outside of the glass without leaving lint behind.
- Plastic Soaking Tub: Using a separate tub for soaking frees up your sink and lets you leave bottles to sit for hours or even days if needed.
Inspecting Your Glass Before You Begin
With your station ready, it’s time to play detective. Pick up each bottle and give it a thorough look under good, bright light. This isn't just a quick glance; you're looking for clues that will tell you exactly how to approach the cleaning process.
Look closely for hairline cracks, small chips on the lip or base, and any other weak spots. Keep an eye out for any cloudy or rainbow-like patches on the glass, a condition collectors often call "bottle sickness." This isn't dirt—it's a form of permanent etching, and no amount of scrubbing will remove it. Knowing what you’re dealing with from the start helps you set realistic expectations.
A careful pre-cleaning inspection is your best defense against making things worse. Spotting a tiny, stable hairline crack before you start means you can handle that bottle with the extra care it deserves, stopping a minor flaw from turning into a major break.
This is also a great time to get to know your bottle. If you're wondering about its story, our guide to antique glass bottle identification can help you decode the markings you find. Learning a piece's history makes the whole process feel that much more meaningful.
Now that your workspace is safe and you know your bottle’s condition, you’re ready to get started.
Starting the Cleaning with a Gentle Soak
When it comes to cleaning old glass bottles, the most powerful tool you have is patience. Seriously. A long, gentle soak is your first and most important step, and it's where you let time and water do the heavy lifting for you. This initial bath does the hard work of loosening decades of caked-on grime without any risky scrubbing.
First things first, find the right container. I always recommend a plastic basin or a simple tub. It’s a soft, forgiving environment, which is much safer than a hard ceramic sink where one little slip could mean a chip or a crack.
Fill your basin with lukewarm, distilled water. Using distilled water is a little trick I've learned over the years—it prevents the minerals in regular tap water from leaving behind that annoying, hazy film on the glass when it dries.
And whatever you do, resist the urge to use hot water. A sudden, extreme temperature change can cause thermal shock, creating tiny fractures or even breaking a fragile bottle outright.
Creating the Perfect Soaking Solution
Once your basin is ready, add just a couple of drops of a mild, non-abrasive dish soap. A basic Dawn is perfect for this. You're not looking for a bubble bath here; just a little soap is all you need to start breaking down the old dirt and oils.
If you're dealing with bottles that have a slight mineral haze or cloudiness, go ahead and add a small splash of white vinegar to the water. It works wonders on those kinds of deposits.
Now, gently submerge your bottle. Let it fill completely with the soapy water so it sinks to the bottom. This ensures every surface, inside and out, gets a nice, even soak. The hard part is over. Now, you just wait.
How long should you soak it? That really depends on the bottle's condition. If it was just sitting on a dusty shelf, a few hours might do the trick. But for a bottle dug out of the ground, you might be looking at a soak lasting several days. The key is to never rush it.
Managing the Soaking Process
As time passes, you'll start to see the water get murky. That's a great sign! It means the dirt is finally letting go of the glass.
If the water gets really dirty after a day or two, it’s a good idea to carefully drain it, give the bottle a quick, gentle rinse with more lukewarm water, and set it up in a fresh soak.
This gentle approach is absolutely critical for preserving more delicate or unique types of glass. Collectors who work with antique Vaseline glassware, for example, know that harsh chemicals and aggressive scrubbing are off-limits. The same principle applies here. This patient, initial soak sets you up for success and protects the bottle’s integrity for any further cleaning to come.
Removing Stubborn Grime from Inside Bottles
After a good soak, the outside of your bottle is probably looking great. The inside, however, is a whole different beast. This is especially true for those beautiful, narrow-necked medicine or soda bottles where a brush just can’t reach. It's a common frustration for collectors—staring at that stubborn film of residue that seems fused to the glass.
The secret to getting a pristine interior isn't a stronger chemical; it’s a bit of gentle, old-fashioned elbow grease. Think of it as creating a tiny, bottle-shaped polisher that can scrub every curve from the inside. This technique is what separates an amateur cleaning job from a professional-looking finish, and you can do it right at home.
This approach is perfect for the kind of gunk a simple soak can't touch, like dried-out contents or mineral deposits that have been clinging to the glass for a century. It provides just enough friction to dislodge the grime without any risk of scratching the delicate glass or harming any embossed lettering.
Choosing Your Gentle Abrasive
The magic here comes from combining a small, soft abrasive with a lubricant—in this case, your soapy water. You have a few great options, and I've used them all at one time or another.
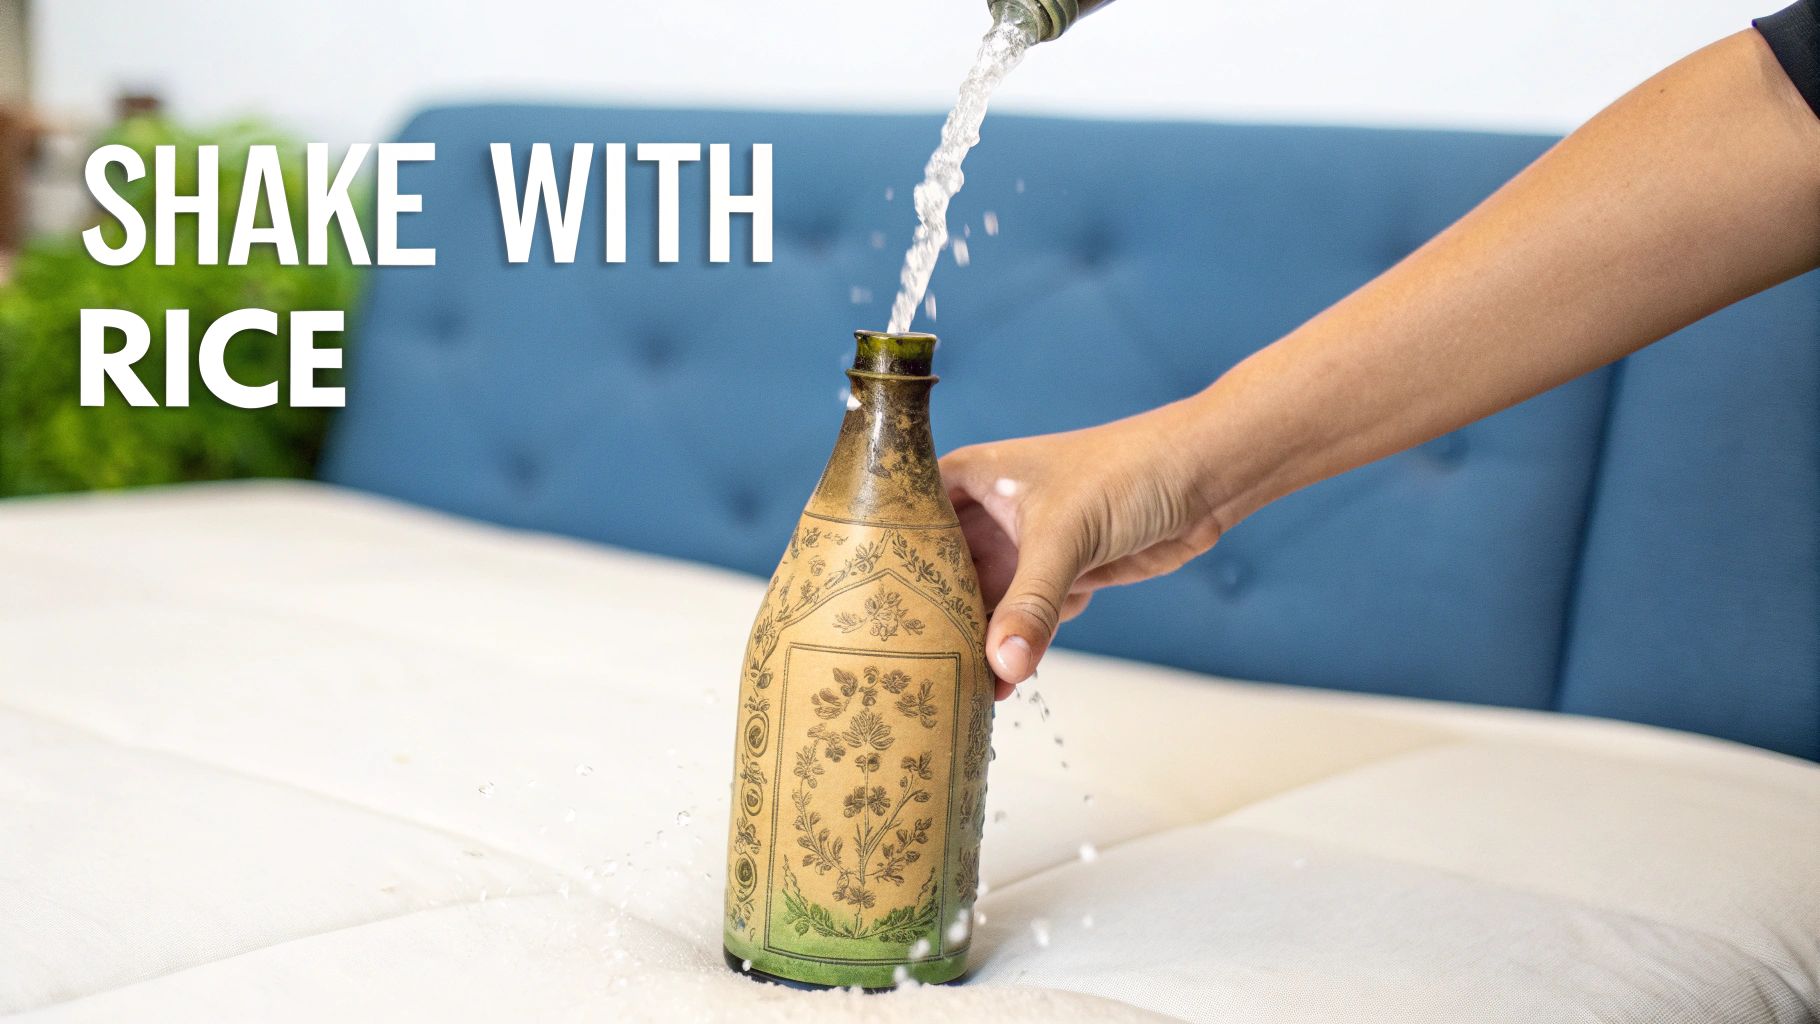
- Uncooked Rice: This is my personal favorite and the go-to for most collectors. A tablespoon or two of plain, uncooked rice is gentle enough for any bottle but firm enough to scrub away years of residue.
- Copper-Coated BBs: For tougher jobs, these are fantastic. The key here is the copper coating—it’s a soft metal that will not scratch the glass. Whatever you do, never use steel BBs.
- Small-Link Hardware Chain: A short length of fine, clean chain can also work wonders. Its weight helps knock loose more stubborn residue as it tumbles around inside.
Honestly, the best choice depends on the bottle and what you're up against. For most situations, starting with rice is your safest and most effective bet.
A popular and highly effective method for cleaning inside narrow-neck bottles involves using small objects like fan pull chains or BB pellets. The idea is to place the hardware inside the bottle with a cleaning solution, then shake it vigorously. These items act as gentle abrasives, breaking up stuck-on dirt without scratching the glass. You can find out more about this secret for cleaning narrow vintage bottles.
The Art of the Swirl and Shake
Once you've picked your abrasive, the process is simple. Pour out most of the old soaking water, leaving just an inch or two of soapy solution at the bottom. Add your chosen material—a scoop of rice, a handful of copper BBs, or your piece of chain.
Now, securely cover the bottle's opening with your thumb or the palm of your hand to create a good seal. The trick is to use a combination of motions:
- Start with a swirl: Gently roll the bottle in a circular motion. This gets the rice or BBs sliding along the interior walls, scrubbing the main body.
- Move to a gentle shake: Next, use short, controlled back-and-forth shaking motions. This is crucial for getting the abrasive into the bottle's "shoulders" and the area just below the neck—two spots notorious for trapping gunk.
Keep this swirl-and-shake process going for a minute or two, then stop to check your work. Pour everything out, give the bottle a good rinse with lukewarm water, and hold it up to the light. You'll probably be amazed at the difference.
If you still see some stubborn spots, don't worry. Just repeat the process with a fresh batch of rice and soapy water. A little patience goes a long way.
How to Address Haze and Mineral Stains
So you’ve soaked, scrubbed, and swirled, but a stubborn, cloudy haze still clings to the glass. It’s frustrating. This chalky film is usually the ghost of minerals past, especially if the bottle was a "digger" that spent decades underground.
When soap and water hit their limit, it's time to bring in a mild acid. Your safest and most reliable ally here is plain white vinegar. Its gentle acidity is fantastic at dissolving the calcium and lime deposits causing that unsightly cloudiness, and it does so without resorting to harsh, risky chemicals.
If you're dealing with particularly tough buildup, you might find some useful tips in this guide on methods for removing hard water stains from glass.
Creating a Diluted Vinegar Solution
For most hazy bottles, you don't need to go full-strength. A simple diluted solution works wonders.
I’ve found that a ratio of one part white vinegar to four parts lukewarm water is the perfect starting point. This mix is potent enough to tackle mineral stains but gentle enough not to harm the antique glass.
- Submerge the bottle completely in the solution.
- Fill the inside as well, so the vinegar can work everywhere at once.
- Be patient. Let it soak for at least a few hours.
For really stubborn haze, an overnight soak is often the ticket. You'll start to see the cloudiness slowly give way as the vinegar works its magic.
The real secret here is patience. Don't rush it by reaching for stronger acids—that's how beautiful old bottles get ruined. A long, slow vinegar soak is a time-tested technique that safely breaks down mineral buildup without damaging the glass.
Rinsing Well and A Word on Chemical Safety
Once the soak has done its job, rinsing thoroughly is non-negotiable. You have to get every last trace of vinegar off the glass to neutralize the acid.
Rinse the bottle several times with clean, lukewarm tap water. I always finish with a final rinse using distilled water. Why? It's free of minerals, so you won't accidentally create new water spots as the bottle dries.
Now, let's talk about what not to do. You might stumble across forum posts or old-timer advice suggesting heavy-duty chemicals like muriatic acid. Under no circumstances should you ever use these.
Strong mineral acids are incredibly corrosive. They release dangerous fumes and can permanently etch the surface of the glass, destroying its clarity, historical integrity, and value in an instant. It’s just not worth the risk.
Stick with gentle, proven solutions like vinegar. You’ll protect your health and your priceless collection.
Perfecting the Final Rinse and Drying
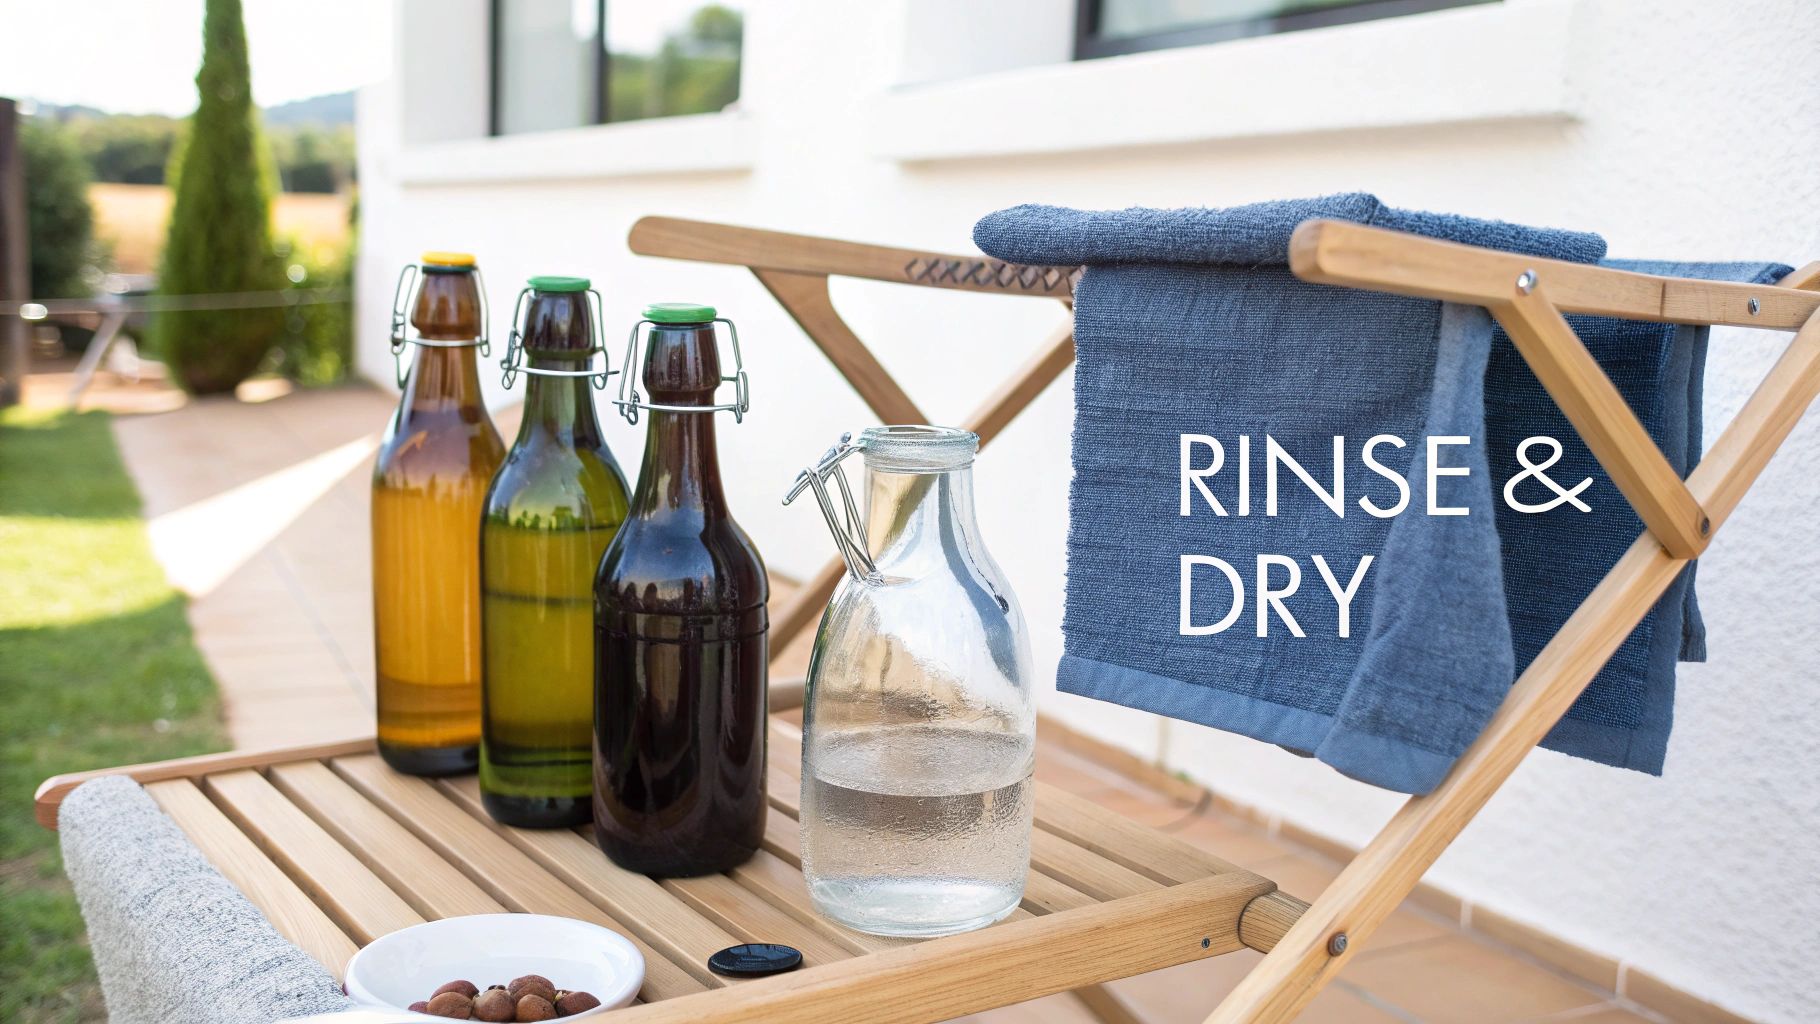
You’ve done all the hard work—the soaking, the scrubbing—and your bottle is looking fantastic. Now for the final touch. It's so easy to get impatient at this stage, but the way you rinse and dry your glass is what separates a good result from a perfect one. A bad finish can leave you with water spots that completely ruin the look.
The real secret to a sparkling, streak-free bottle isn't a fancy polish; it's the water you use. Your tap water, no matter how clean it seems, is loaded with minerals. When that water evaporates, it leaves behind a ghostly film of calcium and magnesium, creating those annoying white spots.
The solution is simple. For the final rinse, always use distilled water. It’s cheap and easy to find, and since it’s completely free of minerals, it evaporates without leaving a single trace behind. Just a brilliant, crystal-clear shine.
The Art of Air-Drying
Once you've given it that final pure-water rinse, it’s time to let nature do the work. The absolute best way to dry your bottle is to simply let it air-dry.
Find a safe spot where it won't get bumped or knocked over. I usually place my bottles upside down on a thick, folded towel or a soft silicone mat. This setup allows every last drop of water to drain away naturally.
If you’re working with bottles that have long, skinny necks, a wooden bottle-drying rack is your best friend. It holds them securely and lets air circulate freely inside, which really speeds up the drying and stops condensation from forming.
Never use heat to dry antique glass. I can't stress this enough. A hairdryer or a warm oven might seem like a quick shortcut, but the rapid temperature shift can cause thermal shock, creating a crack that will instantly ruin your piece.
Common Drying Mistakes to Avoid
Patience is a virtue, especially when it comes to drying old glass. Trying to hurry the process is where most people go wrong. Here are a couple of classic mistakes I’ve seen time and time again:
- Stuffing Things Inside: Whatever you do, don't try to dry the interior by shoving a paper towel or a piece of cloth down the neck. They almost always tear, get stuck, and leave behind a linty mess. You’ll just be trading one problem for a much more frustrating one.
- Forgetting About Airflow: Laying a bottle on its side is a no-go. It traps moisture and can lead to a stubborn internal haze that’s incredibly difficult to remove later. Always stand it upside down to let it breathe.
Answering Your Top Questions About Cleaning Old Bottles
Even when you think you have the process down, cleaning old glass can throw you a curveball. Let's walk through some of the questions I hear most often from fellow collectors to help you sidestep common mistakes.
Can I Just Stick My Antique Bottle in the Dishwasher?
I can't stress this enough: absolutely not. A dishwasher is the fastest way to ruin an antique bottle. The combination of intense heat, aggressive detergents, and high-pressure water jets is a guaranteed recipe for disaster.
This environment can cause thermal shock, which will crack the glass in an instant. It can also cause "sickness," that ugly, permanent etching that clouds the glass forever. Your best bet is always washing by hand in a sink lined with a soft towel.
What's That Hazy Film on My Bottle? Can I Get Rid Of It?
That cloudy, sometimes iridescent haze you're seeing is what collectors call "bottle sickness." It's not a stain; it’s a chemical reaction that happened over decades between the glass and whatever was originally stored inside.
Unfortunately, because it's actual damage to the surface of the glass, it cannot be washed away. While some professionals offer a polishing service to remove it, this fundamentally alters the original state of the bottle, which is something to consider carefully.
A stuck glass stopper is another headache you might run into. Don't force it! Try soaking just the neck of the bottle in warm (not hot!) water to help the glass expand. If that doesn't work, a tiny drop of penetrating oil left to seep in can do the trick. The key is always gentle, patient twisting.
Sometimes, the bottle itself can tell you how to treat it. The small markings on the base or side can reveal its age, origin, and how fragile it might be. Getting familiar with these is a huge advantage. You can dive deeper into this in our guide to antique glass makers' marks.
Ready to uncover the story behind your finds? The Curio app identifies your antiques in seconds, providing history, context, and a value estimate right from your phone. Download Curio today and let your antiques tell their story