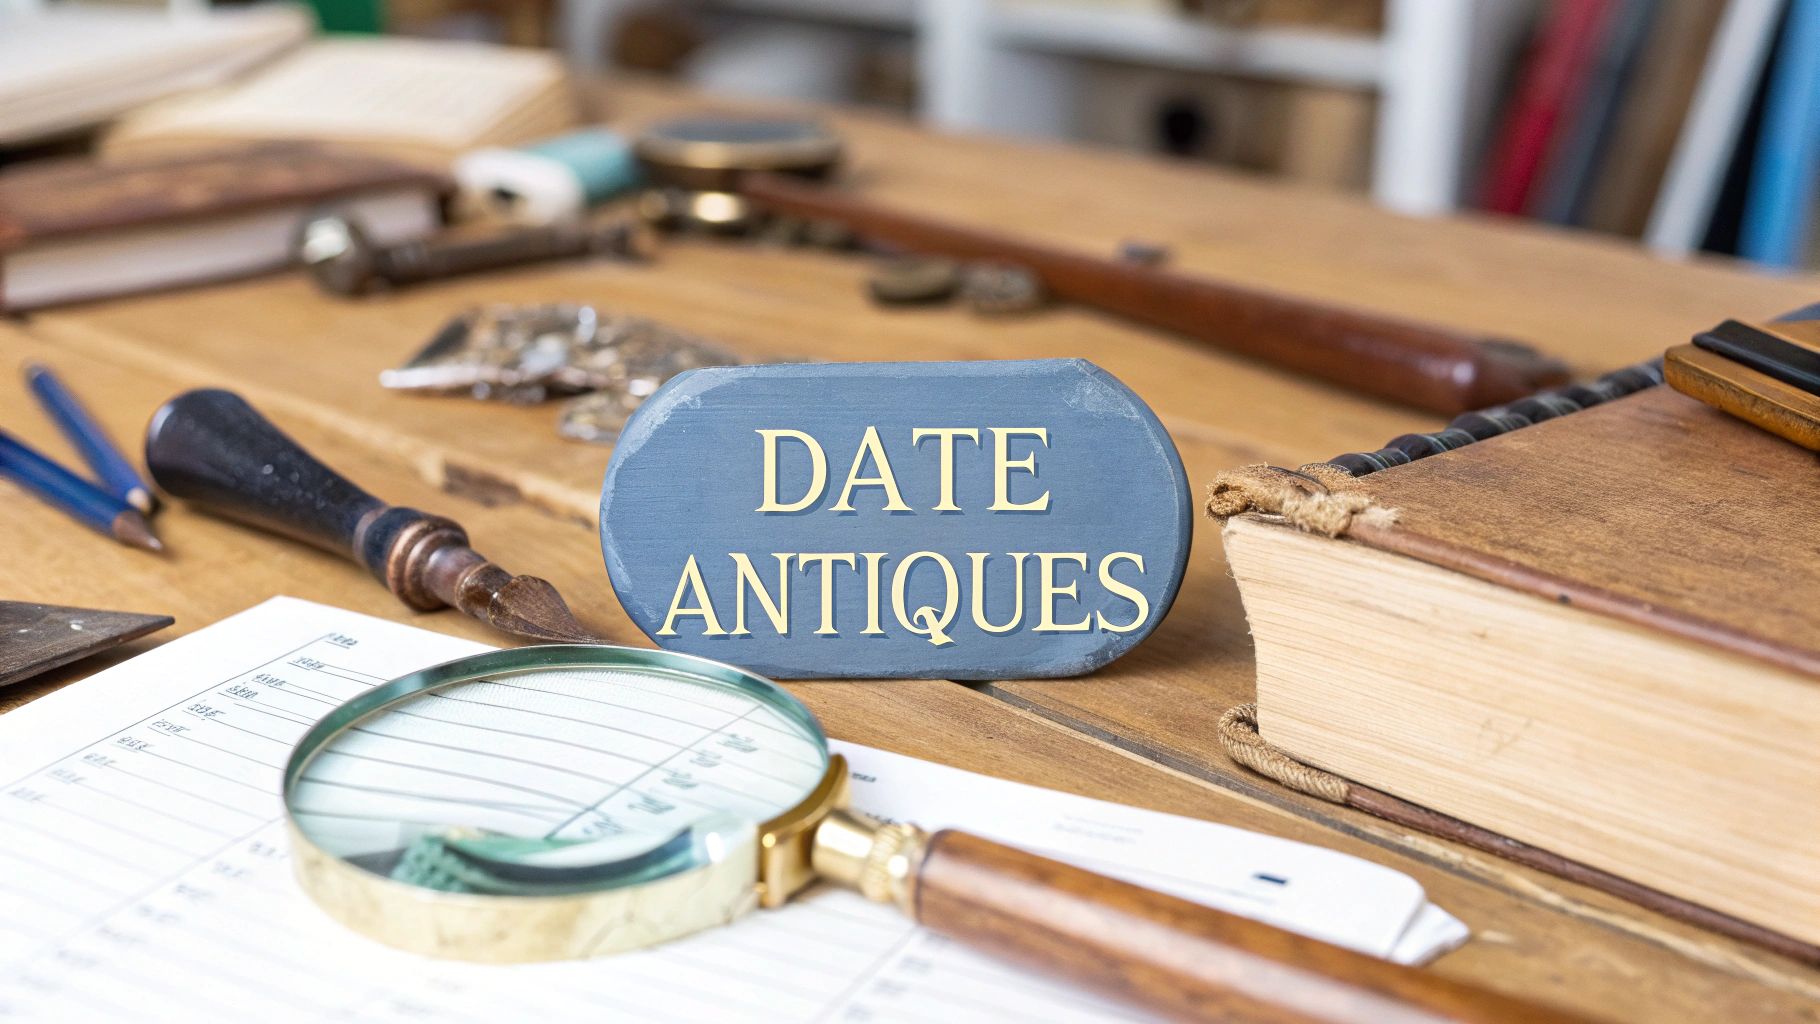
Figuring out the age of an antique isn't about one single "gotcha" moment. It's really more like detective work, where you gather clues from four main areas: the construction, the materials, the style, and any markings.
When you're starting out, it's easy to get overwhelmed. But if you know what to look for, you can start to build a story about the piece and place it in the right time period.
Your First Clues to Unlocking an Antique's Age
Every piece of old furniture has a story to tell, and the clues are usually hiding in plain sight. You just have to learn how to read them. Think of it like a puzzle—each piece of evidence you find helps you see the bigger picture. A slightly uneven, hand-cut dovetail joint tells a very different story than a perfectly uniform, machine-made one.
Your investigation should start with these four key areas. They're the fundamentals that will almost always give you a solid lead.
Construction and Joinery
How a piece is put together is your biggest clue. Before about 1860, most furniture was made entirely by hand, and those human touches—the charming little imperfections—are exactly what you're looking for.
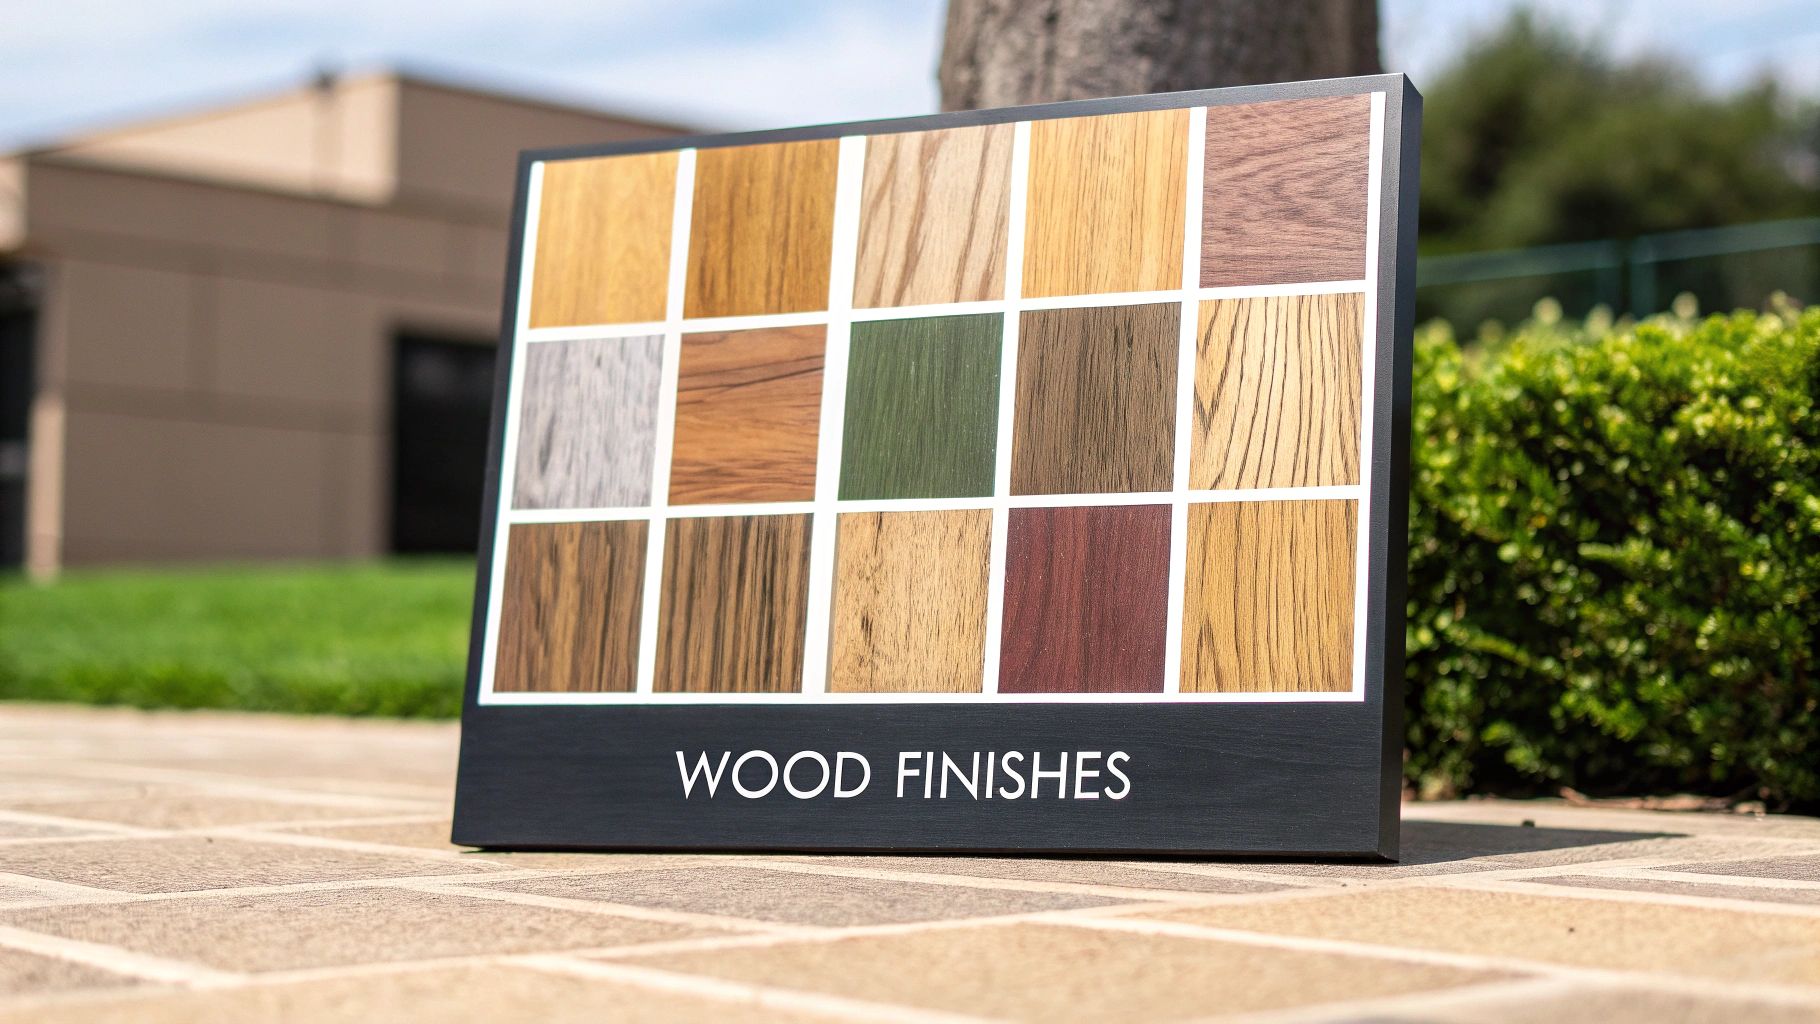
Materials and Hardware
The specific wood used, the type of nails or screws holding it together, and even the style of the drawer pulls can place a piece in a specific time frame with remarkable accuracy.
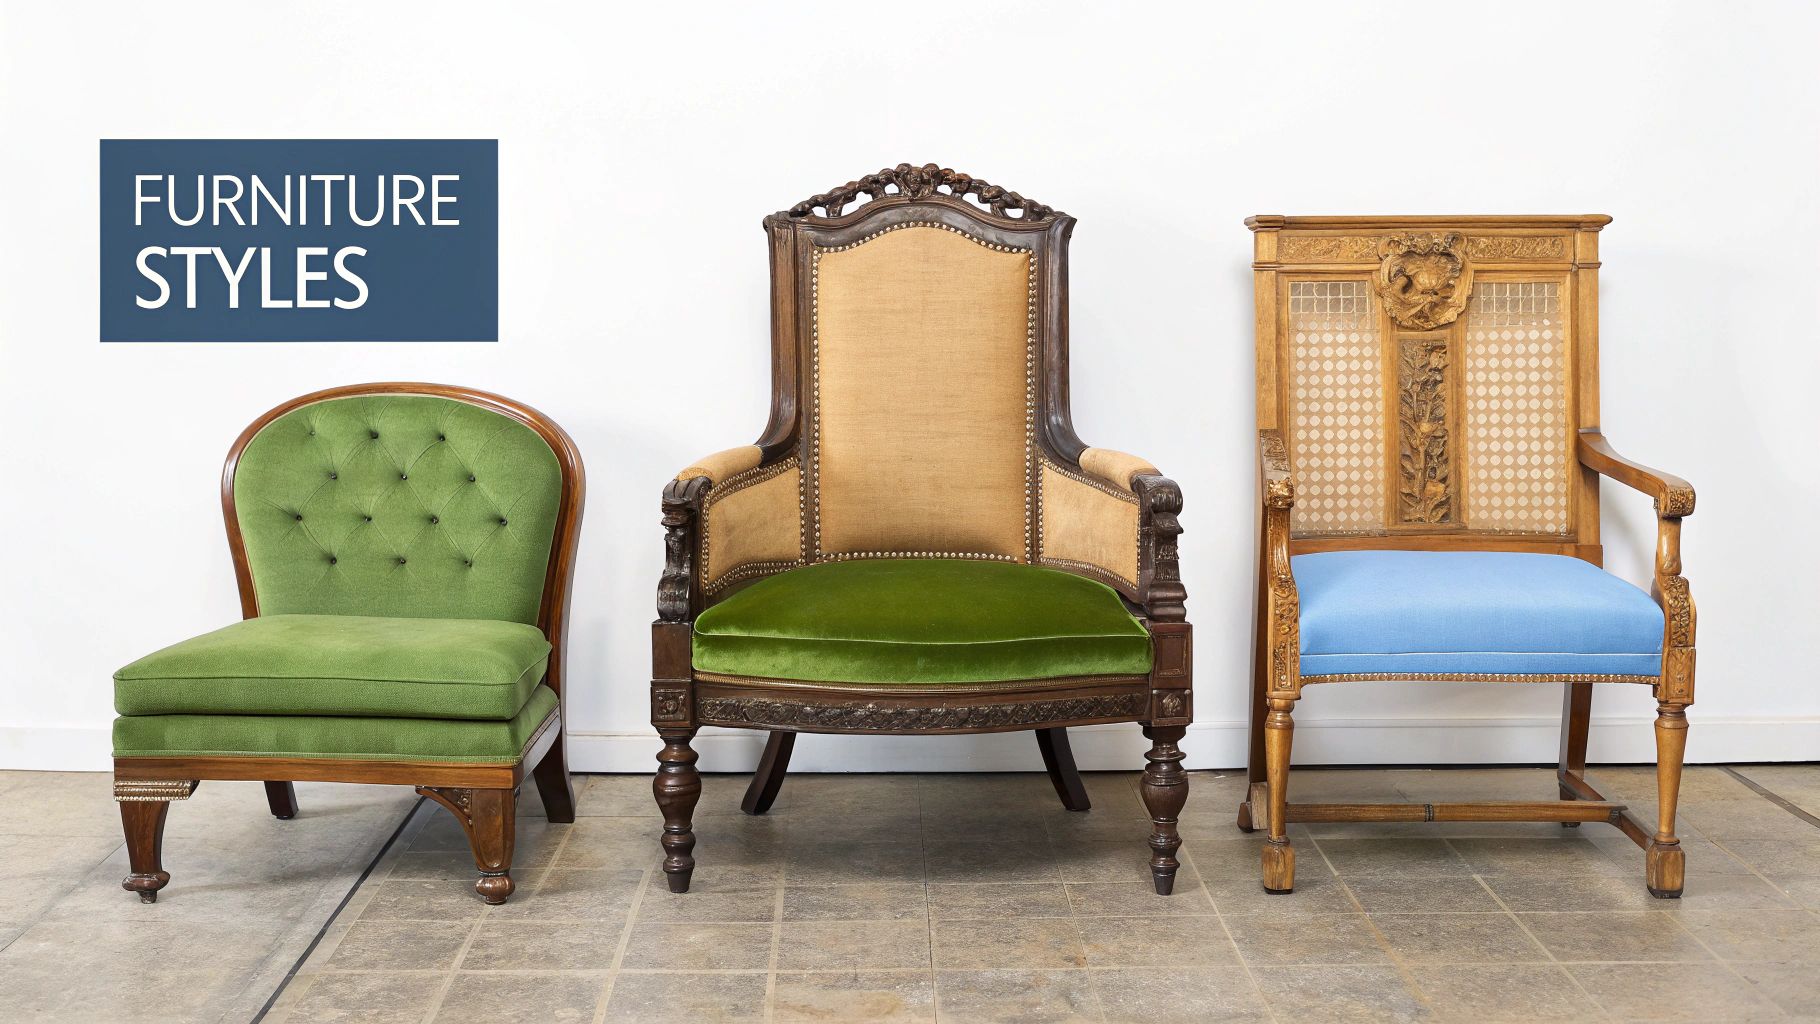
Overall Style and Form
Aesthetics are a dead giveaway. The shape of a chair leg, the curve of a headboard, or the type of decorative carving all point to the popular styles of a particular era.
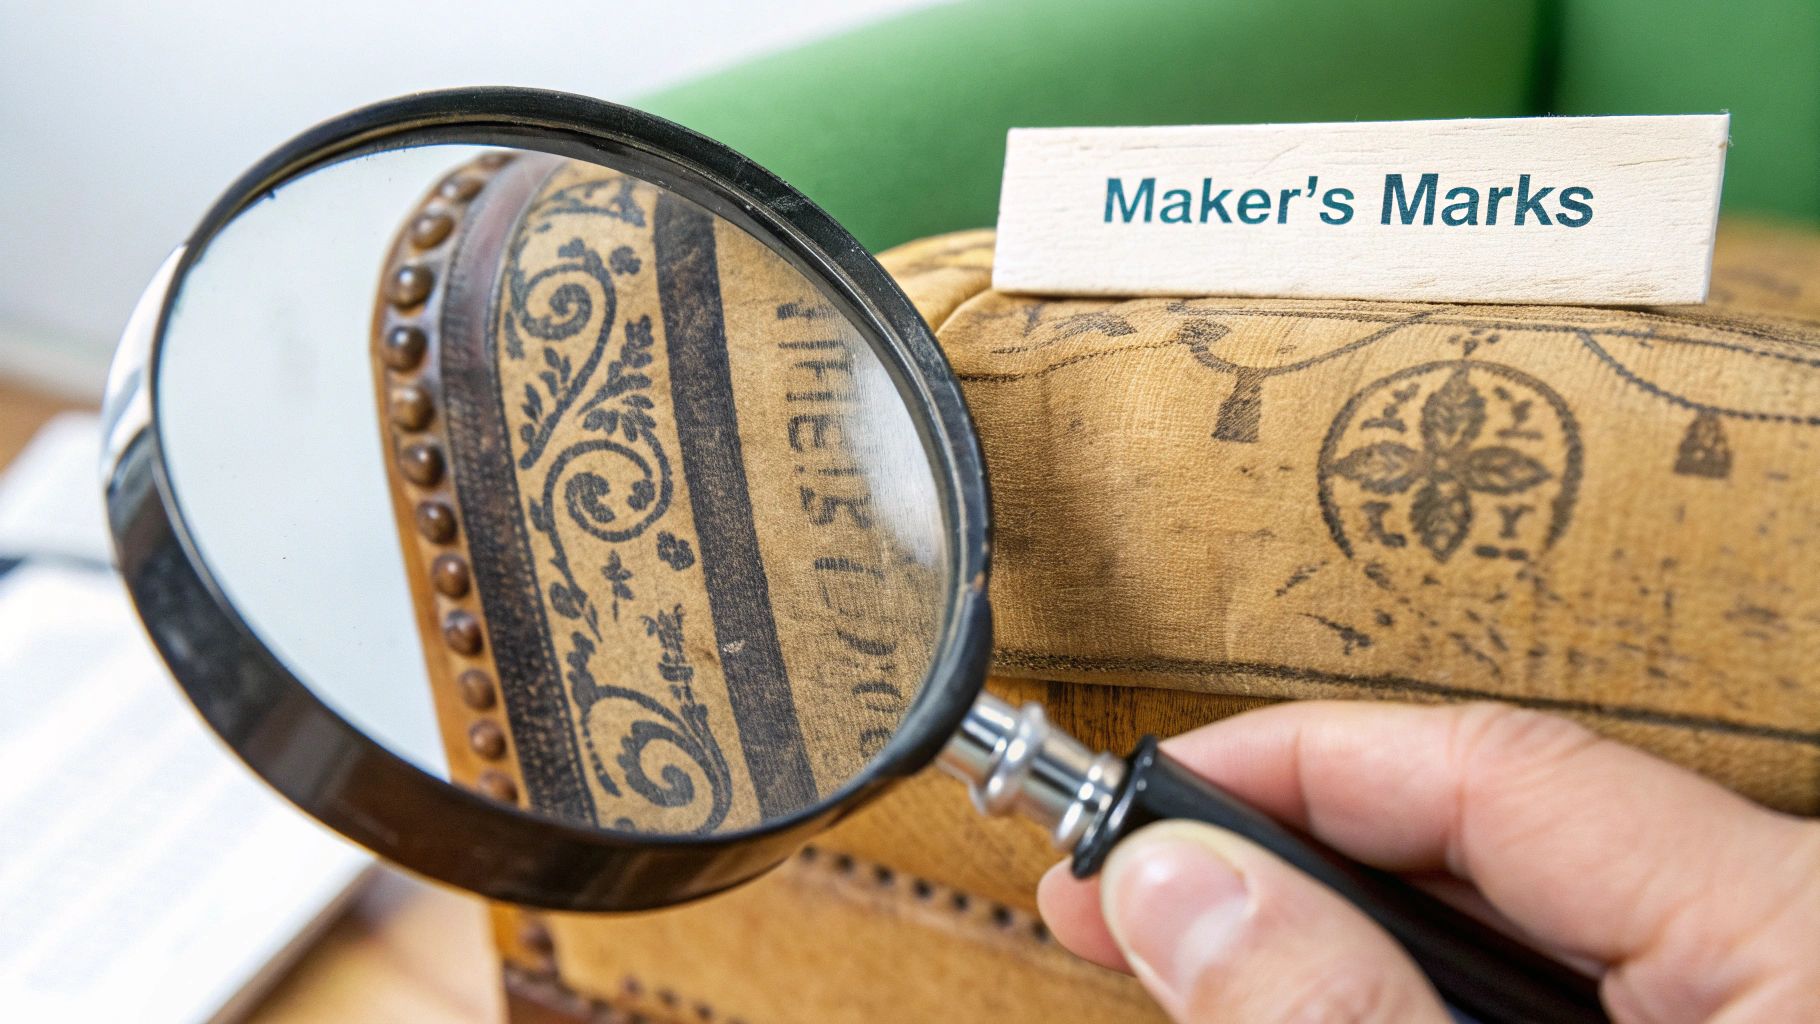
Provenance and Markings
This is the jackpot—finding a maker's mark, a label, or a signature. While these are fantastic clues, you should always double-check them against the other evidence to make sure they're not fakes or later additions.
A single, rough-looking, hand-forged nail tells you a piece is from an earlier time than a perfectly round, factory-made screw. It’s these small details that can change a piece’s estimated age by decades.
For example, let's say you find a beautiful chest of drawers. The curved legs and simple design scream Queen Anne style, which would place it in the early 18th century. But then you pull out a drawer and see perfect, machine-cut dovetails—a technique that didn't become common until after 1860.
That one construction detail tells you it's not a period original but a later revival piece. This kind of cross-referencing is the secret to getting the date right.
To help you get started, I've put together a quick guide that breaks down the key features of different furniture eras. It’s a great cheat sheet for when you're out in the field.
Quick Guide to Dating Furniture by Era
This table gives you a high-level look at what to expect from different historical periods. Use it as a starting point to narrow down the age of your piece.
| Era | Dominant Wood | Typical Construction | Common Hardware |
|---|---|---|---|
| William and Mary (1690-1730) | Walnut, Maple, Oak | Dovetail joints, mortise-and-tenon | Teardrop pulls, escutcheons |
| Queen Anne (1720-1760) | Walnut, Cherry, Maple | Cabriole legs, pad or trifid feet | Bat-wing pulls, simple knobs |
| Chippendale (1755-1790) | Mahogany, Walnut | Ball-and-claw feet, intricate carvings | Bail pulls with decorative backplates |
| Federal (1790-1820) | Mahogany, Satinwood | Tapered legs, decorative inlays | Oval or ring pulls, often brass |
| Victorian (1840-1900) | Walnut, Rosewood, Oak | Ornate carvings, machine-cut joinery | Elaborate cast pulls, wood knobs |
| Arts & Crafts (1890-1920) | Oak (especially quarter-sawn) | Exposed joinery, straight lines | Hammered copper or iron pulls |
Remember, this is just a guide. You'll often find pieces that blend styles or were made with whatever materials a craftsman had on hand. The real skill is in weighing all the evidence together to arrive at the most logical conclusion.
2. Decode the Construction: How Was It Built?
How a piece of furniture was put together is one of the most reliable clues you have for figuring out its age. Before factories and machines took over, every joint was a testament to a craftsperson's skill, leaving behind a unique signature in the wood.
The dovetail joint is probably the most famous example. Learning to spot the differences in dovetail drawer construction is a game-changer for dating antiques. To start, just pull out a drawer and take a close look at where the front and side panels meet.
The Story Told by Dovetails
Hand-cut dovetails, which you'll typically find on pieces made before 1860, are full of character. They’re charmingly imperfect. Look closely, and you’ll see slight irregularities in the size and spacing of the "pins" and "tails." One might be a touch wider than the next, and the angles won't be perfectly uniform. These are the tell-tale marks of a human hand guiding a saw and chisel.
Once machine-cut dovetails came on the scene after 1860, everything changed. They are flawless. The pins and tails are razor-thin, perfectly spaced, and completely identical. Seeing this kind of precision is a dead giveaway that you're looking at a piece from the late Victorian era or newer.
A Quick Tip from the Field: Look for faint scribe lines. An early cabinetmaker often lightly scored a line in the wood as a guide for their saw cut. Finding these faint marks right next to a dovetail joint is a fantastic sign of true hand-craftsmanship.
Signs of Pre-Industrial Craftsmanship
Beyond the joinery, you can find other clues that point to a pre-machine era. The back of a piece can be just as informative as the front.
Here are a few other key indicators of hand construction to look for:
- Subtle Tool Marks: Check flat surfaces—especially on the back, bottom, or inside drawers—for faint, straight marks left by a hand plane.
- Unfinished Secondary Woods: Early furniture makers were practical; they didn't waste time finishing surfaces no one would ever see. Backboards, drawer bottoms, and the undersides of tabletops might be rough-sawn and unpolished.
- Slight Asymmetry: Because they were built one at a time, hand-crafted pieces often have minor inconsistencies. One side of a cabinet might be a fraction of an inch different from the other. It's what makes them unique.
These "imperfections" aren't flaws at all. They're the story of the piece, a direct connection to the artisan who built it by hand, possibly centuries ago.
4. Examine the Hardware: Your Best Clue for Dating a Piece
Think of hardware as the jewelry on a piece of furniture. It’s not just decorative; it’s one of the most reliable storytellers for figuring out a piece’s age. The way nails, screws, hinges, and pulls were made changed dramatically over the years, leaving a clear timeline for us to follow.
This is where you can get really specific. Since hardware technology evolved so quickly, it can help you narrow down an era, sometimes even to within a decade or two.
Nails, Screws, and Hinges Tell a Story
Let’s start with the simple nail. Until about 1800, every single nail was forged by hand. A blacksmith would heat and hammer each one, giving it a distinct square, tapered shaft and a slightly irregular, faceted head. If you spot one of these, you're looking at something genuinely old.
Around 1800, things changed with the invention of the "cut nail." These were machine-stamped from an iron sheet, resulting in a rectangular shape. See a cut nail? You’re likely holding a 19th-century piece. It wasn't until the late 1880s that the round wire nails we use today appeared and quickly became the norm.
Screws follow a similar path. Before the 1850s, screws had blunt ends and hand-cut slots that were almost always a little off-center. Machine-made screws with sharp points and perfectly centered slots only came later.
Hinges are another great indicator. Their styles and materials shifted over time, and getting familiar with various cabinet hinge types can give you major clues about a cabinet's or chest's origin.
A Word of Caution: Always check for signs of replaced hardware. Look for filled-in holes or shadowy outlines where a different pull once sat. Remember, the newest piece of hardware only tells you when the piece was last repaired, not when it was first built.
Hardware Evolution: A Dating Timeline
The table below breaks down how common hardware changed over time. It’s a handy cheat sheet to have when you're inspecting a potential find.
| Hardware Type | Pre-1800 Characteristics | 1800-1860 Characteristics | Post-1860 Characteristics |
|---|---|---|---|
| Nails | Hand-forged, square shaft, faceted head | Machine-cut, rectangular shape, uniform head | Round wire nails, mass-produced |
| Screws | Hand-cut slot (off-center), blunt tip | Pointed tip, hand-cut slot may still be irregular | Machine-made, pointed tip, perfectly centered slot |
| Pulls/Knobs | Hand-cast brass, often heavy, may show file marks | Stamped brass (thinner), wood or glass knobs common | Cast iron, ornate designs, mass-produced |
| Locks | Hand-forged iron or brass, often inlaid (flush with wood) | Cast iron, surface-mounted, simpler mechanisms | Stamped metal (often brass-plated), complex mechanisms |
By cross-referencing these details, you can build a strong case for a piece’s age. A piece with cut nails and early, hand-finished screws is a classic 19th-century find.
What About Locks and Latches?
Finally, take a close look at the locks. A hand-cast brass latch that is carefully inlaid—meaning it sits perfectly flush with the wood of a cabinet door—is a beautiful sign of craftsmanship from before 1850.
On the other hand, a simple cast-iron latch that’s just mounted onto the surface of the wood points to a later, more industrial period when speed and cost started to overtake painstaking handiwork.
4. Pinpoint the Wood and Dominant Furniture Styles
After you've looked at the joints and hardware, the next big clues are the wood itself and the overall style of the piece. You can think of these as a visual timeline. Each era had its go-to materials and signature looks, and once you learn to spot them, dating a piece gets a lot easier.
The type of wood used often tells a story about history and trade. For example, early English and American furniture from the 17th century was all about durability, so you’ll see a lot of heavy, solid oak. Then, as trade routes opened up in the 18th century, furniture makers fell in love with rich, dark woods like mahogany and walnut. These were perfect for the elaborate carvings of the Chippendale period or the elegant curves of Queen Anne designs. Fast forward to the 19th century, and you start seeing exotic woods like rosewood used in the highly decorative Victorian styles.
From Baroque to Neoclassical
One of the most effective ways to narrow down a piece's age is by matching its design to a known stylistic movement. Every period had its own distinct visual language, and learning to recognize it is a game-changer.
The Baroque period, which ran from roughly 1600 to 1750, is all about drama—think heavy, grand, and ornately carved furniture. It was followed by the much lighter Queen Anne style (c. 1720-1760), which is famous for its graceful S-curves, delicate cabriole legs, and more subtle decoration. Later, the Neoclassical movement swung the pendulum back toward symmetry and straight lines, drawing inspiration from ancient Greece and Rome. For a more detailed breakdown, our guide on how to identify antique furniture can walk you through these major movements.
A Word of Caution on Revivals: Style alone can trick you. I've seen countless chairs with beautiful Queen Anne cabriole legs that were actually Victorian Revival pieces made in the 1880s. This is why you must cross-reference your findings. If the style says one thing, but the joinery or hardware tells a different story, trust the construction details.
Sometimes, a single feature can point you in the right direction. The shape of a chair leg or the style of its foot can be a dead giveaway for a specific era.
Here are a few classic examples to look for:
- Cabriole Leg: That iconic, elegant "S" curve is a signature of the Queen Anne and Chippendale periods.
- Ball-and-Claw Foot: This is the quintessential Chippendale foot, often found at the end of a cabriole leg. It’s designed to look like a bird's claw gripping a ball.
- Tapered Leg: See a straight, slender leg that gets thinner toward the floor? You’re likely looking at a Neoclassical style, such as Hepplewhite or Sheraton.
- Bun Foot: This simple, flattened ball-shaped foot was common on early Baroque pieces and saw a comeback in later revival styles.
When you combine your knowledge of wood and style with what you’ve already figured out from the construction, you build a much more convincing case for a piece’s true age.
Using Modern Tech to Assist Your Investigation

While nothing beats the time-tested methods of examining wood and hardware by hand, you now have a powerful ally right in your pocket. Modern technology gives us instant access to massive databases through our phones, which can be a fantastic starting point for dating a piece of furniture.
These tools often use image recognition, comparing your photo to catalogs of auction records and museum pieces. In seconds, you can get a lead on a piece's style, potential maker, and era. For example, an app like Curio might spot a set of cabriole legs and ball-and-claw feet, immediately pointing you toward a Chippendale origin—a huge help when you're at a busy estate sale with little time to spare.
Balancing Tech with Tradition
As great as these apps are for a quick first look, they should be treated as a supplementary tool. Think of them as your first-opinion consultant, not the final word.
An app can give you a likely era or style, but it can’t feel the subtle, rhythmic marks left by a hand plane. It won’t spot the tiny, filled-in holes where the original hardware was replaced a century ago. That’s where your own hands-on detective work comes in.
Key Takeaway: Use technology to quickly narrow down the possibilities. Then, bring in the classic inspection methods—examining the joinery, hardware, and materials—to either confirm or challenge what the app suggests. This is how you get the most accurate results.
This balanced approach truly gives you the best of both worlds. After you’ve identified and dated your find, the next step is often preservation. Knowing what you have is crucial before you do anything else, and it helps you learn about proper care, such as how to clean antique furniture, to protect its value and history.
Common Questions About Dating Antique Furniture
Even after you've learned the basics, you'll inevitably run into pieces that leave you stumped. Let's walk through a couple of the most common questions I hear from people trying to pin down the age of their furniture.
Does a Maker's Mark Guarantee the Age?
Finding a maker's mark feels like hitting the jackpot, but hold on—it's not always a guarantee. I've seen more than a few faked labels and stamps in my day. Sometimes, a mark is even lifted from a genuinely old, but broken, piece and slapped onto a newer one to inflate the price.
This is where you have to play detective. Always look at the mark in the context of the entire piece. For example, if you see a label from 1780 on a desk, but the drawers have perfectly uniform, machine-cut dovetails that scream "post-1860," you have every right to be skeptical. The best dating comes from weighing all the evidence together, not just one clue.
What if the Hardware Is Mismatched?
Don't panic! Mismatched hardware is incredibly common and actually tells its own story. Over a century or two, handles get lost and hinges wear out. It happens.
Your job is to look for clues of replacement. Check around the current hardware for tell-tale signs of filled-in holes or faint outlines where different pulls or knobs once sat. These "ghosts" are your evidence of past repairs.
The newest piece of hardware only gives you a "no earlier than" date for the repair. The original hardware, or the evidence of it, is what points to the furniture's actual birth date.
Ultimately, knowing the full history of a piece—repairs and all—is crucial for assessing its true worth. Our guide on valuing antique furniture dives deeper into how these details affect the final price. And once you've dated your piece, proper care is next. For anything with fabric, this guide to refresh upholstered antique furniture is a fantastic resource.
Ready to uncover the history and value of your finds? Download Curio today! Our app uses advanced image recognition to instantly identify your items, provide historical context, and give you a quick appraisal. Snap a photo and let your antiques tell their story. Visit https://www.curio.app to get started.