I’ve learned one thing over many years of working with antiques: successful cleaning is 90% careful assessment and only 10% action. Before you even think about picking up a cloth, you need to become a detective. A wrong move here isn't just a mistake; it can permanently damage a piece, erasing its history and gutting its value. This initial evaluation is everything.
Your First Steps Before Cleaning Any Antique
Jumping straight into cleaning is like setting off on a road trip without a map. You might stumble upon your destination, but you’re far more likely to get lost and do some damage along the way. Taking a few moments to really look at your piece will guide every choice you make next, from the products you use to how you apply them. This isn't just a preliminary check; it's the foundation of the entire process.
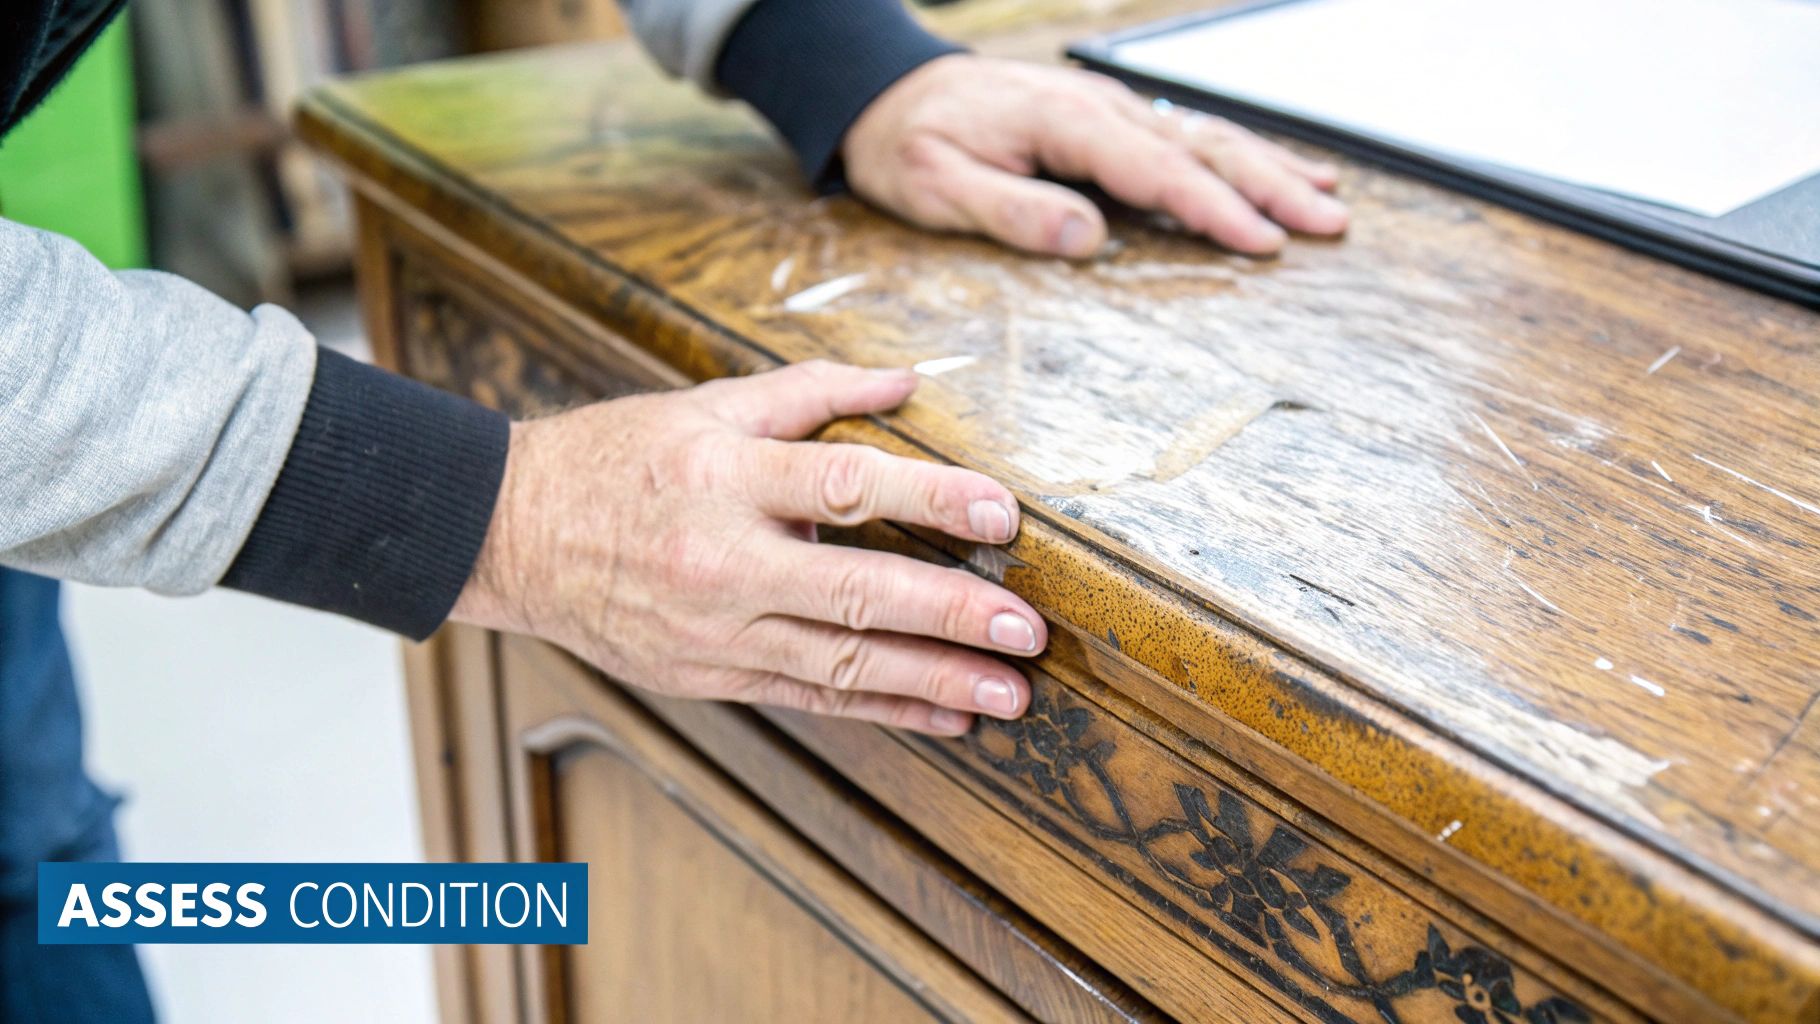
Assess the Structural Integrity
First things first, get hands-on. Gently give the furniture a little push and pull to check for any instability. Does a leg wobble when you touch it? Are any joints feeling loose? Run your hand over the surface—do you feel any chipped or lifting veneer, especially at the edges? You should also keep an eye out for old repairs, as these spots can often be weaker than the original construction.
Make a mental note (or better yet, a written one) of these fragile areas. These are your "handle with care" zones. You’ll need to be extra gentle or avoid putting pressure on them entirely. Trying to clean an unstable piece can easily turn a loose joint into a broken one, transforming a simple spruce-up into a major repair project.
Identify the Finish
This is, without a doubt, the most critical piece of the puzzle. The type of finish on your furniture dictates everything. It determines which cleaners are safe to use and which ones could spell disaster. Finishes react very differently to cleaning agents, particularly anything containing alcohol or harsh solvents.
Here are a few time-tested ways I identify common antique finishes:
- The Shellac Test: Find a hidden spot—the back of a leg or inside a drawer works well. Dip a cotton swab in a bit of denatured alcohol and give it a gentle rub. If the finish gets sticky or starts to dissolve, you’re dealing with a delicate shellac finish.
- The Lacquer Test: In a different discrete area, use a new swab to apply a drop of lacquer thinner. If the finish quickly softens or gets wrinkly, it's almost certainly lacquer. Lacquer is a bit tougher than shellac, but it still demands a gentle touch.
- The Oil or Wax Test: If neither alcohol nor lacquer thinner has any effect, you're likely looking at an oil or wax finish. These tend to have a more natural, low-lustre appearance and feel. They are generally the most resilient against mild, pH-neutral cleaners. If you want to dig deeper into identifying your piece, you can learn more by checking out this guide on how to identify antique furniture.
A Pro's Advice: Always do your spot test somewhere no one will ever see it. The whole point is to gather clues without leaving a trace. This single, simple step has saved me from countless heartbreaking and expensive mistakes over the years.
Check for Dirt vs. Patina
Learning to tell the difference between dirt and patina is a skill every antique owner needs. Think of it this way: dirt is the unwelcome guest. It’s the surface-level dust, grime, and oils that hide the furniture’s true character.
Patina, on the other hand, is the story. It's the beautiful, subtle aging of the wood and its finish—the gentle shifts in color, the minor wear marks, and that soft glow that only time can create. It's a huge part of an antique's charm and value. A proper cleaning removes the dirt without harming the patina.
This focus on preservation isn't just a niche interest; it's a growing movement. The global market for antique furniture restoration services is valued at around $1.5 billion and is projected to keep growing. This trend highlights a rising awareness, both cultural and economic, of just how important it is to care for these pieces correctly.
Choosing The Right Cleaners For Antique Finishes
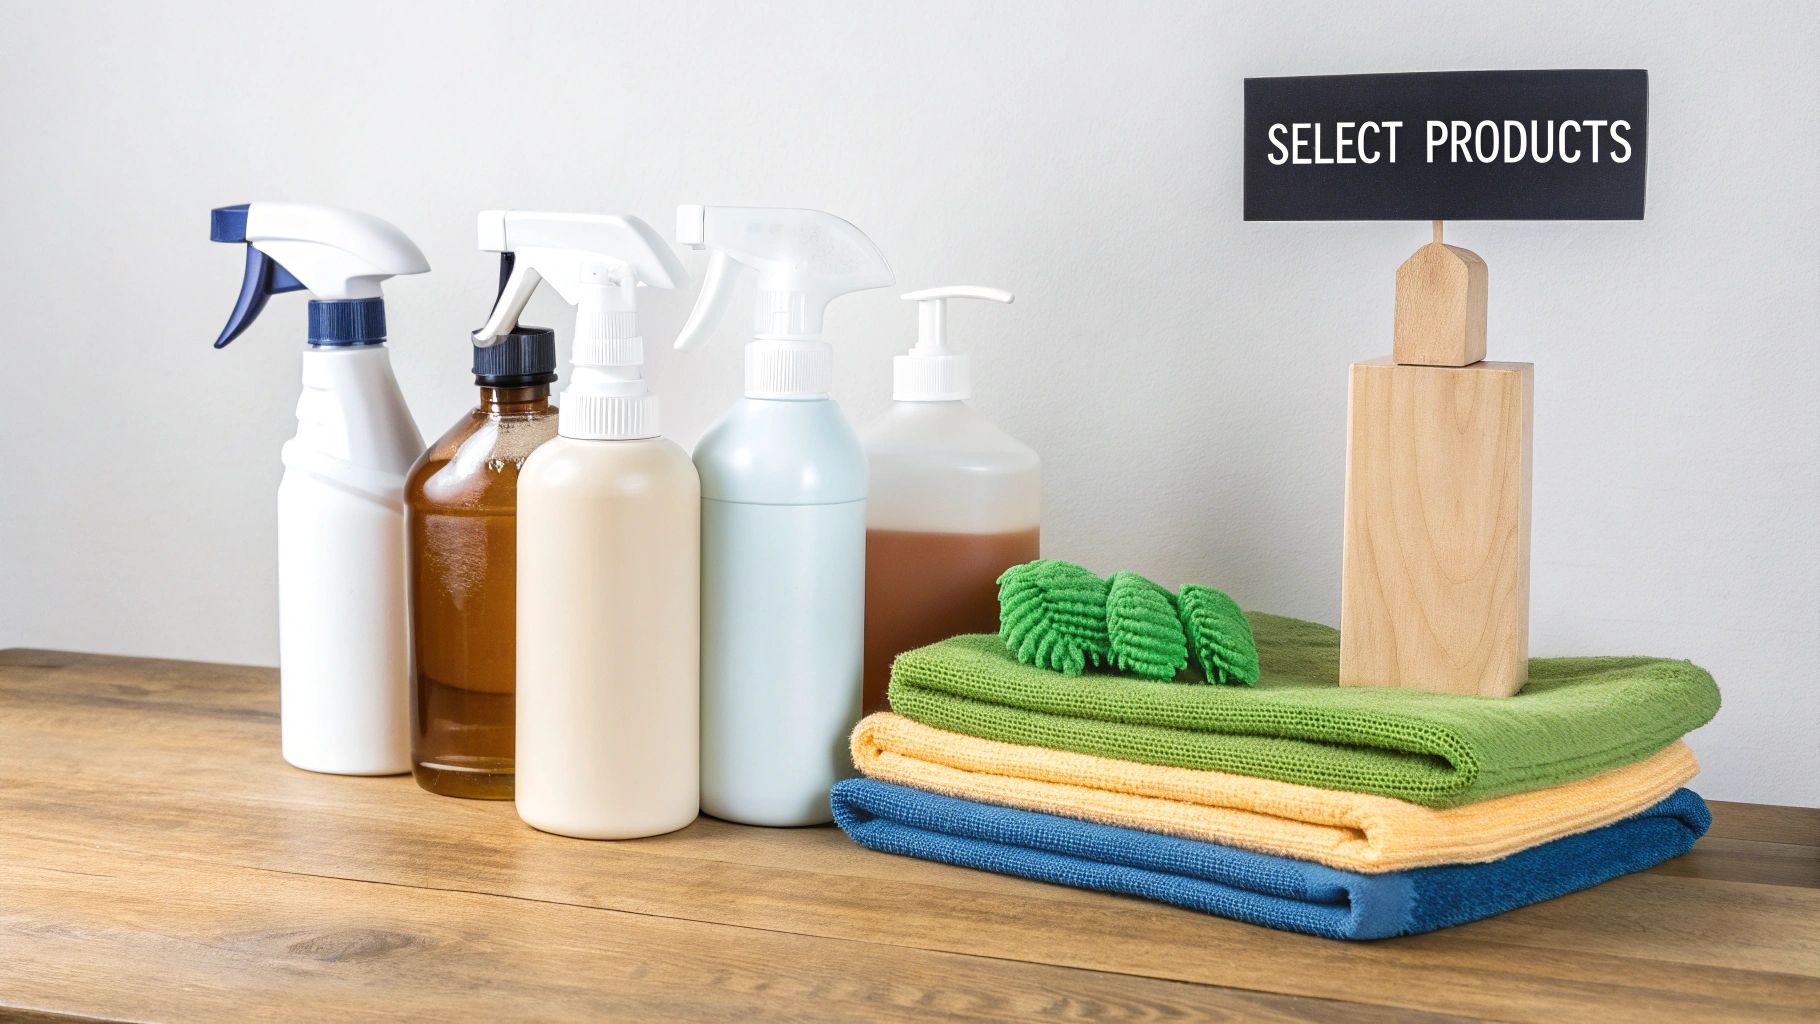
Walking down the cleaning aisle can feel like navigating a minefield when you've got antique furniture. So many brightly colored bottles promise miracles, but most commercial sprays are loaded with silicones, oils, and harsh detergents that can permanently damage an old, delicate finish.
The secret isn't finding the strongest cleaner; it's about selecting the safest one for the job. Your choice between a water-based or solvent-based cleaner should come directly from the finish test you performed earlier. Each type has a specific job, and knowing the difference is what separates a successful cleaning from a disaster.
Water-Based Cleaners For Gentle Care
For most day-to-day cleaning on stable finishes like varnish, oil, or lacquer, a simple, mild water-based solution is what the pros use. This approach is surprisingly effective for lifting common grime—think dust, fingerprints, and light soiling—without putting the finish at risk.
And the best part? You can easily make it yourself.
- Your Supplies: Grab some distilled water and a pH-neutral, non-ionic soap. Something like Dawn Free & Clear is a fantastic, easy-to-find option.
- The Perfect Mix: You’ll want a very weak solution. Start with just a few drops of soap per pint of distilled water. The goal is a solution that’s barely soapy, not a foamy bubble bath.
- Why Distilled Water Matters: Regular tap water is full of minerals that can leave a cloudy film on your furniture's finish. Distilled water is pure, ensuring you get a clean, residue-free result every time.
This gentle mix is perfect for a piece that just needs a light touch-up, like a living room side table that’s seen a few months of dust and fingerprints.
When You Need Something Stronger: Solvents
Sometimes, a mild soap and water solution just won't make a dent. If you're dealing with years of built-up wax, old polish, or stubborn, greasy gunk, you may need to reach for a solvent. The most common and safest choice for this task is odorless mineral spirits (also called white spirit).
Mineral spirits are great because they dissolve old wax and oily residue without harming most original, cured finishes like varnish or lacquer. This is your go-to when you bring home a piece from a heavy smoker's house or one that has that sticky kitchen film on it.
But a word of caution: mineral spirits must be used carefully and never on delicate finishes like shellac. It can dissolve shellac in a heartbeat, causing serious damage.
A Pro Tip: Always, always work in a well-ventilated area when using any kind of solvent. Apply the mineral spirits to a soft, clean cloth—never pour it directly on the furniture—and work in small, manageable sections to maintain control.
A Quick Guide to Common Cleaning Agents
To make things even clearer, let's break down the common household items and cleaners people often consider. Knowing what to grab—and what to leave on the shelf—is half the battle.
Safe vs. Risky Cleaning Agents for Antiques
| Cleaning Agent | Best For | Potential Risks and When to Avoid | Safety Level |
|---|---|---|---|
| Distilled Water & Mild Soap | Routine dusting and light cleaning on stable finishes (varnish, lacquer, oil). | Avoid on damaged, cracked, or flaking finishes where water can seep into the wood. Not effective for heavy grime or wax buildup. | Very Safe |
| Odorless Mineral Spirits | Removing old wax, grease, and heavy grime from solvent-resistant finishes like varnish or lacquer. | Never use on shellac, milk paint, or damaged finishes. Requires good ventilation. Flammable. | Safe with Caution |
| Commercial Furniture Polish | Can provide a temporary shine. | Many contain silicone, which creates a slick film that is difficult to remove and can interfere with future repairs or refinishing. | Risky |
| Vinegar or Ammonia Solutions | Not recommended for furniture. | Highly acidic (vinegar) or alkaline (ammonia), which can dull, soften, or strip old finishes. | Avoid |
| All-Purpose Cleaners | General household surfaces. | Contain harsh detergents and chemicals that are far too aggressive for antique wood and can permanently damage the finish. | Avoid |
This table should give you a clear picture. When in doubt, always start with the mildest option possible. You can always try something stronger, but you can't undo damage from a harsh chemical.
The Bigger Picture in Furniture Care
Thankfully, choosing the right product is getting easier. The global market for furniture care products, now valued at $3.67 billion, is shifting toward eco-friendly and non-toxic formulas. This is fantastic news for antique lovers, as these gentler products are exactly what's needed to preserve fragile finishes. Improper cleaning is still a huge risk to an antique's value and longevity, so this move toward more careful, informed practices is a major win.
Ultimately, your goal is to clean your piece effectively without stripping away its character and history. For an even deeper dive, our comprehensive guide on how to clean antique furniture offers more detailed comparisons and techniques. Making the right choice here is an investment in your furniture's future, ensuring it remains a treasured part of your home for generations to come.
A Gentle Touch for Everyday Cleaning
Alright, you've figured out what kind of finish you're dealing with and mixed up a safe cleaning solution. Now for the hands-on part. This is where a careful, methodical touch really matters.
The most important thing to remember? Less is more. You’re not trying to scrub a piece back to how it looked the day it was made. The goal is to gently lift away years of surface grime to let the beautiful, well-preserved history underneath shine through.
And always, always start dry. Wiping a dusty surface with a damp cloth just creates a gritty mud that can scratch the very finish you're trying to protect. First, we get rid of the dust.
Start with a Thorough Dry Dusting
This is the first and most frequent task in caring for any antique. Over time, dust isn't just unsightly; its tiny, sharp particles act like fine sandpaper, dulling the finish every time something slides across the surface.
A proper dusting is more than a quick once-over with a feather duster. In fact, I recommend you ditch feather dusters entirely. They're notorious for snagging on delicate veneers or carvings, and they mostly just push dust into the air.
Instead, your toolkit should be simple but much more effective:
- A soft-bristle brush: A simple, natural-bristle paintbrush—about 1 to 2 inches wide—is your secret weapon. The soft bristles are perfect for getting into all those nooks and crannies where dust loves to settle. Use it to gently flick dust out of tight spots and onto the larger, flat surfaces.
- A microfiber cloth: After you've coaxed the dust out of the detailed areas, grab a clean, dry microfiber cloth. Its fibers are designed to trap and hold onto dust particles, not just smear them around.
Always work from the top of the piece down to the bottom. It’s common sense, but easy to forget—this way, you won't knock dust onto areas you've just cleaned. Give extra attention to leg joints, the edges of hardware, and any carved details.
Expert Takeaway: Think of this initial dry-dusting as prepping a patient for surgery. You want the surface completely clear of loose debris before you even think about introducing moisture. Honestly, sometimes a meticulous dusting is all a piece needs to look fantastic.
The Careful Art of Wet Cleaning
Once every speck of dust is gone, take a step back. Does the piece still look grimy or feel sticky? If so, it's time to bring out the mild, pH-neutral soap solution you prepared. This stage demands patience. The biggest mistake people make here is using too much water. Moisture is the number one enemy of old wood finishes.
To keep things under control, work in small, manageable sections. I’m talking no larger than six by six inches at a time. This ensures you’re in complete command and no part of the furniture stays damp for more than a few seconds.
Here's how I do it, step-by-step:
- Dampen Your Cloth Lightly: Take a clean, soft, lint-free cotton cloth (an old t-shirt is perfect) and dip just a corner into your cleaning solution.
- Squeeze It Out Completely: Wring the cloth out until it’s barely damp. Seriously. It shouldn't feel wet, and it definitely shouldn't drip, even if you squeeze it hard.
- Wipe Gently, Don't Scrub: Working in your small section, wipe the surface with a light hand. Don't use a lot of pressure. The cleaning solution is what's doing the work, gently dissolving the grime.
- Dry Immediately: This is the most critical step. As soon as you've wiped the section, use a separate, totally dry cloth to wipe away every bit of remaining moisture. The surface needs to be bone dry before you even think about moving to the next section.
This disciplined, section-by-section approach is your best defense against water damage. It prevents moisture from seeping into tiny cracks, getting under veneers, or swelling the wood.
If you suspect mildew—say, on a piece that was stored in a damp basement—you can do a quick spot test. On a hidden area, wipe with a cloth dampened with a 50/50 mix of white vinegar and water. If dark spots come off on the cloth, you’ve got mildew, and this same solution is a safe way to clean it.
It might feel slow, but this methodical process is the secret to getting your furniture clean while preserving the patina—the very thing that gives an antique its soul.
Removing Stubborn Grime And Buildup
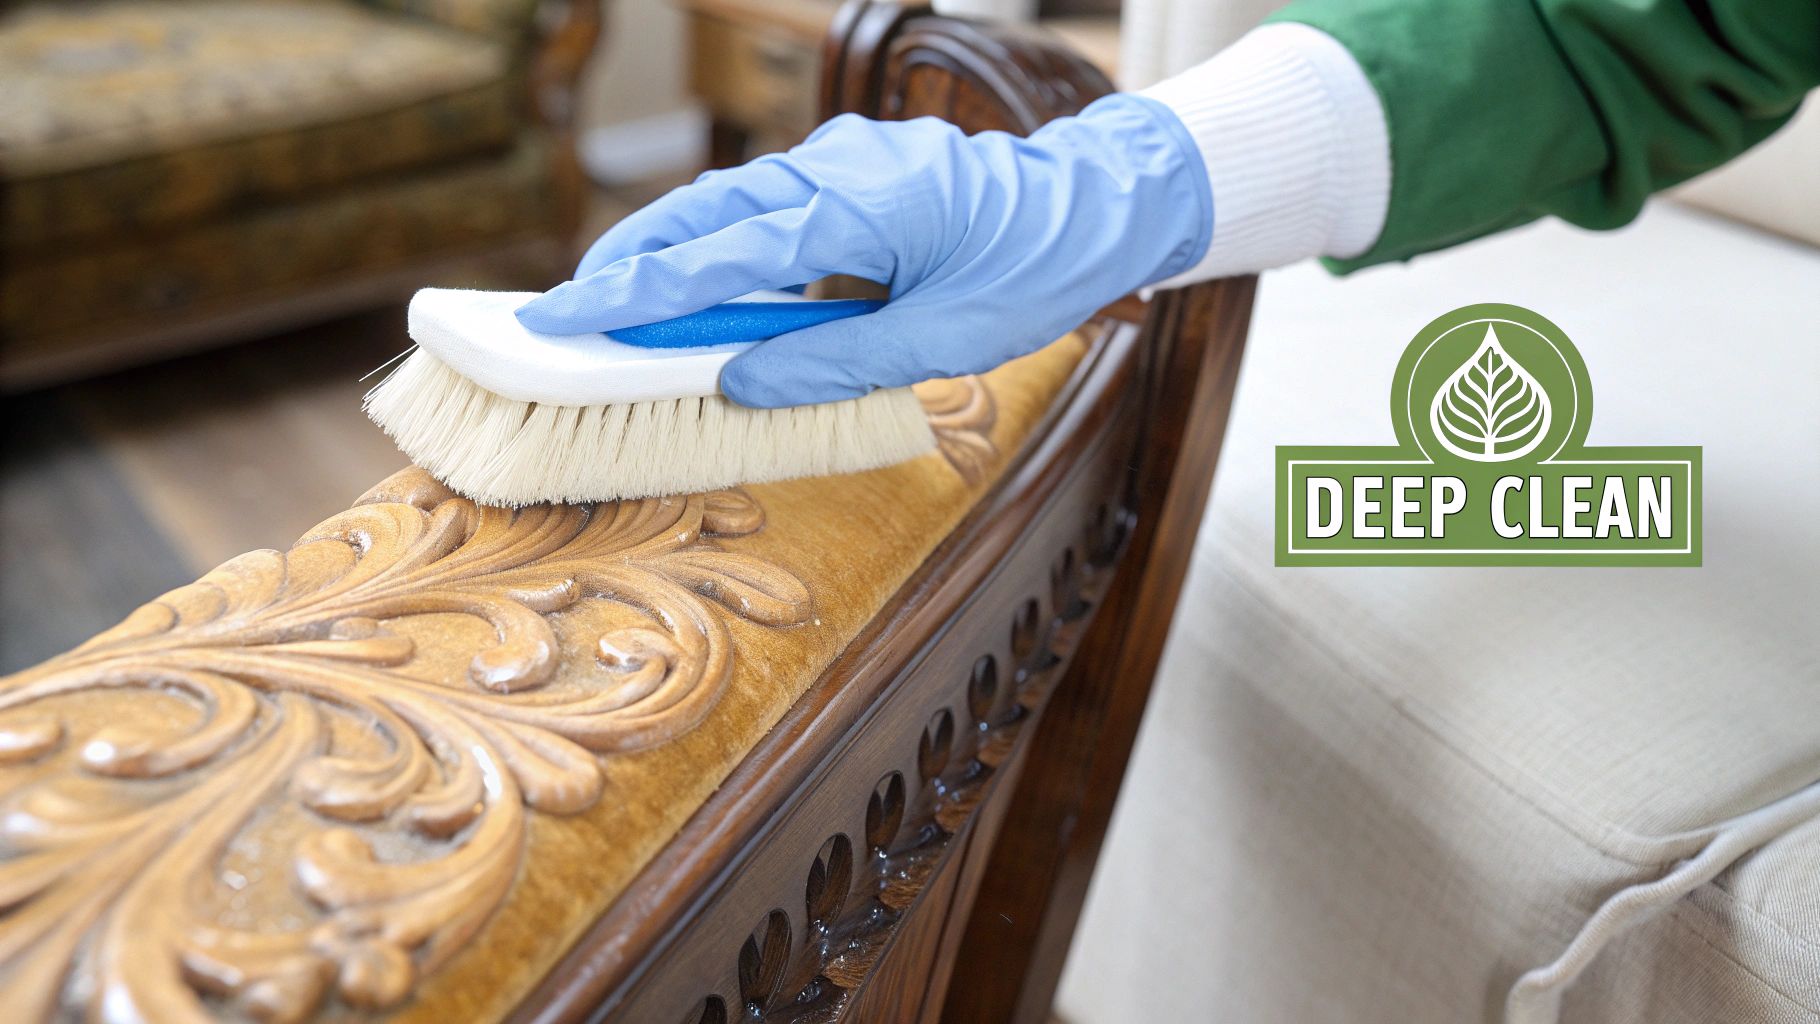
Sometimes, a simple cleaning just won't cut it. You might be dealing with decades of layered-on wax polish, a sticky film of kitchen grease, or the stubborn residue from a smoker's home. This kind of buildup creates a barrier that completely hides the true beauty of your furniture's finish.
When you're faced with this, you need a more assertive approach—but one that's still careful and respectful of the piece. This method is really for those who are confident they've identified their furniture's finish as a durable one, like an old varnish or lacquer.
A Word of Warning: Do not attempt this on delicate shellac or painted finishes. The solvents we're about to discuss will cause irreversible damage. If you have any doubt at all, it's far better to stick with milder methods or bring in a professional.
Choosing Your Solvent Wisely
When soap and water fail, the next logical step is a mild solvent. In the world of restoration, the most trusted and common choice is odorless mineral spirits (you might also see it called white spirit). Another great option is naphtha, which works similarly but evaporates a bit faster.
Both of these are fantastic for dissolving waxy, oily buildup without harming most hard, cured finishes. Think of it this way: water-based cleaners wash away surface dirt, but solvents get in there and dissolve the gunk itself, allowing you to lift it away cleanly.
This careful, materials-first approach is at the heart of the modern antique restoration sector. The detailed restoration market, currently valued at around $500 million, is growing as more people prioritize keeping and restoring what they have. This shift has changed how we think about cleaning, putting the focus on safer techniques that preserve a piece’s history and value. For a deeper dive into these trends, you can explore the antique furniture restoration service market report.
Setting Up For a Safe Cleaning
Before you even think about opening a can of solvent, let’s talk about safety and prep. Solvents give off fumes, so good ventilation isn't just a suggestion—it's a requirement.
- Find the Right Spot: Work outside if you can, or in a space with excellent airflow, like a garage with the door wide open. At a minimum, open all the windows and doors in the room.
- Gear Up: You'll absolutely need chemical-resistant gloves to protect your skin. A pair of safety glasses is also a very smart idea.
- Gather Your Tools: All you need are some soft, clean, lint-free cloths (old cotton t-shirts are perfect for this) and your chosen solvent.
Remember, mineral spirits and naphtha are flammable. Keep them far away from any source of ignition, like pilot lights, water heaters, or even static sparks. Always read and follow the safety warnings on the product label.
The Grime Removal Process
Okay, your workspace is ready and you've confirmed the finish is durable. It's time to get cleaning. The key here is to stay in control.
Start by dampening a clean cloth with a small amount of mineral spirits—never pour it directly onto the furniture. The cloth should be damp, not sopping wet.
Find an inconspicuous spot to test, like the back of a leg or the underside of a shelf. Gently rub the area. You should see the grime and old wax starting to lift and transfer onto your cloth. It’ll probably look dark and dirty. That's a good sign!
If the test goes well, you can move on, working in small, manageable sections.
- Wipe the surface gently with your solvent-dampened cloth, always moving with the direction of the wood grain.
- As your cloth gets dirty, fold it to a clean section or grab a fresh one. If you keep using a dirty cloth, you'll just be smearing the grime right back onto the piece.
- For really thick buildup or those tricky carved details, you can bring in some #0000 steel wool. This is an ultra-fine grade that can lift grime without scratching a hard finish. Just dip the steel wool lightly in the solvent and use gentle pressure, again, always following the wood grain.
After cleaning a section, wipe it down with a fresh, dry cloth to pick up any leftover solvent. Keep going like this, section by section, until the entire piece is clean. You'll be amazed at the difference. The original finish should now be clear and vibrant, free from that dull, sticky film that was hiding its true character.
How To Protect And Preserve Your Antique After Cleaning

You've done the hard work of carefully cleaning your antique, and it looks fantastic. But don't put your supplies away just yet. The final, and arguably most important, step is protecting that refreshed surface. This isn't about slapping on a glossy shine; it's about giving the piece a durable, breathable shield to preserve it for the future.
Think of it like this: after a deep clean, the original finish is vulnerable. A proper protective layer acts like a moisturizer for skin, keeping it safe from the bumps and scrapes of daily life. This is what makes all your careful cleaning effort worthwhile.
The Best Choice for Protection: Paste Wax
Stroll down the cleaning aisle, and you’ll be bombarded with spray polishes promising a quick shine. My advice? Steer clear. Most of these sprays are loaded with silicone, which leaves a slick, oily film that’s a nightmare to remove down the line. That silicone buildup can actually devalue your piece and make future repairs nearly impossible.
Instead, the go-to for professional restorers and museum conservators is, and has always been, a high-quality paste wax.
- Why it Works: Unlike sprays, a good paste wax (usually carnauba or beeswax-based) creates a hard, durable layer of protection. It buffs to a soft, beautiful sheen and nourishes the wood without creating that harmful, gunky buildup.
- What to Look For: You want a paste wax made specifically for furniture. Industry standards like Briwax or Renaissance Wax are trusted for a reason—they protect without the damaging additives.
A Pro Tip From Experience: A good wax coat does more than just shine. It creates a sacrificial layer. This means that minor scratches, scuffs, and even fingerprints will damage the wax, not the priceless original finish underneath. It becomes the furniture's first line of defense.
How To Apply Paste Wax Correctly
Applying wax is an art of "less is more." Piling it on thick will only create a greasy, dust-magnet of a surface. The goal is an incredibly thin, even coat.
Start by grabbing a clean, soft, lint-free cloth—an old cotton t-shirt is perfect for this. Scoop a small, marble-sized amount of wax onto your cloth. Seriously, a little goes a very long way.
Work in small, manageable sections. I like to apply the wax in a gentle circular motion first to work it into the surface. Then, I finish with long, smooth strokes that follow the direction of the wood grain to ensure even coverage.
Now, you wait. Let the wax sit and haze over, which usually takes around 10 to 20 minutes. Check the instructions on the tin for the exact time. The surface will look dull and cloudy, which is exactly what you want to see.
Once it's hazed, grab a new, clean cloth and start buffing. Gently polish the surface, again following the wood grain. This action removes the excess wax and buffs the remaining thin layer into a deep, mellow luster. The result should be a soft glow from within the wood, not a high-gloss, plastic-like shine. If you want to dive deeper, exploring some professional antique restoration tips can offer more fantastic insights.
Creating the Right Environment
Beyond waxing, the long-term health of your antique depends heavily on where it lives. Even a perfect cleaning and waxing job can be undone by a harsh environment.
- Sunlight: Direct sunlight is a finish-killer. Its UV rays fade wood, bleach out color, and can cause old finishes like shellac to crack and flake. Try to place your most precious pieces away from windows that get a lot of direct, harsh sun.
- Humidity: Wood breathes—it expands and contracts with changes in humidity. Wild swings can cause joints to loosen, veneers to lift, and even solid wood to crack. The sweet spot is a stable relative humidity between 45% and 55%. A humidifier in dry winters and a dehumidifier in muggy summers can be a true lifesaver for your furniture.
- Temperature: Keep antiques away from heat sources like radiators, fireplaces, and heating vents. The constant blast of hot, dry air will literally bake the moisture out of the wood, leading to shrinkage and cracks.
By pairing a proper wax finish with a stable, friendly environment, you’re not just cleaning a piece of furniture—you’re ensuring it remains a treasured part of your home's story for generations to come.
Common Questions About Cleaning Antique Furniture
Even after you've learned the proper techniques, a few questions often pop up. That's completely normal. Getting answers to these common concerns is the final piece of the puzzle, giving you the confidence to care for your antiques without making a mistake you'll regret.
Can I Use Vinegar or Olive Oil to Clean?
It’s so tempting to grab something you already have under the sink, but please, stay away from vinegar and olive oil. Vinegar is acidic, and that acid can be brutal on old finishes, especially delicate ones like shellac. It can easily leave behind a permanent cloudy haze or strip the finish of its life and luster.
Olive oil is a different kind of troublemaker. It doesn't truly dry, so it leaves a sticky, greasy film on the surface. Instead of protecting the wood, it becomes a magnet for every speck of dust and grime in the room. Worse, it can go rancid over time, leaving your beautiful piece with a funky smell and a gummy residue that’s a nightmare to remove. It’s always better to stick with a pH-neutral soap and distilled water or a product made specifically for restoring old furniture.
How Can I Tell Dirt From Patina?
This is probably the most critical question in antique care. The difference is huge. Dirt is just a layer of grime—household dust, oils, and pollutants—that sits on top of the finish. When you clean, you'll see it coming off on your cloth as a gray or brown film.
Patina, on the other hand, is the very soul of an antique. It’s the story of the piece, told through the gentle fading of the finish, the subtle wear on the edges from a hundred years of hands, and the warm, soft glow that only time can bestow. A proper cleaning lifts the dirt away to reveal the patina, not destroy it.
A Word of Advice: If you're ever unsure whether you're looking at dirt or history, err on the side of caution. Test the mildest cleaning solution you have on a small, hidden spot, like the back of a leg. It's far better to leave a little dirt behind than to accidentally wipe away a century of character.
What Should I Do About Water Stains or White Rings?
Ah, the dreaded white ring. We've all been there. The good news is that these cloudy spots are often just moisture trapped in the top layer of the finish, not in the wood itself, which makes them fixable.
For a newer or lighter stain, here’s a little trick I’ve used many times:
- Lay a clean, dry cotton cloth (an old t-shirt works perfectly) over the ring.
- Set your iron to its lowest heat setting with no steam.
- Press the warm iron on the cloth for just a few seconds, then lift it and check.
Repeat this a few times. The gentle heat is often just enough to coax the trapped moisture out of the finish. For tougher rings, a product made specifically for removing water stains can be a lifesaver.
However, if the stain is dark brown or black, that's a different story. It means water has soaked through the finish and stained the wood fibers. That kind of damage is almost always a job for a professional restorer.
How Often Should I Clean and Wax My Antiques?
With antiques, less is often more. Over-cleaning can cause more wear and tear than years of gentle use. For routine upkeep, a simple weekly dusting with a soft, dry microfiber cloth is all you need to keep surface dust from building up.
A deep clean, like the one we've walked through here, is something you should only need to do every few years—or when a piece has become genuinely grimy from being in a dusty environment or getting a lot of handling.
After a good cleaning, you can apply a quality paste wax for protection. You’ll only need to reapply that wax every one to two years, maybe a bit more often for a high-traffic piece like a tabletop. The goal is always a razor-thin, hard-cured barrier, not a thick, sticky layer of wax.