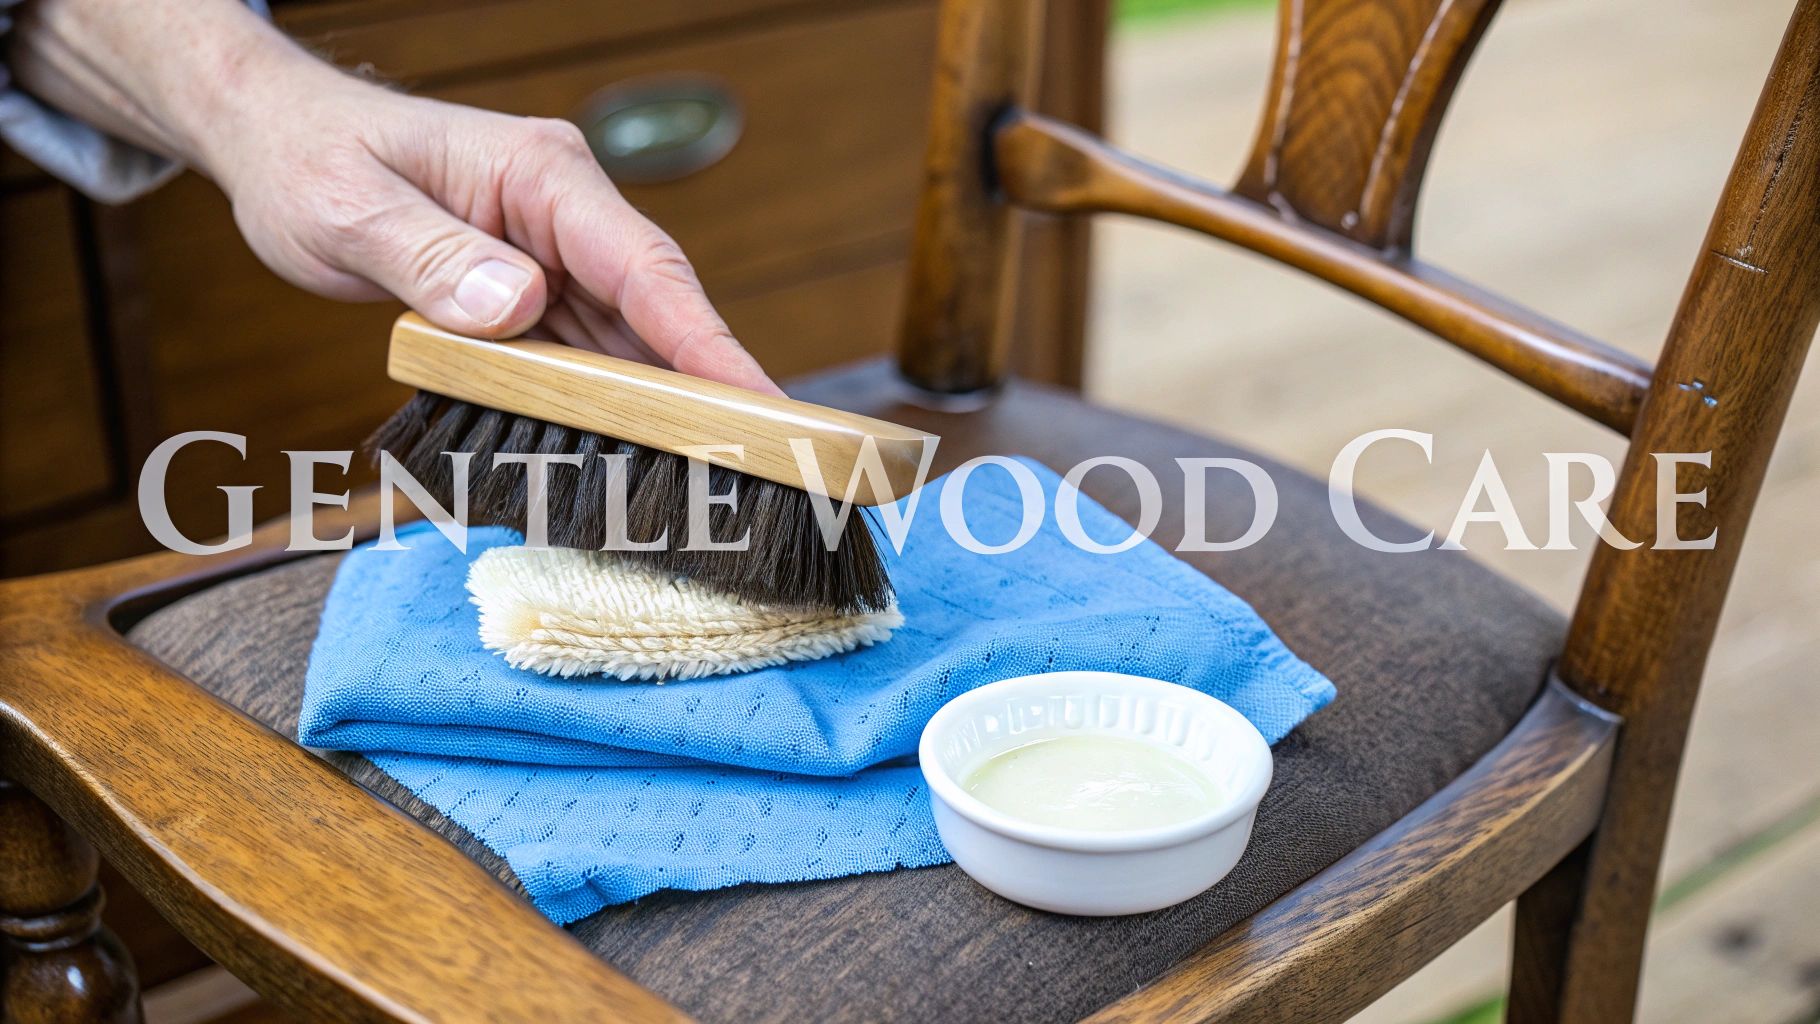
When it comes to cleaning antique wooden furniture, the golden rule is simple: be gentle. Your goal is always preservation over restoration. You're not trying to make it look brand new; you're carefully removing surface grime without stripping away the very character that makes the piece special.
Why a Gentle Approach is Non-Negotiable
Before you even think about reaching for a modern cleaning spray, take a moment. You’re not just cleaning wood—you’re caring for a piece of history. Unlike the factory-sealed furniture of today, antique pieces often have delicate, hand-applied finishes like shellac, varnish, or oil. These finishes are incredibly vulnerable and can be dissolved or permanently clouded by the harsh chemicals in many household cleaners.
Understanding Patina: The Furniture's Story
That rich, warm glow you see on an old table? That's its patina. It's a beautiful, subtle sheen that has developed over decades of exposure to air, light, and gentle handling. This isn't dirt; it's the furniture’s soul, its story written on the surface.
Aggressive cleaning with ammonia-based products or all-purpose sprays will strip this layer away in an instant. Doing so doesn't just damage the finish—it erases its history and can dramatically reduce its financial value. The "less is more" philosophy should be your guide.
How to Avoid Irreversible Damage
So many well-intentioned owners cause lasting harm simply by treating their heirlooms like any other piece of furniture. It’s an easy mistake to make if you're not aware of how fragile these old finishes can be.
Here are a few common pitfalls to avoid:
- Silicone-based polishes: They leave a shiny, almost plastic-like buildup that’s nearly impossible to remove without taking the original finish with it.
- Too much water: Water is wood's enemy. It seeps into cracks, swells the grain, loosens joints, and can cause delicate veneers to bubble and lift.
- Abrasive materials: Never use a rough cloth or scrubber. You'll create fine scratches that can only be fixed by a professional restorer.
The biggest mistake you can make is rushing in with too much force. A century of character can be wiped away in five minutes with the wrong product. Think of yourself as a caretaker, not a refinisher.
This deep respect for aged materials applies to more than just furniture. The same principles are used when cleaning old hardwood floors.
This mindset is fueling a growing appreciation for skilled preservation. The antique wood restoration segment of the furniture repair industry has grown to roughly $2.2 billion in revenue. People are realizing that preserving history is a craft in itself. By adopting a gentle, informed approach, you ensure your treasured pieces will remain beautiful and valued for generations to come.
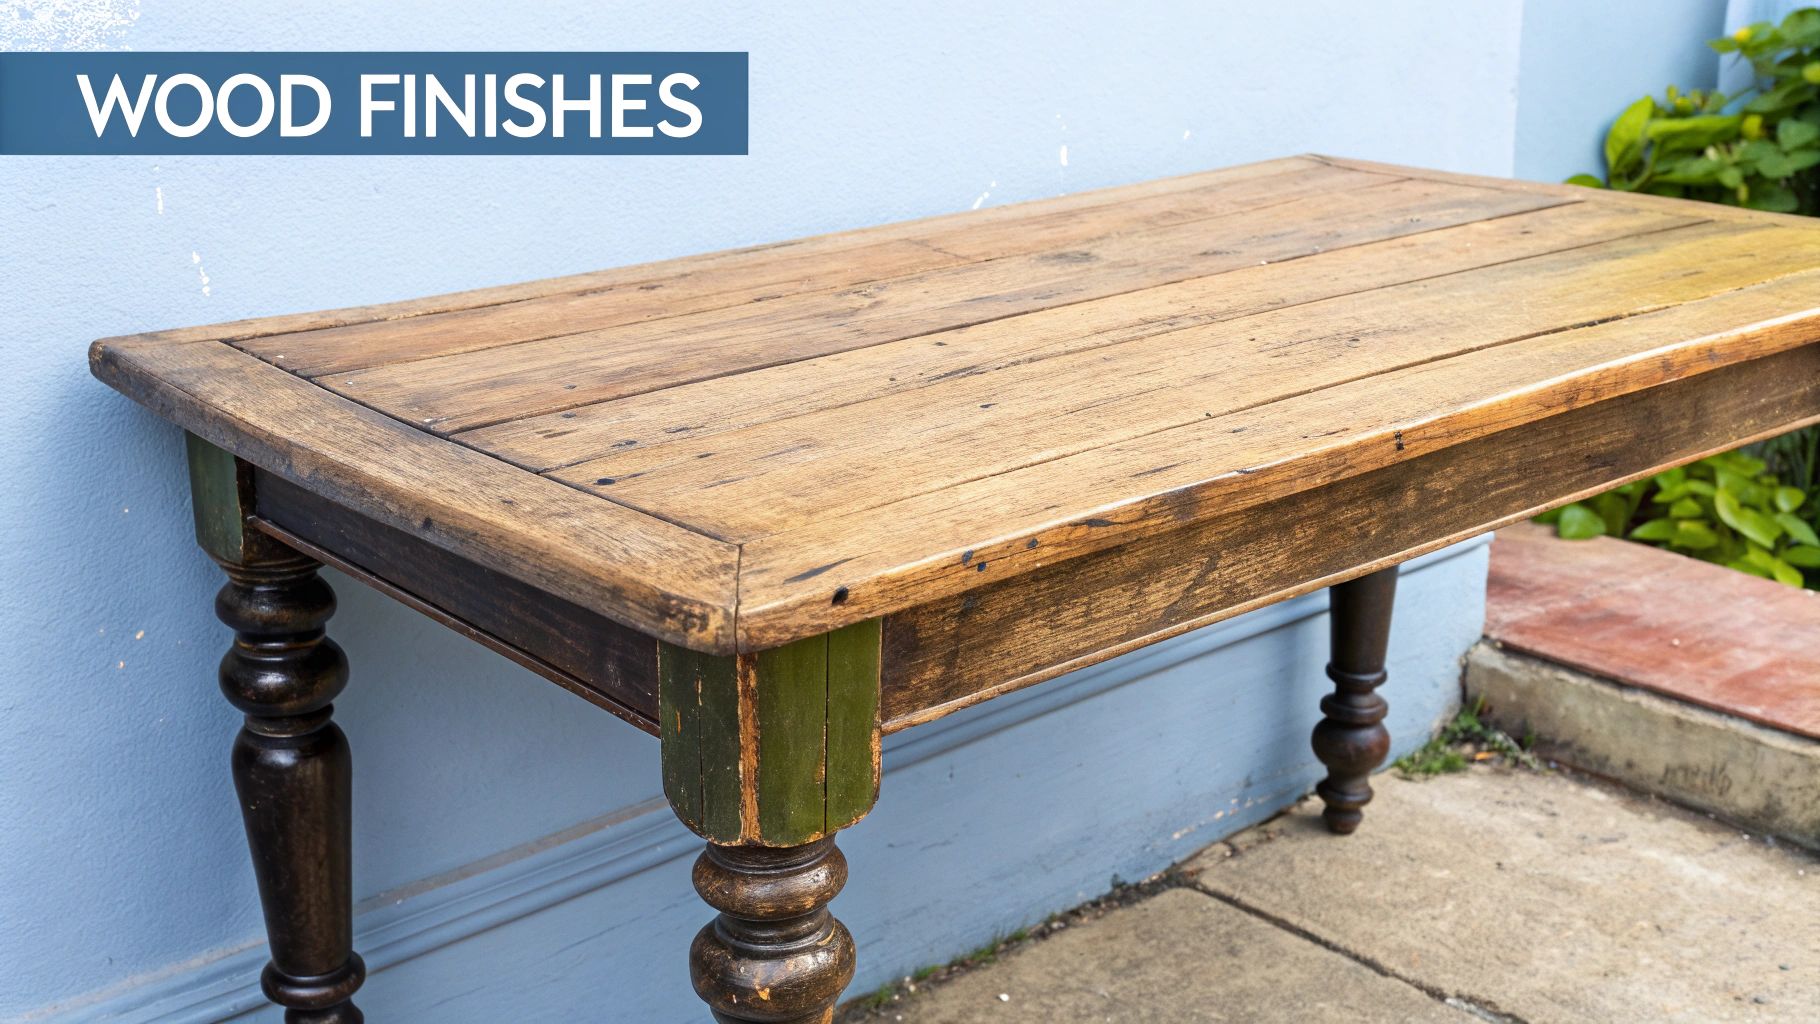
How to Identify Your Furniture's Finish
Before a single drop of cleaner touches your piece, you need to play detective. Seriously, this is the single most important step. Using the wrong cleaner on a delicate finish—say, a water-based one on old shellac—can create a cloudy, milky mess that's nearly impossible to fix.
What we're trying to figure out is whether you're dealing with a hard "film" finish like shellac, varnish, or lacquer, or a softer "penetrating" finish like oil. They look and feel different, and they absolutely require different cleaning methods. Luckily, a simple test with a cotton swab and a couple of common solvents will tell you everything you need to know.
The Simple Cotton Swab Test
First things first, find a hidden spot. The back of a leg, the inside of a door, or underneath the tabletop are all perfect places. You want an area where, if the finish does react, no one will ever see it.
For this little experiment, you'll need two things:
- Denatured Alcohol: This is your go-to for identifying shellac.
- Lacquer Thinner: This one, as you might guess, tests for lacquer.
Grab a cotton swab, dip it in the denatured alcohol, and gently rub it on your test spot for about 30 seconds. Watch it like a hawk. Does the finish get sticky or soft? Does a little color come off onto the swab? If so, you're almost certainly looking at shellac. It was the finish of choice for most furniture made before the 1930s, so it’s incredibly common.
If the alcohol did nothing, grab a fresh swab and repeat the test with a tiny bit of lacquer thinner. If that makes the finish tacky or starts to dissolve it, you've got a lacquer finish on your hands.
A quick word of caution: this is purely for identification. You're just dabbing and gently rubbing to see the reaction. Don't scrub, or you could damage even a tough finish.
Identifying Other Common Finishes
So, what if neither denatured alcohol nor lacquer thinner had any effect? That's a good sign you're dealing with something much more durable, most likely an oil-based varnish or polyurethane (though polyurethane is very unlikely on a genuine antique). These are tough, protective coatings designed to resist solvents.
Then there's the oil finish. This one feels different. It usually has a soft, satin feel and looks like it's in the wood, not sitting on top of it like a sheet of glass. A good test is to apply a single drop of boiled linseed oil to a hidden spot. If it soaks right in, you've confirmed it's an oil finish.
Knowing the difference is everything. It’s also a big piece of the puzzle when you want to learn how to identify antique furniture in general. Once you've figured out the finish, you can move forward with confidence, knowing you're using a cleaning method that will protect your piece, not harm it.
Building Your Gentle Cleaning Toolkit
When it comes to cleaning antique wooden furniture, the best results don't come from a cabinet full of harsh, modern chemicals. In my experience, the most effective toolkit is also the simplest. You can walk right past that crowded cleaning aisle at the store. We’re going to assemble a small, curated collection of gentle items that will get the job done beautifully while protecting your furniture’s history.
Your first and most important tool is a good, soft cloth. I swear by high-quality microfiber cloths for all my dusting. Their tiny fibers are fantastic at actually trapping and lifting dust particles, not just pushing them around. This simple step prevents the tiny micro-scratches that, over time, can make a beautiful finish look dull and tired.
Essential Tools for a Safe Clean
For anything more than a light dusting, you’ll need just a few more things to tackle built-up grime without causing any damage. It’s not about having a ton of gadgets, but having the right ones for the job.
- Natural Bristle Brushes: A soft paintbrush or even a clean, soft-bristled toothbrush is your secret weapon for getting into all those nooks and crannies. Think about the intricate carvings on a chair back or the tight corners of a drawer—that’s where dust loves to hide. Natural fibers are much kinder to old, delicate finishes than stiff synthetic bristles.
- Cotton Swabs and Balls: I always have these on hand. They are perfect for testing a cleaning solution on a small, hidden spot before you commit to the whole piece. They also give you precision control when you need to apply a tiny bit of solvent to identify a finish.
- Clean, Lint-Free Rags: Old, soft cotton t-shirts or cloth diapers are gold for this kind of work. They’re perfect for applying cleaners or buffing on a fresh coat of wax. Just make sure they’re perfectly clean and you’ve cut off any buttons or rough seams that could scratch the surface.
With just these few items, you're ready to handle almost any cleaning task that comes your way. The golden rule is to always start with the least invasive method first—that means dusting with a dry microfiber cloth before you even think about introducing a liquid. This approach ensures you’re not grinding abrasive dirt into the very finish you’re trying to protect.
Safe Cleaning Solutions vs Damaging Products
Knowing what not to put on your antique furniture is arguably more important than knowing what to use. So many common household cleaners can cause permanent, heartbreaking damage to an old finish.
Let's break down the good from the bad.
Safe Cleaning Solutions vs Damaging Products
| Safe Solution | Why It's Safe | Harmful Product to Avoid | Why It's Harmful |
|---|---|---|---|
| Distilled Water & Mild Soap | A highly diluted mix of pH-neutral soap (like a drop of basic, unscented dish soap) in distilled water gently lifts grime without harsh chemicals. Using distilled water prevents mineral spots from tap water. | Ammonia or Bleach Cleaners | These are incredibly harsh and will strip old finishes like shellac and varnish right off. They can cause clouding, discoloration, and damage that is impossible to reverse. |
| Mineral Spirits | This is a petroleum-based solvent that's surprisingly gentle on most hard finishes. It’s my go-to for dissolving years of waxy buildup or stubborn grime without harming the original varnish or lacquer underneath. | Silicone-Based Polishes | Products like Pledge create a shiny, synthetic film that’s nearly impossible to remove later. This coating attracts more dust and prevents any future nourishing treatments, like wax, from ever reaching the wood. |
| Paste Wax (Silicone-Free) | Made from natural waxes like carnauba or beeswax, a good paste wax feeds the wood and provides a protective, breathable barrier. It buffs to a soft, deep sheen that looks and feels authentic. | Cooking Oils (Olive, etc.) | A very common mistake! These oils never truly dry. They turn rancid, attracting dirt and creating a sticky, gummy mess that’s an absolute nightmare to remove. |
If you remember only one thing, let it be this: always start with the mildest cleaner possible. You can always move up to something a bit stronger, like mineral spirits for tough grime, but you can never undo the damage from a harsh chemical.
By building this focused and gentle toolkit, you take all the guesswork out of the process. You'll have everything you need to clean your antique furniture safely, ensuring these beautiful pieces can be cherished for generations to come.
My Go-To Method for a Gentle Clean
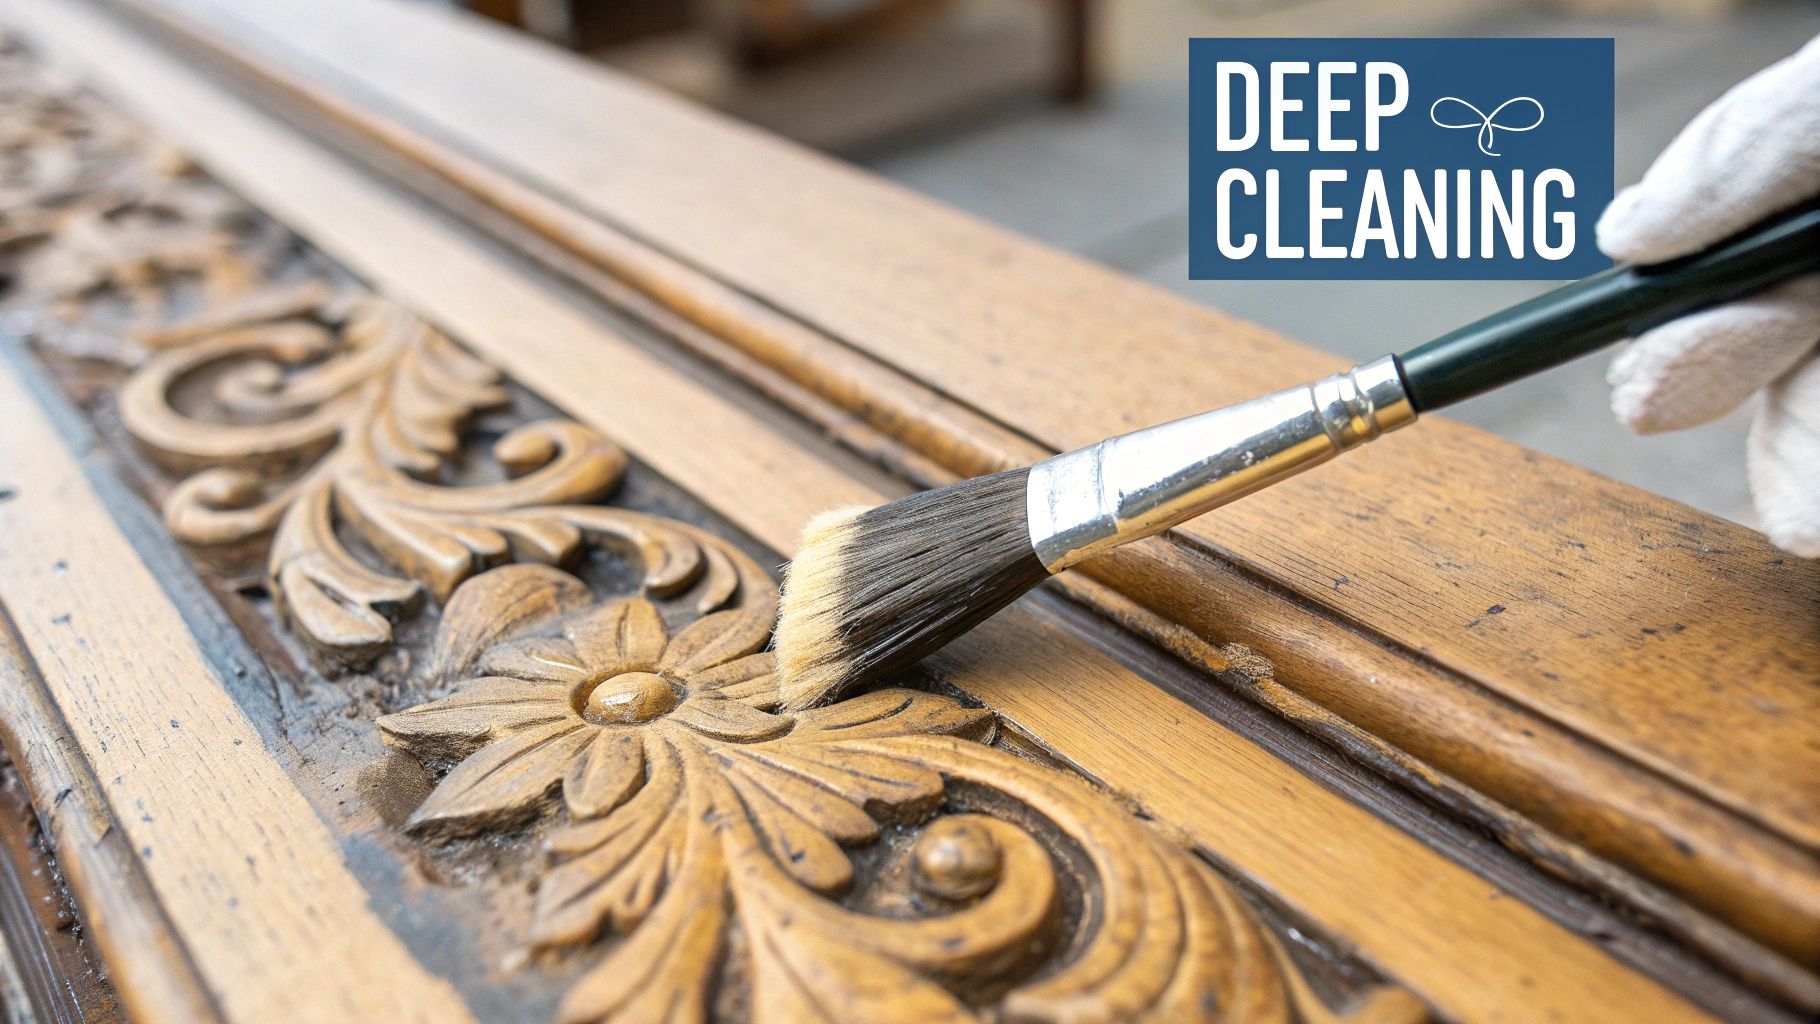
Alright, you've figured out the finish and have your tools ready. Now for the fun part. Over the years, I've developed a solid, field-tested process for lifting away decades of dirt without harming the wood’s history. The whole secret is to be patient and always start with the gentlest method first.
Before a drop of liquid ever touches that surface, we need to do a thorough dry cleaning. This is non-negotiable. Grab a soft microfiber cloth for the flat areas and a natural bristle brush to get into all those little carvings and crevices. You’re not just dusting here; you're getting rid of any loose, abrasive grit that could scratch the finish when you start cleaning with a damp cloth.
Starting with a Mild Soap Solution
For most sturdy finishes like varnish or lacquer, you’ll be surprised by what a simple solution of mild soap and distilled water can do. The trick is all in the ratio and the application. Remember the mantra: damp, not wet.
Here’s exactly how I do it:
- First, mix just a few drops of a simple, unscented dish soap into a bowl of distilled water.
- Next, dip a clean, soft cotton cloth into your solution and wring it out until it’s barely damp.
- Working in a small section, gently wipe with the grain of the wood.
- Immediately follow up with a second cloth dampened with only distilled water to rinse away any soap residue.
- Finally, use a third, completely dry cloth to wipe the area dry before moving on.
The goal is simple: lift the surface dirt without letting moisture seep into the finish or the wood itself. By working in small, controlled patches, you make sure no water sits on the surface, which is what causes those dreaded white marks or swelling.
This careful, restorative approach is becoming more and more common. People are realizing the value in preserving beautiful old pieces. In fact, the global furniture repair and restoration market was valued at around $7.3 billion and is projected to hit nearly $12.4 billion by 2033. North America is really leading the charge with a market value close to $3.1 billion, showing a real appreciation for these investment pieces.
Dealing with Stubborn Grime Using Mineral Spirits
Sometimes, soap and water just won't cut it. If you're dealing with layers of old, waxy polish or stubborn, embedded grime (especially common on old kitchen tables), it's time to bring out the mineral spirits. This is only for hard, durable finishes like varnish—never use it on shellac.
Mineral spirits might sound aggressive, but they are actually a surprisingly gentle solvent for most original finishes. They work wonders for dissolving old wax and oily buildup without touching the varnish or lacquer underneath.
To use them safely, just put a small amount on a clean cloth and gently wipe a small section. You'll likely see the cloth turn a satisfying shade of yellow or brown as it lifts away all that old gunk. Always make sure you're in a well-ventilated area and wearing gloves.
If you want to dive deeper into the different cleaning solutions available, our complete guide on what to use for antique wood cleaning breaks it all down. Following this careful, methodical process is the best way to reveal the true beauty hiding just beneath the surface.
Bringing Out the Wood's Natural Beauty
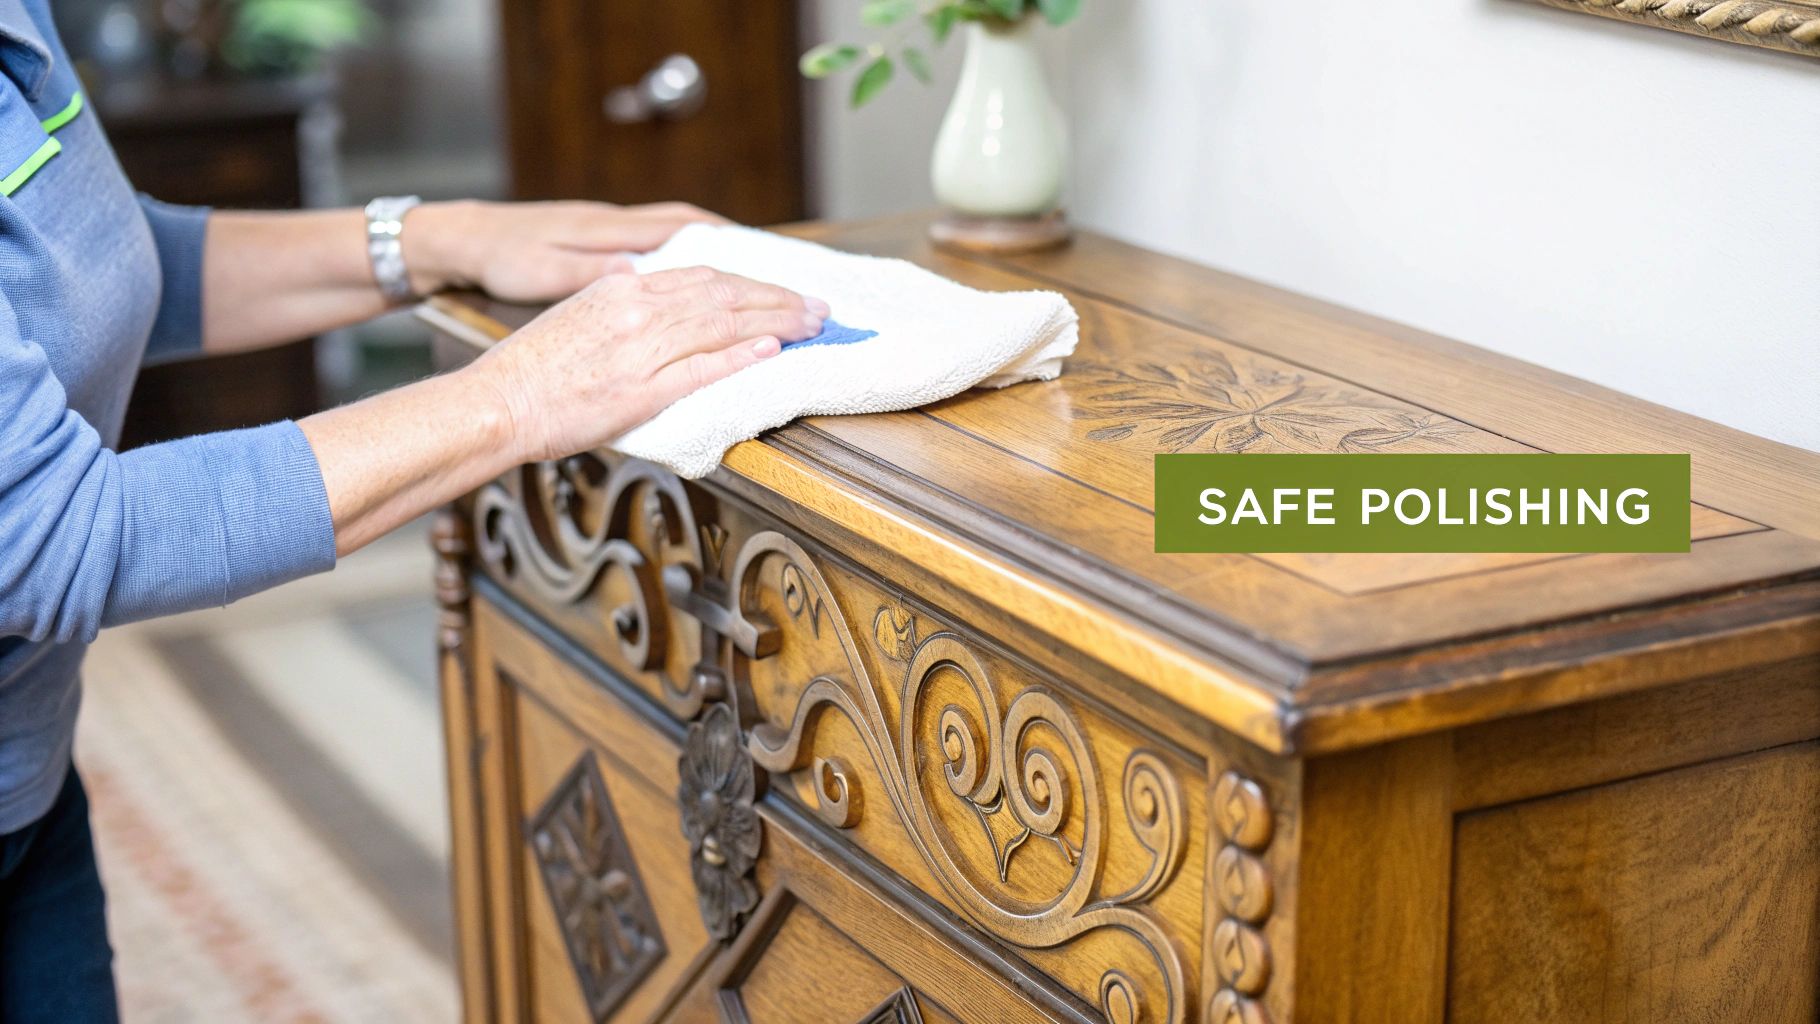
Once you’ve carefully cleaned away the grime, it's time for the most satisfying part: feeding and protecting the wood. This is where the magic happens. A proper finish brings out the depth of the grain, restores a rich, authentic luster, and creates a protective barrier that keeps your hard work looking great for years.
The biggest mistake I see people make is grabbing a can of modern aerosol spray polish. Steer clear of these. The vast majority contain silicone, which creates an instant, artificial shine. Over time, it builds up into a sticky film that’s a nightmare to remove, often taking the original finish with it. It also attracts more dust and suffocates the wood.
Why Paste Wax Is the Only Way to Go
Instead of a spray, reach for a high-quality, silicone-free paste wax. This is the professional standard for a reason. Look for one made with natural waxes like beeswax or carnauba. These traditional formulas actually nourish the wood, help fill in tiny surface scratches, and buff to a soft, mellow sheen that just looks right on an antique piece.
A good paste wax creates a durable, sacrificial layer. This means that everyday dust, moisture, and fingerprints sit on the wax, not on your furniture’s fragile, centuries-old finish. It's an old-school technique that modern chemistry still hasn't managed to improve upon for both beauty and protection.
Think of it like this: cleaning removes the dirt from the past, but waxing protects the wood for the future. It's a simple step that preserves the integrity and value of your furniture.
There's a growing appreciation for this kind of preservation. The furniture repair and restoration market was recently valued at $11.2 billion and is expected to climb to $16.5 billion by 2033. It shows that people are increasingly choosing to invest in the quality of original pieces rather than replacing them.
My Go-To Method for a Flawless Finish
Applying wax is more of an art than a science, but it’s an easy one to master. The most important rule? Less is more. You need far less than you think.
- Start Small: Get a small dab of wax on a soft, lint-free cloth—an old cotton t-shirt works perfectly.
- Work in Sections: Apply the wax to a small area at a time. I like to use a gentle circular motion to really work it into the surface.
- Let It Haze Over: Now, walk away. Wait about 15-20 minutes for the wax to dry. It’s ready when it looks slightly cloudy or hazy.
- Buff to a Sheen: Grab a separate, clean cloth and start buffing. This time, wipe with the direction of the wood grain. This action removes the excess wax and polishes the surface to that beautiful, soft glow you’re looking for.
This final touch doesn't just make the wood look incredible; it gives it a crucial layer of defense. Moving beyond just cleaning is key to long-term care. For more tips on getting a brilliant, lasting shine, check out these expert hardwood floor cleaning and polishing secrets.
Common Questions on Antique Furniture Care
Even with the best guide in hand, antique furniture always seems to throw a curveball. Over the years, I've heard just about every question you can imagine from new owners and seasoned collectors alike. I've gathered the most common ones here to give you quick, reliable answers for those tricky situations that inevitably pop up.
Think of this as your go-to reference. Sometimes, the most important part of caring for antiques is knowing what not to do, and these questions cover some of the biggest pitfalls to sidestep.
How Often Should I Clean My Antiques?
This is the big one, and my answer surprises a lot of people: far less often than you think. Your routine should be incredibly light-handed.
A gentle dusting with a soft, dry microfiber cloth every week or two is all it takes to keep surface dust at bay. A real, deep cleaning with any kind of liquid should be a rare event—maybe once a year, if that. You only need to do it when a piece is genuinely grimy. Over-cleaning is a real danger; it can slowly strip away a delicate, centuries-old finish. If it looks clean, a simple dusting is all it needs.
Can I Use Olive Oil to Polish Wood?
Please, step away from the pantry. I can't stress this enough: never use cooking oils like olive or vegetable oil on your wooden furniture. It might give you a nice shine for a day or two, but it’s a disaster in the long run because these oils never fully dry.
Over time, cooking oil goes rancid. It attracts dust and grime, creating a sticky, gummy film that’s a nightmare to remove. Getting that gunk off requires harsh solvents that will almost certainly damage the original finish you were trying to preserve in the first place.
Stick to a high-quality, silicone-free paste wax made for furniture. It provides a hard, protective layer without the mess.
What Should I Do About White Water Rings?
Ah, the dreaded white ring from a forgotten glass. It’s a common sight, but don't panic—you can often fix this at home. These rings are usually just moisture trapped in the top layers of the finish, not in the wood itself.
Here’s a gentle trick I've used many times:
- Lay a clean, dry cotton cloth (an old t-shirt is perfect) over the white ring.
- Set an iron to low heat with no steam.
- Press the warm, dry iron on the cloth for just a few seconds at a time.
- Lift the iron and cloth to check your progress. The gentle heat helps draw the trapped moisture out of the finish, often making the ring vanish before your eyes.
Now, if the mark is dark, that’s a different story. A dark ring means water has soaked through the finish and stained the wood. That’s usually a job for a professional restorer. Knowing the difference is crucial, especially when you're trying to figure out how to value antique furniture, as condition is everything.
Feeling curious about the history and value of your own treasures? With Curio, you can get instant identification, historical context, and an expert appraisal right from your phone. Snap a photo, and let your antiques tell their story. Download Curio today!