Before you even think about cleaning an antique wood piece, the most important thing you can do is figure out exactly what you're dealing with. The first two steps—a gentle dusting and, critically, identifying the wood's finish—are the foundation of a safe and successful cleaning. Getting this wrong can cause irreversible damage, so a little patience here goes a long way in protecting your furniture's value and character.
How to Start Cleaning Antique Wood Safely
I've seen it happen too many times: someone eager to restore a beautiful heirloom jumps straight to cleaning and ends up with a mess. The most common—and costly—mistakes almost always happen right at the start.
This initial phase isn't about scrubbing away years of history. It's a careful, methodical process that respects the age and integrity of the piece. Preservation is always the primary goal, and that journey begins with understanding the finish you're about to clean.
First, Identify the Wood's Finish
Different finishes have vastly different chemical makeups. A cleaner that works wonders on a tough, modern varnish could completely dissolve a delicate, pre-1930s shellac finish, leaving you with a cloudy, sticky disaster that requires a professional to fix.
You can't just guess. You need to test. Over the years, I've found this simple trick to be foolproof.
Identifying Your Antique Wood Finish
To figure out what you have, you'll need two common solvents: denatured alcohol and lacquer thinner. Find an inconspicuous spot on the furniture—the back of a leg or inside a drawer works perfectly. Dab a small amount of the solvent onto a cotton swab and gently rub. Here’s what to look for:
| Finish Type | Reaction to Denatured Alcohol | Reaction to Lacquer Thinner | Common Characteristics |
|---|---|---|---|
| Shellac | Becomes sticky, dissolves | Dissolves quickly | High gloss, often found on pieces made before the 1930s. Very sensitive to alcohol and water. |
| Lacquer | No reaction or very slight softening | Dissolves quickly | Hard, durable finish. Common on mid-century and later furniture. |
| Varnish | No reaction | No reaction | Very durable and resistant to most common solvents. Can be oil-based or polyurethane. |
This quick test is your roadmap. It tells you exactly what you can—and absolutely cannot—use to clean the piece.
Knowing the finish dictates your entire cleaning strategy. For a shellac finish, for instance, you'll need to avoid water and alcohol almost entirely, relying instead on very light dusting or specific solvents like mineral spirits.
The Overlooked Importance of Dusting
Once you know the finish, your first real action is a meticulous dusting. And I don't mean a quick wipe-down. Dust and surface grit are highly abrasive. If you start scrubbing with a damp cloth before removing them, you're essentially grinding that grit into the finish, creating a network of tiny scratches that will permanently dull its luster.
For flat surfaces, use a soft, dry microfiber cloth, always moving with the grain of the wood.
When you get to detailed carvings, joints, or other intricate spots, switch to a soft-bristled brush. A simple, clean paintbrush with natural bristles is perfect for gently flicking dust out of all those nooks and crannies. You can also use a vacuum with a soft brush attachment, but be sure to hold it just above the surface to draw away loose particles without making contact.
This simple prep work is non-negotiable. It ensures your cleaning process begins on the right foot, protecting the very thing you're trying to preserve.
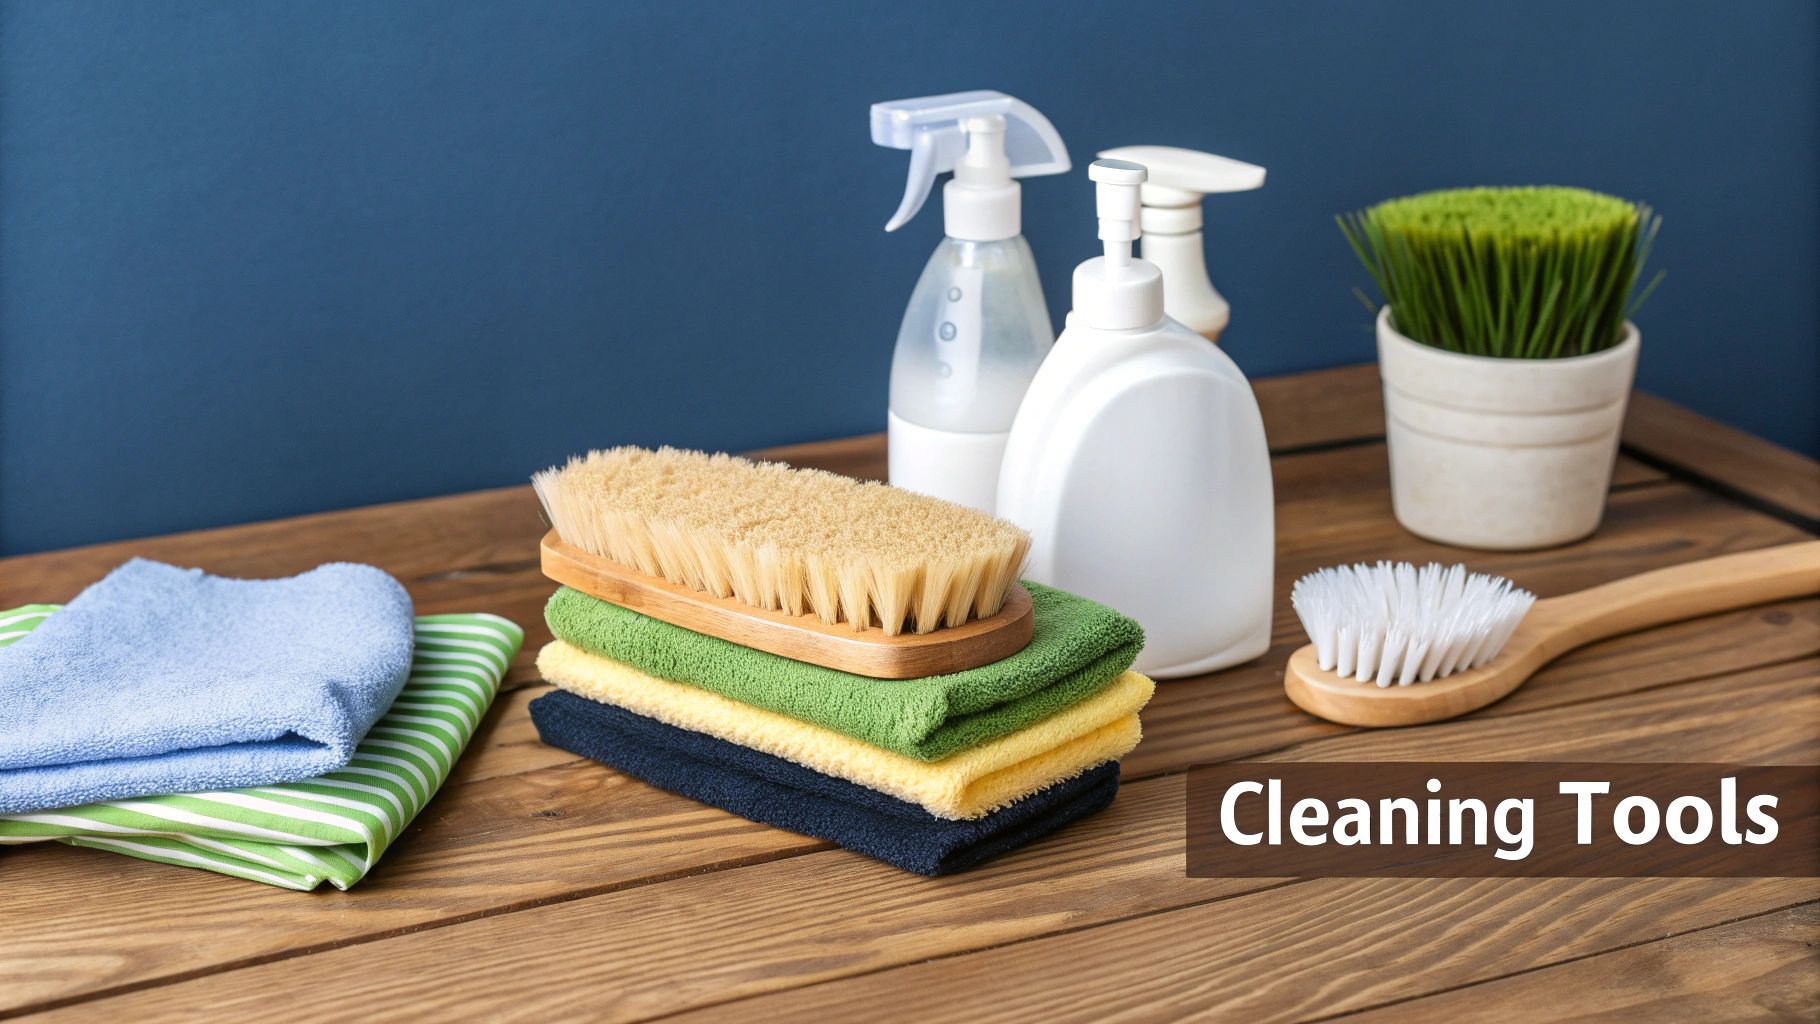
Choosing the Right Cleaning Solution
When it comes to cleaning antique wood, picking the right cleaner is less about finding a miracle product and more about preventing a disaster. I've seen it happen too many times. The market is absolutely flooded with options, but a surprising number of commercial sprays contain silicones, oils, and aggressive solvents that can permanently ruin delicate, aged finishes.
A classic mistake is reaching for an all-purpose household cleaner. Those products often contain ammonia or harsh detergents that will strip a fragile shellac or varnish finish in a heartbeat. What you're left with is a cloudy, irreparable mess. Remember, our goal here is preservation, which always means starting with the gentlest method possible and only escalating if necessary.
Start with a Simple Homemade Cleaner
For most routine dusting and light cleaning, you really don't need anything fancy. In fact, professional restorers almost always prefer a simple, homemade solution because it’s effective, completely safe, and you know exactly what’s in it.
Here’s the tried-and-true recipe I use for a gentle, all-purpose antique wood cleaner:
- One quart of distilled water: This is a non-negotiable. Tap water has minerals that can leave behind a white, hazy film on the finish. Always use distilled.
- One teaspoon of a pH-neutral, scent-free soap: A simple, mild dish soap is perfect. Just make sure to avoid anything with heavy-duty degreasers, bleach, or strong fragrances.
Mix them in a bowl, dip in a soft, lint-free cloth, and wring it out until it’s just barely damp. You never want to see water beading up on the surface.
My personal rule is this: if a piece just looks dull and not truly dirty, this simple soap-and-water solution is all I’ll use. It's often enough to lift light surface grime without any risk to the original finish.
Prioritizing gentle, chemical-free products is the most important thing you can do for your antiques. If you're looking for safe commercial options, you can find some of the best non-toxic cleaning products that align with this philosophy. This focus on gentle care is becoming more common.
The furniture polish market, a category closely related to antique care, was valued at $22.9 billion in 2023 and is projected to climb to $37.8 billion by 2030. This isn't just about selling more polish; it shows a huge consumer shift towards preserving the longevity and beauty of wooden furniture, which is great news for all of us. You can read more about these furniture care market trends.
When to Use a Stronger Solution
Of course, sometimes a simple wash isn't going to cut it. If you're staring down decades of waxy buildup or a sticky, grimy surface that feels tacky to the touch, it's time to bring out something more robust. But we still need to be safe. That's where mineral spirits come in.
Also known as white spirit, mineral spirits are a pure, petroleum-based solvent that works wonders at dissolving old wax, oil, and built-up grime without harming the original finish underneath. A huge benefit is that it evaporates completely, leaving zero residue behind.
To use it, dampen a soft cloth—again, never soaking wet—and work on a small, inconspicuous area first. Gently wipe along the grain of the wood. You'll be amazed as the cloth turns dark with lifted grime, revealing the clean, true finish below.
A Hands-On Guide to the Cleaning Process
Alright, you’ve picked your cleaning solution and figured out your wood's finish. Now for the fun part—actually cleaning the piece. This is where a little patience goes a very long way. The most important rule I've learned over the years with any antique wood cleaning is to start small and be gentle.
I always set myself up with two soft, lint-free cloths. One is for cleaning, the other for rinsing. Dip the first cloth into your solution (let's say it's the simple soap and distilled water mix) and then wring it out until it's just barely damp. You should never see water dripping from it. Too much water is the fastest way to ruin an old finish.
Find an inconspicuous spot and start wiping, always moving your cloth in the same direction as the wood grain. This helps pull the dirt out of the wood's tiny pores. If you scrub in circles, you risk leaving behind ugly swirl marks, especially on delicate shellac or varnish finishes.
The Clean, Rinse, and Dry Method
Once you've cleaned a small patch, grab your second cloth. Get it damp with plain distilled water and, again, wring it out completely. Wiping the area down a second time removes any soap residue that could otherwise dry into a dull, sticky film that just attracts more dust.
This rinse step is so easy to skip, but trust me, it's essential for a truly clean, non-tacky finish.
Immediately after rinsing, take a third, completely dry, soft cloth and buff the area until it’s dry to the touch. Don’t ever let the wood air-dry. Letting water sit on the surface, even for a few minutes, can cause clouding, water spots, or even make the veneer bubble. Just work your way across the piece, one small section at a time, using this clean-rinse-dry sequence.
I can't stress this enough: less is more. You are gently persuading decades of grime to lift away, not aggressively scrubbing it into submission. Gentle pressure and minimal moisture are your best friends here.
Tackling Tricky Carvings and Details
Flat surfaces are one thing, but what about all those beautiful, intricate carvings or the tight corners on a chest of drawers? Shoving a cloth into those delicate spots is a recipe for snagged fabric and snapped details.
For these fiddly bits, I have a few go-to tools:
- Cotton Swabs: Dampen one lightly with your cleaning solution. They are the perfect size for getting into the nooks and crannies of detailed carvings.
- Soft-Bristled Brushes: A small artist's paintbrush or a brand-new, soft toothbrush works wonders for loosening dust from crevices. I always start by using it dry, then follow up with a very slightly dampened brush if needed.
The core principles for cleaning different types of wood are often quite similar. If you're working with a specific wood like teak and want more targeted advice, this complete guide to cleaning teak wood is a fantastic resource, as the gentle techniques are widely applicable. For a broader overview, feel free to check out our general guide on how to clean antique furniture.
When you're working on those detailed areas, remember to go slow. Use the same rinse-and-dry method, perhaps with fresh cotton swabs for each step. This meticulous approach ensures that every inch of your piece is safely cleaned, bringing back its original charm and character.
Removing Heavy Grime and Stubborn Buildup

Sometimes, a piece arrives with more than just a light layer of dust. You might be dealing with decades of built-up wax, smoke, and grime that have left the surface dull, dark, and even sticky. When this happens, our basic antique wood cleaning methods won't be enough.
This is when you need to bring in something with a little more power. A gentle solvent is the next logical step, and for professional restorers, that almost always means mineral spirits. Also known as white spirit, it’s brilliant at dissolving heavy, oil-based buildup without harming the original finish underneath.
How to Use Solvents the Right Way
I’ve brought many pieces back from the brink with this method. I once worked on an old oak desk that felt tacky to the touch—the result of years of silicone-based furniture polish that had degraded into a sticky mess. Mineral spirits cut right through it.
To tackle this kind of buildup, you’ll need two things: odorless mineral spirits and a pad of super-fine #0000 steel wool.
Prep Your Tools: Lightly dampen the steel wool with the mineral spirits. You don't want it sopping wet, just damp enough to do the job.
Work in Sections: Start with a small, manageable area and gently rub the steel wool with the wood grain. Never go against the grain or scrub in circles, as this can easily leave fine scratches.
Let the Solvent Work: Use very light pressure. Your goal is to let the mineral spirits dissolve the grime, not to scrub it off with brute force. You'll see the gunk start lifting onto the steel wool almost instantly.
Wipe It Clean: Immediately follow up with a clean, soft cloth to wipe away the dissolved residue before it can dry back onto the surface.
This technique is all about restoring the clarity and depth of the original finish. It’s a delicate balance—you’re not trying to strip the wood, just remove the gunk sitting on top.
One of the most common problems I encounter are those dreaded white moisture rings on tabletops. If gentle heat doesn’t do the trick, you can sometimes lift the ring from a shellac finish with a very careful application of denatured alcohol on a cotton swab. For tougher finishes, the mineral spirits and steel wool technique often removes the ring without damaging the varnish.
Knowing When You’ve Done Enough
It's absolutely critical to know the difference between cleaning and refinishing. Cleaning simply reveals the original finish; refinishing removes it entirely.
If you’ve taken off the surface grime and find that the finish underneath is still cracked, flaking, or severely discolored, you've reached the limits of what cleaning can do. Pushing it further will only cause damage. This is the moment to stop and consider consulting a professional restorer.
The growing interest in preserving furniture has fueled a robust market. The global furniture care products sector, which covers everything for antique wood cleaning, was valued at around $3.67 billion and is projected to hit $5.42 billion by 2033. This growth points to a strong DIY culture, especially in North America, where people are passionate about maintaining their beautiful wooden pieces. You can find more details in this furniture care products market report from datahorizzonresearch.com.
In the end, tackling heavy buildup is about restoring a piece's integrity, not erasing its history. By working slowly and carefully, you can bring back its intended beauty while preserving the unique patina that tells its story.
How to Protect and Nourish Cleaned Wood
Cleaning your antique is really just the first step. Once the surface is clean and completely dry, it's left a bit exposed. Think of it like a freshly cleaned slate—the wood's pores are open and need protection from dust, moisture, and the little bumps of everyday life. This next part is all about giving back to the wood, ensuring it not only looks beautiful but stays strong for decades more.
We’re not just slapping on a top coat here. The idea is to create a protective barrier that still allows the wood to breathe. This is what brings out that deep, soft sheen—the true hallmark of a piece that's been genuinely cared for, not just shined up.
Choose Paste Wax, Not Modern Polishes
When you see those spray-on liquid polishes in the store, just keep walking. I know they promise a quick shine, but for antique wood cleaning and long-term care, they're often the enemy. Most are loaded with silicones, oils, and propellants that can do more harm than good over time.
Silicone is the main culprit. It leaves behind a greasy, high-gloss film that looks artificial and is a nightmare to remove. Worse, it can prevent any future repairs or refinishing from adhering properly and eventually creates a cloudy, hazy mess as it seeps into the finish.
Paste wax is the gold standard for protecting antique wood. It's what master cabinetmakers have trusted for centuries. A good paste wax is simple, usually just a blend of natural waxes like carnauba and beeswax with a mild solvent. It creates a hard, durable film that protects the wood without suffocating it.
Applying wax actually nourishes the wood. When you buff it out, you get a mellow, velvety glow that enhances the piece’s natural patina instead of covering it with a plastic-like shine. It’s the perfect way to respect the history of the piece. If you want to dive deeper, our guide on cleaning antique furniture has even more tips.
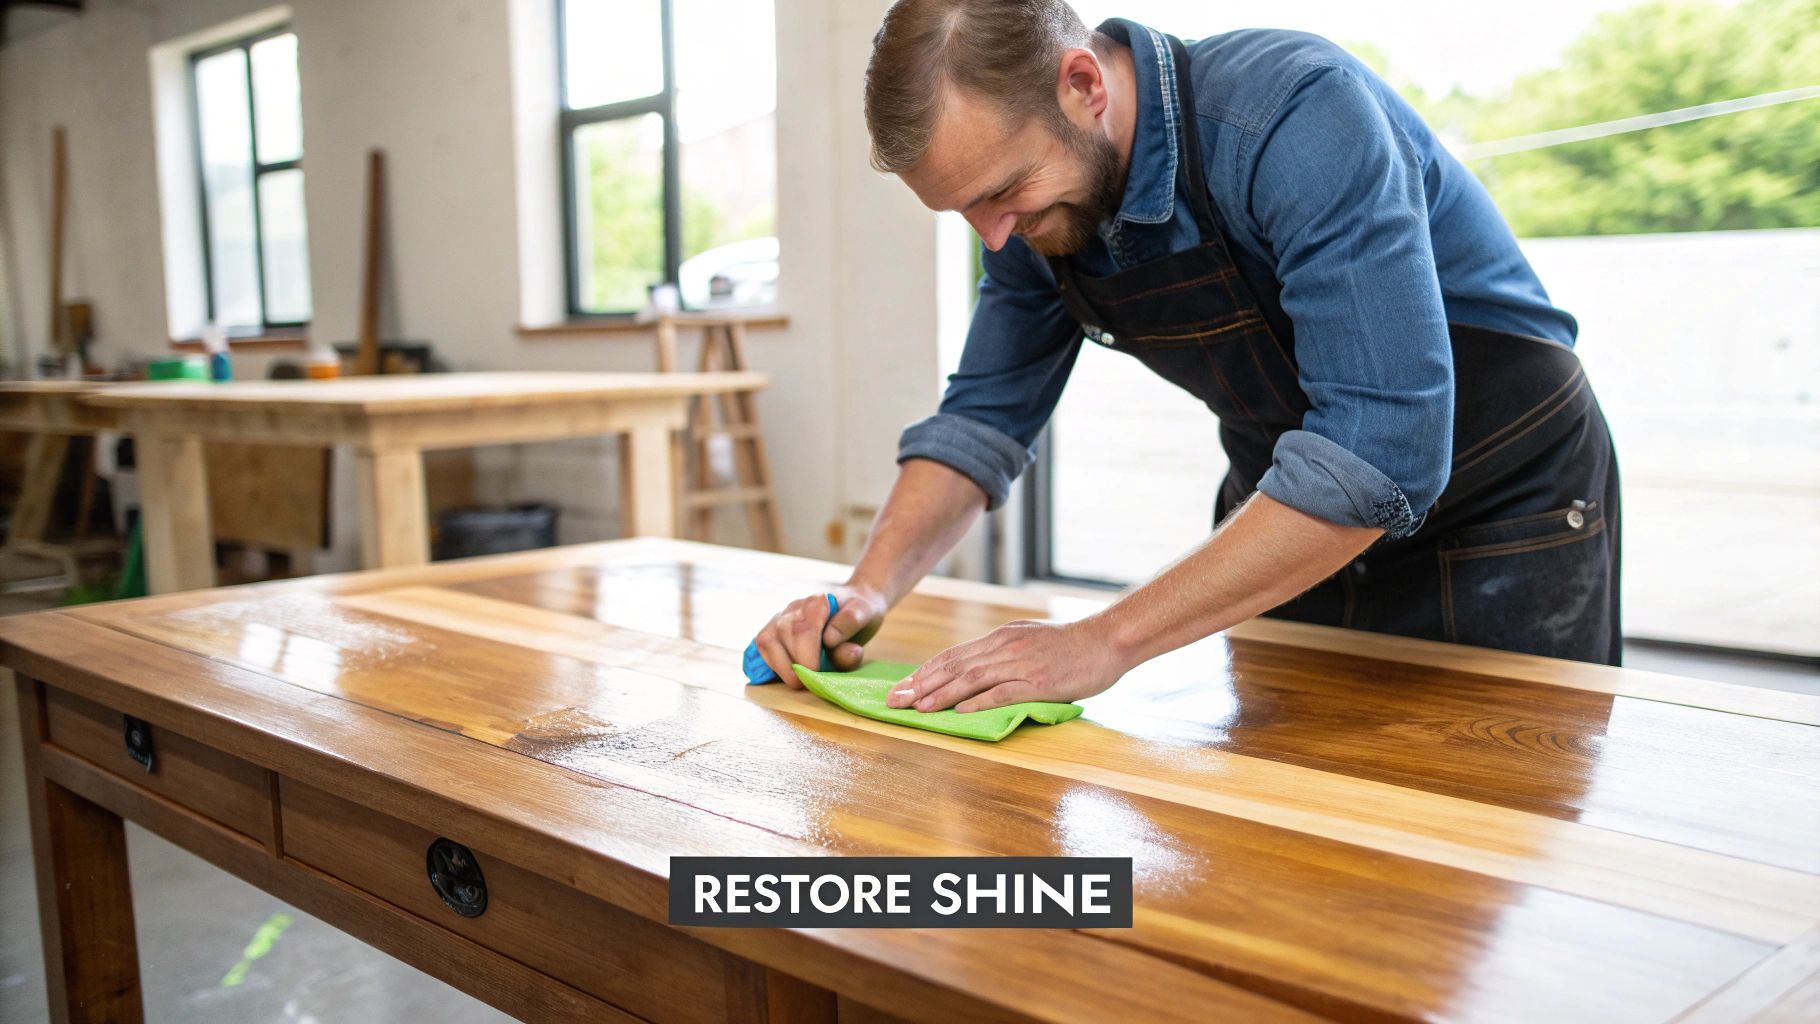
The Art of Applying and Buffing Wax
Applying paste wax isn't complicated, but it does ask for a little patience and a gentle hand. All you need is a can of quality paste wax and a couple of clean, soft, lint-free cloths. An old, clean cotton t-shirt is perfect for the job.
Apply a Thin, Even Coat: Get a small dab of wax on your cloth—seriously, a little goes a very long way. Rub it onto the surface in a gentle circular motion, tackling one small area at a time. You're aiming for a layer so thin it’s almost invisible.
Let It Haze Over: Once you've applied the wax, just let it be for about 10-20 minutes (or whatever the can's instructions suggest). The solvent needs to evaporate, and it will leave behind a dull, hazy film. This is a good sign! It means the wax is ready for buffing.
Buff to a Beautiful Sheen: Now, grab a second clean cloth. Buff the surface using long, firm strokes that follow the direction of the wood grain. As you work, that haze will vanish, replaced by a deep, rich glow that feels smooth and completely dry to the touch.
Beyond just wax, true preservation means thinking ahead about bigger threats. Taking the time to explore natural termite prevention methods is a smart move that can save your heirlooms from devastating damage down the road.
This kind of care is part of a much larger appreciation for historical materials. It’s no surprise that the reclaimed lumber market—which often includes antique wood—is a global industry valued at $57.28 billion. It's even projected to hit $83.53 billion by 2034, showing just how much people value sustainability and a connection to the past.
Answering Your Top Antique Wood Cleaning Questions
Even with the best instructions, working with a piece of history always brings up a few questions. It’s completely normal. Getting confident answers to those little "what if" moments is what separates a good cleaning from a great one.
Here are some of the most common questions I hear from fellow collectors and enthusiasts. Think of this as your go-to guide when you hit a snag.
How Often Should I Be Cleaning My Antique Furniture?
When it comes to routine care, less is definitely more. A quick, gentle dusting with a soft, dry microfiber cloth every week or two is all you really need to keep a piece looking sharp.
A deep clean, like the methods we’ve walked through, is a rare event. You should only tackle it when a piece truly needs it—maybe once every few years at most. The only other time is when you acquire something new that’s been neglected and has a noticeable layer of grime. If it looks dull, feels tacky, or has visible buildup, then it's time for a careful, thorough cleaning.
Expert Tip: Over-cleaning is a real danger. Each time you deep clean, you risk stripping away a tiny bit of the beautiful, hard-earned patina. That patina is what gives an antique its soul and value, so always err on the side of caution.
Can I Just Use Household Products Like Vinegar or Olive Oil?
I get this question all the time, and my answer is always a hard no. While these might be staples in your kitchen, they can be an absolute disaster for antique wood finishes.
Vinegar is an acid. It can easily eat through delicate old finishes like shellac, leaving you with cloudy patches or a softened, sticky surface.
Olive oil and other cooking oils create a whole different set of problems. They never truly dry or "cure" like a proper wood finish. Instead, they sit on the surface as a sticky film, attracting and trapping even more dust and grime. Over time, they can even turn rancid, creating a gunky mess that's incredibly difficult to remove. Just stick to the right tools for the job: pH-neutral soaps, pure mineral spirits, and high-quality furniture waxes.
What's the Difference Between Cleaning and Refinishing?
This is probably the most important distinction to understand before you touch an antique.
- Cleaning is about preservation. You're carefully removing surface-level dirt, grime, and old wax to reveal the original, intact finish that lies beneath. The entire goal is to maintain the piece's history and character.
- Refinishing, on the other hand, is a major, irreversible restoration. It means completely stripping off the old finish and stain, taking the piece down to bare wood, and applying a brand-new finish from scratch.
Cleaning is maintenance; refinishing fundamentally changes the piece. It can erase its story and often significantly lower its historical and monetary value. Refinishing should only ever be a last resort for furniture where the original finish is damaged beyond any hope of repair. If you're curious about the history of your own pieces, our guide on how to date antique furniture is a fantastic place to start.
How Do I Get Rid of Those White Water Rings on a Table?
Ah, the dreaded white ring. The good news is that these are usually just moisture trapped in the very top layer of the finish, not a permanent stain in the wood itself.
For your first attempt, try the "warm iron trick." Place a clean, dry cotton cloth (like an old t-shirt) over the ring. Set an iron to a low heat setting with NO steam, and press it on the cloth for just a few seconds at a time. This gentle heat can often be enough to draw the moisture out of the finish.
If that doesn't do the trick, you can try a cloth lightly dampened with denatured alcohol, but with extreme caution. This can work wonders on shellac finishes, but it can also dissolve them, so you must test it on a hidden spot first. For more stubborn rings on tougher varnish finishes, a dab of non-gel white toothpaste mixed with a bit of baking soda, rubbed gently with a soft cloth, can sometimes provide just enough abrasion to buff the ring out.