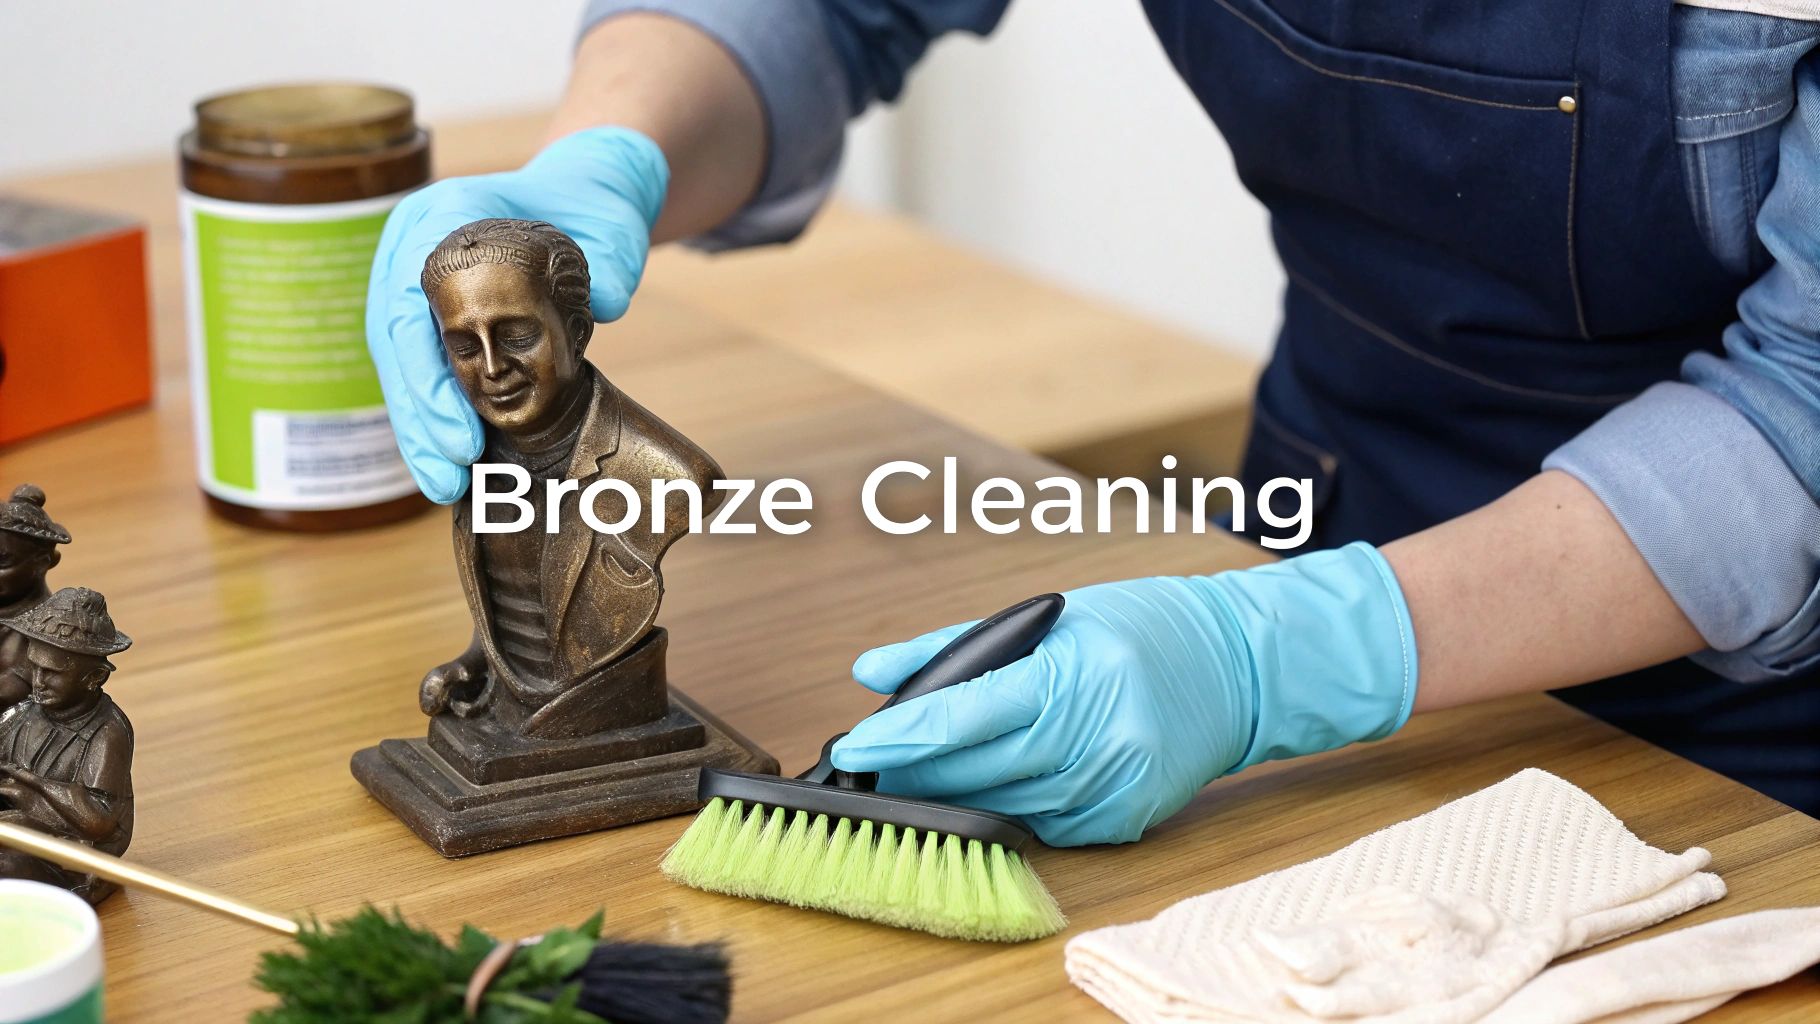
When it comes to cleaning a bronze sculpture, the first rule is to tread lightly. Your goal is to distinguish between harmless dust and harmful corrosion, and you should always start with the softest tools you have, like a microfiber cloth and some distilled water. Going in too aggressively can cause irreversible damage to the sculpture’s precious surface.
First Understand Your Bronze Sculpture
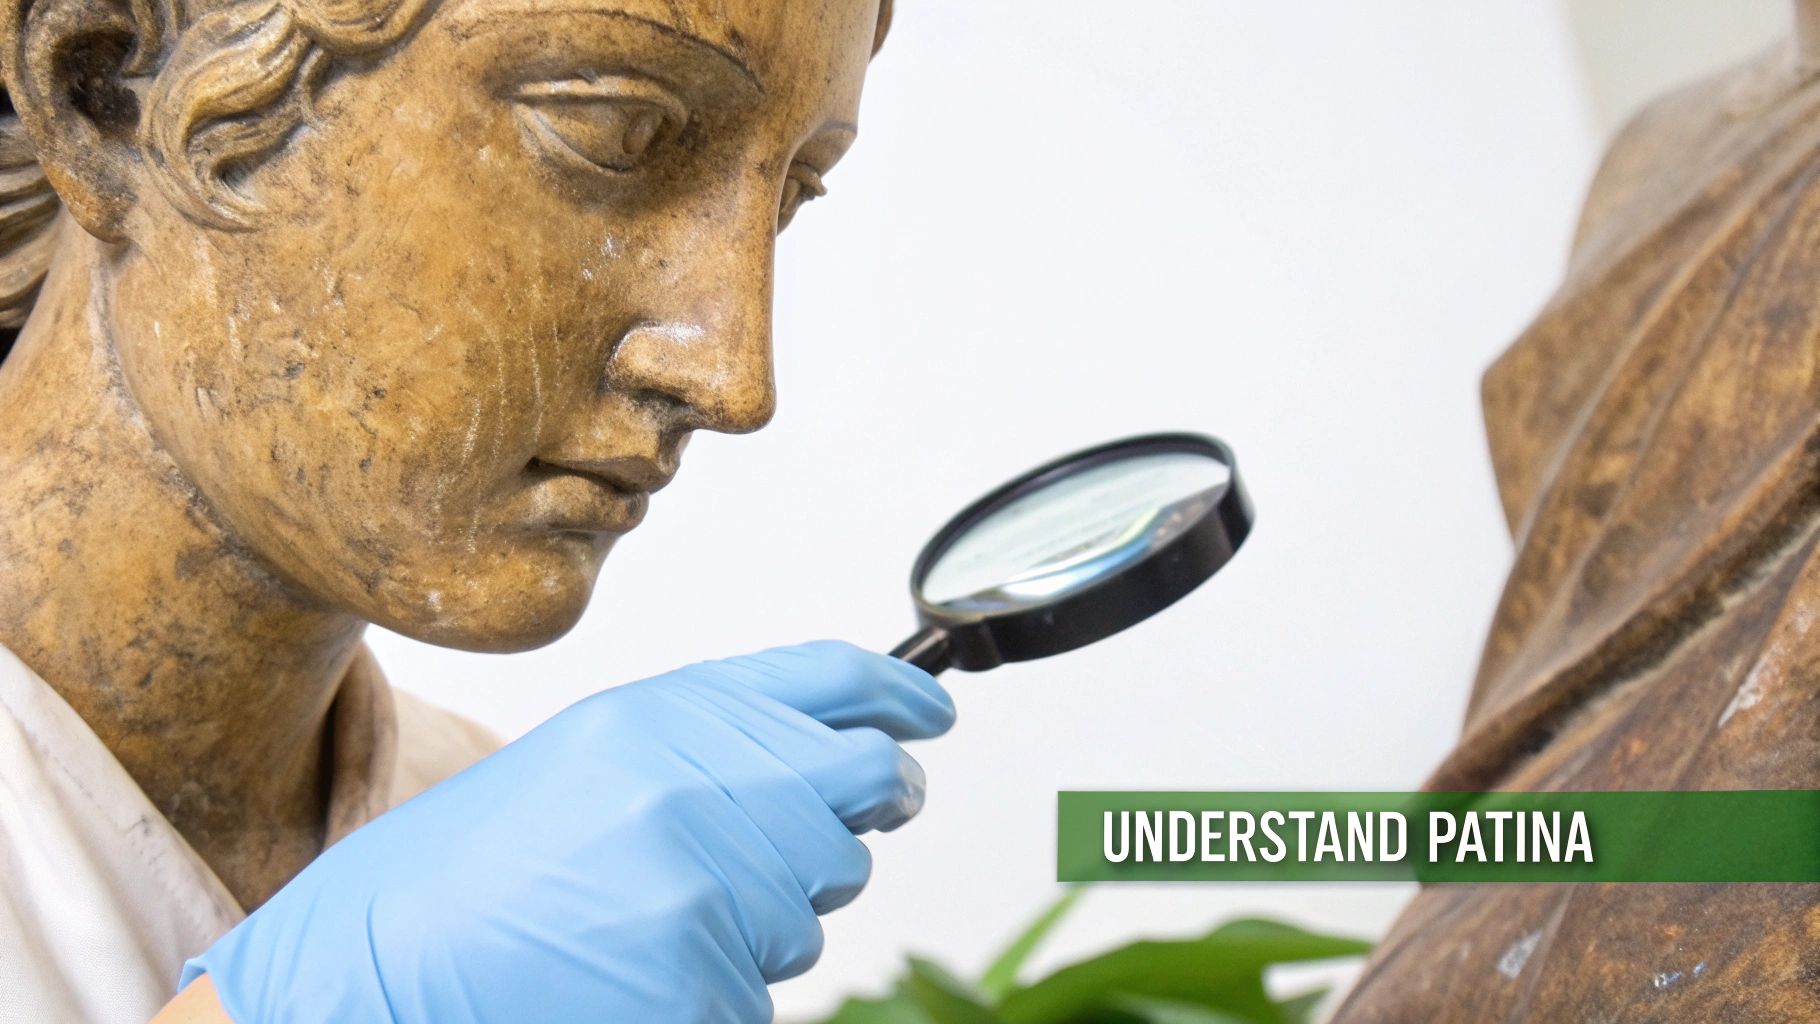
Before you even think about cleaning, take a step back and play detective. The most crucial part of this whole process is learning to read the story your sculpture's surface is telling. You're not just wiping down metal; you're interacting with the artwork's history, which is beautifully captured in its patina.
That patina—the colored layer that forms on bronze from natural oxidation over time—isn't damage. It’s a core feature of the piece. Artists often painstakingly create or encourage patinas to get specific colors, from deep, moody browns to those classic blue-greens. It’s a delicate, desirable surface that gives a sculpture character, depth, and a whole lot of its value.
Your main job is to keep that layer intact. Stripping the patina with harsh cleaning is like ripping a chapter out of a book—it erases a piece of the sculpture’s story and can tank its financial worth.
Distinguishing Patina from Grime
So, how do you tell the difference between a valuable patina and just plain old dirt? It all comes down to careful observation. A patina is part of the metal’s surface, hugging its contours and showing subtle shifts in color. Grime, on the other hand, just sits on top.
Here’s a quick guide to what you might be seeing:
- Dust and Dirt: This is just a loose, powdery layer you can gently wipe or brush off. It’s the most common culprit for indoor pieces.
- Fingerprints and Grease: These are oily smudges that dull the surface but haven’t chemically changed the metal itself.
- Stable Patina: Think rich browns, deep greens, or even blacks that look like a consistent, solid film on the bronze. This is the good stuff.
- Problematic Corrosion: Watch out for bright, powdery, or fuzzy green spots. This could be "bronze disease," a nasty chemical reaction that’s a job for a professional conservator.
Knowing what you’re looking at is everything. A centuries-old bust with a dark, even patina needs a completely different approach than a modern garden statue that's been dive-bombed by birds.
Key Takeaway: The golden rule of bronze care is to start with the least invasive method possible. Always assume the surface color is an intentional patina unless it's clearly identifiable as foreign debris.
Identifying Your Sculpture
A little bit of background knowledge about your sculpture can also guide your cleaning choices. Take a close look for any small engravings or symbols, usually on the base or back. These marks can tell you a surprising amount.
For collectors and enthusiasts, understanding bronze foundry marks can offer clues about the artist or where the piece was cast. This context helps you see the sculpture not just as an object to be cleaned, but as a historical artifact that deserves to be carefully preserved. Each mark tells a part of its unique story.
Gathering the Right Cleaning Supplies
Before you even think about touching your sculpture, you need to assemble the right toolkit. This is non-negotiable. Grabbing the wrong supplies is the fastest way to turn a simple cleaning job into an irreversible mistake, potentially scratching the surface or stripping its beautiful patina.
Think of it this way: every tool you choose should be gentle enough to protect the artwork. The goal is to lift away grime, not attack the bronze itself. Your kit doesn't need to be complicated, but it absolutely has to be correct.
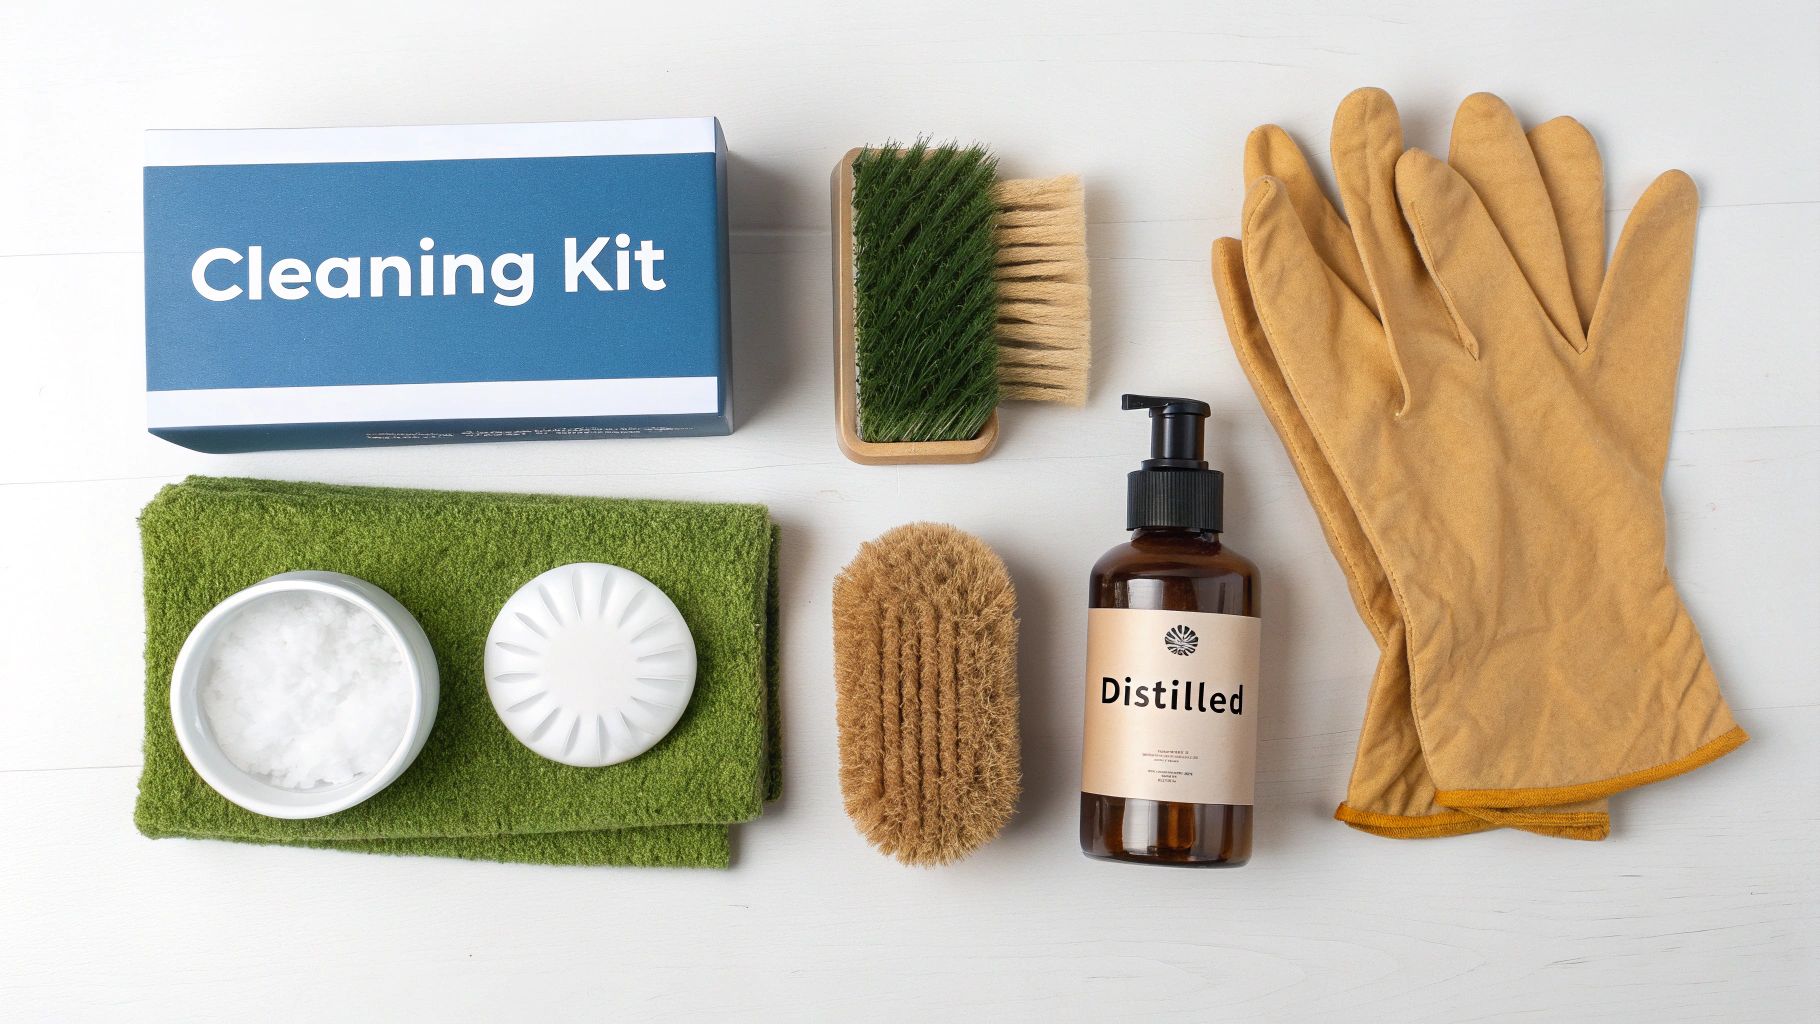
The Essential Gentle Cleaning Toolkit
For most routine dusting and light cleaning, your setup will be surprisingly simple. You're looking for the softest, most chemically neutral items you can find.
Here’s a look at the absolute must-haves:
- Distilled Water: Always, always use distilled water, not tap. Tap water is full of minerals like calcium and chlorine that leave behind ugly white spots and streaks as the water evaporates. Distilled water is pure, ensuring a clean, residue-free finish.
- Soft, Natural Bristle Brushes: This is critical. Look for brushes made from hog hair, boar bristle, or even soft horsehair. The bristles are flexible enough to get into tiny crevices without creating micro-scratches. Never use stiff nylon or plastic brushes—they're far too abrasive.
- Microfiber Cloths: Have a few clean, dry ones ready. The tiny fibers are fantastic for light dusting and are essential for gently blotting the sculpture completely dry after any wet cleaning.
- Cotton Swabs: These are your secret weapon for all the intricate details, undercuts, and tight corners where a brush or cloth just can’t reach.
With just these few items, you'll be well-equipped to handle the regular upkeep for any indoor bronze sculpture.
When it comes to tools, even the pros lean toward caution. A 2015 survey found that over half (51%) of professional conservators preferred using gentle, natural bristle brushes on outdoor bronzes. For comparison, only 40% used nylon brushes or scrub pads. It’s a clear nod to avoiding anything abrasive. You can see more professional insights in the full report on bronze maintenance.
Selecting Safe and Effective Cleaners
What if you're dealing with more than just dust? For things like greasy fingerprints or a bit of stubborn grime, you might need a mild cleaning agent. The golden rule here is to find a soap that is both pH-neutral and non-ionic. This kind of cleaner works without leaving behind a chemical film that can damage the bronze over time.
A conservation-grade detergent like Orvus WA Paste is what museum pros often use, and it's a fantastic choice. If you can't get your hands on it, a tiny drop of a clear, fragrance-free dish soap can work, but make sure you dilute it heavily in distilled water. You're aiming for a very weak solution, no more than 3-5% soap to water.
Choosing the right cleaner is one of the most important decisions you'll make, so it's vital to know what's safe and what will cause harm.
Safe vs. Harmful Bronze Cleaning Agents
The table below breaks down exactly what you should—and shouldn't—let near your sculpture. Many common household cleaners can be disastrous for bronze.
| Safe for Bronze | Why It's Safe | Harmful to Bronze | Why It's Harmful |
|---|---|---|---|
| Distilled Water | Pure and free of minerals, it leaves no residue or spots. | Tap Water | Contains minerals that can leave white deposits on the surface. |
| pH-Neutral Soap | Cleans gently without harsh chemicals that can alter the patina. | Vinegar or Lemon Juice | Highly acidic, it will strip away the patina and etch the metal. |
| Non-Ionic Detergent | Rinses cleanly, leaving no film that could attract dirt or cause damage. | Ammonia-Based Cleaners | Abrasive and chemically reactive, causing irreversible damage. |
| Cotton or Microfiber | Extremely soft materials that will not scratch the bronze surface. | Metal Polishes (e.g., Brasso) | Designed to strip oxidation, destroying the valuable patina layer. |
Ultimately, when in doubt, always start with the gentlest method first—just distilled water and a soft cloth. You can always escalate your approach if needed, but you can never undo damage from a harsh chemical.
Choosing Your Cleaning Method
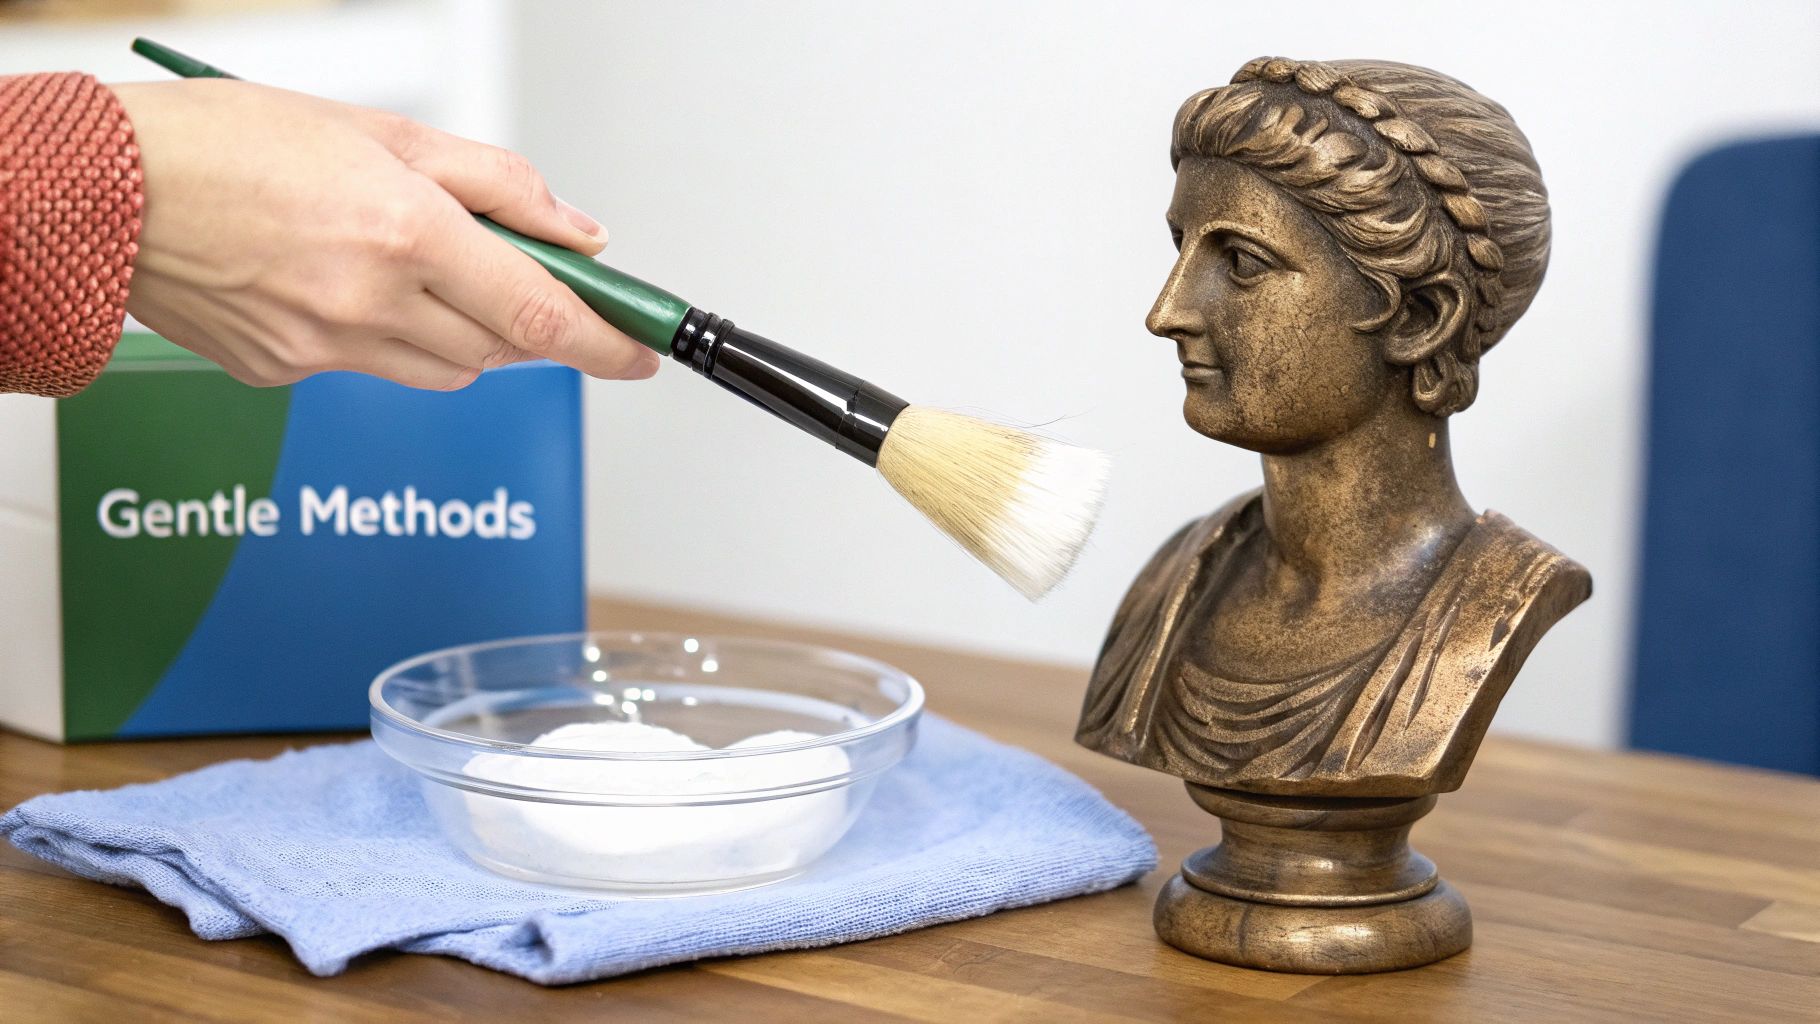
There’s no one-size-fits-all answer for cleaning a bronze sculpture. The right technique really depends on the piece itself—its condition, where it lives, and what kind of dirt you're up against. A sculpture that’s been sitting quietly on a bookshelf for years needs a much lighter touch than a garden statue that's seen its share of rain and bird droppings.
I always tell people to start by playing detective. First, you assess the situation, then you pick the gentlest tool that will get the job done. This approach is all about protecting that delicate, hard-won patina while still removing the grime.
We'll walk through three tiers of cleaning, from a basic dusting to a more involved wet wash. The golden rule is to always start with the least aggressive method. You can always move up to a stronger technique if you need to, but you can’t undo damage from starting out too harsh.
Level One: Light Dusting for Indoor Sculptures
This is your go-to for routine maintenance and the safest first step for any indoor piece. If you're just dealing with a bit of household dust, this is probably all you'll ever need to do. The goal here is simple: lift the loose dust off without grinding it into the surface.
Your best friends for this job are a soft, natural bristle brush (hog hair is great) and a clean, dry microfiber cloth. A can of compressed air can also be a lifesaver for getting into those deep, tricky crevices, but be sure to use it in short bursts from a distance to avoid spraying any propellant moisture onto the bronze.
Picture a bronze bust on your mantel that's looking a little dull under a fine layer of dust. You'd start by gently brushing the entire surface, working from the top down. The soft bristles are perfect for getting into the detailed areas, like the hair or facial features, without any risk of scratching. Afterward, a quick wipe with a microfiber cloth will pick up any particles left behind.
- For tight spots: A simple cotton swab can work wonders for lifting dust from hard-to-reach areas, like the nook between an arm and the torso.
- For stubborn fibers: A soft makeup brush is surprisingly effective for flicking away lint that seems to cling to the surface.
- What to avoid: Stay away from feather dusters. Their quills can be sharp and might leave fine scratches on the bronze or its wax coating.
Doing this simple routine every few weeks is usually all it takes to keep an indoor bronze sculpture looking its best for years, all while keeping its patina perfectly intact.
Level Two: Gentle Washing for Grime and Fingerprints
Sometimes, a simple dusting won't cut it. Indoor sculptures can gradually build up a film of grime from things like cooking vapors, or they might have smudges from being handled. That's when it's time for a gentle wet cleaning. This is also a good starting point for outdoor pieces with light soiling.
For this, you'll want some distilled water, a pH-neutral non-ionic detergent, soft cloths, and your natural bristle brushes. The key is to use an extremely diluted solution—literally just a few drops of soap in a bowl of distilled water is all you need.
Let's imagine a small bronze animal sculpture on a side table that's been handled a lot and now has oily fingerprints. You'd first give it a light dusting to get rid of any loose debris. Next, dip a soft cloth into your mild soap solution, wring it out so it’s just damp, and gently wipe the smudged areas.
Expert Insight: Historical conservation guidelines from the U.S. General Services Administration (GSA) for federal properties recommend a 3-5% non-ionic detergent solution applied with soft brushes after an initial water rinse. This professional method minimizes harm to prized patina layers. You can learn more about these official bronze preservation techniques on GSA.gov.
Once you've washed it, rinsing and drying are absolutely critical. Take a separate cloth, dampen it with plain distilled water, and wipe away every trace of soap residue. If you leave any detergent behind, it can become sticky and attract more dirt. Finally, blot the sculpture completely dry with a clean microfiber cloth, giving extra attention to any crevices where water might hide.
Level Three: Tackling Stubborn Spots and Light Corrosion
When you're up against more persistent problems like caked-on grime, stubborn spots, or the first hints of green oxidation, you need a more focused approach. This is pretty common for outdoor sculptures or older pieces that have been neglected for a while. The core principles don't change, though: be gentle and always test first.
At this stage, you might introduce a non-abrasive pad (like those soft white kitchen scrubbers), but use it with extreme care and only on the problem area. Patience is your most valuable tool here. Before you go after a visible spot, find an inconspicuous area—like the underside of the base—to test your method first.
Think of a garden statue that's developing a few green streaks near the bottom where water tends to pool. After giving it a general wash, you can focus on those spots. Dip a soft bristle brush in your mild cleaning solution and work on the green area with a gentle, circular motion. If the brush isn’t quite cutting it, you can try a pre-wetted soft pad with very light pressure. GSA guidelines mention that this technique can reduce surface buildup by up to 80% without being abrasive.
When working with bronze, it helps to have a general sense of how different surface treatments work. While you won't be using harsh methods, understanding the difference between buffing and polishing provides good context for how mechanical actions can alter a metal's surface, reinforcing why our gentle approach is so crucial for preserving patina.
And remember, the lessons learned from one type of metal can often apply to others. If you also care for other decorative metal pieces, our guide on cleaning antique brass has complementary tips that echo the importance of these same gentle, patina-safe methods.
Applying a Protective Finish After Cleaning
You've done the hard part and successfully cleaned your bronze sculpture—but the job isn't over just yet. Leaving a freshly cleaned bronze exposed is like washing your car and skipping the wax. You've removed the grime, but you haven't protected it from what comes next.
Think of this final finish as an insurance policy against future dust, moisture, and fingerprints. It creates a sacrificial barrier, taking the brunt of environmental exposure so the delicate patina underneath doesn't have to. For nearly all indoor pieces and many outdoor ones, the undisputed champion for this task is a high-quality microcrystalline wax.
Why Microcrystalline Wax Is the Professional Choice
Walk into any museum conservation lab, and you'll find conservators reaching for microcrystalline wax. Products like Renaissance Wax are trusted for a very good reason. Unlike natural waxes (like beeswax or carnauba), microcrystalline wax is chemically inert, so it won’t yellow, degrade, or alter the patina over time.
It forms a thin, hard, moisture-resistant shield that’s practically invisible. This isn't just about protection, though. A good wax coat also deepens the colors of the patina, giving it a rich, soft luster without a fake, high-gloss shine. This step is what separates a good cleaning from a great one.
The application itself is simple, but it demands a bit of patience and a gentle hand. The goal is to apply an incredibly thin, even layer—so thin you can hardly tell it’s there.
A Conservator's Tip: Always apply wax in a well-ventilated area. While microcrystalline wax is very stable once cured, the solvents can be strong during application. Work near an open window or use a fan to keep the air moving.
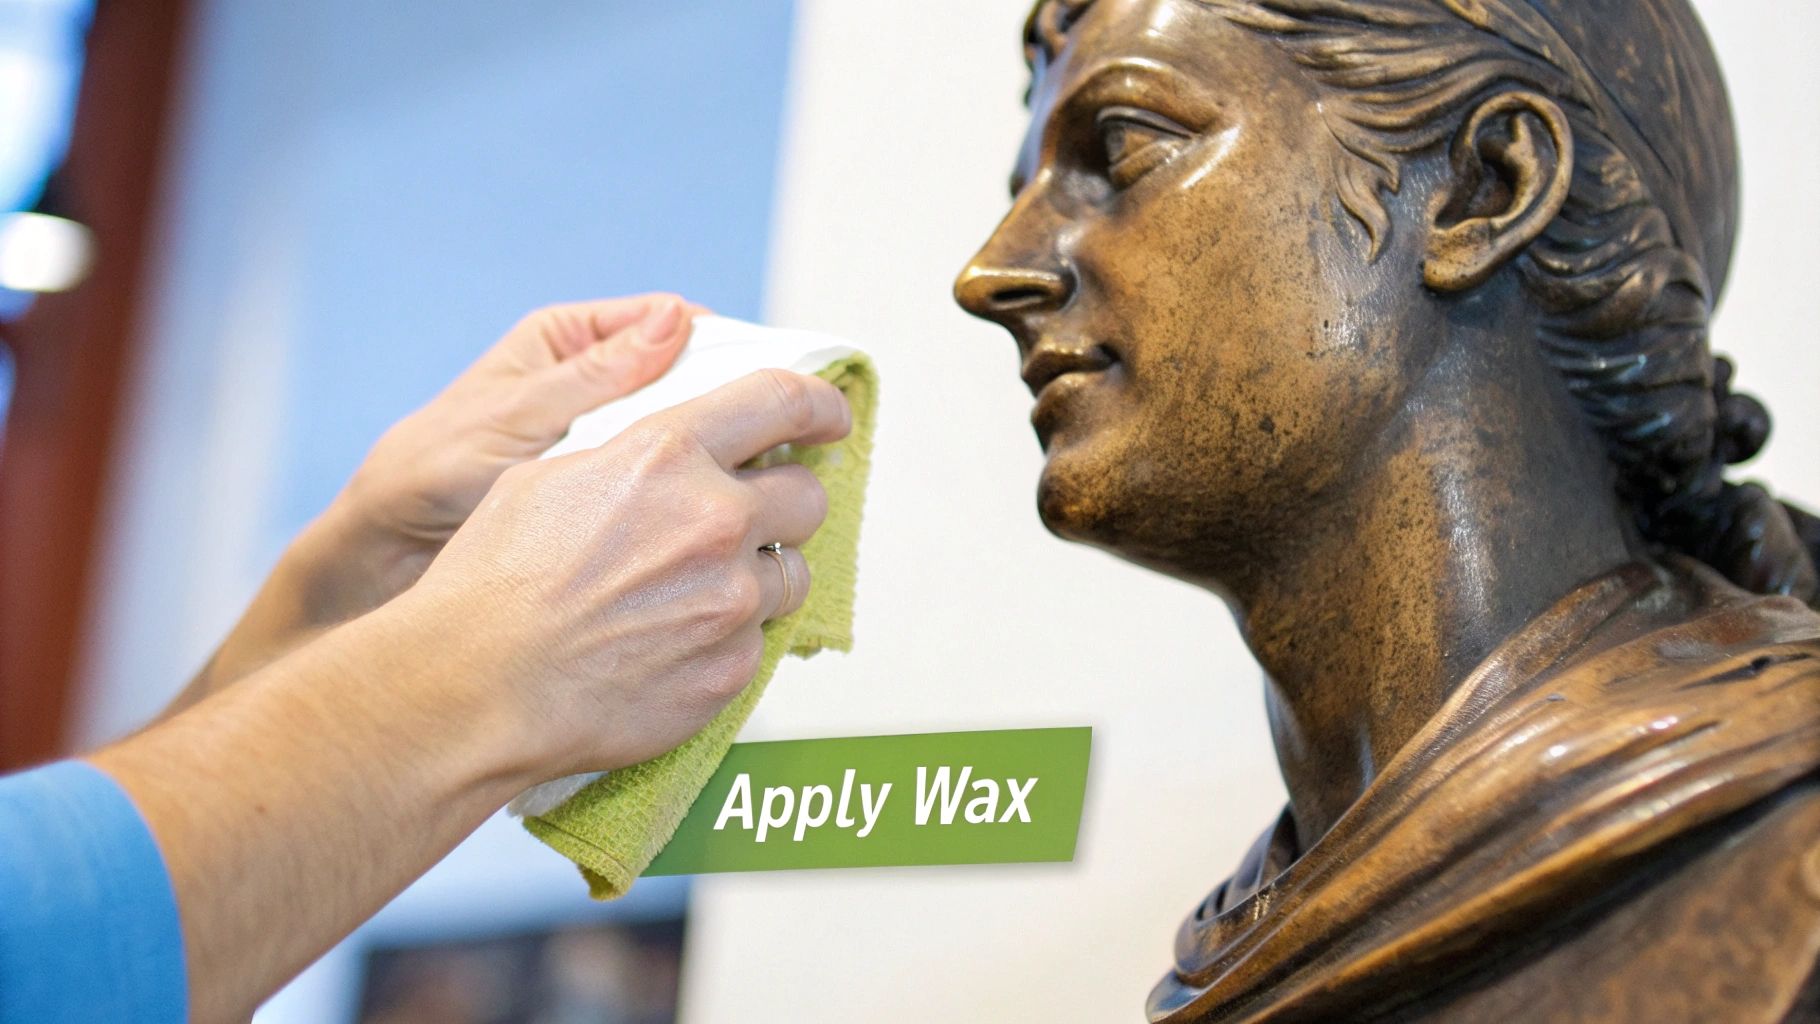
The Right Way to Apply a Wax Coating
Applying wax is more about finesse than elbow grease. You’ll just need the wax, a few clean, lint-free cloths (old cotton t-shirt squares are perfect), and a soft, natural bristle brush for buffing.
- Start small. Dab a clean cloth into the wax and pick up just a tiny amount. You can always add more, but it’s a pain to remove excess.
- Apply a thin, even layer. Work in sections, using small, circular motions to apply a micro-thin film. If you see thick, white streaks, you’re using way too much.
- Let it cure. This is the step most people rush. The wax needs about 15-20 minutes for the solvents to evaporate, leaving behind that hard, protective layer. You’ll know it’s ready when the surface looks slightly dull or cloudy. Always check the product’s specific instructions for timing.
- Buff to a soft luster. Once the wax has hazed over, take a fresh, clean cloth or a soft shoe-shine brush and gently buff the surface. This removes any excess and brings out a beautiful, subtle sheen that makes the patina’s colors pop.
For intricate pieces with lots of nooks and crannies, try dabbing the wax on with a stiff-bristled brush to get it into all the details. Just be sure to follow up with a soft brush for buffing to ensure no wax builds up in the crevices. Understanding the artistry involved in making these pieces can give you a new appreciation for their forms; you can learn more about the incredible process of how a bronze statue is made to see how they come to life.
When to Consider Lacquer Instead
For some outdoor sculptures, particularly those in harsh climates or high-traffic public areas, lacquer might be a better bet for long-term, heavy-duty protection. A modern acrylic lacquer with corrosion inhibitors can last for many years.
However, this is absolutely not a DIY job. Applying lacquer correctly requires specialized equipment and a professional's touch to get a smooth finish without drips or bubbles. Even more importantly, stripping old or failing lacquer is a difficult and risky process best left to a professional conservator. For anyone with a collection at home, sticking with a good microcrystalline wax is by far the safest and most effective choice.
Common Cleaning Mistakes and When to Call a Pro
Knowing how to clean a bronze sculpture is only half the battle. Knowing what not to do is just as critical. I've seen too many well-intentioned cleaning attempts end in disaster, causing irreversible damage that can gut a piece’s character and financial worth.
This isn’t just a warning; it’s about protecting your art. The biggest mistakes almost always boil down to two things: grabbing the wrong cleaning products or simply not recognizing when a problem is too big for a DIY fix. Let's walk through the most common pitfalls and the red flags that scream, "It's time to call a professional."
The Irreversible Damage from Household Cleaners
It’s so tempting to reach for a familiar cleaner from under the sink, especially one marketed for metal. This is the single most destructive mistake you can make with a bronze sculpture. Products like Brasso, metal polishes, vinegar, or anything with ammonia are designed to strip away tarnish and create a bright, factory-new shine.
On a sculpture, that "tarnish" is the patina—the rich, complex layer of color that develops over decades or even centuries. It's a fundamental part of the artwork. Using an abrasive or acidic cleaner chemically rips this layer away, leaving you with a raw, unnaturally shiny surface and erasing the sculpture's history.
I've seen pieces where this kind of cleaning has slashed the value by 30-50%. The damage isn't just cosmetic; it's a fundamental violation of the artist's original vision. If you want to dive deeper into this, you can discover more insights about bronze sculpture conservation to understand why that patina is so precious.
Key Takeaway: If a product promises a "brilliant shine" for your pots and pans, keep it far, far away from your artwork. Never use anything designed to polish or remove tarnish from metal.
Spotting the Signs You Need a Professional
Knowing when to step back is the mark of a smart collector. While regular dusting and a gentle wash are perfectly safe for you to handle, some situations demand the specialized skills of a professional art conservator. Trying to fix major issues yourself will almost certainly make them worse.
Here are the clear signals that a job is beyond a home cleaning:
- Active, Powdery Green Corrosion: See any bright green, powdery, or flaky spots? You might be looking at "bronze disease." This is an aggressive chemical reaction that will literally eat away at the metal unless it’s properly treated by an expert.
- Deeply Ingrained Stains or Damage: Things like paint splatters, deep mineral deposits from being outdoors, or physical scratches and dents are not going to come out with soap and water.
- Immense Financial or Sentimental Value: If the sculpture is a major investment or an irreplaceable family heirloom, the risk of a DIY mistake is just too high. A professional's fee is a small price for peace of mind.
- Structural Instability: Any wobbling, cracks, or loose components are signs of physical weakness. Cleaning could easily make the problem much worse.
Finding and Vetting a Qualified Art Conservator
When you need professional help, you don't just want a "cleaner"—you need a trained conservator. These are experts who combine art history, chemistry, and materials science to treat artwork properly.
A great place to start your search is the American Institute for Conservation (AIC), which has a "Find a Professional" tool on its website. It’s an invaluable resource for locating qualified conservators in your area who specialize in sculpture.
When you're talking to a potential conservator, you should be ready with a few questions:
- Can you show me examples of similar bronze pieces you've worked on?
- What's your proposed treatment plan for my sculpture?
- Are you a member of a professional organization like the AIC?
- Can you give me a detailed cost estimate and timeline?
A reputable conservator will be happy to walk you through their process and give you clear, transparent answers. After all, their goal is the same as yours: to preserve the sculpture's integrity for generations to come.
Questions I Hear All the Time About Bronze Care
Even with a detailed guide, it's totally normal to have a few nagging questions before you start working on a treasured bronze piece. You want to get it right. Let's walk through some of the most common concerns I see, so you can move forward with confidence.
How Often Should I Be Cleaning My Indoor Bronze Sculpture?
Honestly, for most bronze living inside your home, less is more. The real work is in prevention.
A gentle dusting every few weeks with a soft-bristle brush (like a hog’s hair brush) or a clean microfiber cloth will do the trick. That’s usually all you need to keep dust from building up and turning into stubborn grime.
A deeper, wet cleaning with distilled water? That's a rare event. I'm talking maybe once every few years, and only if the sculpture is actually dirty from being handled or exposed to something unusual. The golden rule is to keep contact to a minimum to protect that delicate surface and its history.
Can I Use Brasso or Another Household Polish to Make My Bronze Shiny?
Please, don't do this. This is probably the single fastest way to permanently ruin your sculpture.
Household metal polishes are made with harsh abrasives. Their entire job is to strip away the top layer of oxidation. But on a bronze sculpture, that oxidation is the patina—it’s the beautiful, complex surface that gives the art its character, depth, and a huge chunk of its value. Using a product like Brasso will tear that history right off, leaving you with a raw, unnatural shine and potentially destroying its worth. Stick with the gentle methods we’ve talked about.
I see this impulse all the time: people want to make old metal look new and shiny. In the world of art and antiques, that's a huge mistake. A stable, age-appropriate patina is a mark of authenticity and history, not something you should ever "polish" away.
What’s This Green Stuff on My Bronze? Is It Bad?
That green color can be one of two very different things, and you absolutely need to know which one you’re looking at.
- A Good Patina: Is it a soft, solid blue-green color that looks like it's a part of the metal itself? That's likely a stable, intentional patina, either created by the artist or developed gracefully over decades. This is a good thing.
- Bronze Disease: Is it a light green, powdery substance that you can flake off with your fingernail? That’s a major red flag. This is almost certainly bronze disease, an aggressive form of corrosion that will literally eat holes in your sculpture if it isn't treated by a professional.
If you see that powdery green stuff, stop everything. Don't touch it, don't try to clean it yourself (you could spread it), and call a professional art conservator right away.
Is It Safe to Clean My Sculpture with Just Water?
Yes, as long as it's the right kind of water. Using distilled water is the safest way to wet-clean a bronze sculpture. The minerals in regular tap water can leave behind chalky white spots or streaks when they dry, but pure distilled water evaporates without a trace.
Just dampen a soft, lint-free cloth with the distilled water and gently wipe the surface. If you run into something a bit stickier, like fingerprints, you can add a drop or two of a pH-neutral, non-ionic soap to the water. The most crucial step, though, is the rinse: after you've cleaned an area, go back over it with a fresh cloth dampened with only distilled water to remove every bit of soap residue before you carefully blot it dry.
Are there hidden stories in the art and antiques you own? Curio can help you find out. Snap a photo of any item, and our app instantly provides its history, origin, and an estimated value. Download Curio today and uncover the secrets hiding in your collection. Find out more at https://www.curio.app.