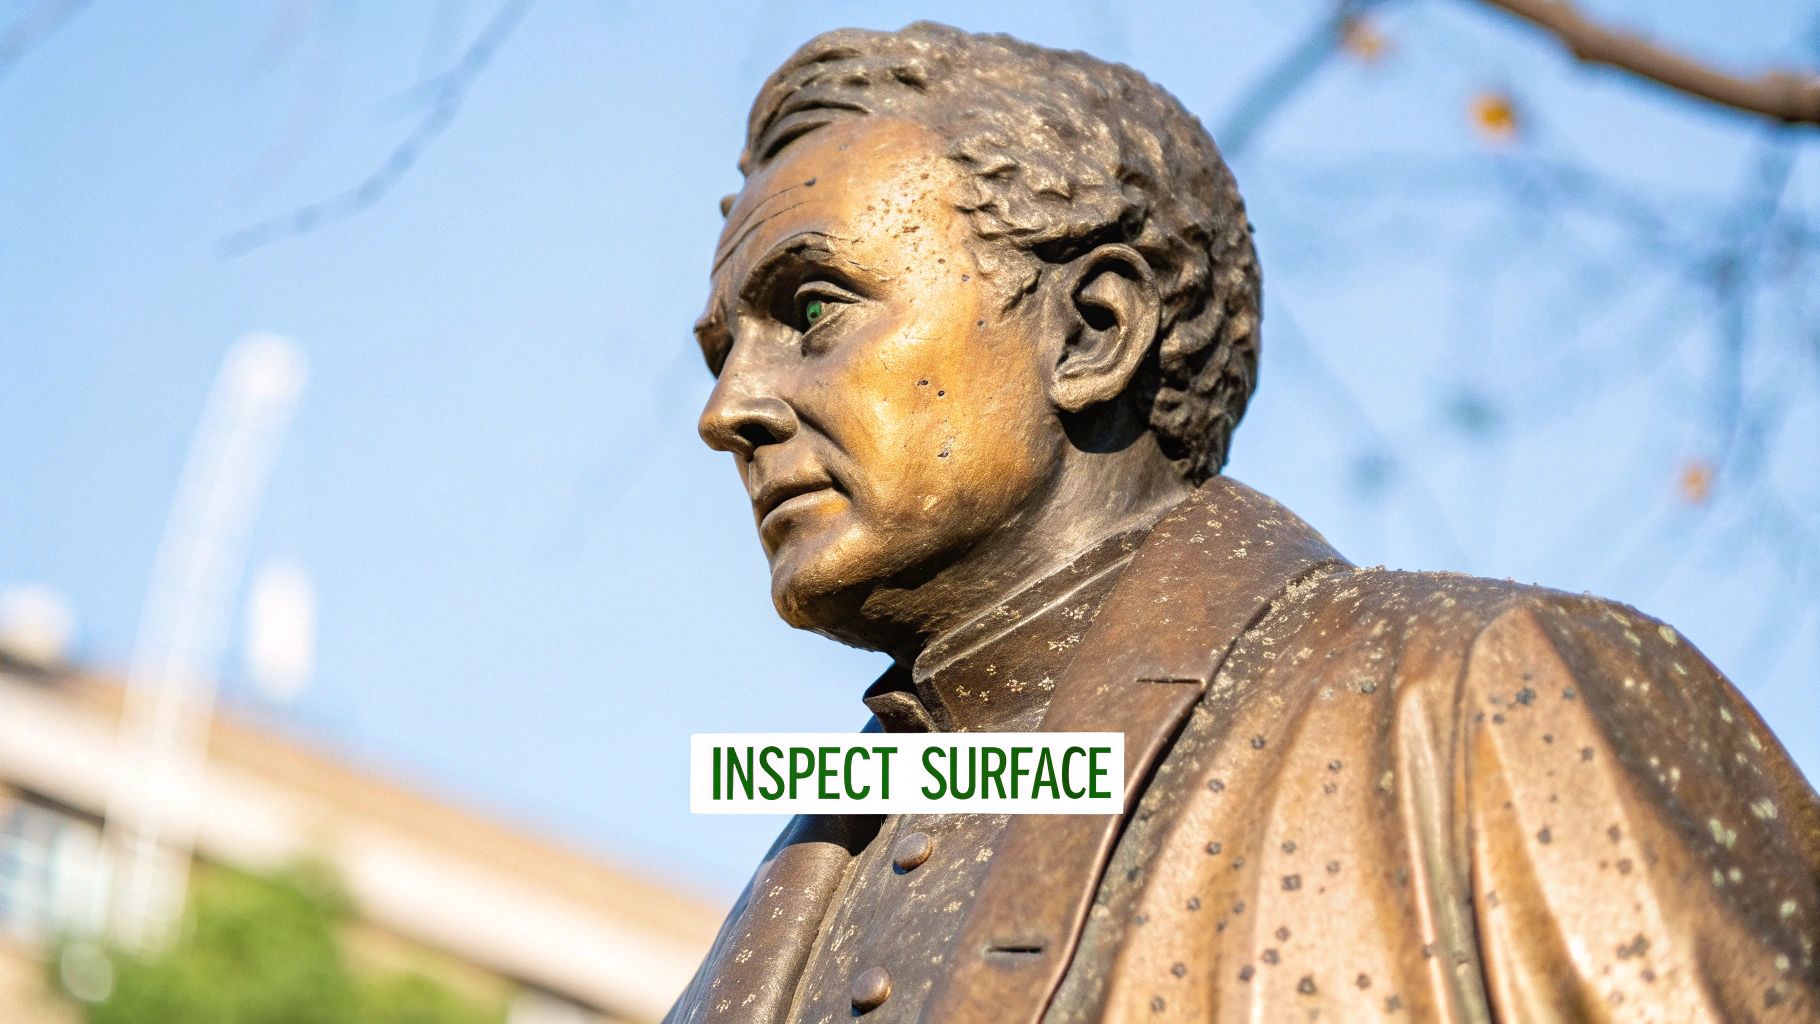
Before you even think about cleaning a bronze statue, your first move is simple: grab a soft cloth and gently dust it. This isn't just about removing surface dirt; it's your first opportunity to really assess what's going on with the surface. The most crucial part of this process is learning to tell the difference between a natural, protective patina and harmful corrosion. Rushing in with the wrong cleaner can permanently ruin a statue's appearance and its value.
What to Know Before You Clean Your Bronze Statue
Jumping straight into scrubbing without understanding your statue’s condition is the biggest mistake you can make. That beautiful green, blue-green, or deep brown layer on your bronze isn't necessarily dirt. It's often a prized patina that took years to develop, or was even intentionally applied by the artist as part of the creative process.
Think of this layer as a protective shield, preventing the raw metal underneath from deteriorating. Trying to remove it is like stripping the history and character right off the piece—a blunder that can slash its value.
So, before any water or cleaner gets near the statue, take a close look. A stable, healthy patina usually has an even, consistent color. Active corrosion, on the other hand, often looks powdery, flaky, or uneven. If you touch it, it might leave a chalky residue on your fingers. This is the "bad" green you need to deal with.
Patina Versus Corrosion
Getting this right is everything. I like to think of patina as a fine wine that gets better with age, while corrosion is more like a disease that eats away at the bronze itself.
Valuable Patina: This is a stable oxide layer that forms over time or is deliberately created by the artist with chemicals. It’s meant to be there and is an integral part of the artwork, enhancing its look. The colors can range from deep browns and blacks to those classic greens. Learning about how bronze statues are made really drives home why preserving the artist's intended finish is so important.
Harmful Corrosion: This is an unstable chemical reaction, usually triggered by pollutants, acid rain, or salts. It shows up as light green streaks, powdery spots, or pitted areas. If you just leave it, it can cause irreversible damage to the metal.
The goal of cleaning a bronze statue is almost never to make it look brand new. Instead, you're trying to remove grime and stop active corrosion, all while preserving the historical and artistic integrity of the stable patina.
The Essential Spot Test
Once you've spotted areas that look more like grime or corrosion than patina, it's time for a spot test. This is a non-negotiable step. It’s your safety check to ensure your cleaning method won't harm your specific statue.
Find a small, hidden area to work on—the underside of the base or a deep crevice is perfect.
Start with the gentlest method possible (we'll get into those next) and apply your cleaning solution to this tiny spot. Clean, rinse, and let it dry completely. Now, look closely. Did it lift the dirt without touching the patina underneath? Do you see any discoloration or scratches?
If the test area looks clean and unharmed, you're good to go. If not, you need to stop and rethink your approach. You might need an even gentler method, or it might be time to call a professional conservator. This simple five-minute check can save you from a lifetime of regret.
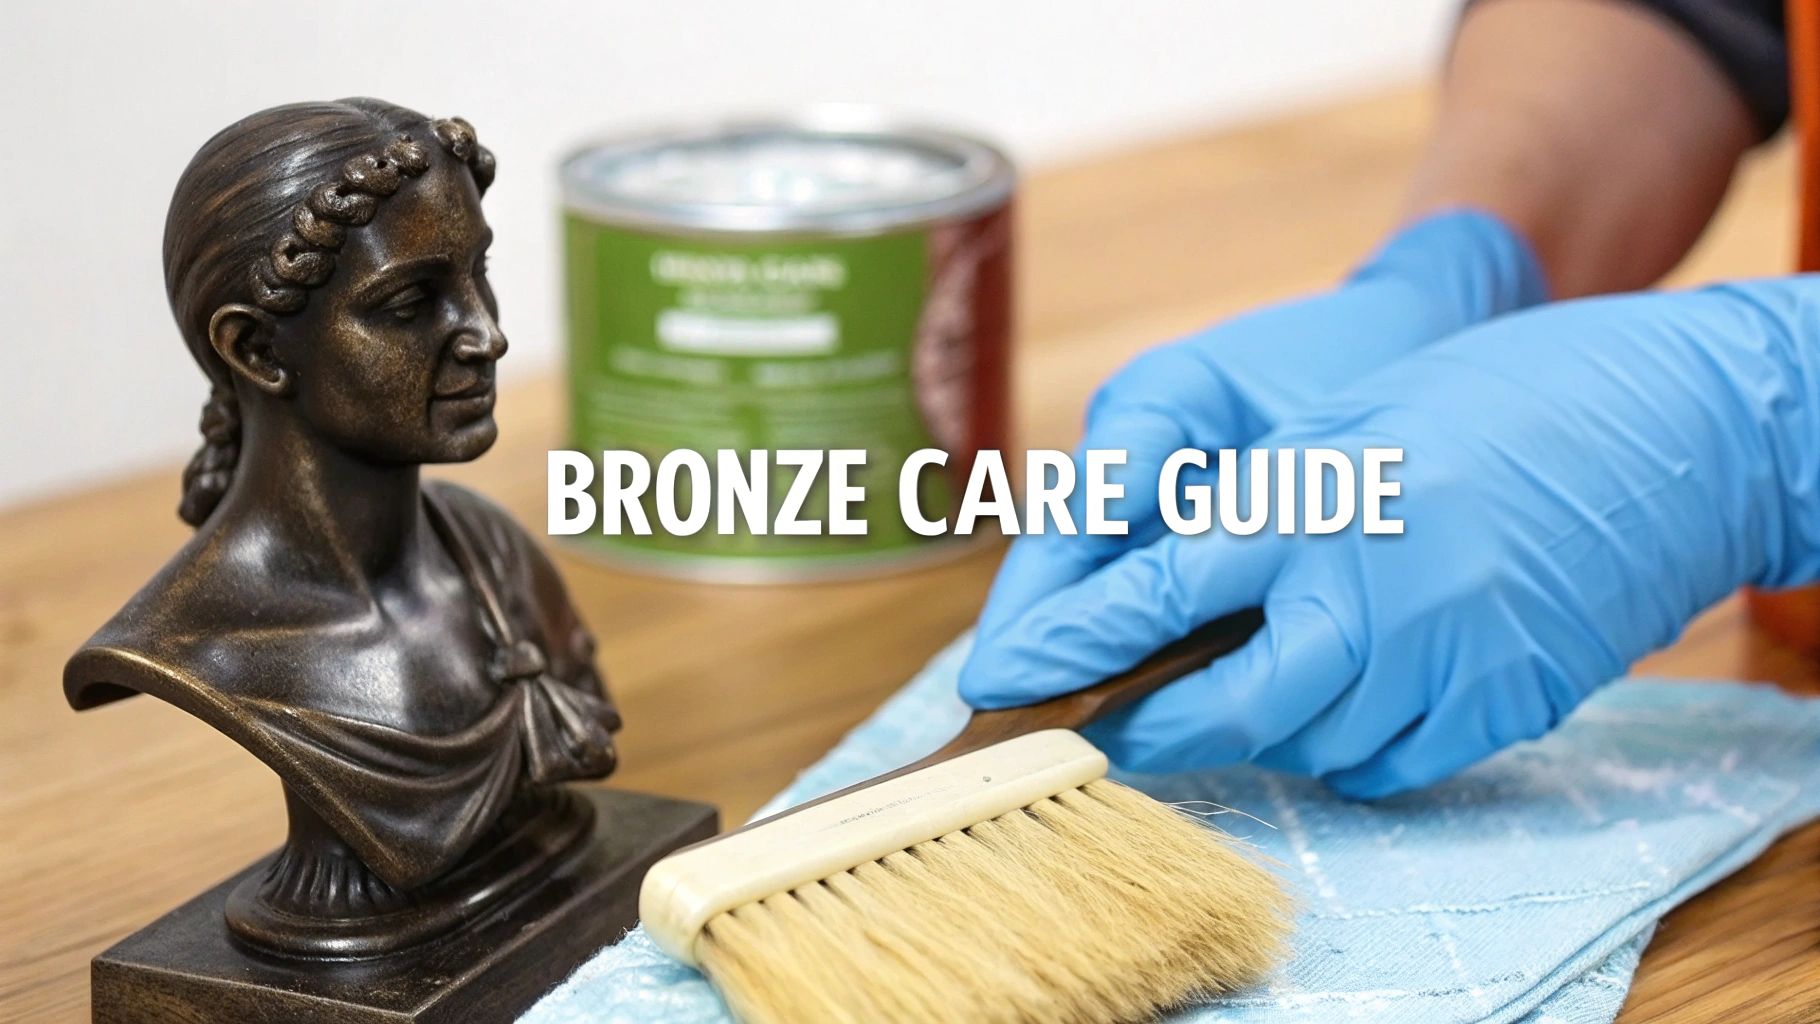
Gathering Your Bronze Cleaning Supplies
Before you even think about touching your bronze statue, let's get your toolkit in order. This is probably the most critical part of the whole process. Using the wrong stuff can turn a simple cleaning job into an irreversible mistake, leaving you with permanent scratches or a stripped patina. The key here is to be gentle.
Think of it like getting your kitchen prepped before you start cooking—it makes everything run smoothly. While many essential basic cleaning supplies are great for around the house, bronze demands a more specialized approach.
Your Core Bronze Cleaning Kit
Your goal is to lift away dirt and grime without harming the metal itself. Here’s what I always have on hand and what pros and conservators swear by for safe, effective cleaning.
- Soft, Natural Bristle Brushes: Forget anything with stiff plastic or metal bristles. You need brushes with soft, natural fibers—think hog hair or something similar. These are perfect for getting into all the nooks and crannies to gently coax out dust without scratching the surface.
- Microfiber Cloths: These are non-negotiable for both washing and drying. Their incredibly soft texture is kind to the bronze patina, and they soak up water like a sponge, which is exactly what you need to prevent water spots.
- Distilled Water: Why distilled? Because tap water is full of minerals. As it dries, it can leave behind those frustrating chalky white deposits. Distilled water is pure, ensuring you get a clean, residue-free rinse every time.
Choosing the Right Detergent
This is where so many well-intentioned cleanings go wrong. Common household cleaners are almost always a bad idea for bronze. You absolutely have to stay away from anything with ammonia, bleach, or acidic ingredients like vinegar or lemon. These will react with the metal and can permanently damage the patina.
The professional standard is a non-ionic detergent. These are pH-neutral cleaners designed to break down grime without leaving a reactive film behind. Conservators typically use a very mild 3-5% solution of a non-ionic detergent mixed with distilled water. It’s a gentle but effective approach that cleans the surface while protecting that beautiful patina.
Bronze Cleaning Supplies Checklist
Knowing what to grab—and what to leave on the shelf—is half the battle. This simple table breaks down the safe choices versus the common household items that can cause real damage.
| Tool/Material | Recommended Type (Safe for Bronze) | Avoid (Potential for Damage) |
|---|---|---|
| Brushes | Soft, natural bristle (hog hair, etc.) | Stiff nylon brushes, wire brushes, steel wool |
| Cloths | Lint-free microfiber or cotton cloths | Abrasive sponges, scouring pads, paper towels |
| Water | Distilled or deionized water | Hard tap water (can leave mineral deposits) |
| Cleaner | pH-neutral, non-ionic detergent | Ammonia-based cleaners, bleach, vinegar, lemon juice |
| Polish | Wax-based polish (e.g., Renaissance Wax) | Abrasive metal polishes (Brasso, etc.) |
Getting these basics right from the start prevents a lot of headaches later. Always opt for the gentlest option available.
Key Takeaway: The single most important rule is to avoid abrasive tools and harsh chemicals. If you wouldn't use it on a classic car's paint job, you definitely shouldn't use it on your bronze statue. Your motto should always be "gentle and neutral."
A Gentle Approach to Washing Bronze
Now that you've gathered your supplies and done a successful spot test, you can get to work. The whole point of cleaning a bronze statue isn’t to make it look brand new. Instead, you're just trying to lift away the grime that's hiding its beautiful details and could harm the surface over time.
We always start with the least aggressive method first. It's a "less is more" philosophy that's central to professional conservation, ensuring you don't accidentally damage the delicate patina that gives a piece its history and character.
Starting with a Dry Clean
Before you even think about getting the statue wet, a good dry cleaning is a must. This first pass gets rid of all the loose dust, cobwebs, and other surface gunk that would turn into a gritty, abrasive paste the moment you add water.
Grab your soft, natural bristle brush and use light, sweeping motions across the entire piece. You'll want to pay close attention to all the little nooks and crannies where dust loves to settle. For a small statue that lives indoors, this might be all it takes to bring it back to life.
The Gentle Wet Wash Technique
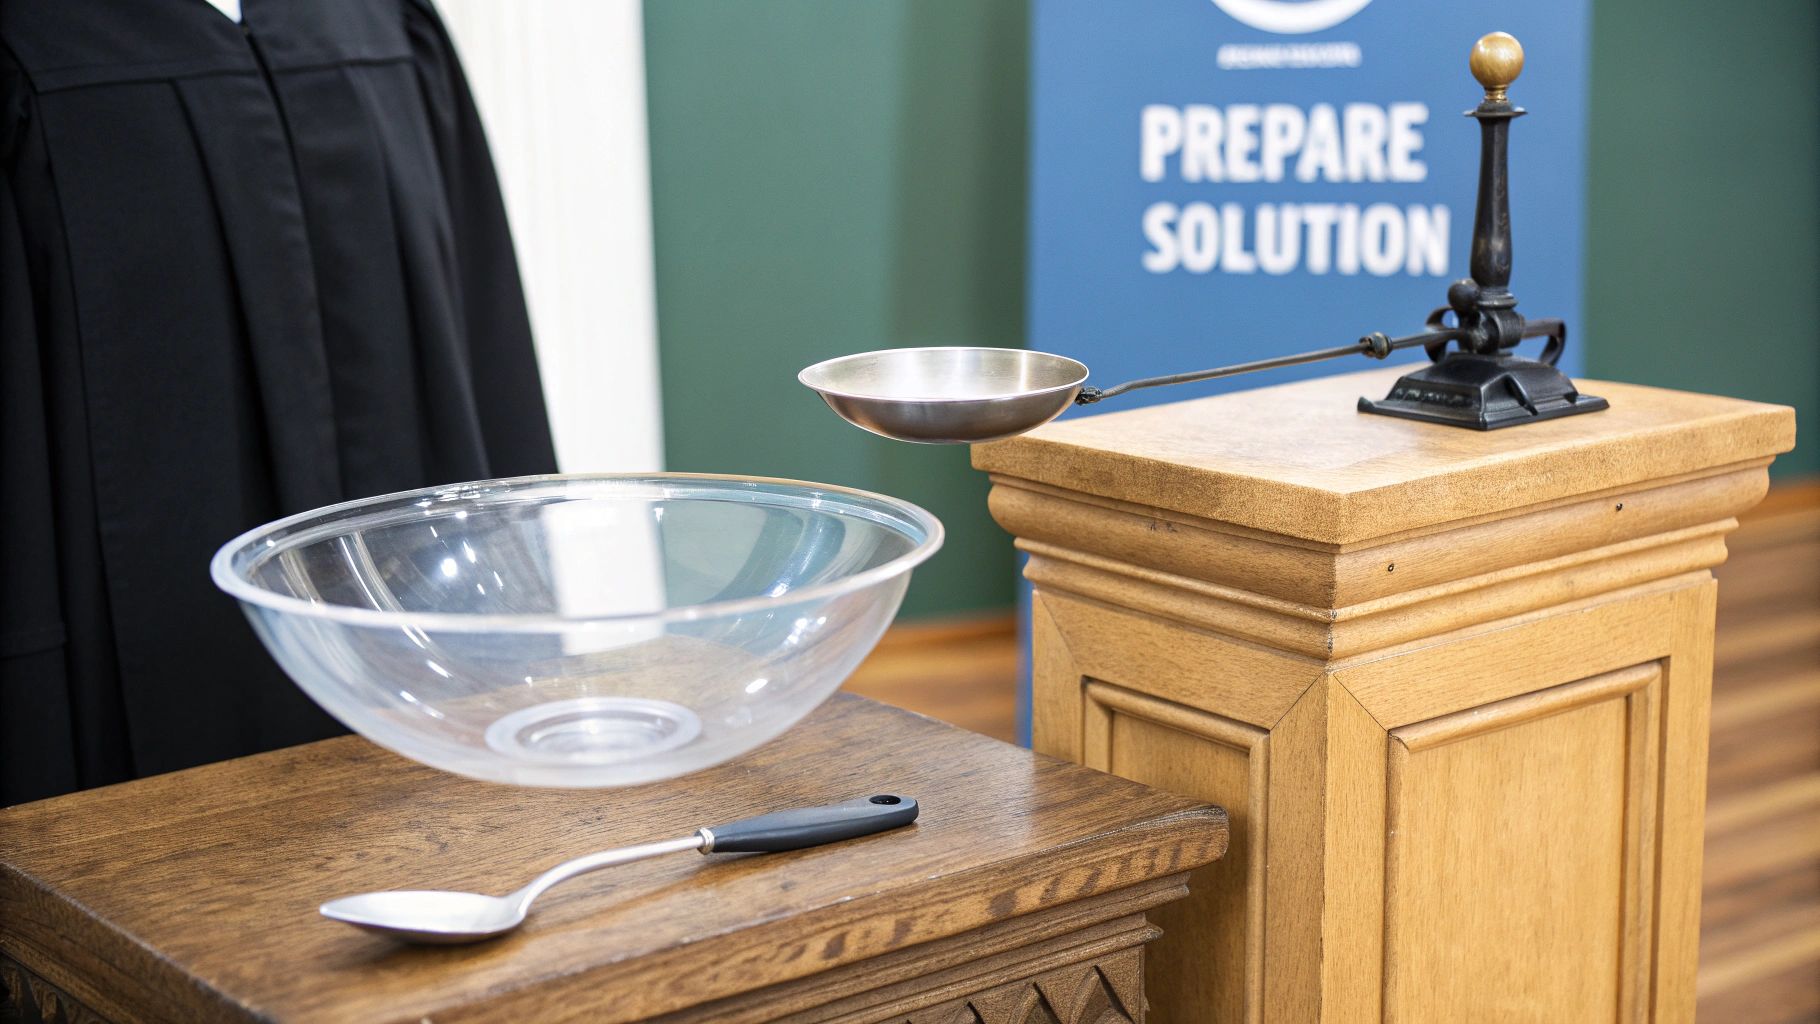
If a dry brushing didn't quite cut it, it's time for a careful wet wash. This is where your distilled water and non-ionic detergent finally come into play.
Mix up a very weak cleaning solution. You're looking for about a 3-5% concentration of the non-ionic detergent in warm distilled water—think just a few drops of soap in a bucket of water. The goal is to create something that cleans well but won't leave any residue behind.
Pro Tip: Never, ever pour your cleaning solution directly onto the bronze. Dip your microfiber cloth or soft brush into the soapy water, wring it out so it's just damp, and then work on the statue. This gives you complete control and prevents soaking the surface.
Work in small, manageable sections, using gentle, circular motions to lift the dirt. It pays to be methodical here. I always recommend starting at the top and working your way down, letting gravity do some of the work. This simple trick keeps dirty water from streaking down over the parts you’ve just cleaned.
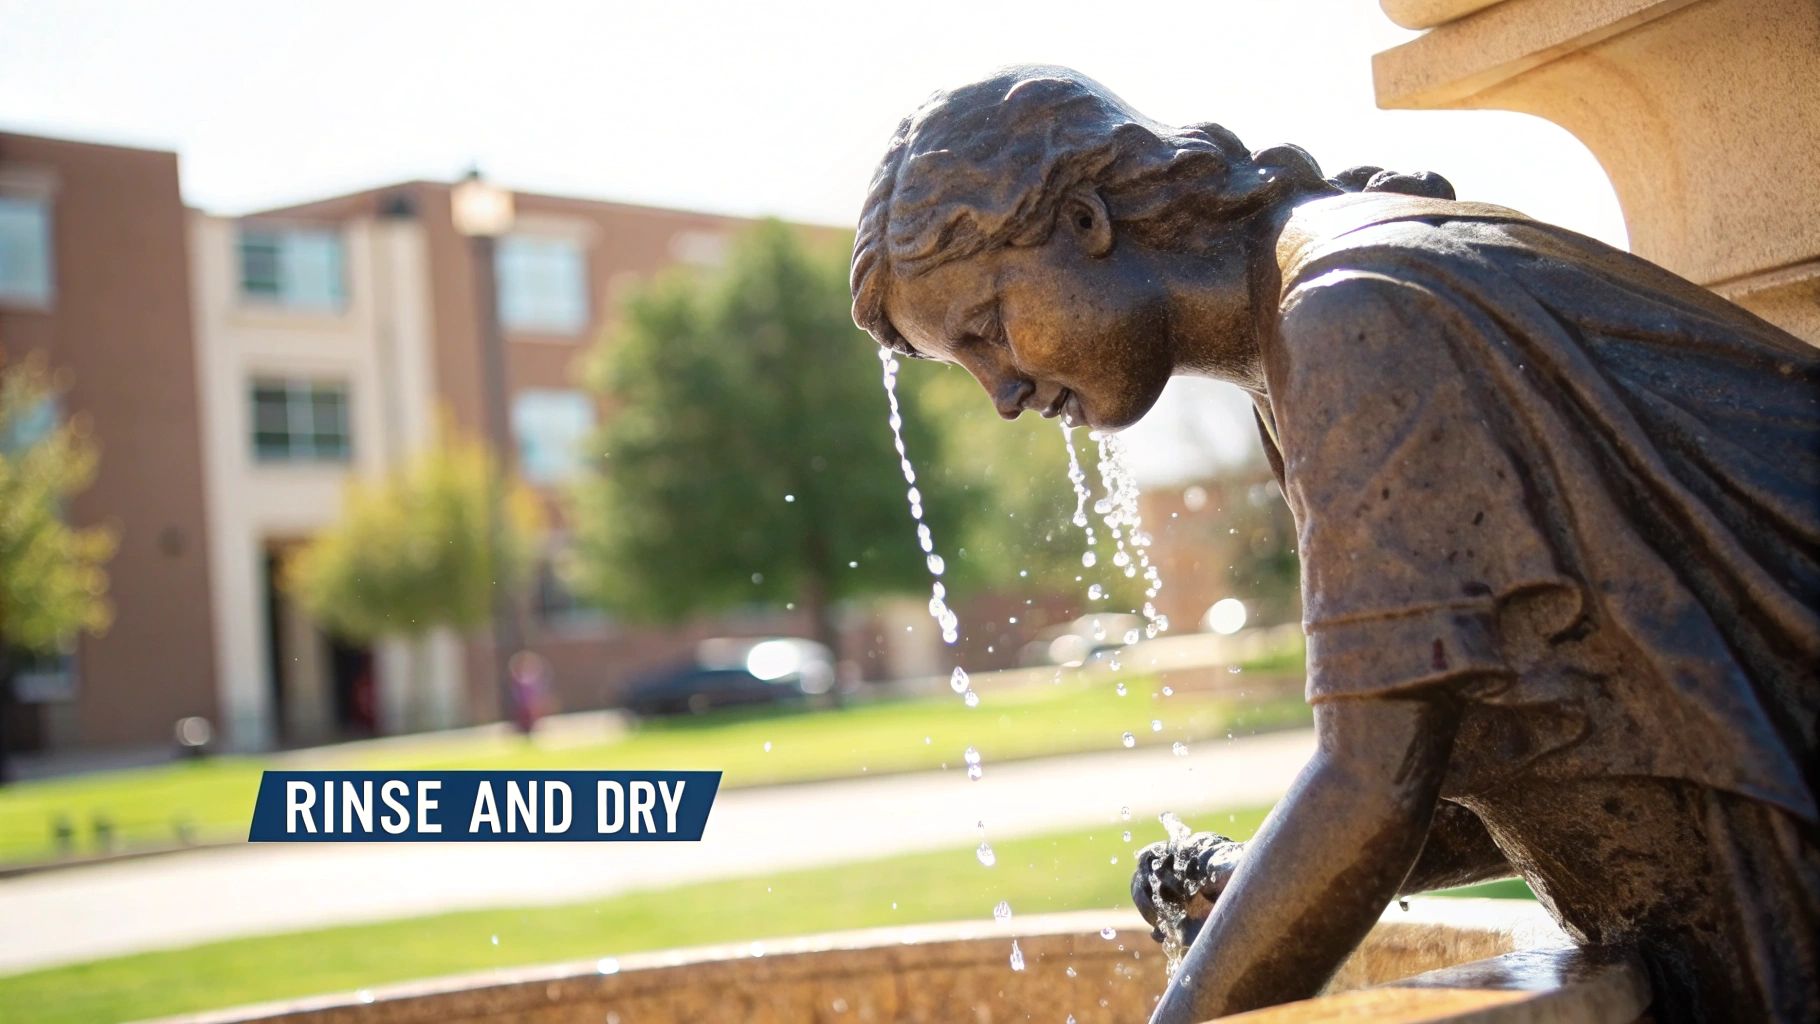
The Critical Rinse and Dry
This might be the most important part of the entire washing process. If you leave any soap behind, you’re asking for streaks, spots, and even chemical reactions that can damage the patina down the line.
Get a separate bucket of clean, distilled water and a fresh microfiber cloth for rinsing. Dampen the cloth and wipe away every trace of the detergent, rinsing your cloth out often. For very delicate pieces, using purified water is a great way to avoid mineral deposits and water spots. You can see how a whole house water filtration system can provide purified water for all sorts of cleaning tasks.
As soon as you're positive all the soap is gone, you have to dry the statue—and do it quickly. Take a clean, dry microfiber cloth and gently blot the surface. Avoid rubbing, which can create streaks. For those hard-to-reach detailed areas, a can of compressed air is your best friend; it can blast water out of tight crevices where a cloth just can't go. The main objective is to leave zero moisture behind, as even a little bit of lingering water can cause spots or encourage new corrosion.
Handling Tough Grime on Outdoor Statues

Sometimes, a simple wash just won't cut it. This is especially true for outdoor statues that are constantly battling the elements—pollution, acid rain, and the ever-present threat of bird droppings. When you’re faced with stubborn, caked-on grime that has become one with the surface, it’s time to bring out the bigger guns.
Don't worry, this doesn't mean resorting to aggressive scrubbing or harsh chemicals. Instead, we'll look at a few specialized techniques used by professional conservators. These methods are designed to lift away years of buildup without harming the precious patina underneath. Think of it as a deep-cleansing facial for your bronze, reserved for only the most challenging situations.
Low-Pressure Blasting for a Deep Clean
For the most difficult cleaning jobs, one of the most effective professional methods is a low-pressure abrasive cleaning. The word "blasting" might sound intense, but when done correctly, it’s surprisingly gentle on the bronze itself.
Conservators don't use sand, which would be far too harsh. The secret ingredient is often finely pulverized walnut shells. This technique uses a sandblaster set to a very low pressure—typically around 25-30 psig—to propel the soft, organic material. The walnut shell powder is just abrasive enough to scour away pollutants but soft enough to leave the delicate patina completely untouched.
This is the exact method that was used to clean the famous Kosciuszko Monument and remains a trusted approach in historical preservation. It’s a highly specialized process requiring the right equipment, but it perfectly illustrates the professional mindset: remove only what's harmful, and preserve the statue's history and integrity.
Dealing With Graffiti and Unwanted Stains
Finding graffiti on a cherished statue is a truly disheartening experience. When you're dealing with paint, you'll likely need to use a solvent, but this is a time for extreme caution. The entire goal is to dissolve the unwanted paint without disturbing the bronze or its patina.
If you find yourself tackling spray paint, here’s how to approach it safely:
- Start with the mildest solvent. Mineral spirits or acetone are good starting points. Always apply the solvent to a clean cloth first, never directly onto the statue.
- Dab, don't rub. Gently dab the painted area. This action helps lift the paint off the surface. Aggressive rubbing can smear the paint and push it deeper into the microscopic pores of the bronze, creating a bigger problem.
- Ventilation is key. These are strong chemicals, so always work in a well-ventilated area, preferably outdoors.
- Always spot-test. Before you go all-in, find a small, hidden area of the statue to test your solvent. You need to be sure it won't cause any discoloration or damage.
Keep in mind that using solvents is a targeted treatment for a specific problem like paint—it's not a general cleaning method. This careful approach echoes principles used for other delicate metals. For example, the best practices for removing stubborn marks from bronze are similar to learning how you can remove tarnish from silver, where you always start with the mildest effective option.
Protecting Your Bronze with a Wax Coating
Getting your bronze statue clean is a great first step, but it’s only half the battle. If you leave it at that, the freshly polished surface is a sitting duck for the same moisture and air pollutants that caused the tarnish in the first place. This is where a high-quality wax coating comes in—it’s the final, crucial step to creating a durable barrier.
This isn’t just for looks; it’s a core preservation technique. A proper wax seal shields the metal from fingerprints, dust, and the one thing that accelerates corrosion more than anything: moisture. Think of it as sunscreen for your statue, safeguarding its beautiful patina for years.
Applying the Microcrystalline Wax Layer
For a job like this, you'll want to use a microcrystalline wax, which is the go-to choice for museum conservators. It’s refined, incredibly stable, and won't yellow over time, making it perfect for protecting valuable art. While Renaissance Wax is a well-known brand, any high-quality microcrystalline paste wax will do the trick.
First things first, make sure your statue is bone dry. Any moisture trapped underneath the wax is a recipe for trouble down the road.
- Grab a soft, lint-free cloth (microfiber is perfect for this) and apply a very thin, even layer of wax.
- Remember, a little goes a very long way. You're not trying to slather it on; you're aiming for a barely-there film. Take your time and work the wax into every nook and cranny.
- Now, let it sit and dry to a haze. This usually takes about 15-20 minutes, but it can vary with the temperature and humidity. You’ll know it’s ready when it looks dull and a bit cloudy.
- Once it’s hazed over, gently buff the surface with a separate clean, soft cloth. Use light pressure to bring out a subtle, elegant sheen. The goal is a rich luster, not a blindingly high-gloss shine.
This protective step is standard practice for the pros. A survey of conservators found that while 95% had cleaned outdoor bronze, a full 87% of them followed up with a protective coating. It just goes to show how vital this step is for long-term care. You can read more about common bronze conservation practices to see how the experts handle it.
By applying a wax coating, you're essentially creating a sacrificial layer. It takes the brunt of all the environmental abuse, meaning pollutants and moisture will eat away at the wax long before they can ever touch the bronze itself.
Your Long-Term Maintenance Schedule
Protection isn't a one-and-done deal. It requires a simple but consistent maintenance plan, and how often you'll need to re-wax depends entirely on where your statue lives.
- For Indoor Statues: A piece kept inside is pretty well protected. A light dusting is usually all it needs. You’ll only have to think about re-waxing every one to two years, or whenever you notice the finish starting to look a bit dull.
- For Outdoor Statues: Anything exposed to the elements—rain, sun, and city grime—needs more attention. You should plan to re-wax these pieces at least once a year. A great time to do this is in the spring, to get them ready for the harsher summer and winter months ahead.
This simple routine keeps that protective barrier intact, ensuring your bronze statue looks its absolute best while preserving its integrity for generations. It’s a small investment of your time that pays off big in preservation.
Got Questions About Bronze Statue Care? We've Got Answers
Even with the best instructions, taking care of bronze can feel a bit daunting. You’re bound to have questions, especially when you’re worried about accidentally damaging a valuable piece. Let's walk through some of the most common things people ask when they're learning the ropes.
My goal here is to help you feel confident when you run into a specific issue. We'll cover everything from those infamous green spots to how often you should really be dusting, clearing up any lingering confusion.
What Are These Green Spots, and Should I Be Worried?
The green you see on bronze can be a bit of a chameleon—sometimes it's a good thing, and other times it's a sign of trouble. It all boils down to whether you're looking at a stable patina or active corrosion.
A healthy patina is that beautiful, thin layer of oxidation that develops naturally over many years or is sometimes applied by the artist themselves. It typically looks like an even blue-green or a rich, deep brown, and it actually acts as a protective shield for the metal. Think of it as the bronze's distinguished character.
Active corrosion, however, is the "bad green." It often looks powdery, streaky, or like a light green blemish. This is a direct result of moisture and pollutants reacting with the metal. If you let it go, it will eat away at the bronze and cause permanent pitting. The trick is learning to remove this harmful corrosion without disturbing the beautiful, stable patina underneath.
How Often Do I Really Need to Clean My Bronze Statue?
Honestly, it really depends on where the statue is located. A piece sitting quietly in your living room is going to have a much different maintenance schedule than one braving the great outdoors.
- For Indoor Statues: A gentle dusting with a soft microfiber cloth every week or two is usually all you need. A full wash and wax might only be necessary every few years—or maybe never, depending on the environment.
- For Outdoor Statues: These pieces need a lot more TLC. As a general rule, plan on giving them a good wash and a fresh coat of wax at least once a year. This is your best defense against rain, sun, and pollution.
Can I Just Use Household Cleaners Like Vinegar or Brasso?
Please, don't. This is probably the single most important rule in bronze care. Common household products like vinegar, lemon juice, ammonia, or commercial metal polishes like Brasso are way too aggressive for bronze.
These cleaners are either highly acidic or incredibly abrasive. They will strip off that protective patina in a heartbeat, which can lead to permanent discoloration and even scratch the surface of the metal. Stick to the basics: distilled water and just a tiny amount of a pH-neutral, non-ionic soap.
One of the best ways to understand a statue's story and its intended finish is by examining its markings. Learning to identify these symbols can provide clues about its origin and artist, reinforcing the importance of preserving its original state. You can learn more about how to interpret these important details by exploring bronze foundry marks.
Knowing a piece's history really drives home why a gentle, patient approach to cleaning is so vital.
Ready to uncover the history and value of your own treasures? With Curio, you can identify antiques with just a photo. Download the app today and let your collection tell its story. https://www.curio.app