Cleaning an old glass bottle is really a three-part dance: dissolving the gunk, scrubbing away what's left, and then drying it perfectly for a crystal-clear finish. The secret I've learned over the years isn't some fancy chemical, but a simple combination of a warm, soapy soak, a bit of gentle abrasion from stuff you already have in your kitchen, and a final rinse that prevents those annoying water spots.
Bringing Dusty Old Bottles Back to Life
There’s something deeply satisfying about taking a dirty, forgotten glass bottle and restoring its original sparkle. It's about more than just washing away dirt; you're uncovering the history and unique beauty that’s been hiding for years. Whether you snagged a cool find at a flea market or inherited a box of old family bottles, these techniques will help you revive just about any piece of glass.
This isn’t a new concept, of course. People have been cleaning and reusing glass for centuries. Back in the 18th century United States, glass bottles were valuable. With only eight glassworks in the entire country by 1800, reusing a bottle wasn't a choice—it was a necessity. This practical mindset stuck around, and by the 19th century, more organized systems for collecting and cleaning bottles were common. If you're a history buff, the Society for Historical Archaeology has some fascinating articles on this.
A Hands-On Connection to the Past
Every bottle tells a story. It could be an old Clorox jug you dug up in the garden or a delicate perfume bottle that belonged to your great-grandmother. Cleaning them is how you connect with that story. You're transforming what might look like a piece of trash into a tangible piece of history, ready for its next chapter.
And that's where the fun really starts. Once they're sparkling, these restored treasures have so many new possibilities.
- Sun-Catching Displays: Group a few bottles of different shapes and colors on a windowsill. The way they catch the light is just beautiful.
- Minimalist Vases: A single, striking bottle can hold a few flower stems and make a simple, elegant statement.
- Creative Craft Projects: They're a perfect base for DIY lamps, unique candle holders, or countless other home decor ideas.
Restoring an old bottle isn't just about getting it clean; it's about making it part of your home. You're giving a beautiful object a second chance to be useful and admired.
Once your vintage bottles are fully restored, they can even be repurposed. They make fantastic, sustainable top glass food storage containers, especially for dry goods like rice, beans, or pasta. This guide will walk you through the process, taking you from a cloudy, stained bottle to a gleaming, beautiful piece. Let's start by gathering the simple tools and supplies you'll need to turn this chore into a genuinely rewarding project.
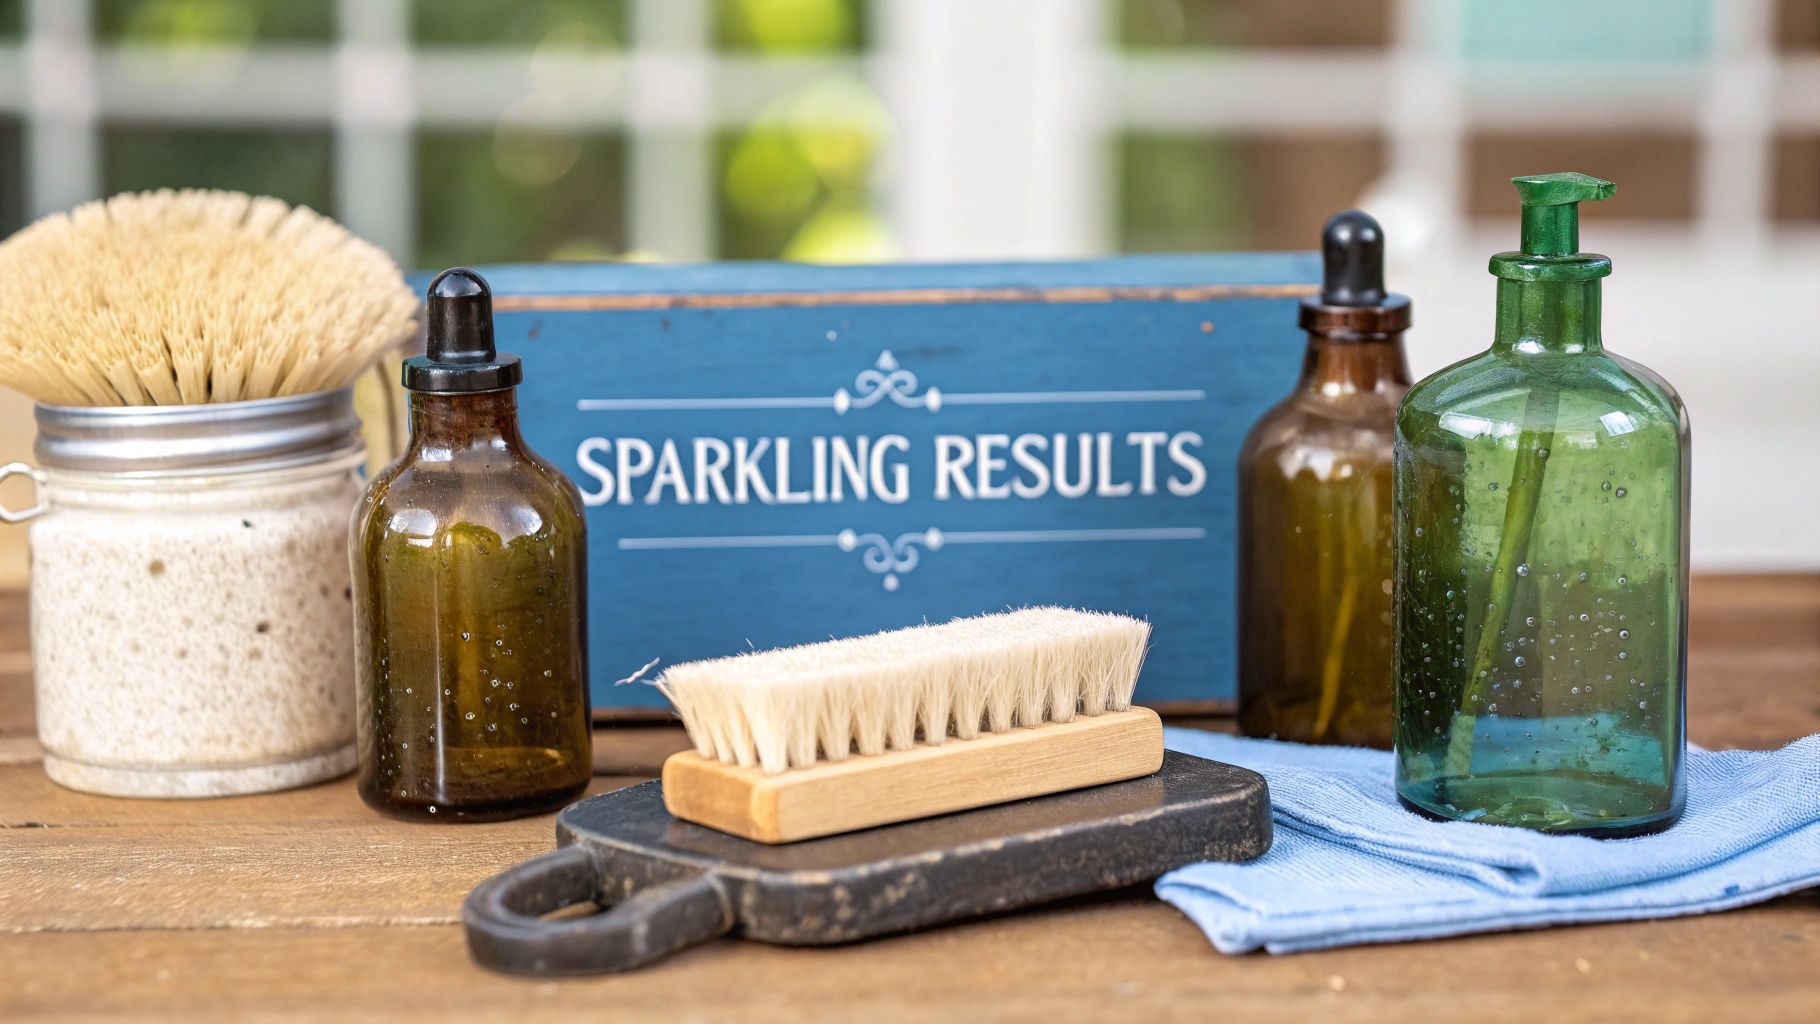
Putting Together Your Bottle Cleaning Kit
Before you roll up your sleeves and dive into cleaning those old glass bottles, let's get your supplies in order. Having the right tools on hand makes the whole process easier and much more successful. The good news? You don't need a high-tech lab. Most of what you need is probably already sitting in your kitchen cabinets.
This is all about using simple, smart solutions to tackle everything from a light layer of dust to stubborn, caked-on residue inside a tricky, narrow-necked bottle. Being prepared is the key to turning a frustrating job into a really satisfying project.
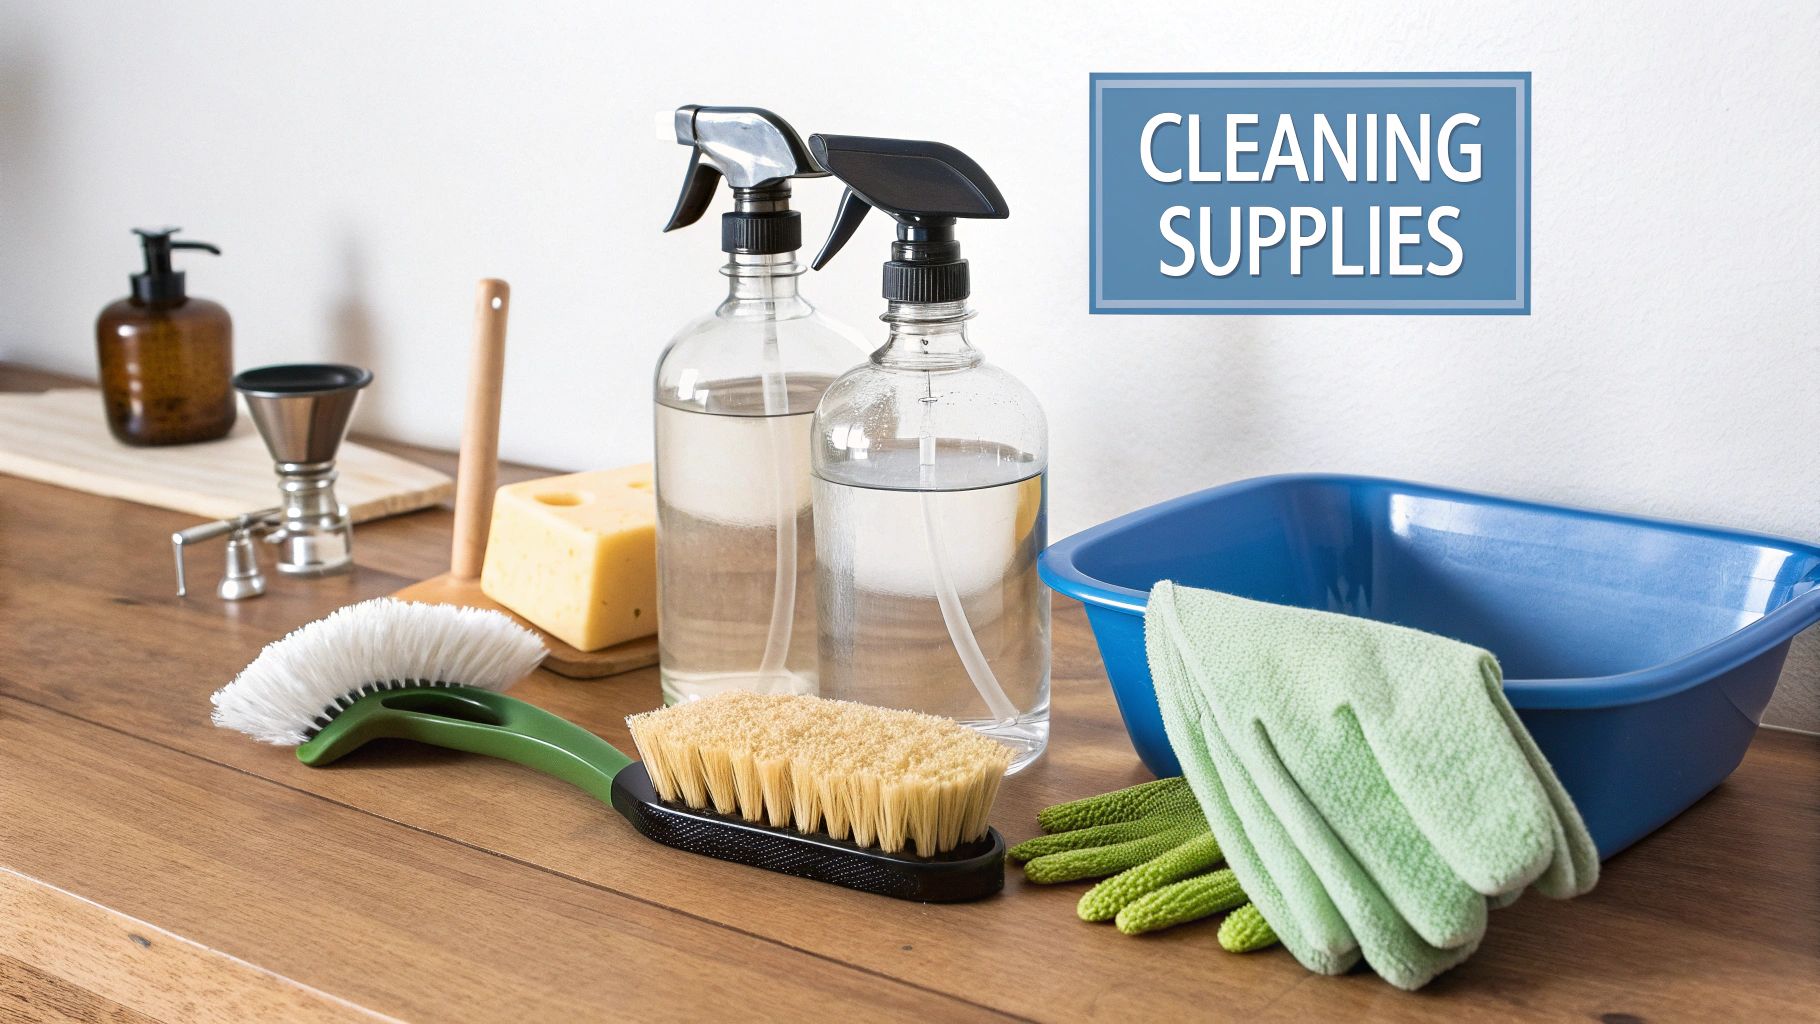
The Cleaning Crew: Soaps, Solvents, and Pastes
Your first line of defense is simple but surprisingly effective. A good soak in warm water with a few drops of dish soap will take care of most surface grime and is always the best place to start.
For the tougher stuff, like that cloudy film or stubborn mineral rings, you'll need to bring in the big guns—which are still pretty simple household staples:
- White Vinegar: That hazy, "sick glass" look is often caused by mineral deposits. The mild acid in vinegar is perfect for dissolving them without damaging the glass.
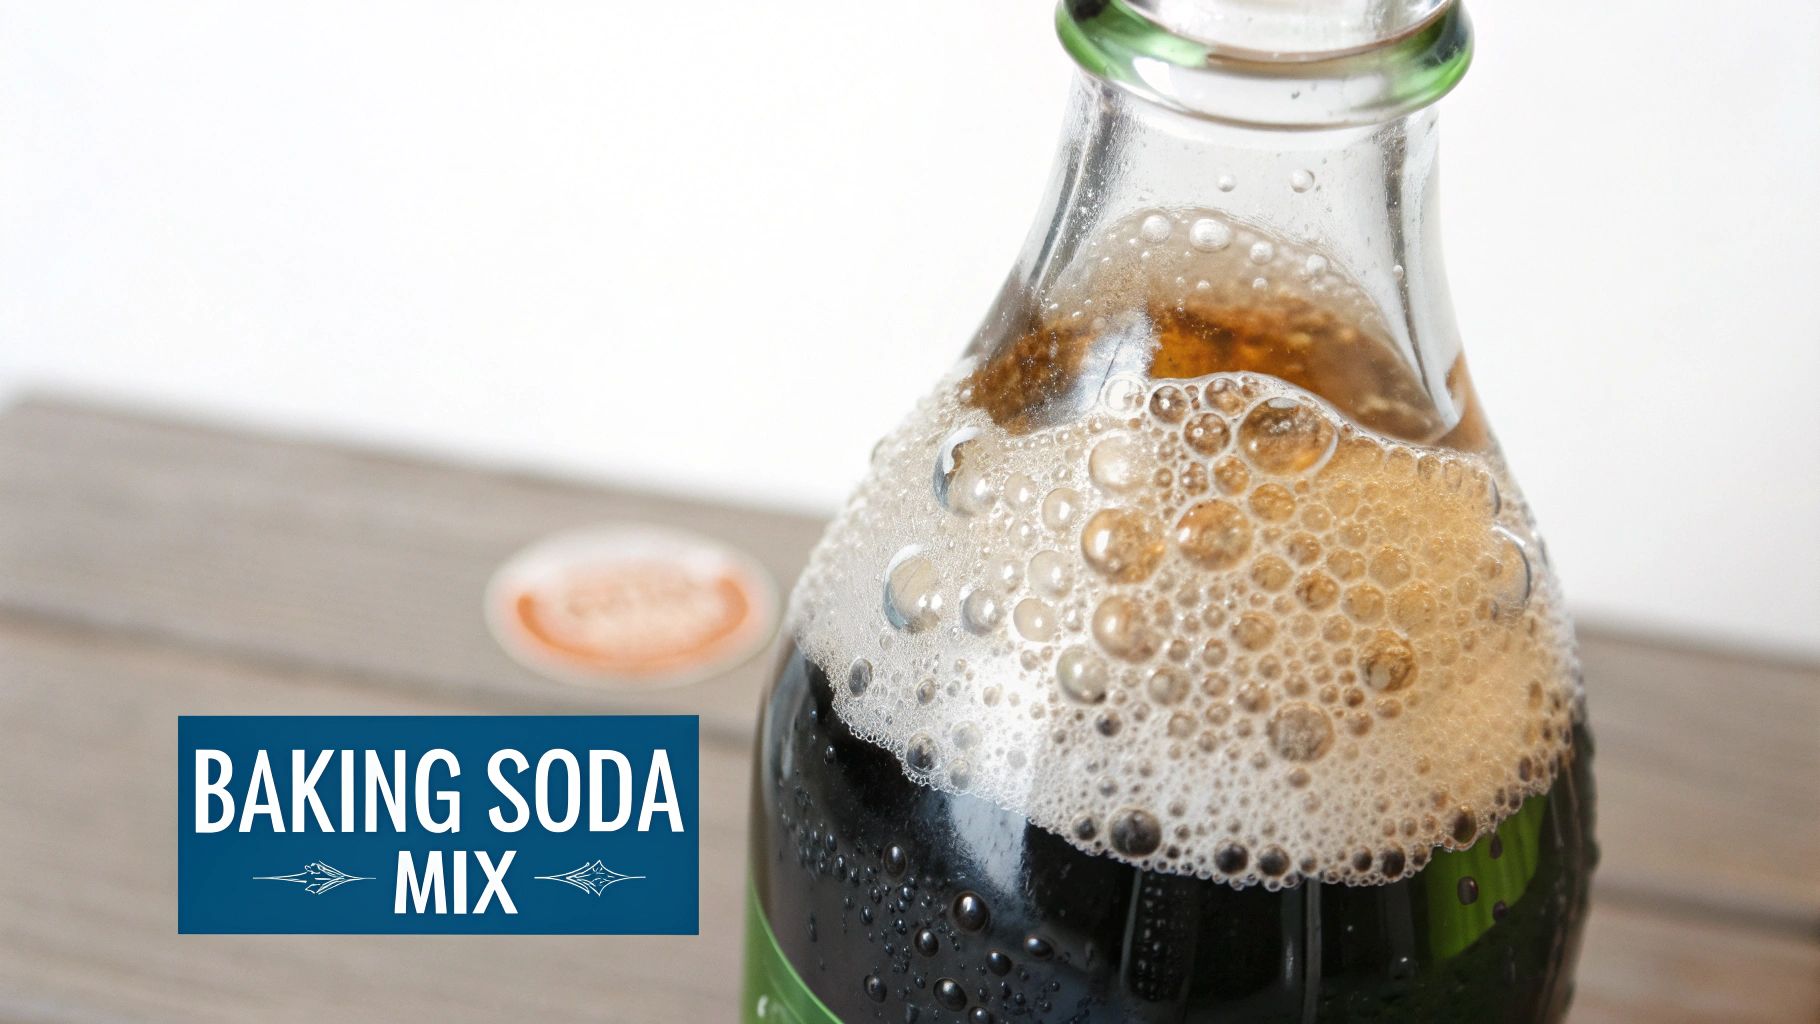
- Baking Soda: Mix it with a little water to create a paste, and you've got a fantastic, gentle abrasive that scrubs away grime without leaving a single scratch.
The idea of using specialized tools for this isn't new. Back in the 19th-century European wine industry, they developed special drying racks and crank-operated wire brushes to get bottles spotless for reuse. It just goes to show how important a thorough cleaning has always been. You can explore more about these historical methods from the Wine History Project.
The Tools of the Trade: Brushes and Abrasives
Sometimes, a soak just won’t cut it. You need to get in there and manually scrub away the grime, which is where a few key tools come in handy. These are the items that do the heavy lifting, reaching places your hands could never get to. This approach of careful, hands-on work is something we see in all kinds of restoration, a topic we touch on in our guide on how to clean antique furniture.
A Little Trick of the Trade: The real secret to cleaning inside a bottle is to add a mild abrasive and just shake it. It's like having a thousand tiny scrubbers doing the work for you.
Here’s what you should have ready to go:
- A Flexible Bottle Brush: Find one with a long, bendable handle and soft bristles. This is a must-have for getting around the curves and into the shoulders of oddly shaped bottles.
- Uncooked Rice or Coarse Salt: This is your best-kept secret. Add a spoonful to the bottle along with some soapy water, and the gentle scouring action will remove gunk from the inside without scratching the glass.
- A Funnel: A simple but essential tool. It helps you pour liquids, rice, or salt into bottles with small openings without making a mess.
- Protective Gloves: Always a good idea. They’ll protect your hands from hot water and the drying effects of vinegar, especially during a long cleaning session.
Essential vs. Advanced Cleaning Supplies
To make it even simpler, here’s a quick breakdown of what you'll need for most projects versus what you might want for more challenging restorations.
| Supply Category | Essential Items (For Most Bottles) | Advanced Items (For Stubborn Grime) |
|---|---|---|
| Cleaning Agents | Dish Soap, White Vinegar | Baking Soda, Hydrogen Peroxide |
| Abrasives | Uncooked Rice, Coarse Salt | Small Ball Bearings, Steel Wool (use with caution) |
| Tools | Flexible Bottle Brush, Funnel | Dental Picks, Pipe Cleaners |
| Safety Gear | Rubber Gloves | Safety Goggles (especially for brittle glass) |
Most of the time, the "Essential" column is all you'll need to get fantastic results. But if you come across a particularly stubborn bottle, having a few of the "Advanced" items on standby can be a real lifesaver.
The First Soak to Loosen Years of Grime
Alright, this is where the magic really starts. The first soak is your most important opening move. It's a patient, gentle step that does most of the heavy lifting for you, persuading years of stubborn grime and caked-on dust to finally let go.
Think of it this way: you wouldn't try scrubbing a muddy car with a dry sponge. Soaking is the pre-wash that softens and breaks down all that gunk. It means less aggressive scrubbing later, which is exactly what you want to protect that beautiful old glass.
Setting Up the Perfect Soaking Bath
Your setup here is pretty straightforward. You just need a basin, bucket, or sink big enough to completely submerge your bottles. The real secret is the water temperature. You're aiming for warm, but not hot. Drastic temperature changes can cause thermal shock, which is a fancy way of saying your glass could crack. Lukewarm water is your safest bet.
Fill up your basin, then add a few drops of a good quality dish soap. The soap helps the water work its way into all the layers of dirt. If you’ve got a bottle with that frustrating cloudy film, go ahead and add a splash of white vinegar to the mix. The mild acid is fantastic for starting to dissolve those stubborn mineral deposits.
Pro Tip: Got a lightweight bottle that keeps bobbing to the surface? Just fill it with some of the soaking water before you lay it down. This little trick weighs it down perfectly, making sure the entire bottle gets an even, thorough soak.
This isn't just a home-brewer's trick; it’s standard practice. In commercial bottle reuse, for instance, about 31.5% of facilities start with a detergent soak. And later, over 73% rely on manual shaking to get the loosened crud out. It just goes to show how essential that initial soak is. You can see more about commercial cleaning methods and their sequences if you're curious.
How Long Should You Let Them Soak?
Patience is your best friend here. How long you soak really depends on how dirty the bottle is. There's no one-size-fits-all answer, so you'll have to use your best judgment.
- Light dust or minor grime: A couple of hours should do it. Usually, one to two hours is plenty to loosen things up.
- Moderately dirty bottles: Give them at least four to six hours. This gives the soapy water enough time to really penetrate any compacted dirt.
- Caked-on mud or stubborn residue: An overnight soak is the way to go. This extended bath will soften even the most hardened gunk, making it worlds easier to remove.
Whatever you do, don't rush this. A good, long soak is the foundation of a successful cleaning. It sets you up for an easy scrub and rinse, getting you one step closer to that sparkling, beautifully restored bottle.
Tackling Stubborn Stains and Residue
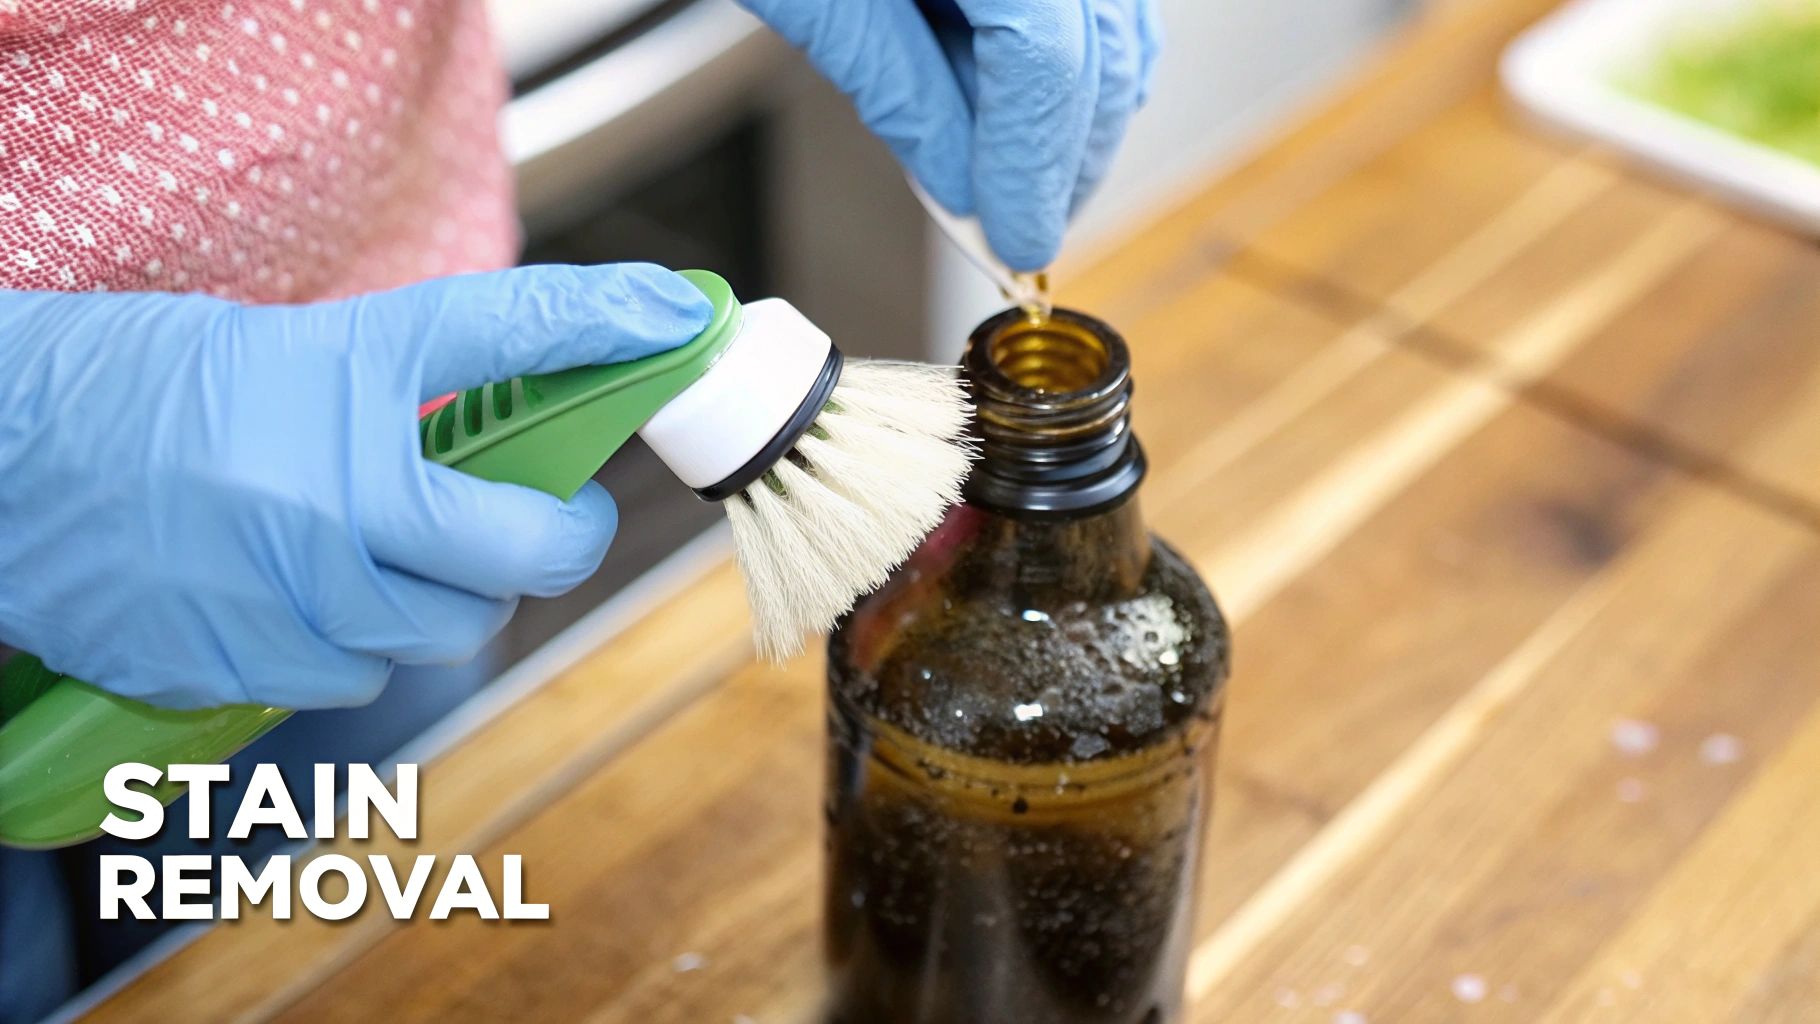
Sometimes, a simple soak just won’t cut through decades of grime. We've all been there—you pull a beautiful old bottle from a dusty box, but it's coated in a stubborn film or has gunk stuck deep inside its narrow neck. When that happens, it's time to get a little more serious than just soap and water.
This is where you move from a passive soak to a more active approach. The main hurdle with old bottles is obvious: you can't get your hand inside to scrub. The solution, thankfully, is wonderfully low-tech and incredibly effective. It's all about using gentle friction to scour the inside of the bottle clean.
The Power of Gentle Abrasion
I call this the shake and scrub method. The idea is to put a mild abrasive inside the bottle with some cleaning liquid. When you give it a good shake, those little particles bounce off the interior glass, acting like thousands of tiny scrub brushes. It's a fantastic way to mechanically loosen residue that a simple soak would never touch.
The trick is picking the right abrasive. You need something gritty enough to scrub but gentle enough to not scratch the old glass. After years of cleaning bottles, I've found a few things work best:
- Uncooked Rice: This is my go-to. The hard, uniform grains are perfect for scouring away grime without any risk to the glass. It’s cheap, effective, and readily available.
- Coarse Salt: Another excellent choice. Sea salt or any coarse salt works just as well as rice. A bonus is that it dissolves completely, which makes rinsing a breeze.
- Sand: A small amount of clean sand will also do the job. Just be absolutely sure it's fine-grained and doesn't contain any sharp little pebbles that could cause damage.
To do it, just pour a couple of tablespoons of your chosen abrasive into the bottle. Fill it about one-third of the way with warm, soapy water, put your thumb over the opening, and shake it like you mean it for a minute or two. The results are often immediate and deeply satisfying.
Chemical Solutions for Tougher Stains
What about those really persistent stains? I'm talking about that chalky white haze or a weird colored film that seems chemically bonded to the glass. For these, scrubbing might not be enough. You need something that will dissolve the stain itself.
A secret weapon I've come to rely on is denture cleaning tablets. It sounds odd, but they are designed to safely remove tough deposits from delicate materials, which makes them perfect for vintage glass. Just fill the bottle with water, drop one or two tablets in, and let the fizzing action work its magic for a few hours.
Another classic home remedy is the fizzing reaction you get from mixing baking soda and white vinegar. The bubbling helps lift stains right off the glass surface, giving you a deep clean in those impossible-to-reach spots. This kind of careful, hands-on work is similar to what's needed for other delicate antiques, a topic we cover in our guide on cleaning antique furniture.
Finally, for stubborn organic stains, a diluted solution of hydrogen peroxide can work wonders. Just be sure to use it with care and rinse the bottle thoroughly when you're done.
Stain Removal Method Selector
Choosing the right approach from the start can save you a ton of time and effort. I've put together this quick table to help you match the type of stain you're dealing with to the best method.
| Type of Stain/Residue | Recommended Cleaning Method | Key Ingredient | Cautionary Notes |
|---|---|---|---|
| Cloudy Film/Hard Water | Chemical Soak & Mild Abrasion | White Vinegar | Let it soak for several hours before shaking with rice. |
| Loose Dirt & Grime | Shake and Scrub | Uncooked Rice or Salt | Use with warm, soapy water for best results. |
| Caked-On Mud | Prolonged Soak & Shake | Dish Soap & Water | Soak overnight before attempting to shake and scrub. |
| Unknown Chemical Residue | Fizzing Reaction | Denture Tablets | Allow tablets to fully dissolve and sit for hours. |
Think of this chart as your cheat sheet. With the right technique, almost any stained bottle can be brought back to life, ready to display.
Rinsing and Drying for a Flawless Finish
After all that scrubbing and soaking, the final rinse and dry are what really make a vintage bottle pop. These last couple of steps are my secret to getting that truly professional, streak-free shine that makes the glass look brand new. It’s all about removing every last trace of the cleaning agents and hard water so the bottle itself can take center stage.
You might be tempted to just rinse it under the tap, but that’s a rookie mistake that can ruin all your hard work. Most tap water is loaded with minerals like calcium and magnesium, especially if you have hard water. When that water evaporates, it leaves behind a stubborn, cloudy film or a bunch of little white spots.
That's why I always recommend a final rinse with distilled water. It’s a complete game-changer. Since distilled water is pure H₂O without any of those minerals, a quick swish and swirl inside the bottle ensures that when it dries, nothing is left behind but crystal-clear glass.
Getting the Inside Bone-Dry
Once you've done the final rinse, getting the inside of the bottle perfectly dry is your next mission. Any trapped moisture is an invitation for mildew or new water spots, and we definitely don't want that. How you tackle this depends on the bottle's shape and how much time you have.
The easiest, most hands-off method is to simply let them air-dry on a rack. I like to place them upside down on a bottle-drying tree or even a regular dish rack. This lets air circulate and do its thing. Be patient, though—bottles with skinny necks can take a surprisingly long time, sometimes a full day or more.
If you don't want to wait around, you can help the process along.
- Use a hairdryer on its coolest setting. Point it into the bottle's opening to blow cool air inside. Never use hot air! The extreme temperature shift can easily crack fragile, old glass. This trick works wonders for evaporating those last stubborn droplets.
- Try a twisted paper towel. For bottles with a wider mouth, you can gently feed a twisted-up paper towel inside to soak up most of the water. Just be careful not to tear it and leave bits of paper behind.
The real goal here is to get rid of every single drop of moisture without introducing any new lint or residue. A bone-dry interior is non-negotiable for a perfect, long-lasting finish.
Adding That Final Polish
For the finishing touch, I always give the outside a quick buff with a soft, lint-free cloth. A clean microfiber cloth is your best friend for this job.
Gently wipe down the entire exterior to get rid of any fingerprints or smudges you might have left while handling it. This simple move is what really brings out the gleam and clarity of the glass, giving your restored treasure that final, satisfying sparkle. It's the last—and maybe most rewarding—step in mastering how to clean old glass bottles.
Common Questions About Cleaning Old Bottles
Even after you’ve got a good routine down, cleaning vintage glass can throw a few curveballs your way. I've been there. Let’s tackle some of the most common snags people run into, so you can handle them like a pro.
How Do I Get Cloudy Film Off the Inside?
That stubborn, hazy film that makes old glass look "sick" is almost always a buildup of mineral deposits from whatever the bottle held, or even from the water it sat in for years. The best way I've found to tackle this is with a gentle acid.
A simple 50/50 mix of white vinegar and warm water does the trick. Fill the bottle up and just let it sit for a few hours—or even overnight for really tough cases. The vinegar needs time to work its magic and dissolve those minerals.
If the film is still hanging on, toss in a tablespoon of uncooked rice. With the liquid still inside, give it a good, vigorous shake. The rice acts as a perfect little non-scratching abrasive, scrubbing the inside walls clean without causing any damage.
Just be sure to finish with a rinse of distilled water. Tap water can leave behind its own mineral spots as it dries, undoing all your hard work.
Is It Safe to Use a Dishwasher for Antique Bottles?
I get asked this a lot, and my answer is always a firm no. You should never put antique or valuable glass in a dishwasher. It’s just not worth the risk.
The combination of intense heat and harsh detergents is a recipe for disaster. It can cause thermal shock, which will easily crack or shatter fragile old glass. Even if the bottle survives the wash cycle, the process can cause permanent etching, leaving the surface with that cloudy, "sick" look you can never get rid of.
Your goal is to preserve the bottle's integrity, not just get it clean. Manual cleaning gives you total control, protecting the glass from the extreme conditions inside a dishwasher that it was never made to handle.
What Is the Best Way to Remove a Stuck Cork or Stopper?
A stuck closure is a classic problem, but a little patience usually pays off. You can often get it free without chipping the bottle's lip.
For a stubborn cork, start by gently gripping its top with a pair of pliers, using a folded cloth to protect the glass rim. A little wiggling might be all it needs. If the cork is old and just crumbles, switch to a standard corkscrew. Don’t sweat it if pieces fall inside; you can just shake them out once the bottle is clean and dry.
A stuck glass stopper is a different beast and calls for lubrication.
- Apply a tiny bit of penetrating oil—or even olive oil in a pinch—right around the seam where the stopper meets the bottle.
- Give it at least an hour. You need to let the oil creep down into the gap.
- Come back and try to gently twist and pull. That bit of lubrication should be enough to help it slide right out.
Once your bottles are sparkling clean, you might start thinking about what to do with them. Some collectors decide to sell their finds, and learning how to sell antiques online is a great place to start. Or, if you plan to use them for food or drink, it’s wise to learn about effective methods for killing bacteria to make sure they're completely sanitary.
Unsure about the history or value of that bottle you just cleaned? Curio puts an antique expert in your pocket. Snap a photo to get instant identification, historical context, and an estimated appraisal. Download Curio today and let your treasures tell their story. Find out more at https://www.curio.app.