When you're dealing with antique wood furniture, think "preservation," not just "cleaning." This isn't about scrubbing a kitchen table; it's about carefully tending to a piece of history. The whole game is about using a gentle touch and the right, mild solutions to protect the delicate finish, unique character, and overall value of your heirloom. The golden rule is simple: assess the piece, start with the gentlest cleaning method, and always test in a hidden spot first.
Caring For Heirlooms Before You Begin
Before you even think about grabbing a cloth, let's get into the right headspace. Cleaning an antique is worlds away from cleaning a modern piece. Your goal isn't to make it look factory-fresh. Instead, you want to gently lift away years—sometimes decades—of grime while preserving the patina.
That soft sheen and depth of character that wood develops over time? That's the patina, and it's a huge part of the furniture's story and value. Wiping it away is like erasing history. This guide is here to walk you through each step, helping you confidently care for your treasures so they can be enjoyed for generations to come.
Adopting a Preservation Mindset
Caring for old furniture is more than just a hobby these days; it's a nod to sustainability and a real appreciation for true craftsmanship. You can see this shift in the numbers. The furniture repair and restoration market was valued at around $2.5 billion in 2025 and is expected to climb to $3.8 billion by 2033. People want to cherish what they have, not just replace it.
So, what does this preservation-first approach look like in practice?
- Slow and Steady Wins: Rushing is the enemy of antique furniture. Every single step, from looking it over to the final buff, needs to be done with patience and care.
- Start Mild, Stay Mild: Always begin with a simple, dry dusting. If that's not enough, move on to the mildest liquid cleaner possible. Never jump to the strong stuff.
- Know Your Piece: This is probably the most important part. Understanding the wood and its finish is critical. A cleaner that’s fine for a tough varnish could ruin a delicate shellac finish in seconds.
Your Path to Confident Cleaning
Before you start cleaning, it's helpful to get a quick read on what you're dealing with. A quick look can tell you a lot about the surface and point you in the right direction.
Here's a quick table to help you assess your furniture's condition at a glance and decide on the best first move.
Quick Guide to Initial Antique Furniture Assessment
| Surface Condition | What You See | Recommended First Step |
|---|---|---|
| Good Condition | Light dust, minor smudges, finish is intact and has a soft sheen. | Dry dusting with a soft, lint-free cloth. |
| Moderately Dirty | A noticeable layer of grime, fingerprints, dull finish. | Dust first, then clean with a mild soap-and-water solution on a damp cloth. |
| Very Grimy | Thick, sticky buildup of dirt and old wax. The wood grain is obscured. | Dust, then use mineral spirits on a soft cloth to dissolve grime. |
| Finish is Damaged | Cracks, flaking, white rings (water marks), or a very "alligatored" texture. | Gentle dusting only. Consult a professional before attempting any liquid cleaning. |
This table is just a starting point, but it gives you a solid framework for making a smart, safe choice for your furniture.
We're going to break down the whole process into clear, manageable steps. You'll learn how to assess your piece in detail, find the right supplies, clean without causing damage, and apply a protective layer. Think of this as your complete toolkit for being a responsible antique caretaker.
Remember, caring for your furniture goes beyond just cleaning. Where you place it matters. Things like sunlight and humidity can have a huge impact on old wood. Learning how to arrange living room furniture effectively is a natural extension of its care, helping to protect it from environmental damage. By the time we're done, you'll have the confidence to protect your heirlooms for the long haul.
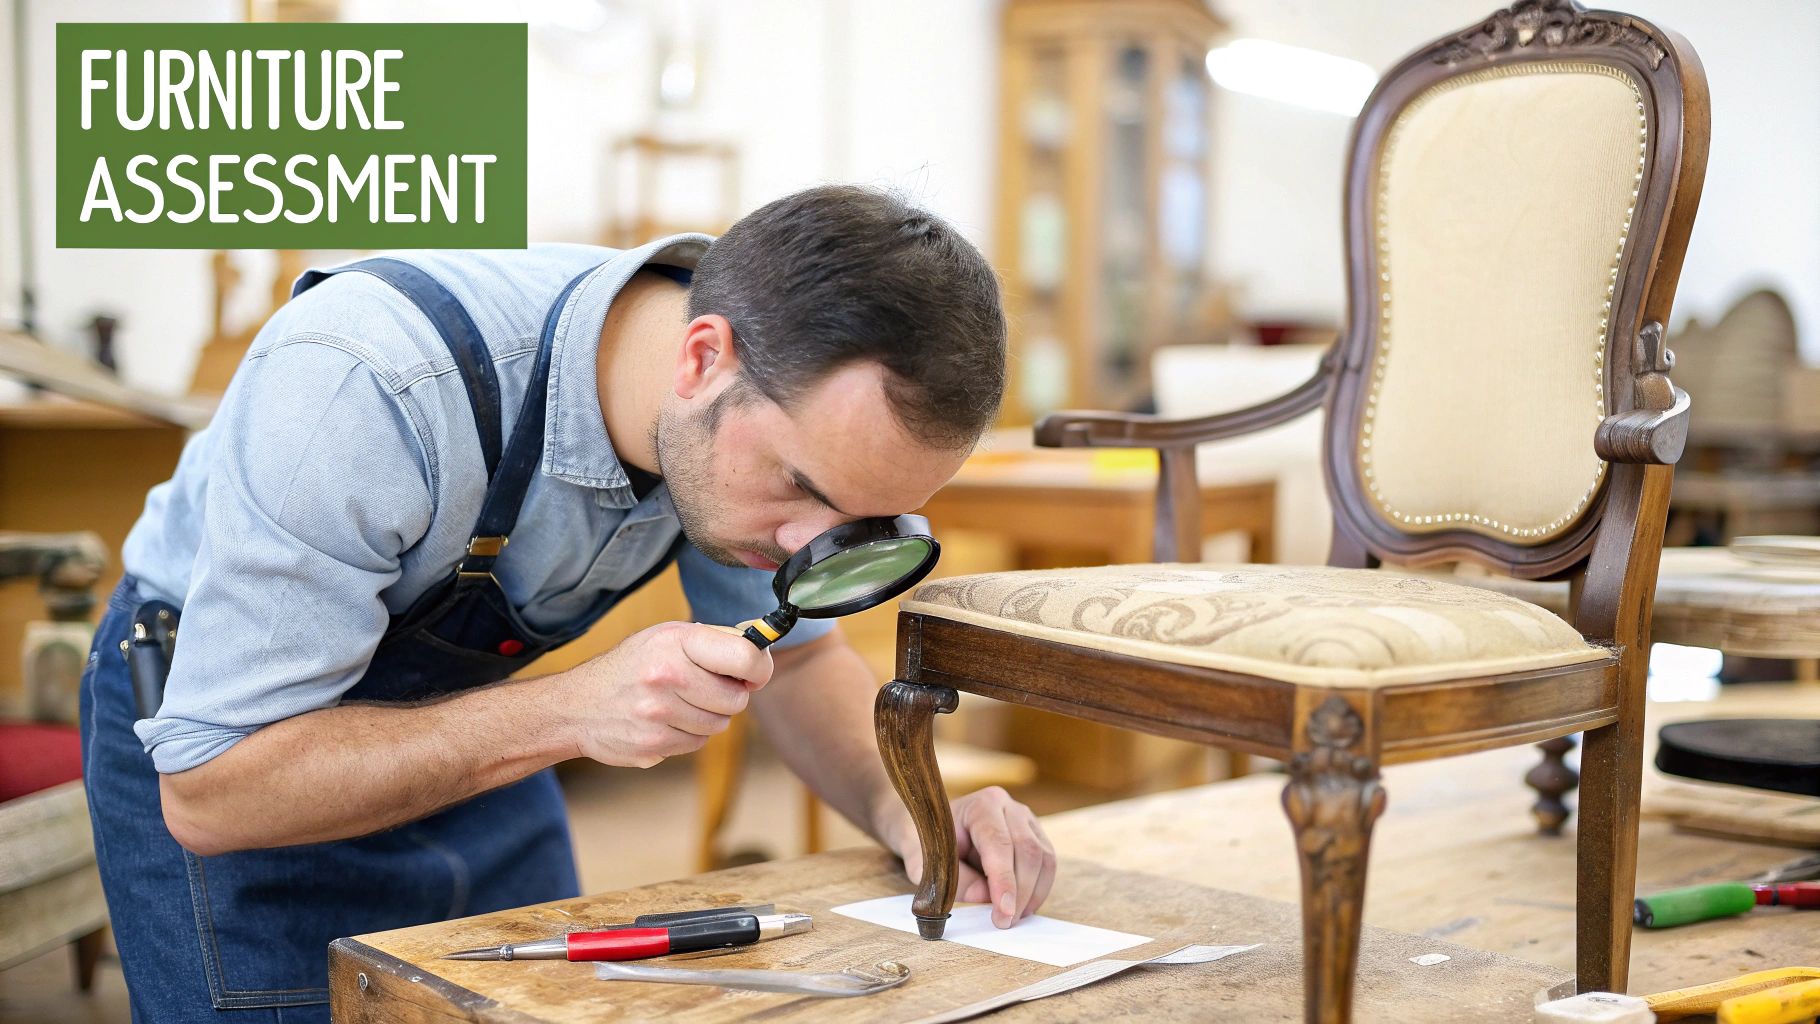
How to Assess Your Antique Wood Finish

Before a single drop of cleaner touches that old wood, you need to play detective. I can't tell you how many times I've seen people rush this part, and it's the fastest way to cause irreversible damage to a beautiful, valuable piece. This first phase is all about careful observation and understanding exactly what you're working with.
The whole point is to figure out what kind of finish is on the wood. Is it an old shellac? A sturdy varnish? Maybe a more modern lacquer or a simple oil finish? Each one reacts differently to cleaning agents. What might gently clean one could completely strip another.
Starting With a Visual Inspection
First things first, get the piece into a well-lit area. Look at it from every angle to get a real feel for its overall condition. Pay close attention to the sheen and texture of the surface—these initial clues can tell you a lot about its history and what it needs.
As you look, keep an eye out for specific signs of trouble that might need more than a simple cleaning. These are red flags telling you to be extremely cautious or even to stop and call a professional restorer.
Key issues to watch for:
- Loose or Bubbled Veneer: This is when thin layers of decorative wood start lifting from the base.
- "Crazing" or "Alligatoring": You'll see a fine network of cracks in the finish, almost like reptile skin.
- Old Woodworm Holes: Look for small, pin-like holes that signal past insect activity.
- Flaking or Peeling Finish: These are obvious signs that the protective layer is failing.
Catching these problems early helps you avoid making them worse. For example, using too much moisture on loose veneer could make it lift off completely. A crazed finish is incredibly delicate and might crumble away if you rub it too hard.
Expert Insight: Remember, the patina—that soft glow and the subtle color shifts the wood has developed over centuries—is not dirt. It's a highly desirable sign of age that adds immense character and value. Your goal is to remove the grime, not this precious history.
Simple Tests to Identify the Finish
After your visual check, it's time for a few simple, non-invasive tests. Always, always perform these on a small, hidden area. The back of a leg, inside a drawer, or the underside of a tabletop are perfect spots. This ensures that if you get a bad reaction, it won't be seen.
You'll just need a few common items: a cotton swab and a couple of different solvents. We'll start with the mildest one and go from there.
The Denatured Alcohol Test for Shellac
Before the 1930s, shellac was an incredibly common finish. It’s beautiful but also very sensitive to alcohol.
- Dampen a cotton swab with a small amount of denatured alcohol.
- Gently dab it onto your hidden test spot.
- If the finish gets soft, sticky, or starts to dissolve, you’re looking at a shellac finish.
The Lacquer Thinner Test for Lacquer
Lacquer became popular after shellac and is a much harder, more durable finish.
- If the alcohol test didn't do anything, grab a fresh cotton swab and dip it in lacquer thinner.
- Apply it to a different hidden spot.
- If the finish softens or wrinkles this time, your piece is finished with lacquer.
Identifying Varnish and Oil Finishes
So, what if neither alcohol nor lacquer thinner affects the surface? You most likely have either a varnish or an oil finish. Varnish is a hard, protective film that will feel smooth and slick to the touch. It's generally resistant to both of those solvents.
An oil finish, on the other hand, soaks into the wood rather than sitting on top. It often has a more natural, satin feel and might look a bit duller than a film finish. A good trick is to apply a drop of boiled linseed oil to your test spot—it will likely absorb into an oil finish but will bead up on a varnish.
This assessment, combined with the furniture's age, gives you the clues you need. For a deeper dive into figuring out a piece's history, our guide on how to date antique furniture can offer some valuable insights. Knowing the finish is everything; it dictates your entire cleaning approach and ensures you preserve its integrity for years to come.
Gathering Your Safe Cleaning Supplies
Before you touch that beautiful old piece, you need to assemble a small toolkit of safe, effective supplies. When you're dealing with heirlooms, forget that aisle of aggressive commercial cleaners at the grocery store. Most of those products are far too harsh for delicate, aged finishes and can cause damage you simply can't undo.
The best approach is to focus on simple, often homemade solutions that put the health of the wood first. This isn't just an old-timer's secret; it's a growing trend. The global market for furniture care products was valued at $3.67 billion in 2024 and is expected to climb to $5.42 billion by 2033, with a huge focus on specialized cleaners for antiques. If you're interested in the data, you can find a complete analysis of furniture care product trends that breaks it all down.
This shift shows a wider understanding that valuable furniture demands specialized care. So, let’s build your ideal, preservation-focused cleaning kit.
Starting With the Mildest Solution
Your first move against everyday grime should always be the gentlest one possible. For most pieces, this means a simple, homemade solution that costs pennies and is incredibly safe for stable finishes.
Your Go-To Gentle Cleaner Recipe:
Just mix one or two drops of a mild, pH-neutral dish soap (think a basic, dye-free version) into a bowl with about two cups of distilled water. Using distilled water is a pro tip; it doesn't have the minerals found in tap water that can leave a hazy film behind.
This slightly soapy water is just enough to cut through fingerprints and light layers of dirt without being abrasive. It gently lifts grime off the surface so you can wipe it away, revealing the true finish underneath.
When to Use Mineral Spirits
Sometimes, you’ll come across a piece with a thick, sticky buildup of old wax, polish, and dirt that soap and water can’t touch. This is where odorless mineral spirits become your best friend, but you have to understand what they do.
Key Takeaway: Mineral spirits aren't a traditional wood cleaner. They are a petroleum-based solvent specifically designed to dissolve stubborn, oil-based gunk like old wax and grime.
Think of it like this: soap and water lift dirt off the surface, while mineral spirits dissolve the gunk that has practically become one with the finish. You’ll apply a small amount to a soft cloth, wipe a small section, and you should immediately see the years of buildup transfer onto your cloth. It’s a powerful tool, but save it for those truly grimy jobs.
Essential Tools for the Job
Having the right cleaners is only half the story. You also need the right applicators to work safely and effectively, especially when you're navigating delicate carvings and details.
Here’s what you’ll want to have on hand:
- Soft, Lint-Free Cloths: Microfiber cloths or scraps from an old cotton t-shirt are perfect. You'll need at least three—one for cleaning, one for rinsing, and one for drying.
- Soft-Bristled Brushes: An old, soft toothbrush or a small, natural-bristle paintbrush is a game-changer for getting dust out of intricate carvings and tight corners without scratching anything.
- Cotton Swabs and Balls: These are your best bet for detailed work, like testing your cleaning solution in a hidden spot or getting into crevices a cloth can’t reach.
What to Avoid at All Costs
Knowing what not to use is just as critical as knowing what to use. Many common household products will actively destroy an antique finish.
The Absolute "Do Not Use" List:
- Silicone-Based Polishes: Those aerosol furniture sprays often contain silicone, which creates an artificial, slick shine. Over time, it builds up into a cloudy film that’s nearly impossible to remove and will prevent any future waxes from adhering properly.
- Ammonia or Bleach: These are harsh chemicals that will strip finishes, bleach the wood, and cause permanent damage. Keep them far away.
- Excess Water: Never, ever drench your furniture. Water is wood's enemy. It can seep into joints, make veneer bubble and lift, and leave behind white rings or dark stains. Your cleaning cloth should always feel damp, never wet.
By gathering this specific set of supplies, you’re preparing for a successful and safe cleaning. You’ll be ready to handle anything from a light dusting to decades of grime, all while preserving the integrity and history of your piece.
The Gentle Cleaning Process From Start to Finish
Now that you have your supplies and a good sense of the furniture's finish, it's time to get to work. The most important thing to remember is that less is more. This isn't about a dramatic, overnight transformation. It’s a slow, patient process of lifting away years of grime to reveal the beauty underneath.
Think like a conservator, not a cleaner. Every wipe and every motion should be deliberate, with the goal of preserving the wood's integrity and character. Most damage happens when people rush this stage, so take a deep breath and work with a light, careful touch.
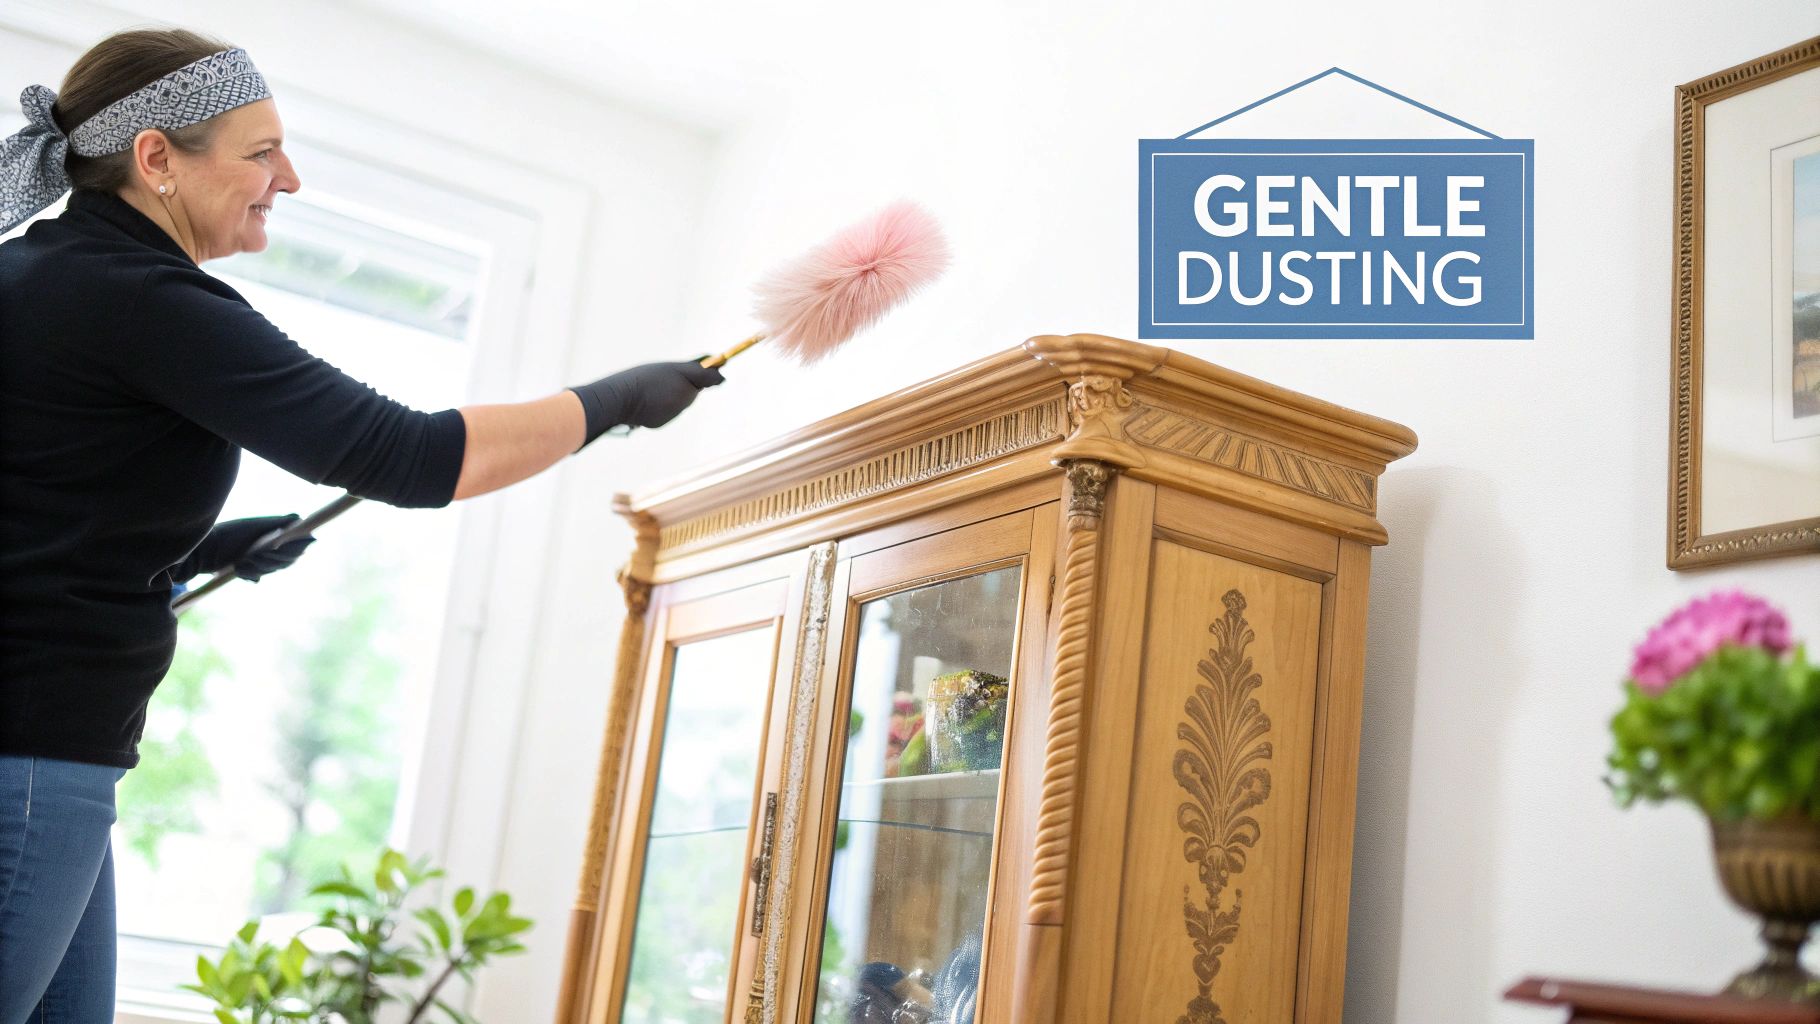
Starting With a Thorough Dry Dusting
Before a single drop of water touches that surface, you have to get rid of all the loose dust and debris. This isn't just a quick once-over. Dust is surprisingly abrasive, and if you start wiping with a damp cloth right away, you're essentially grinding those tiny particles into the delicate finish like fine sandpaper.
The goal here is to lift the dust, not just move it around.
- For Flat Surfaces: A soft, dry microfiber cloth is your best friend. Its fibers are fantastic at trapping dust without leaving any lint behind. Always wipe gently, moving in the same direction as the wood grain.
- For Carvings and Details: This is where a soft-bristled brush comes in handy. A clean, natural paintbrush or even a makeup brush is perfect for gently flicking dust out of intricate carvings and tight corners. I’ve found an old, soft toothbrush works wonders in those hard-to-reach spots.
If you’re dealing with a piece that's been in storage for decades, you might want to use a vacuum with a soft brush attachment. Just be sure the bristles are truly soft and you use a light hand to avoid any scratches. Only after all the visible dust is gone are you ready to move on.
The Gentle Wet Cleaning Technique
When a dry dusting doesn't cut it, it’s time for a mild cleaning solution. This is where your mixture of distilled water and that single drop of pH-neutral dish soap comes into play. The absolute key to success is controlling the amount of water you introduce.
Professional Tip: Your cleaning cloth should be barely damp, not wet. Wring it out until it feels almost dry. If you can squeeze the cloth and see a single drop of water, it’s still too wet for an antique finish.
Work in small, manageable sections—about six inches square at a time is a good rule of thumb. Dip your cloth into the solution, wring it out thoroughly, and gently wipe the area, always moving with the grain of the wood. This helps prevent streaking and works with the natural lines of the piece.
Immediately after you've cleaned a section, follow up with a second, clean cloth that's been lightly dampened with only distilled water to "rinse" off any soap residue. Right after that, use a third, completely dry cloth to blot the area dry. Never, ever let water sit on the surface, even for a moment.
Clean, rinse, dry. That’s the rhythm. Repeat this process, section by section, across the entire piece. This methodical approach is what stops water from seeping into joints, lifting veneer, or clouding up a delicate finish like shellac.
Tackling Stubborn Grime with Mineral Spirits
Every so often, you'll come across a piece with a thick, sticky buildup of old wax, polish, and dirt that simple soap and water won't touch. This is the exact scenario where odorless mineral spirits become the right tool for the job. Just remember, mineral spirits are a solvent, not a cleaner—their job is to dissolve that oily gunk.
First things first: make sure you’re in a well-ventilated space.
- Put a small amount of mineral spirits onto a clean, soft cloth.
- Just like before, test it on a small, hidden spot first to see how the finish reacts.
- Gently rub the cloth on the grimy area, following the grain. You should quickly see the old wax and dirt start to lift and transfer to your cloth.
- Be sure to switch to a clean part of your cloth often. You don't want to just smear the dissolved grime back onto the furniture.
Once the gunk is gone, the mineral spirits will evaporate completely, leaving no residue. It’s an incredibly effective method, but it really should be reserved for pieces with that heavy, stubborn buildup. For a deeper dive into different cleaning agents, our comprehensive guide on antique wood cleaning offers more detailed advice.
This whole process, from the first dusting to the final wipe-down, is an exercise in patience. You are carefully removing what doesn't belong to let the true history and character of the piece shine through. You’re not trying to make it look brand new; you’re honoring everything it has survived.
Bringing Out the Best in Your Antique Wood

Once you've gently cleaned your antique furniture, the wood can finally breathe. You’ve lifted away years of grime, revealing the true character and warmth of the original finish. But the job isn't quite done. Cleaning is only the first half of the equation—now it’s time to nourish and protect that beautiful wood so it lasts for decades to come.
This final step is all about creating a protective barrier against moisture, dust, and daily wear. It also subtly enhances the wood's natural patina, adding a soft luster that truly brings the piece back to life. Think of it as giving the wood a much-needed drink and a durable coat to wear.
The Right Way to Protect the Finish
When you walk down the cleaning aisle, you're faced with countless polishes, oils, and sprays. For genuine antiques, however, most of these are the enemy. Many modern furniture polishes, especially the aerosol kind, are loaded with silicone and other synthetic chemicals that create a slick, artificial shine.
Over time, that silicone builds up into a cloudy film that's a nightmare to remove. Worse, it prevents any future protective layers from sticking, essentially suffocating the original finish.
That’s why seasoned restorers and conservators almost universally recommend one classic solution: high-quality paste wax. It's the gold standard for a reason.
- It Creates a Hard, Sacrificial Barrier: A proper wax coating hardens on the surface, creating a durable layer that takes the hit from any bumps, spills, or dust.
- It’s Reversible: Unlike silicone polishes, a good paste wax can be safely removed with mineral spirits if needed, all without damaging the original finish underneath.
- It Enhances Patina: Wax provides a soft, mellow sheen that complements the age of an antique, rather than creating a glossy, "new" look. It deepens the wood's color and makes the natural grain pop.
A Quick Word on Wax Color: While a clear or neutral wax is a safe bet for most pieces, don't overlook tinted wax for darker woods like mahogany or walnut. A dark brown wax can help conceal minor scratches and prevent the white residue that clear wax sometimes leaves in crevices or open grain.
The Art of Applying Paste Wax
Applying wax is simple, but your technique makes all the difference. You're aiming for a micro-thin, even layer that you can buff to a gentle sheen. Piling on too much wax will only leave you with a sticky, dull surface that attracts more dust. Remember: less is definitely more.
First, grab your tools: a can of high-quality paste wax (brands like Briwax or Fiddes are excellent) and a few clean, lint-free cotton cloths. An old t-shirt cut into squares works perfectly.
- Wrap one of your cloths around your index and middle fingers.
- Scoop up a tiny amount of wax—far less than you think you need. A little dab will cover a surprisingly large area.
- Apply the wax to the wood in a gentle circular or wiping motion, working in small sections at a time. The key is to spread it as thinly and evenly as possible. It should feel like you're rubbing it into the finish, not just smearing it on top.
- Once you’ve applied the wax, let it dry. Depending on the wax and the room's temperature, this can take anywhere from 15 minutes to an hour. The surface will develop a dull, hazy look. This is exactly what you want—it means the solvents have evaporated and the wax is ready for buffing.
- With a fresh, clean cloth, start buffing the hazy surface. Use long, sweeping strokes that follow the direction of the wood grain. Start with light pressure and gradually increase it until you see a beautiful, soft luster emerge.
This final touch not only protects all your hard work but truly revitalizes the furniture, making it a centerpiece you can be proud of. For more general tips on preserving different wooden surfaces, this guide to maintaining wooden items is a fantastic resource for various projects around your home.
This protective step is crucial, and it’s part of a much larger industry dedicated to preservation. In fact, the global furniture polish market is projected to grow from $22.9 billion in 2023 to $37.8 billion by 2030. These products are designed to protect wood from environmental damage, which just shows how important this final, protective step really is. You can find more advice right here on our blog about how to https://www.curio.app/blog/how-to-clean-antique-furniture from start to finish.
Common Questions About Cleaning Antique Wood
Even with the best instructions, you’ll inevitably run into a few tricky situations when you're face-to-face with a piece of antique furniture. It's completely normal to pause and second-guess yourself—after all, you're working with a piece of history.
Let's tackle some of the most common questions that pop up. These are the practical, real-world problems that nearly every antique owner faces at some point.
How Can I Remove White Water Rings?
Ah, the dreaded white water ring. It's one of the most common blemishes on antique tables, and thankfully, it's often not as dire as it looks. These rings usually mean moisture is trapped in the top layer of the finish, not that the wood underneath is damaged.
You should always start with the least aggressive method. Lay a clean, dry cotton cloth (an old t-shirt works great) over the ring. Set an iron to a low, dry setting—no steam!—and press it on the cloth for just a few seconds. Lift it up, check your progress, and repeat. The gentle heat can often coax the trapped moisture right out of the finish.
If the iron trick doesn't cut it, you can step it up slightly. Grab a small piece of #0000 steel wool, which is the finest grade you can buy, and put a single drop of mineral oil on it. Now, rub the spot very lightly, always following the direction of the wood grain. The key here is finesse, not force. Be sure to test this on an inconspicuous area first, like the inside of a table leg.
A quick note of caution: if you see a dark ring, that's a different beast. That means water has gotten through the finish and stained the actual wood. For those, your best bet is to consult a professional restorer.
What Is the Difference Between Cleaning and Refinishing?
This is a critical distinction, and one that can make or break the value of your furniture.
Cleaning is all about preservation. You're simply removing the accumulated surface grime, dust, and old wax to let the original finish shine through. The goal is to enhance the piece's character and patina—the beautiful signs of age that make it unique.
Refinishing, however, is a total do-over. It involves using chemical strippers to remove the entire original finish, sanding the piece down to raw wood, and applying something brand new. For a genuine antique, refinishing should be the absolute last resort. It can erase centuries of history and dramatically reduce its value.
How Often Should I Clean My Antique Furniture?
When it comes to caring for antique wood, less is definitely more. One of the biggest mistakes people make is over-cleaning, which can slowly wear away a fragile finish.
Here’s a simple schedule to follow:
- Dusting: A quick wipe-down with a soft, dry microfiber cloth once a week is usually all you need. This handles the day-to-day upkeep.
- Deep Cleaning: A proper, deep clean with a cleaning solution should only happen when absolutely necessary. We're talking maybe once every few years, or if a piece has become truly grimy or sticky.
- Waxing: Applying a protective coat of paste wax is typically an annual job. High-traffic pieces might need it more often, while a piece in a quiet corner might go longer.
A Good Rule of Thumb: If the furniture doesn't look dirty or feel tacky, a simple dusting is all it needs. Trust your eyes and your hands—and always err on the side of caution.
Are you curious about the history and value of the furniture you're cleaning? Curio can help. Snap a photo, and our app instantly identifies your item, providing its origin, historical context, and an estimated appraisal. Uncover the stories hidden in your home. Learn more and download Curio today!