Before you get to the satisfying part of scrubbing away years of grime, it's crucial to lay the groundwork. The key to successfully cleaning old bottles is patience and a methodical approach, starting with a good look at what you’re working with.
This isn't about deep cleaning just yet. Think of it as a pre-flight check to make sure you don't accidentally damage your treasure. Rushing this stage is a rookie mistake that can have heartbreaking consequences.
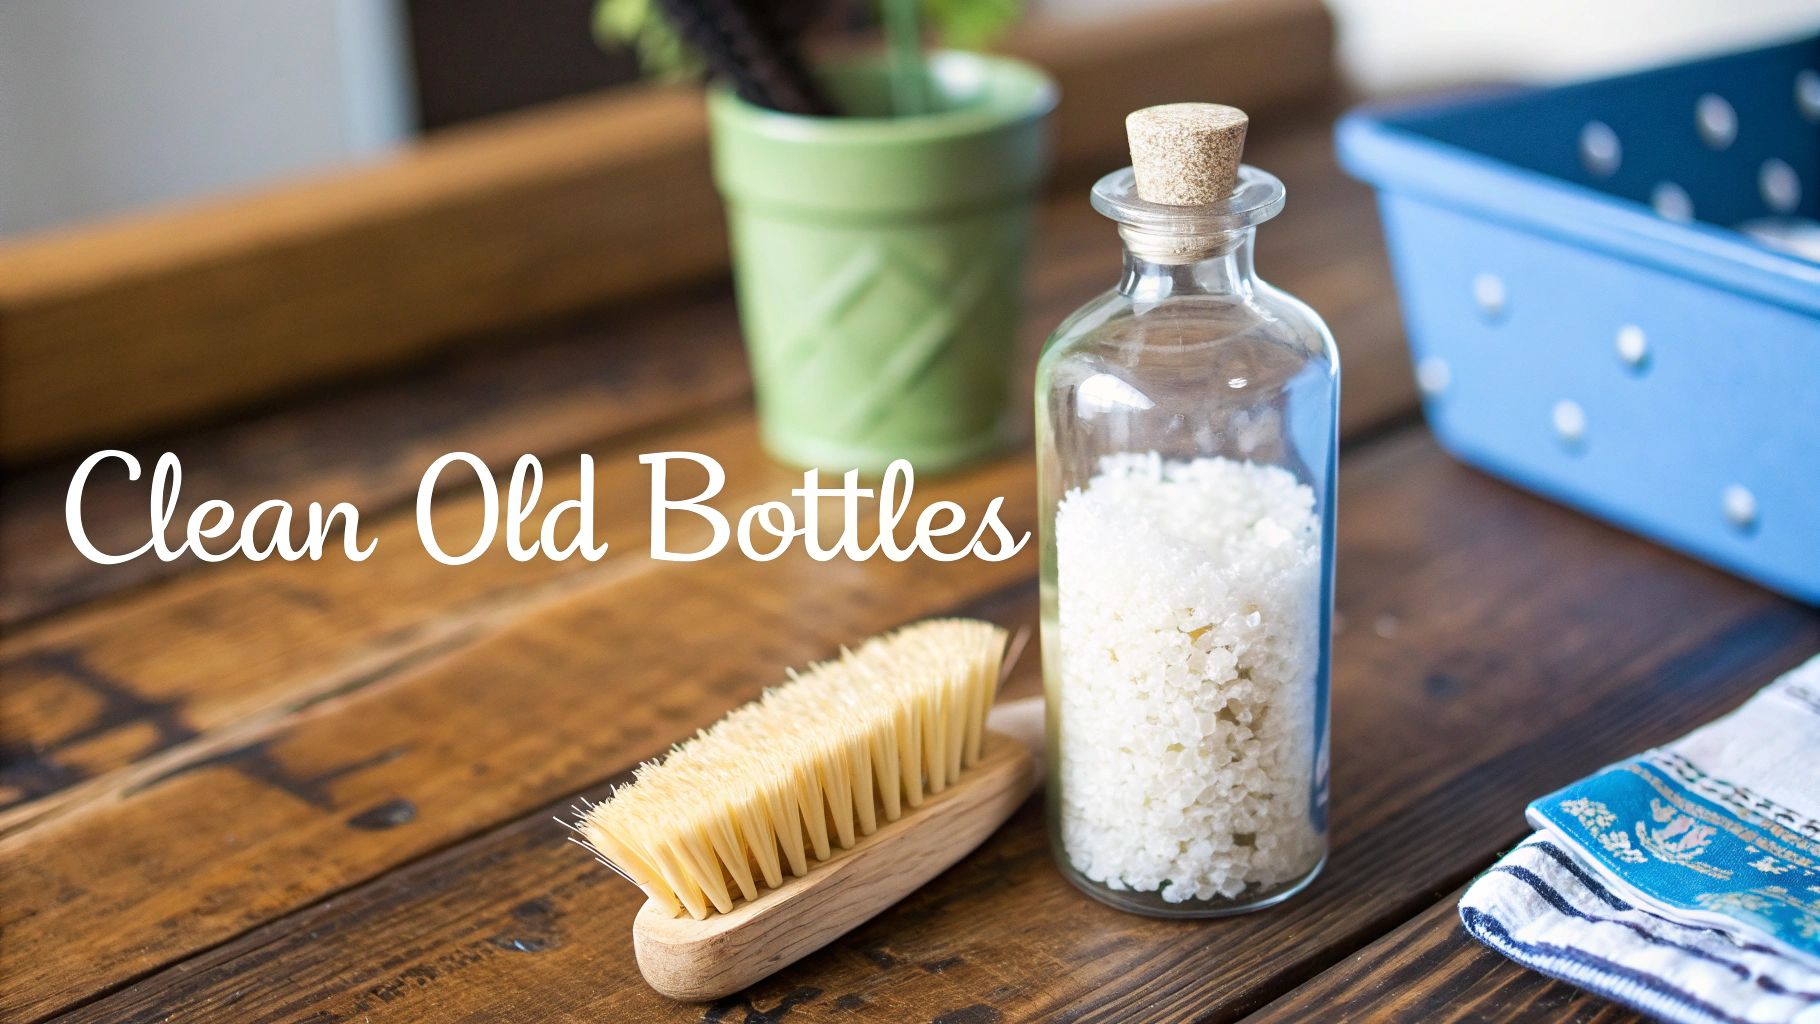
Your First Steps in Cleaning Vintage Bottles
So, you’ve got a dusty old bottle. Before water even comes near it, you need to play detective.
Start by giving the bottle a thorough inspection. I like to hold mine up to a bright window or a good lamp, turning it slowly to catch the light from every angle. You're searching for the sneakiest of flaws—tiny, almost invisible hairline cracks, small chips on the rim, or stress fractures in the glass. Cleaning can put pressure on these weak spots, turning a minor issue into a major break.
Preparing the Bottle for Washing
Once you’re confident the bottle is solid, it's time to deal with all that surface-level dust and dirt. Grab a soft, dry brush—an old paintbrush or even a clean makeup brush works wonders. Gently sweep away the loose stuff like dust, cobwebs, and caked-on dirt. This simple step is vital because it stops you from creating a muddy paste the second you add water.
If there are any old contents rattling around inside, they have to go. Carefully pour out any liquids. For dried-up gunk, I use a pair of long tweezers to gently fish it out. The key here is to be gentle; never try to force anything, or you could scratch or crack the glass from the inside.
Key Takeaway: This dry-cleaning and inspection phase is non-negotiable. It’s what protects the bottle's integrity and makes all the next steps safer and more effective.
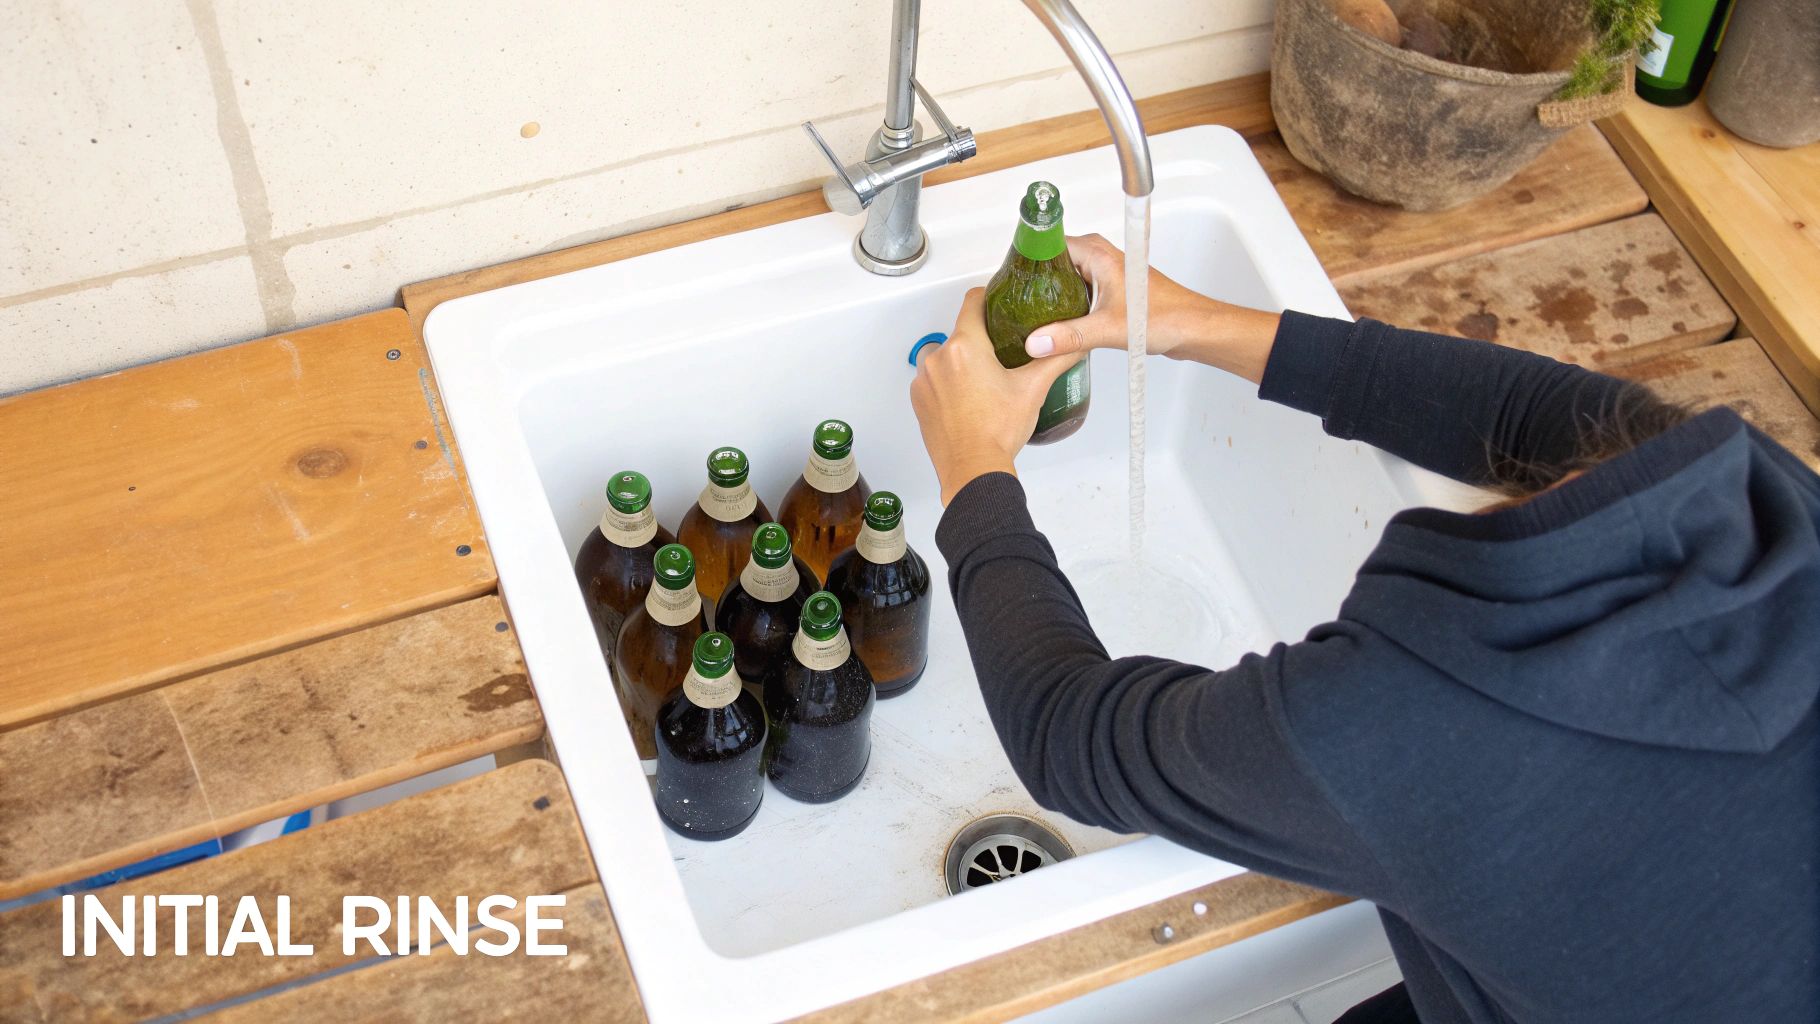
With the dry prep done, it’s time for a quick rinse. Always use lukewarm water. Drastic temperature changes, either too hot or too cold, can cause thermal shock and crack fragile, old glass. Just gently swirl some water inside to dislodge any remaining loose bits the brush couldn't get, then pour it out. This clears the deck for the real deep cleaning to begin.
For a complete walkthrough from start to finish, our comprehensive guide on how to clean old bottles covers every stage in much more detail.
Restoring any vintage item requires a light touch. Learning about different DIY restoration methods for delicate materials can be incredibly helpful, as the principles often carry over from one collectible to another. This knowledge helps you adopt a preservation-first mindset, ensuring your bottles are cleaned beautifully without erasing their history or value.
Mastering the Gentle Soaking Method
When you're dealing with glass that's seen decades of history, the secret isn't aggressive scrubbing. It's patience. The first and most important step is a good, long soak, which lets warm, soapy water do the heavy lifting for you. This simple technique gently loosens years of caked-on grime without risking damage to your fragile find.
Creating the Perfect Soaking Bath
First, you'll need a basin. A plastic tub works perfectly, but if you're using a sink, line it with a soft towel. This is a classic trick that prevents any accidental chips or cracks if the bottle gets bumped.
Fill your container with warm water—and I mean warm, not hot. Extreme temperatures can cause old glass to crack. Add a few drops of a gentle, grease-cutting dish soap. Steer clear of harsh chemicals like bleach or ammonia at this stage; they can permanently cloud or even etch the surface of antique glass, which is the last thing you want.
Now, gently lower your bottle into the water. Let it fill up completely, inside and out. Some old bottles are surprisingly buoyant, so if yours keeps floating to the top, you can use a small, heavy glass filled with water to weigh it down and keep it fully submerged.
Pro Tip: Soaking isn't about instant results. The real goal is to soften and break down all that stubborn residue. This makes the next cleaning steps far easier and, more importantly, much safer for the glass.
How long you soak the bottle really depends on how dirty it is.
- Light Surface Dirt: A soak of 2-4 hours is often enough to handle light, dusty grime.
- Moderate Buildup: For more stubborn dirt, plan on letting it sit for at least 12 hours. I usually just leave them overnight.
- Heavy, Caked-On Residue: Don't be afraid to let it soak for 24-48 hours. I once tackled an old apothecary bottle with a thick, mystery film inside. After a full day's soak, the grime practically rinsed right out.
The Science Behind a Good Soak
This isn't just some old-timer's trick; it's a proven method used everywhere. Think about large-scale recycling operations—soaking is a standard first step. One study on bottle reuse found that 31.5% of cleaning processes involved a soaking stage, typically with powdered detergents. While industrial systems might soak for just an hour (with over 26% of them doing so), we're not dealing with industrial-strength glass. You can explore how these principles are applied in food packaging recycling processes to see the fundamentals in action.
For your treasured finds, a longer, gentler soak with a mild liquid soap is always the safest path. Just check on the bottle every so often. You'll know it's working when you see little flakes of dirt floating in the water or the gunk inside starts to look soft and sludgy.
Once the soak has done its job, your bottle is ready for the next phase of its revival.
Scrubbing Bottle Interiors Without Scratches
Once your bottle has had a good, long soak, it's time to get a little more hands-on. The soak did the heavy lifting, but now we need to deal with the stubborn gunk that’s still hanging on. The trick here is to scrub the inside clean without leaving a single scratch on that beautiful old glass.
For a lot of standard, straight-necked bottles, a long, flexible bottle brush is all you'll need. Just make sure you pick one with soft bristles—the goal is to clean, not scuff. A few drops of dish soap and some warm water are usually enough to get a good lather going and gently work away the softened grime.
But let's be honest, many of the most interesting vintage bottles have funky shapes, impossibly narrow necks, or wide, flat bottoms that a brush just can't reach. When that’s the case, I rely on a simple but incredibly effective trick I call the "abrasive swirl."
The Abrasive Swirl Technique
This is a classic for a reason. You’re essentially using a mild abrasive, some soapy water, and a bit of elbow grease to create a tiny cleaning vortex inside the bottle. It’s a brilliant way to scrub every last nook and cranny from the inside.
The abrasive you choose is key. You want something with enough grit to scrub but not so much that it will damage the glass.
Now, you have a few good options for what to use as your abrasive material. Deciding which one comes down to what you're trying to clean and the type of bottle you're working with.
Choosing Your Interior Cleaning Abrasive
| Abrasive Material | Best For | Pros | Cons |
|---|---|---|---|
| Uncooked Rice | General grime and light residue | Very gentle, readily available, biodegradable | Might not be aggressive enough for tough stains |
| Coarse Salt | Tougher grime and mineral deposits | Dissolves for easy rinsing, slightly more abrasive | Can be too harsh for very delicate or thin glass |
| Sand | Caked-on dirt in thick, sturdy bottles | Highly effective scrubbing action | Must be very fine and clean; risk of scratching |
Personally, I almost always start with rice because it's the safest bet. If that doesn't cut it, I'll move on to salt. I save sand for the really tough jobs on thick, heavy-duty bottles.
To get started, just drop a tablespoon or two of your chosen abrasive into the bottle. Add a few drops of dish soap, and then fill it about a quarter of the way with warm water. Plug the top with your thumb or a stopper and start swirling.
My Personal Insight: Don't just shake it up and down like a maraca. The real magic happens with a controlled, circular swirl, almost like you're swirling wine in a glass. This motion gets the abrasive climbing the inner walls of the bottle, scrubbing as it goes.
For a bottle with a wide base, I'll tilt it on its side while swirling to make sure the abrasive mixture covers the entire bottom. If it has curved shoulders, a faster, more vigorous swirl helps the mixture reach those tricky upper areas.
After a minute or two, pour everything out and give the bottle a thorough rinse.
This method is a much safer, modern take on what people used to do. Back in the late 19th century, they used everything from rotating metal wires to lead shot—yes, lead—to scrub out bottles. You can read more about these fascinating old-world techniques and the history of wine bottle cleaning from the Wine History Project.
The abrasive swirl is just one tool in the bottle-cleaning arsenal. For a deeper dive into other approaches, be sure to check out our complete guide on how to clean old glass bottles for more tips.
Removing Haze and Mineral Stains
So, you’ve soaked and scrubbed, but your bottle still has a stubborn, cloudy film that just won't budge. This is a common problem for bottle collectors, often called "bottle sickness." It’s basically a haze caused by years of mineral deposits left behind from whatever was stored inside.
This cloudiness is really just a layer of calcium, lime, and other minerals that have bonded to the glass. The good news? It’s usually reversible. All you need is the right approach to dissolve the deposits without damaging the bottle itself.
Using White Vinegar to Dissolve Deposits
One of my go-to methods is also one of the simplest: plain white vinegar. Its mild acidity works wonders on the alkaline mineral buildup that creates that foggy look.
Start by filling the bottle with pure white vinegar, ensuring all the hazy spots are completely covered. If the cloudiness is on the outside, you can just submerge the whole bottle in a container of vinegar. Give it at least a few hours, but for really tough cases, I’ve found a full 24-hour soak is best.
Once it's done soaking, pour out the vinegar and add a handful of uncooked rice or coarse salt. Now, shake it vigorously. The grains act as a gentle abrasive, scrubbing away the loosened grime. A final rinse with warm water, and you should see a major improvement.
Creating a Baking Soda Paste
Still see some haze after the vinegar bath? Don't worry. Sometimes you need a different tactic. A thick baking soda paste provides a mild abrasive that can often scrub away what the acid couldn't dissolve.
- Mix three parts baking soda with one part water to create a paste.
- Coat the inside of the bottle with the paste using a long-handled bottle brush.
- Let the paste sit and dry for at least 30 minutes.
- Add a bit of warm water, scrub again with the brush, and then rinse everything out thoroughly.
Key Takeaway: Think of this as a one-two punch for stubborn stains. The vinegar soak dissolves the bulk of the mineral deposits, and the follow-up baking soda scrub polishes off any lingering residue.
If you're dealing with extreme buildup, the techniques for how to remove hard water stains from glass are quite similar and might give you a few more ideas.
The Denture Tablet Trick
Here’s a trick from my own playbook that might sound strange but works incredibly well: denture cleaning tablets. They are specifically designed to break down stains and buildup gently, which is exactly what we need.
Just fill the bottle with warm water and drop in one or two tablets. You’ll see them start to fizz immediately. Let that chemical reaction do its job overnight. The next morning, a simple rinse is usually all it takes to reveal a brilliantly clear bottle. It’s a surprisingly effective way to restore that original sparkle.
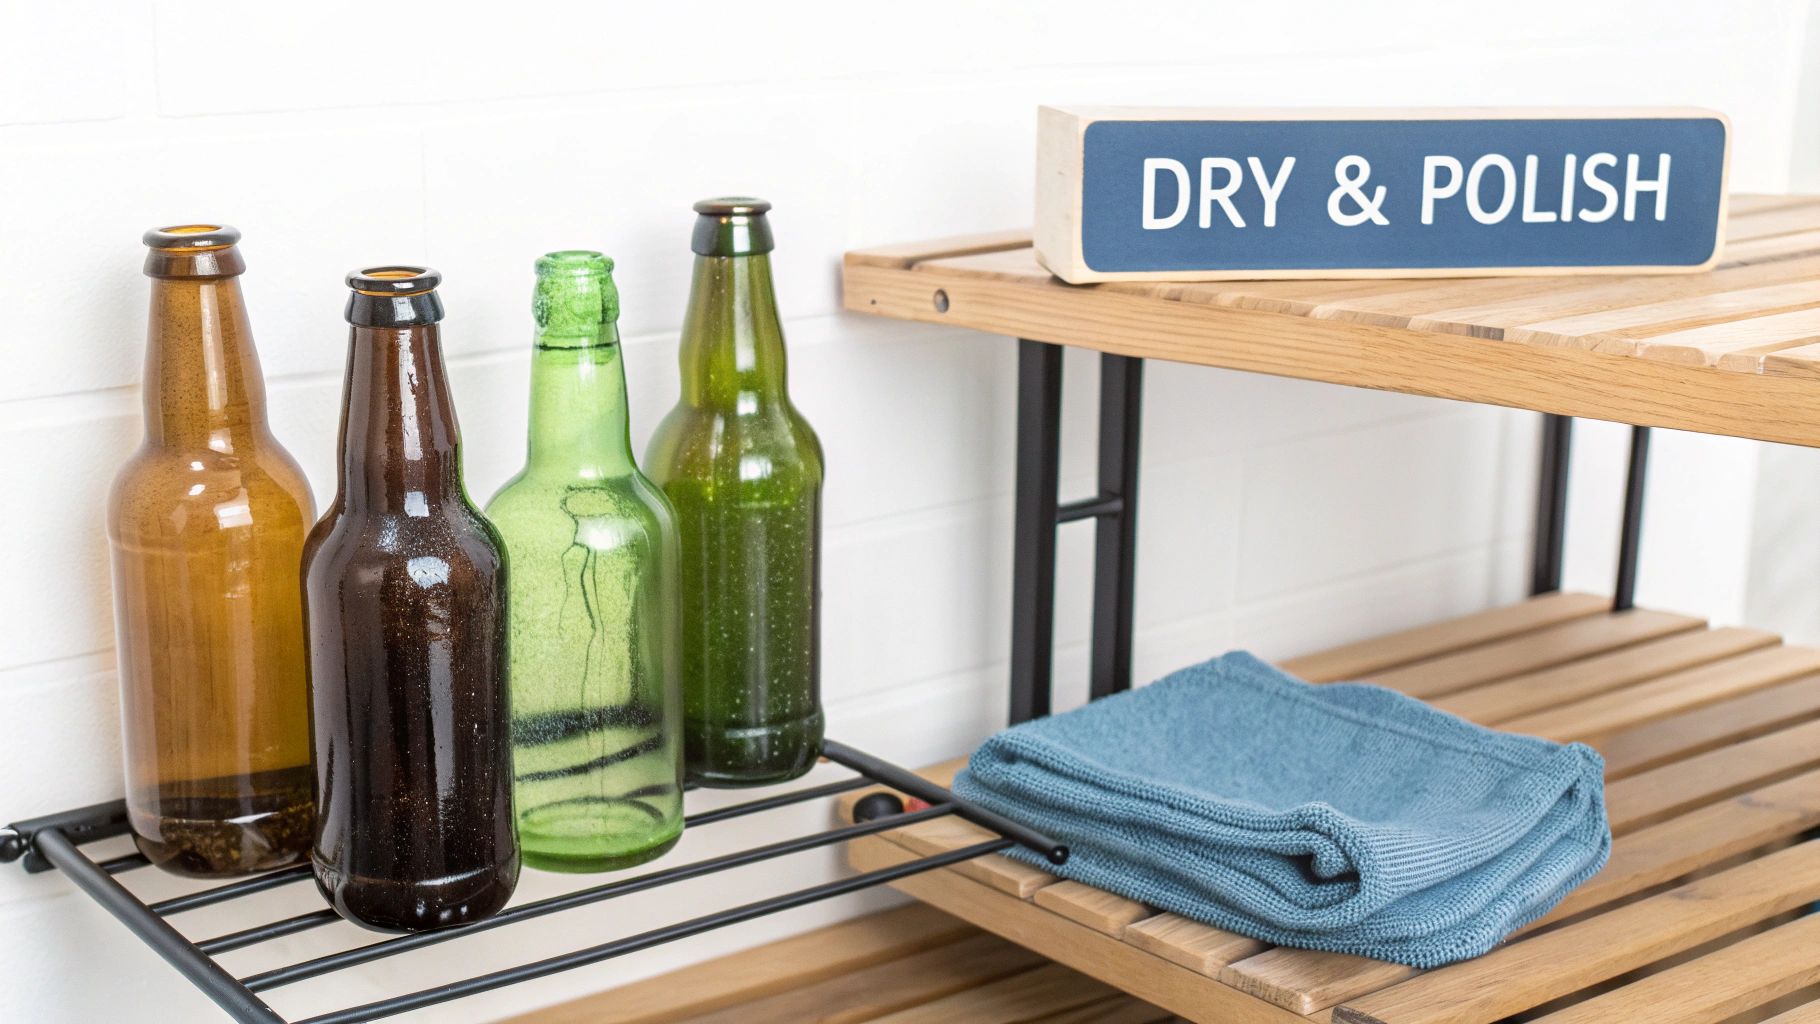
Drying and Polishing for a Perfect Finish
You’ve done all the hard work of soaking and scrubbing, but these final steps are what will make your bottle truly sparkle. It's so tempting to rush the drying process, but that's a classic mistake that leads to frustrating water spots and streaks, undoing all your effort. A little extra care here is the secret to a flawless, crystal-clear finish.
Here’s a pro tip for a professional finish: always do a final rinse with distilled water. Your tap water is likely full of minerals like calcium and magnesium, especially if you live in a hard-water area. When that water evaporates, it leaves those minerals behind as a chalky film or annoying spots. Distilled water is pure, so a quick rinse ensures nothing is left behind but gleaming glass.
Achieving a Spotless Air-Dry
Getting every last drop of moisture out, especially from those hard-to-reach nooks and crannies, is all about proper air-drying. The best way I've found is to simply let gravity do the work for you.
- Bottle drying racks are fantastic because they hold bottles securely at an angle, letting air circulate perfectly.
- No rack? No problem. You can easily improvise with dowel rods set into a simple wooden block.
- Whatever you do, avoid stuffing towels inside. Trying to dry the interior with a paper towel or cloth will almost certainly leave behind lint and fibers that are a nightmare to get out.
The key here is patience. Let your bottles sit upside down for at least 24 hours. This ensures every bit of moisture has evaporated before you move on.
Why a Thorough Clean Matters: It's not just about looks. A 2017 study found that just rinsing isn't always enough, as contamination was found on all tested reusable bottle exteriors. This really drives home why a complete cleaning and drying process is so important for a truly pristine result. You can dive into the full bottle contamination research from Food Protection.
Once the bottle is bone dry, the final touch is a gentle polish on the outside. Grab a clean, dry microfiber cloth and give it a good buffing. This will wipe away any fingerprints and bring out the natural luster of the glass, giving it that beautiful, collector-worthy shine. These same principles of careful finishing apply to other delicate items, too. In fact, our guide on cleaning antique furniture shares similar tips for other restoration projects you might have.
Common Questions on Cleaning Old Bottles
When you first start bringing old glass back to life, you’ll quickly find yourself facing the same few puzzles over and over. Getting straight answers to these common questions can be the difference between a beautifully restored bottle and a heartbreaking mistake. Let's dig into some of the things people ask most when they're figuring out how to clean old bottles.
Can I Put Old Bottles in the Dishwasher?
I get this question a lot, and the answer is a hard no. It might seem like the perfect shortcut, but trust me, putting old glass in a dishwasher is one of the fastest ways to destroy it.
The intense heat and high-pressure water jets are a recipe for disaster. They can cause thermal shock, where a sudden temperature change creates tiny, invisible cracks or even shatters the bottle completely. On top of that, harsh dishwasher detergents are way too abrasive for antique glass. They can permanently etch or cloud the surface, ruining its clarity and value forever. Stick to hand washing—it’s the only way to have the control you need to clean safely.
How Do I Remove a Stuck Cork or Stopper?
A cork or glass stopper that just won’t budge is a classic problem. Before you reach for a pair of pliers, take a deep breath. Brute force is your enemy here and will likely just chip the bottle's fragile rim. Patience is what you really need.
Try soaking the neck of the bottle in warm—not hot—water for about 15-20 minutes. The gentle heat often helps the glass expand just enough to loosen its grip on the stopper. If that doesn't do the trick, apply a little mineral oil around the seam where the stopper meets the bottle. Let it sit for an hour to seep in, then grab a soft cloth for better traction and try to gently twist and wiggle the stopper free.
Expert Tip: If you're dealing with a cork that's broken or crumbling, a simple corkscrew is your best friend. Screw it in carefully and pull straight up with slow, steady pressure. This helps avoid pushing a bunch of cork bits down into the bottle.
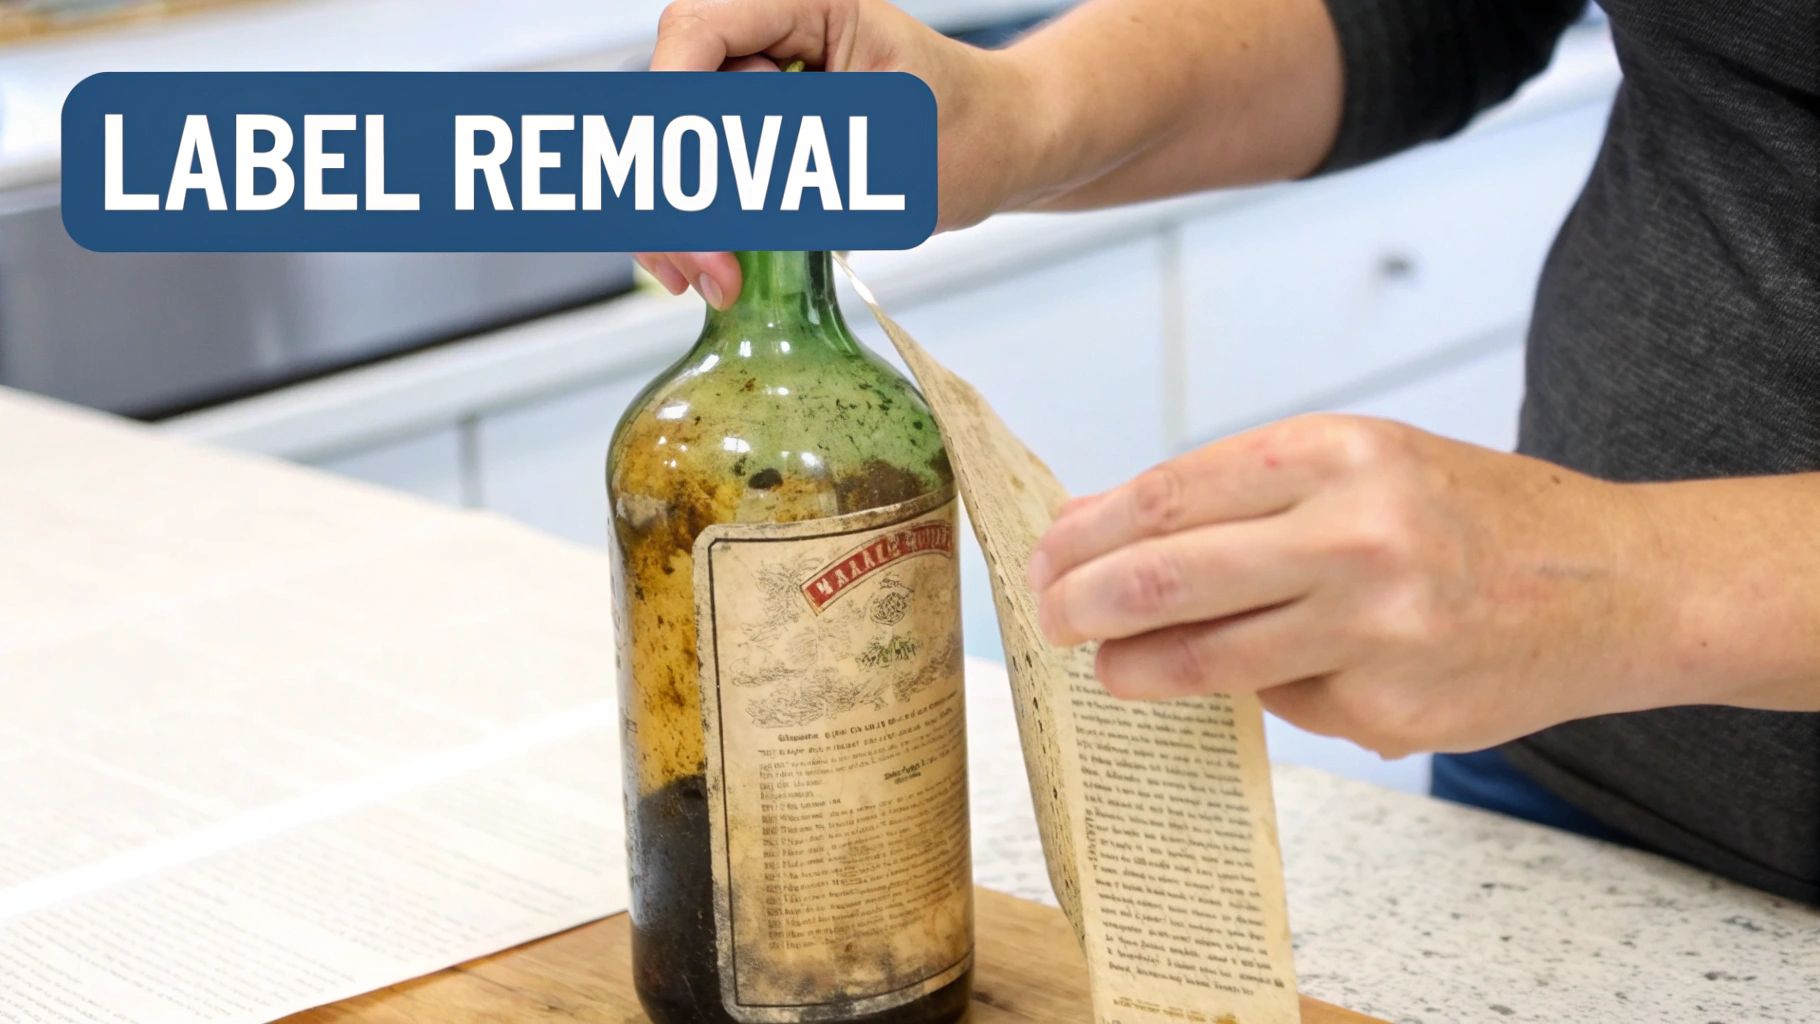
What If I Want to Save an Old Paper Label?
Preserving an original paper label is a whole different ballgame. It requires a much more delicate touch and completely changes how you approach cleaning. The absolute number one rule is to avoid submerging the bottle at all costs.
You’ll have to clean the inside by carefully pouring your cleaning solution, like soapy water or a vinegar rinse, directly into the bottle opening. Be very careful not to let anything drip down the outside. For the exterior, just use a slightly damp microfiber cloth to wipe down the glass, making sure to stay far away from the label's edges. If a label is already peeling or looks fragile, you might want to talk to a professional conservator before you even think about cleaning it.
Our focus here is on bottles, but for more general cleaning tips around the house, other resources can be a big help.
Is It Safe to Use Bleach on Old Glass?
Think of bleach as the nuclear option—something you only turn to as a last resort for the most stubborn organic gunk like mold or mildew that nothing else has touched. If you absolutely have to use it, you need to be incredibly careful.
- Dilution is Key: Never, ever use straight bleach. You need a highly diluted solution of one part bleach to ten parts cool water.
- Ventilation is Mandatory: Always work in a room with good airflow or outside to avoid breathing in the fumes.
- Rinse Thoroughly: After a very brief soak, you have to rinse the bottle repeatedly with clean water. I mean, rinse it until you're sure every last trace of bleach is gone. Any residue left behind can continue to damage the glass over time.
And this is the most critical part: never mix bleach with other cleaners. Combining it with things like ammonia or vinegar can create seriously dangerous toxic gases.
Have you ever wondered about the history or value of a bottle you've found? Curio can help. Just snap a photo, and our app provides instant identification, historical context, and an estimated value, turning your curious finds into known treasures. Download Curio today from https://www.curio.app and let your antiques tell their story.