So, you've found a beautiful old bottle, and now it's time to bring back its sparkle. Before you jump in with soap and water, a little prep work is absolutely key. This isn't just about getting the best results; it's about protecting a piece of history. Rushing this stage is a surefire way to turn a treasure into trash.
Getting Ready to Clean Your Old Bottles
Think of this first phase as your reconnaissance mission. You need to understand what you're working with—its strengths, its weaknesses—and gather the right gear for the job. We'll start by giving the bottle a thorough look-over, then move on to a gentle first rinse before we even think about deep cleaning.
Give It a Good Once-Over
First things first, get a good look at your bottle. Take it into a well-lit room or use a bright flashlight to inspect every inch. Slowly turn it in your hands, feeling for any rough spots or sharp edges, paying close attention to the rim and the base. You're hunting for hairline cracks or hidden chips. These are the weak points that can spell disaster once you introduce water and a little pressure.
While you're at it, this is a great time to put on some protective fitted grip gloves. Old glass can be slippery when wet, and the last thing you want is for it to slip from your hands. This kind of careful handling is a golden rule for all antiques, whether you're working with glass or learning how to clean antique wood safely.
A word of caution: If you spot a major crack, it's probably best to stick to a gentle wipe-down of the outside only. It's far better to live with a dusty but whole bottle than a clean but broken one.
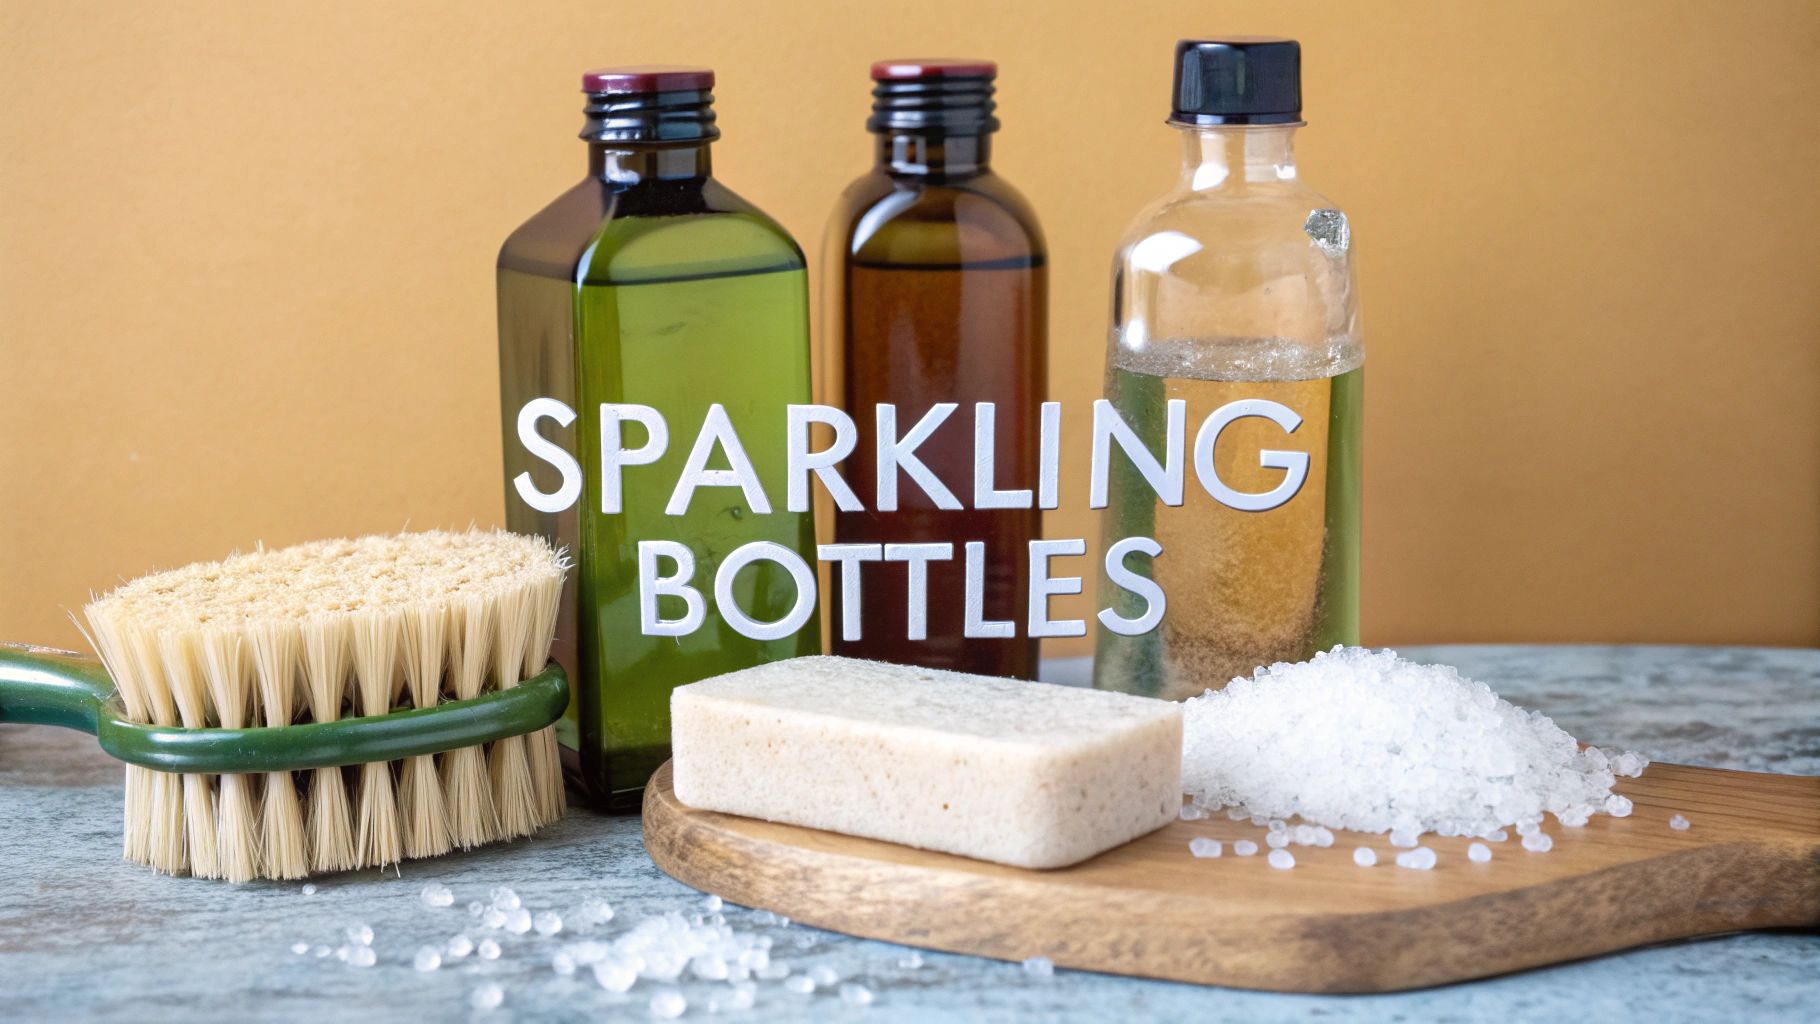
Your Bottle Cleaning Toolkit
Gather these simple but effective supplies before you begin cleaning your vintage or antique glass bottles.
| Item | What It's For | Pro Tip |
|---|---|---|
| Soft Bottle Brushes | Scrubbing the interior without scratching the glass. | Get a set with various sizes and shapes to reach tricky corners. |
| Dish Soap | A gentle, all-purpose cleaner for surface grime. | A small squirt of a mild, clear dish soap is all you need. |
| White Vinegar | Dissolving mineral deposits and hard water stains. | This is your secret weapon for that cloudy film inside bottles. |
| Uncooked Rice or Salt | A gentle abrasive for scrubbing inside the bottle. | Use it with a bit of water and soap to scour away stubborn gunk. |
| Plastic Bucket or Tub | Soaking the bottle safely without risk of it clanking on a hard sink. | Line the bottom with a towel for extra cushioning. |
| Microfiber Cloths | Drying and polishing the exterior without leaving lint behind. | They're perfect for a streak-free finish. |
Having everything within arm's reach makes the entire process smoother and safer.
The All-Important First Rinse
Now that you've confirmed the bottle is in one piece, it's time for a quick rinse. The goal here isn't to get it spotless—it's just to wash away all the loose dust and dirt caked on the surface.
Use lukewarm water. Extreme temperatures, either hot or cold, can cause thermal shock and crack the glass. Gently run water over the outside and swish some around the inside. This simple step is non-negotiable. In fact, a study on bottle cleaning practices found that nearly 95% of people instinctively pre-rinse their bottles. It’s a common-sense move that prevents you from grinding abrasive grit into the glass when you start the real scrubbing.
Soaking to Loosen Decades of Grime
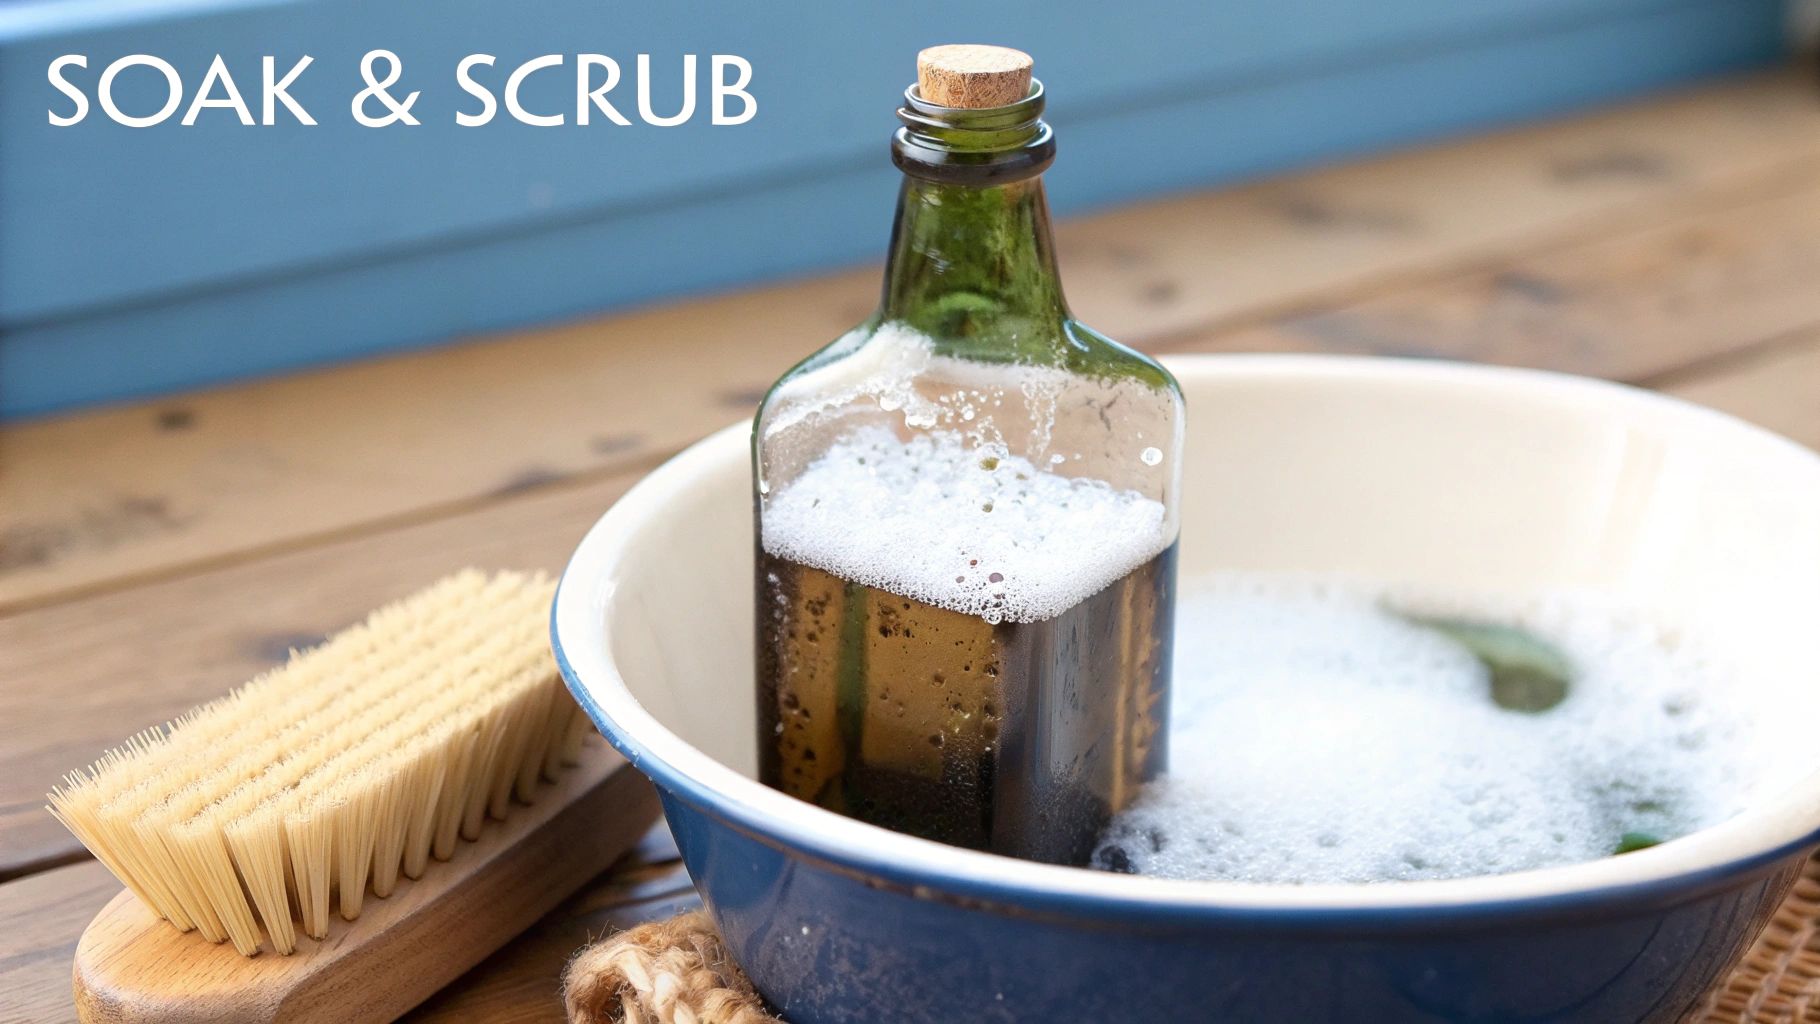
Some bottles have been sitting around for a long time, and a quick rinse isn't going to cut it. When you're dealing with decades of caked-on dirt and residue, your best friends are patience and a good, long soak. This is where the real deep cleaning begins, and honestly, it does most of the heavy lifting for you without much effort.
The process itself couldn't be simpler. Grab a plastic tub or a bucket—you want something that won’t chip your glass if a bottle bumps the side. I always place a folded towel at the bottom for extra cushioning, especially for fragile or valuable pieces. It’s a small step that has saved more than a few of my favorite finds from a sad crack.
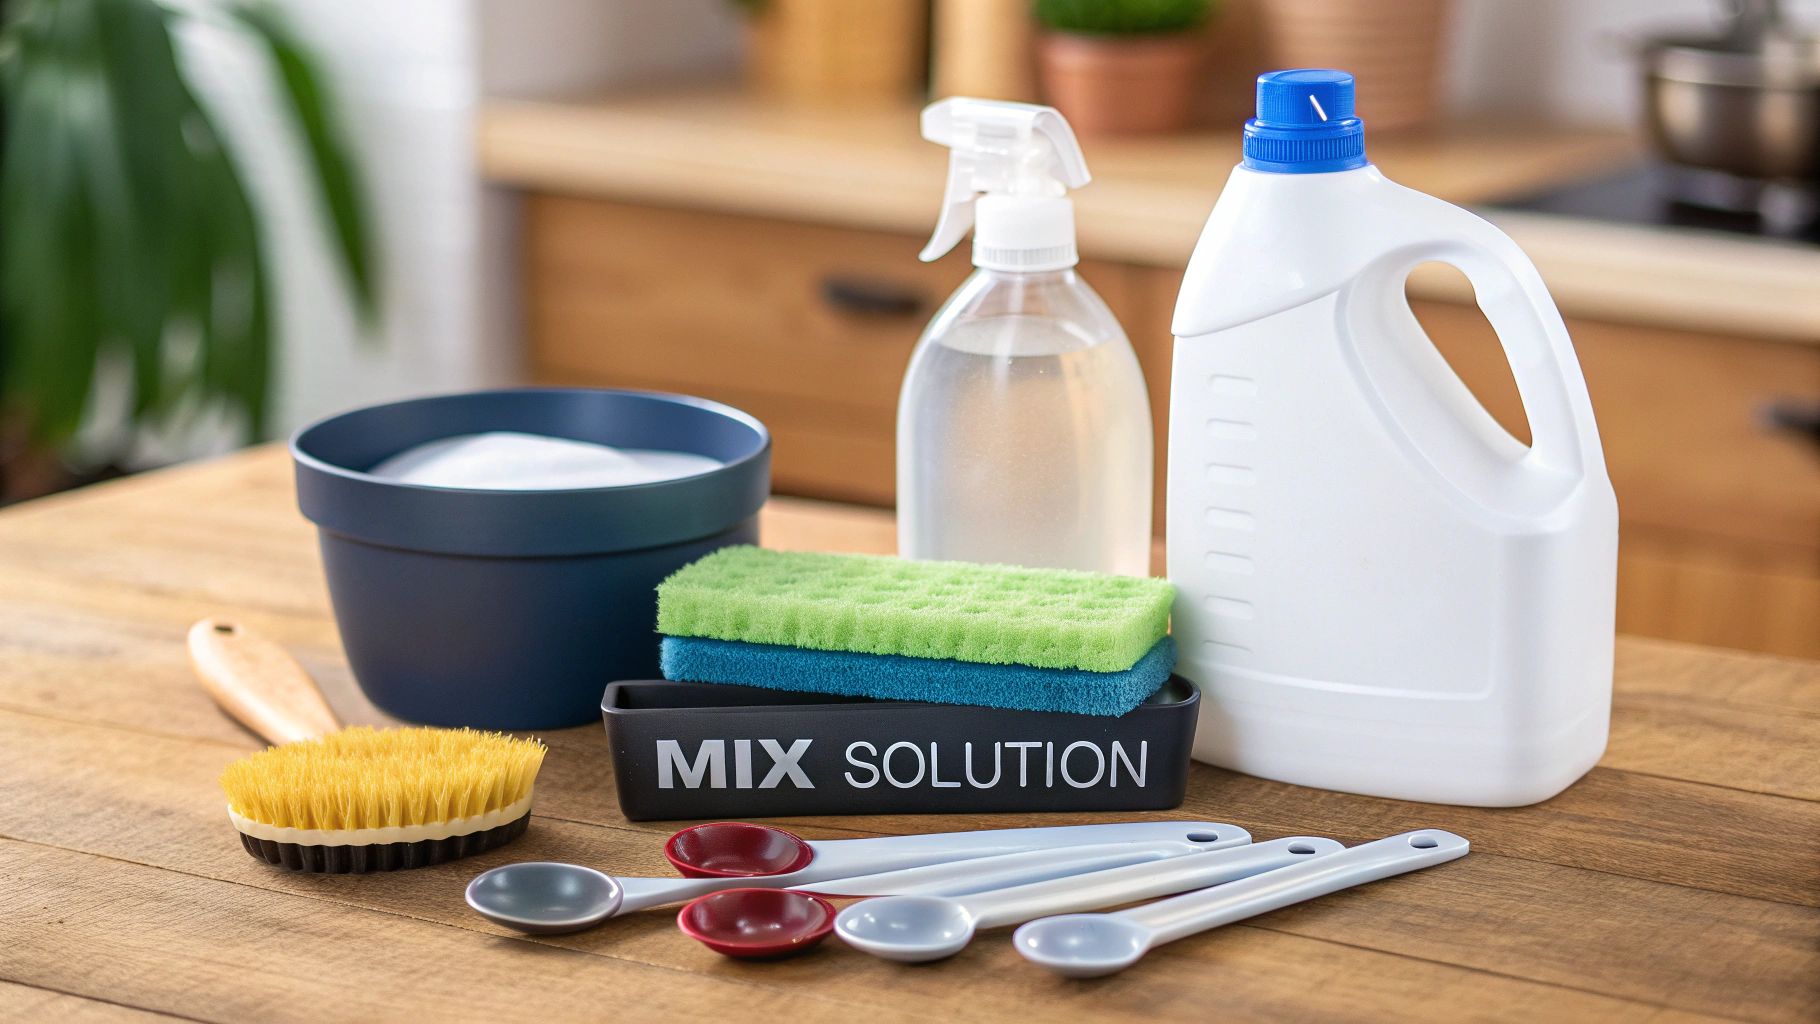
Preparing the Perfect Soaking Bath
The trick to a great soak is using a solution that’s tough on grime but gentle on the glass. You really don't need to reach for harsh chemicals at this stage. A simple mix is almost always the most effective.
Here’s what you need:
- Warm Water: The temperature here is key. It should feel warm to your hand, but never hot. Old glass is extremely sensitive to sudden temperature shifts, which can cause thermal shock and lead to cracks.
- Mild Dish Soap: A few drops of a clear, gentle dish soap will do the trick. It’s just enough to help break down grease and lift away that first layer of dirt. Stay away from anything with heavy dyes or aggressive degreasing agents.
Fill your tub with enough warm water so the bottle can be fully submerged. Then, add the soap and give the water a little swish before gently setting your bottle inside.
Think of this initial soak like you would a dirty pan after dinner. You let the water do the hard work so you don't have to scrub later. This approach is much, much safer for the bottle.
How Long Should You Let It Soak?
This is where your judgment comes in, as every bottle is different. There's no magic number. For bottles that just have a light film of dust, a few hours is probably plenty.
But for those really stubborn finds—the kind you dig out of the ground or find in a forgotten corner of a barn—you'll want to soak them overnight. I once had a bottle that seemed to be filled with a century of mud; it took a full 24-hour soak before I could even begin to see progress.
Just check on it every so often. If you see the water getting murky, that's a fantastic sign! It means the grime is lifting off the glass, which is exactly what you want. This step makes all the next stages of cleaning so much easier and more effective.
Using Gentle Abrasives to Scrub from the Inside Out
After a good soak, the outside of your bottle should be looking pretty good. But what about the inside? That's often where the real challenge lies, especially with those old, narrow-necked bottles that no brush can possibly reach into. It's a classic problem for bottle collectors, but the solution is surprisingly simple and effective.
We're going to create our own internal scrubber using common kitchen staples. This little trick gives you the scrubbing power you need to break loose all that stubborn gunk without scratching the glass.
Picking Your Scrubber
The idea is to use something small enough to fit inside, yet coarse enough to actually scrub. You’ve probably got a few great options in your pantry right now.
Here are my personal go-tos:
- Uncooked Rice: This is my favorite. The hard, sharp edges of long-grain white rice work like thousands of tiny scrapers.
- Coarse Salt: Sea salt or kosher salt works wonders, too. As a bonus, the salt can help break down some of the buildup.
- Small Seeds: If you have some birdseed handy, that can also work. Just make sure the seeds are hard and won't turn into a mushy mess when they get wet.
Whatever you do, don't use sand. It might seem like a good idea, but it can easily etch and scratch the inside of the glass, leaving it cloudy forever. We're trying to restore the bottle, not damage it!
A Quick History Lesson: Our modern method has some interesting roots. Years ago, people would shake lead shot inside bottles to scour them clean. It worked, but we now know how incredibly toxic lead is, making it a dangerous and outdated technique. You can read more about old bottle cleaning methods on the Wine History Project's website.
The "Swirl and Shake" Method
Once you've chosen your abrasive, the rest is easy.
Start by pouring a couple of tablespoons into the bottle. For a standard wine-sized bottle, that’s plenty. You just need enough to coat the bottom and have some room to move.
Next, add a small squirt of mild dish soap and fill the bottle about one-third of the way with warm water. This creates a slurry that lets the abrasive move around freely and do its job.
Now for the fun part. Plug the top of the bottle with your thumb or a stopper and start swirling the mixture around vigorously. Got a really tough spot? Shake the bottle up and down. This motion forces the rice or salt against the glass, scrubbing away the film and grime a brush could never hope to reach.
Keep at it for a minute or two, then pour it all out, give it a good rinse, and see how it looks. If there's still some gunk left, just do it again until the inside is sparkling clean.
How to Banish That Cloudy Haze and Mineral Stains
You’ve soaked and scrubbed, but a stubborn, milky film still clings to the glass. Collectors often call this "sick glass," and it's one of the biggest headaches when cleaning old bottles. This haze is usually caused by years of mineral deposits from water etching into the surface.
The good news? It's often reversible.
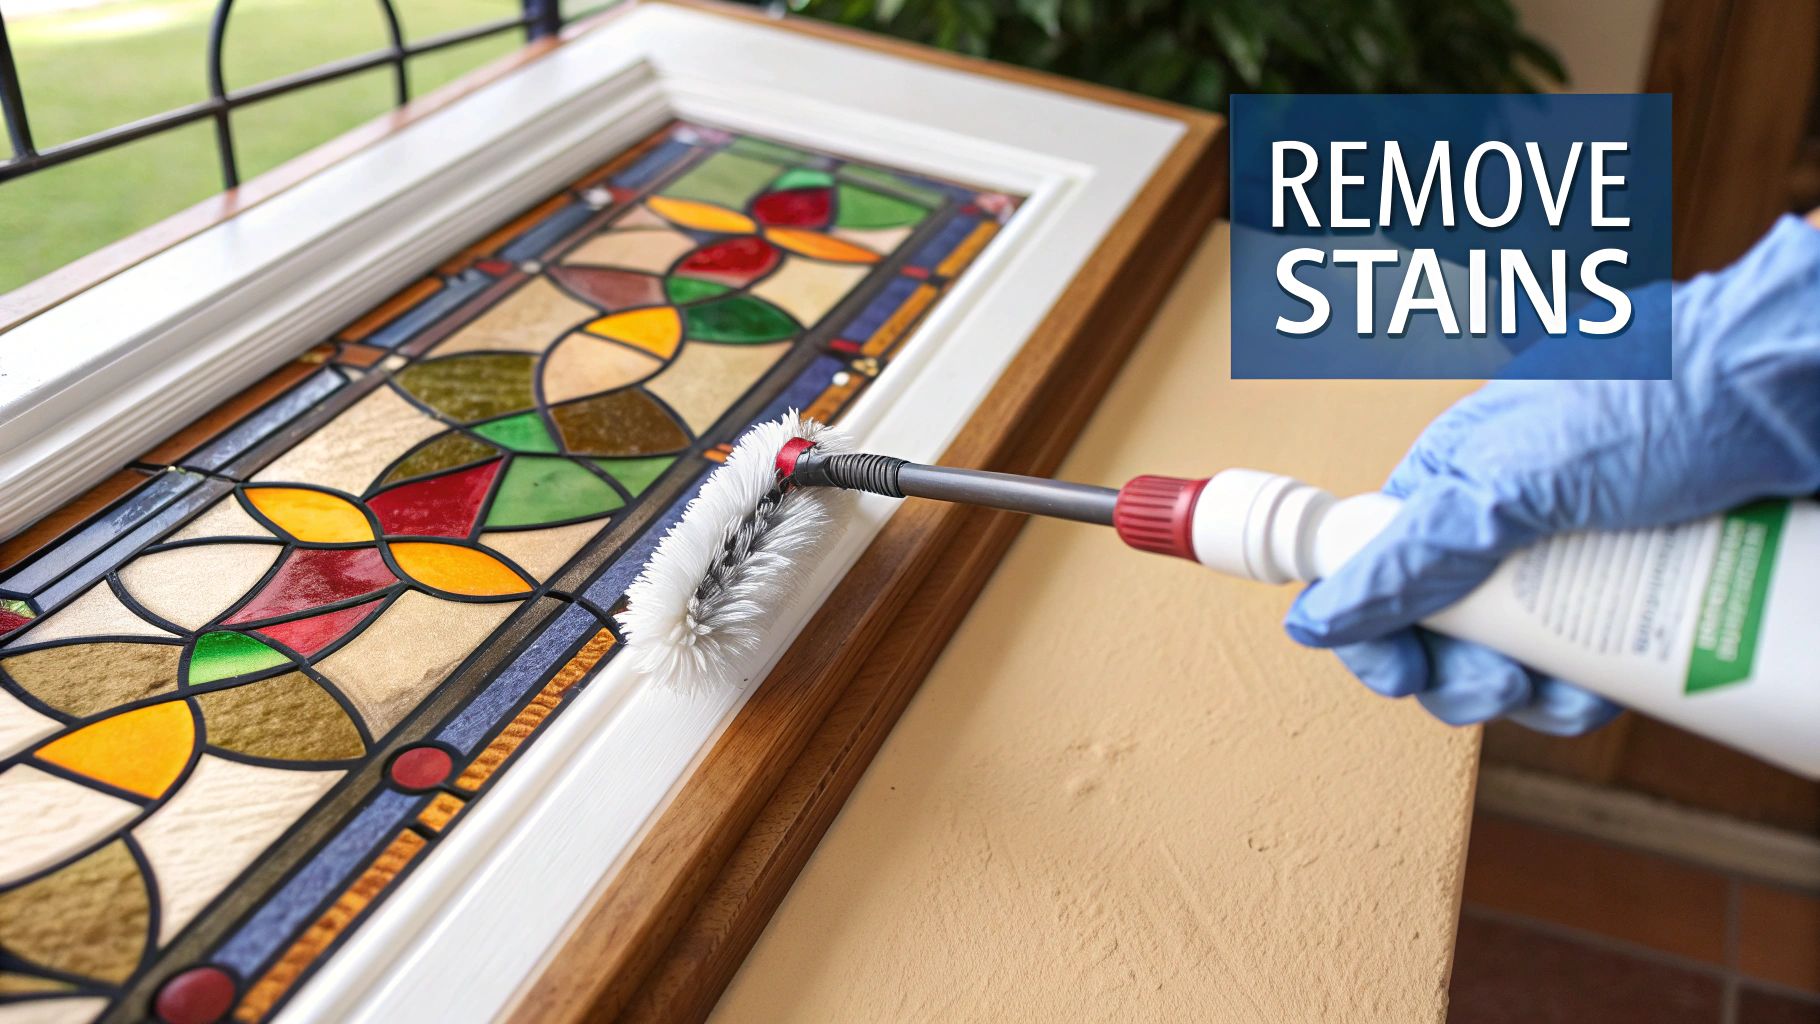
This kind of cloudiness won't budge with regular soap and water. Scrubbing alone won't do it. You need a gentle chemical reaction to dissolve those bonded minerals. Thankfully, you don't need to reach for harsh chemicals to restore that brilliant clarity. The most effective solutions are probably already in your kitchen pantry or medicine cabinet.
Your Go-To Solutions for Mineral Deposits
The secret to dissolving these stubborn deposits is a mild acid. For most old bottles I’ve worked on, this is easily the safest and most effective approach.
Distilled white vinegar is always my first choice. Its acetic acid is perfect for breaking down the calcium and lime scale that creates the haze.
For really tough cases or those awkwardly shaped bottles, denture cleaning tablets are a fantastic alternative. They’re literally designed to dissolve mineral buildup in tight spaces, and the fizzing action helps lift the gunk right off the glass.
Pro Tip: Always start with the gentlest method first. Vinegar is less aggressive, so give it a solid try before moving on to anything else. This approach helps preserve the integrity of older, more delicate glass.
For a deeper dive into different cleaning techniques, our complete overview on https://www.curio.app/blog/how-to-clean-old-glass-bottles offers some extra tricks you might find useful.
Putting These Methods into Action
Ready to get that glass sparkling again? The process is refreshingly simple. It’s more about patience than elbow grease.
Using White Vinegar
- Pour undiluted white vinegar directly into the bottle. Make sure it completely covers the stained or cloudy areas.
- Let the bottle sit undisturbed for at least 12 hours. For really severe cloudiness, I've let them soak for a full 24 hours.
- After the long soak, empty the vinegar and use your bottle brush to gently scrub away any loosened residue.
- Rinse it out thoroughly with warm water and let it air dry completely. This is when you'll see the final result.
Using Denture Tablets
- Fill the bottle with warm water, but not hot. Extreme temperature changes can crack old glass.
- Drop in one or two denture tablets. You'll see them start to fizz immediately, which is the fun part.
- Let the bubbly solution do its thing overnight.
- The next day, just pour out the solution and give the bottle a good rinse with clean water.
If you’re working with particularly valuable or delicate pieces like crystal, you might need a more specialized approach. For those specific cases, this resource has some great tips for cleaning crystal decanters and removing tough stains.
Most of the time, though, these simple but powerful methods will restore your bottle’s original luster and banish that cloudy film for good.
Tackling Tough Residues Like Paint and Glue
Every now and then, a simple soak and scrub just isn't going to cut it. You’ll come across bottles with stubborn, sticky gunk that seems permanently bonded to the glass. I'm talking about old label glue, specks of paint from a long-forgotten craft project, or even a strange, greasy film. When you're up against these tougher challenges, it's time to move beyond soap and vinegar and bring in some more specialized cleaners.
This doesn't mean you need to grab harsh industrial chemicals that could harm the glass or be risky to handle. In fact, a few common household solvents can work wonders on these specific kinds of grime. It’s all about picking the right tool for the job to get those old bottles sparkling without causing any damage.
Safely Using Solvents for Sticky Messes
For that frustratingly persistent glue left behind by old labels or tape, my first choice is always isopropyl alcohol (rubbing alcohol). It’s fantastic at dissolving sticky adhesives that soap and water just smear around.
Just dab a little rubbing alcohol onto a cotton ball or a soft rag and rub the sticky spot in small circles. You’ll feel the glue start to break down and lift off. If you’re dealing with a thick, stubborn patch, you might need to let a soaked cotton ball sit on the area for a few minutes to give the alcohol time to work its magic before wiping it clean.
When you’re faced with oily or greasy films, a product like Goo Gone can be a lifesaver. It’s specifically made for these kinds of messes. No matter which solvent you use, always work in a space with good airflow and wear gloves to protect your hands. Once the residue is gone, give the bottle a final, thorough wash with soap and water to get rid of any solvent left behind.
Safety First: When you're working with solvents—even mild ones like rubbing alcohol—good ventilation is an absolute must. Crack a window or, better yet, work outside so you aren't breathing in the fumes.
Dealing with Stubborn Internal Stains
Sometimes you’ll find a bottle with a deep, cloudy stain inside that nothing seems to budge. This isn't just regular dirt; it could be a biofilm, which is a tough colony of microorganisms that has latched onto the glass. Research has shown that these biofilms are incredibly resilient, which explains why they can be so hard to clean. If you're curious, you can learn more about these persistent residues on Frontiersin.org.
For the really dedicated collector who comes across this problem, a bottle tumbler might be the ultimate solution. This machine gently tumbles the bottle for hours, along with a cleaning medium like copper shot or polished pebbles and a cleaning solution. This constant, gentle abrasion scours the inside surfaces, removing stains that are simply impossible to reach by hand. It’s definitely an investment, but a tumbler is the best tool out there for bringing severely stained or "sick" glass back to life.
The Final Touches: Drying and Polishing
You’ve done the hard part—soaking, scrubbing, and descaling your old bottles. Now it’s time for the final, critical step that makes all that effort worthwhile. Proper drying is the secret to a flawless, streak-free finish and prevents new water spots from undoing all your work.
I can’t stress this enough: resist the temptation to stuff a paper towel or cloth inside the bottle to speed things up. It’s a classic mistake. You’ll almost certainly leave lint behind, or worse, get the cloth hopelessly stuck. The only reliable method is good old-fashioned air drying.
Getting Airflow Just Right
For a bottle to dry perfectly, air needs to circulate freely both inside and out. Just flipping it upside down on a dish towel won’t cut it; that traps moisture and creates a steamy environment where water spots love to form.
You need to prop it up. It doesn't have to be anything fancy. A couple of chopsticks or wooden skewers laid on the counter work beautifully to elevate the bottle's rim and let air flow underneath.
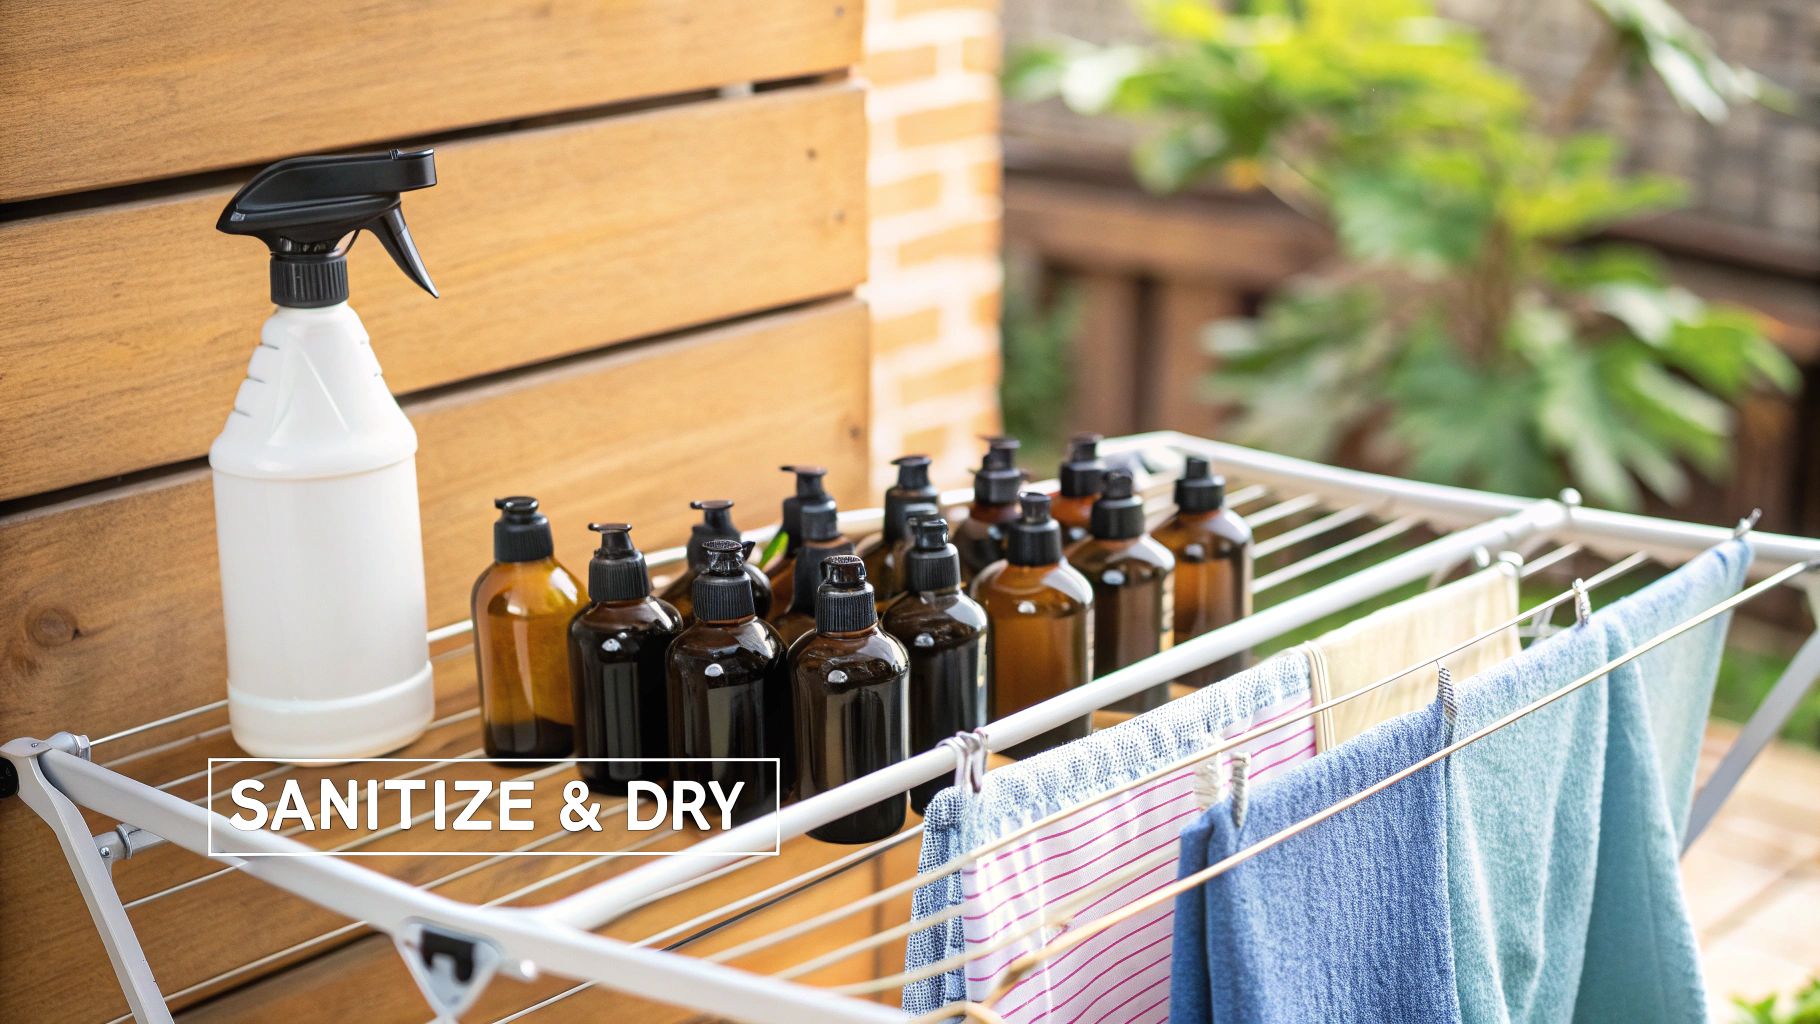
Interestingly, people have been solving this problem for centuries. Collectors often come across antique "bottle trees" or racks, which were designed specifically to air-dry sanitized bottles for reuse. You can see some cool examples from the Wine History Project.
Once the inside is completely bone-dry, take a clean, dry microfiber cloth and give the outside a final polish. This is what buffs away any remaining fingerprints or smudges, leaving you with that brilliant, display-ready shine.
This last bit of care is what truly preserves the beauty of your finds, much like the meticulous attention you'd give other delicate heirlooms. If you collect other fragile items, you might find these expert tips for preserving fine china helpful. The same careful principles apply across the board, as we explore in our guide on how to clean antique furniture.
Answering Your Top Questions About Cleaning Old Bottles
Even when you follow all the right steps, old bottles can still throw a few curveballs your way. I've been restoring these finds for years, and I've pretty much heard it all. Let's tackle some of the most common questions that pop up so you can solve problems like a pro.
Is It Safe to Put Old Bottles in the Dishwasher?
I'm going to give that a hard no. Dishwashers are just too risky for antique glass.
The combination of high heat and strong detergents can cause thermal shock, a sudden temperature change that can easily crack or shatter a fragile old bottle. Your best bet is always to hand-wash. This way, you have complete control over the water temperature and pressure, keeping your vintage treasures safe.
Help! How Do I Get a Broken Cork Out?
Ah, the dreaded crumbled cork. This is a classic challenge for bottle collectors. The first thing you'll want to do is soak the bottle in warm, soapy water for a few hours. This helps soften up those stubborn cork remnants.
Once it's softened, try using a piece of flexible wire or even a long, skinny screwdriver to gently break the cork apart. The goal is to get the pieces small enough to shake out. Just be patient and gentle—you don't want to accidentally scratch the inside of the glass.
It's fascinating how cleaning effectiveness isn't always what you'd expect. A study on reusable bottle hygiene revealed that contamination levels didn't always match up with specific cleaning methods, proving that other factors are often at play. You can dive into the details by reading the findings on bottle contamination from Food Protection.
My Bottle Has a Musty Smell—What Should I Do?
For those persistent, funky odors, baking soda is going to be your secret weapon. It’s a fantastic natural deodorizer that works wonders on glass.
You've got a couple of solid options here:
- Make a baking soda paste: Mix baking soda with a little water until you have a thick paste. Try to coat the inside of the bottle with it and just let it sit for several hours before rinsing it out completely.
- Try a vinegar soak: Another great trick is to fill the bottle with a 50/50 mix of white vinegar and water. Let it soak overnight. The next day, just give it a thorough rinse with fresh water to get rid of any leftover vinegar smell.
Ever found an old bottle and wondered about its story or what it might be worth? The Curio app is perfect for that. Simply take a picture, and the app will give you an instant identification, some historical background, and even an estimated value. You can uncover the history behind your finds at https://www.curio.app.