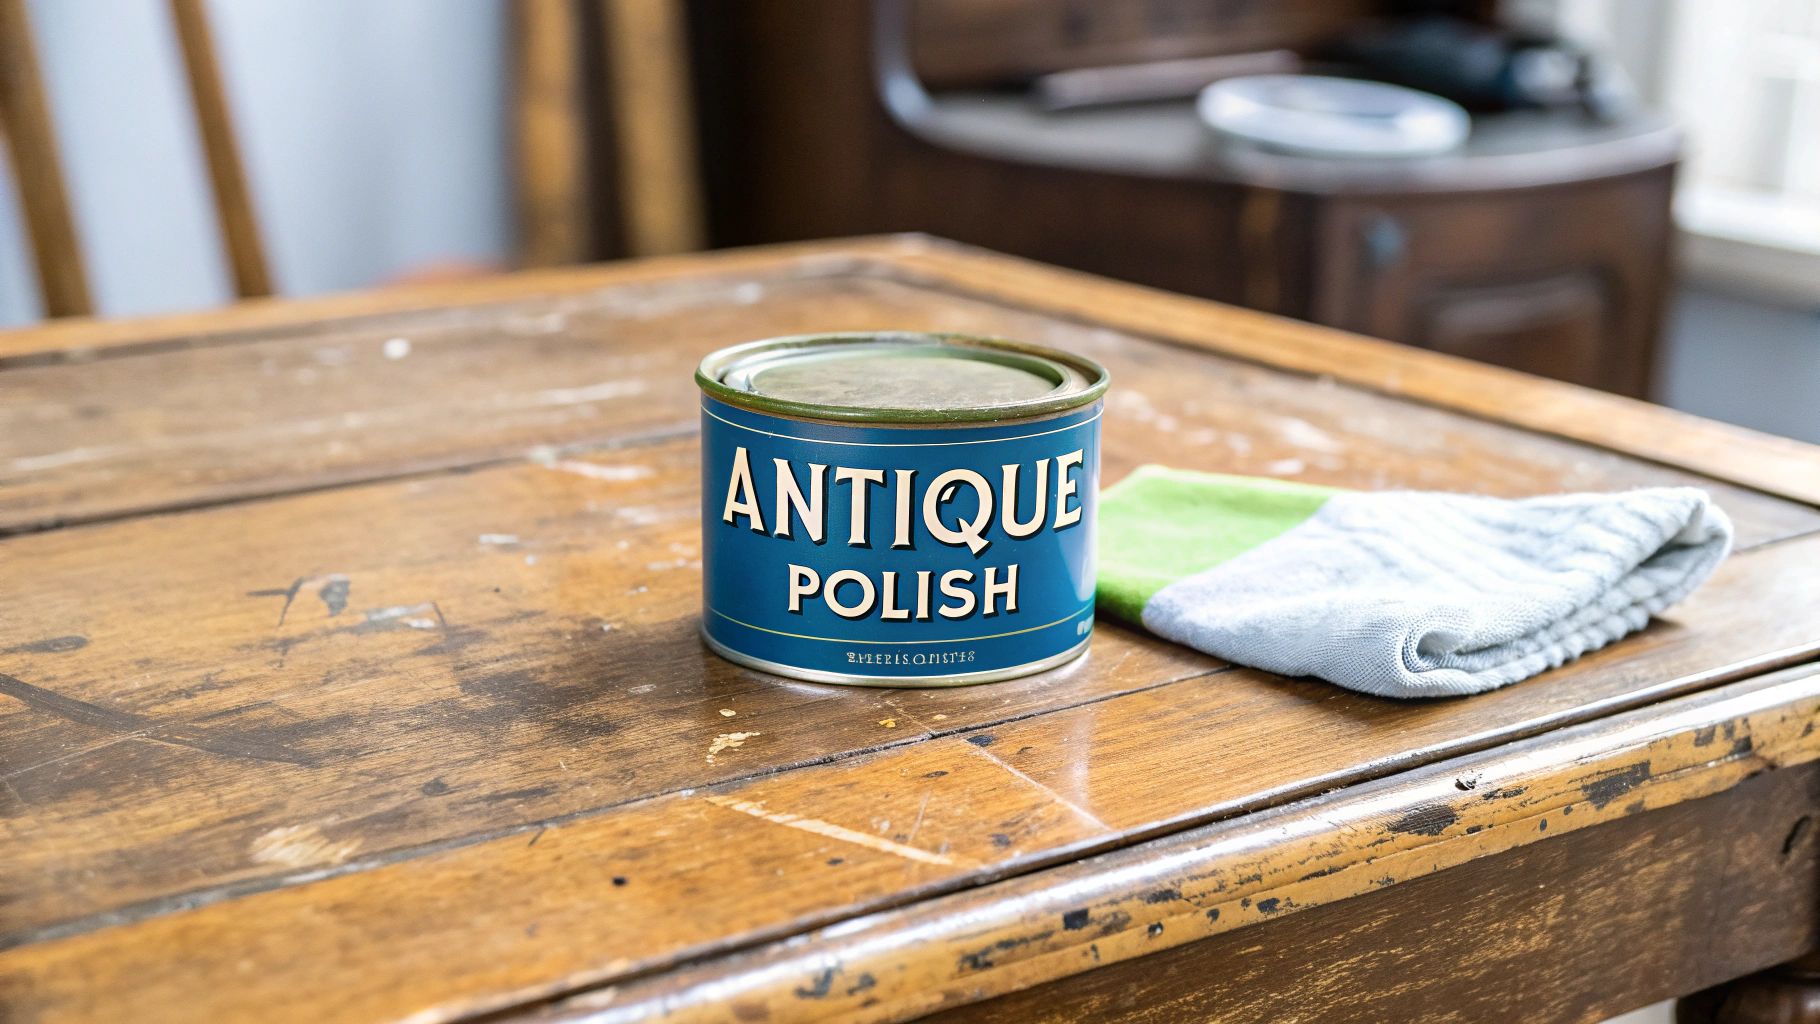
Polishing an antique isn't about slathering on a product to get a glassy shine. It’s a delicate dance of preservation, a way to honor the piece's history and character. The right approach is always gentle: clean away the surface grime, then apply a protective wax that nourishes the original finish. This ensures the furniture's story—and its value—is protected for years to come.
The Preservation-First Approach to Polishing
Before you even think about reaching for a cloth, you need to get into a preservationist mindset. You're not just a cleaner; you're a temporary caretaker for a piece of history. The goal isn't to make an 18th-century chest of drawers look like it just left the showroom. It's to respect the journey it’s been on.
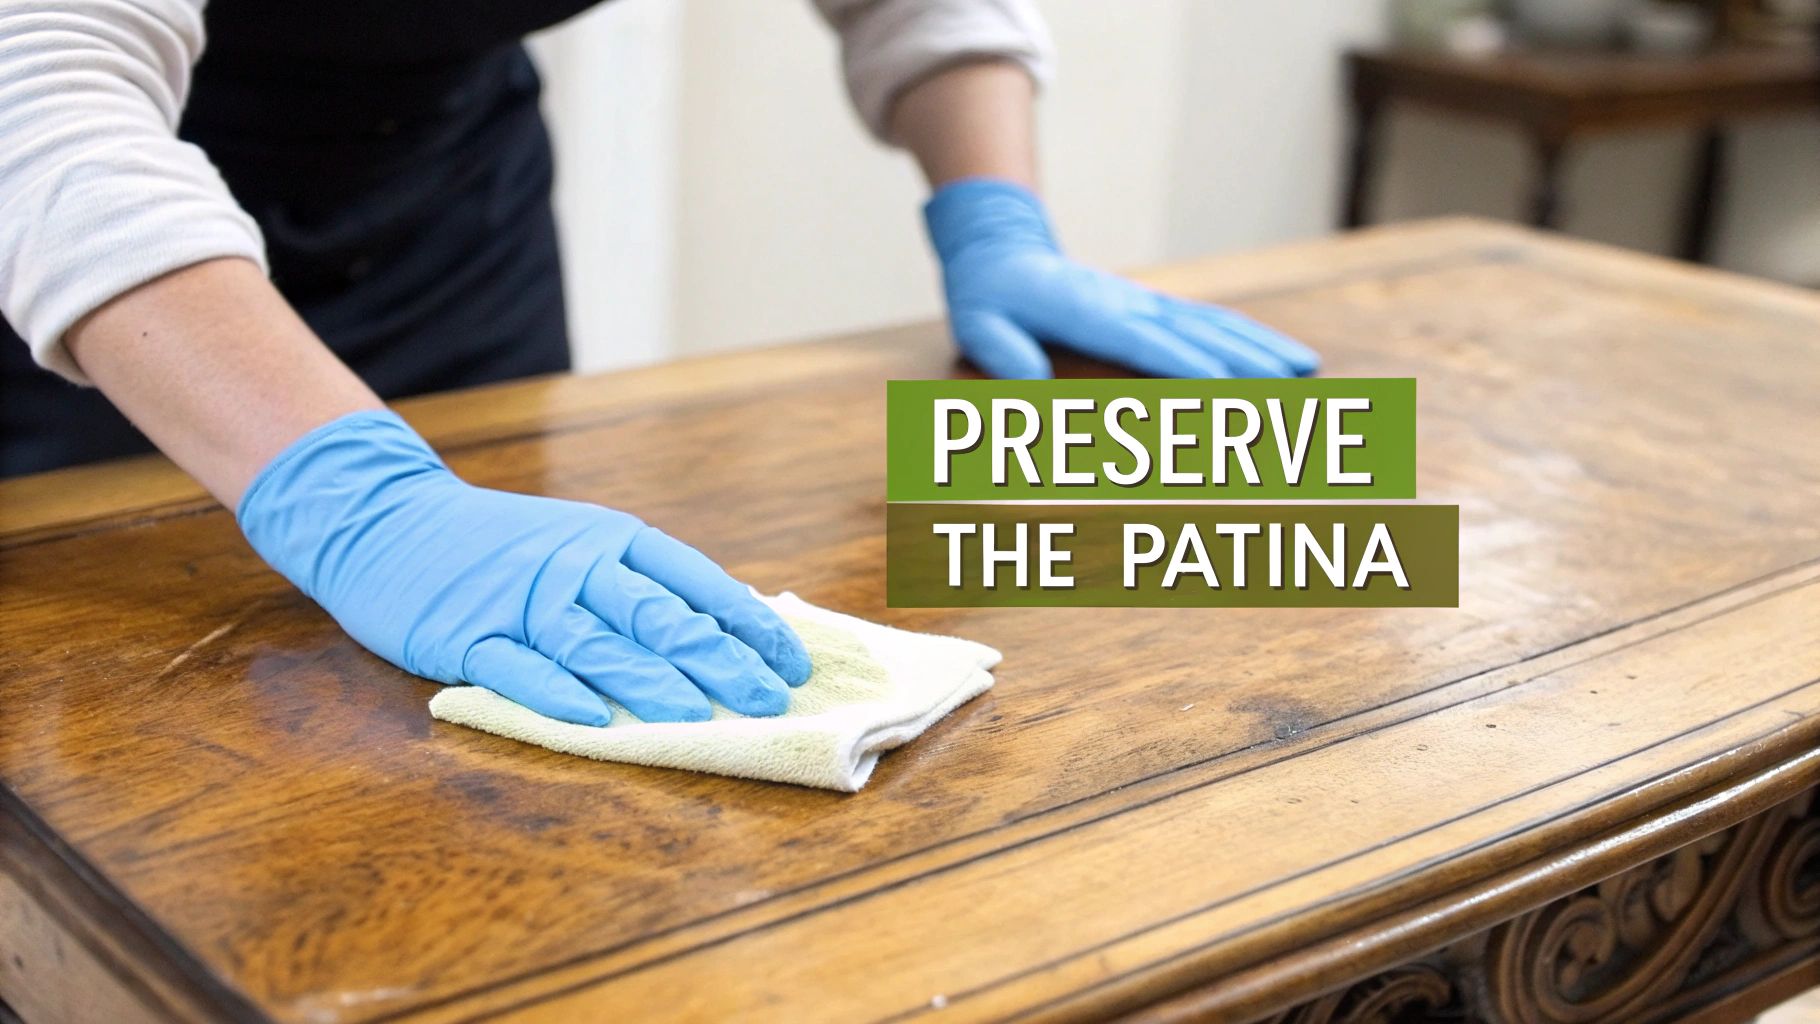
That means protecting its patina at all costs. Patina is that subtle darkening, the soft glow, and the gentle wear that develops over hundreds of years. It's the visual proof of a piece's age and a huge part of its authenticity and value.
Using aggressive methods or, worse, modern silicone-based sprays can cause real, irreversible harm. Those convenient household products create a cloudy, sticky film that’s a nightmare to remove without damaging the delicate original finish, whether it’s an old shellac, varnish, or oil.
Why Your Mindset Matters Most
The modern furniture polish market is built around convenience and a quick shine for contemporary furniture. It’s no surprise that as more people focus on home decor, the demand for easy-to-use products has shot up. But that mindset is the enemy of antique preservation.
When you're dealing with antiques, your goals are completely different. You're aiming to:
- Clean Gently: You want to lift off decades of dust and surface dirt without stripping the finish underneath. (We cover this critical first step in detail in our guide on cleaning antique wood).
- Nourish the Finish: The idea is to revive the depth and color of the original coating, not cover it up.
- Apply Protection: A thin, reversible layer of a high-quality paste wax is your best friend. It acts as a shield against dust, moisture, and everyday bumps and scrapes.
Understanding Your Piece's Story
A little detective work before you start can make all the difference. Knowing the approximate age and origin of your furniture helps you make an educated guess about its finish. For example, a piece from the early 1800s is almost certainly finished with shellac, not a modern polyurethane.
A conservator’s guiding principle is simple yet profound: Do no harm. Every action you take should be reversible, ensuring that future restorers can care for the piece with even better techniques down the road.
This is where a tool like the Curio app can be a game-changer. Just by snapping a photo, you can get instant insights into your item's history and period, giving you a huge head start. This knowledge elevates the task from a simple chore to an act of thoughtful stewardship, helping you choose the safest and most effective way to polish your antique furniture.
How to Identify Your Furniture's Finish
Before a single drop of polish touches your furniture, you have to play detective. This is, without a doubt, the most critical part of the entire process: correctly identifying the finish. Using the wrong product isn't a minor slip-up—it's a potentially catastrophic mistake that can cause irreversible damage.
Imagine using a modern, solvent-based cleaner on a delicate shellac finish from the 1820s. You’d literally be melting away the original, historic surface. This is why a simple spot test, done somewhere hidden from view, is completely non-negotiable.
The Importance of a Hidden Test Spot
Always, without exception, perform your tests on an inconspicuous area. Good spots include the back of a leg, the underside of a tabletop, or inside a drawer. Think of this as your safety net. It lets you learn about the finish without risking the visible parts of the piece.
Start with the gentlest test and work your way up. This methodical approach ensures you do no harm while gathering the clues you need.
Look and Feel First: Simply observe the piece. Does the finish look like a thin, almost brittle film? That could be shellac. Or does it have a deeper, more robust feel to it? That often points to varnish.
Consider the Era: The age of your furniture offers huge clues. If you've learned from sources like our guide on how to identify antique furniture, you’ll know that certain finishes dominated different periods. A Victorian-era piece, for example, is far more likely to have a shellac finish than a modern polyurethane one.
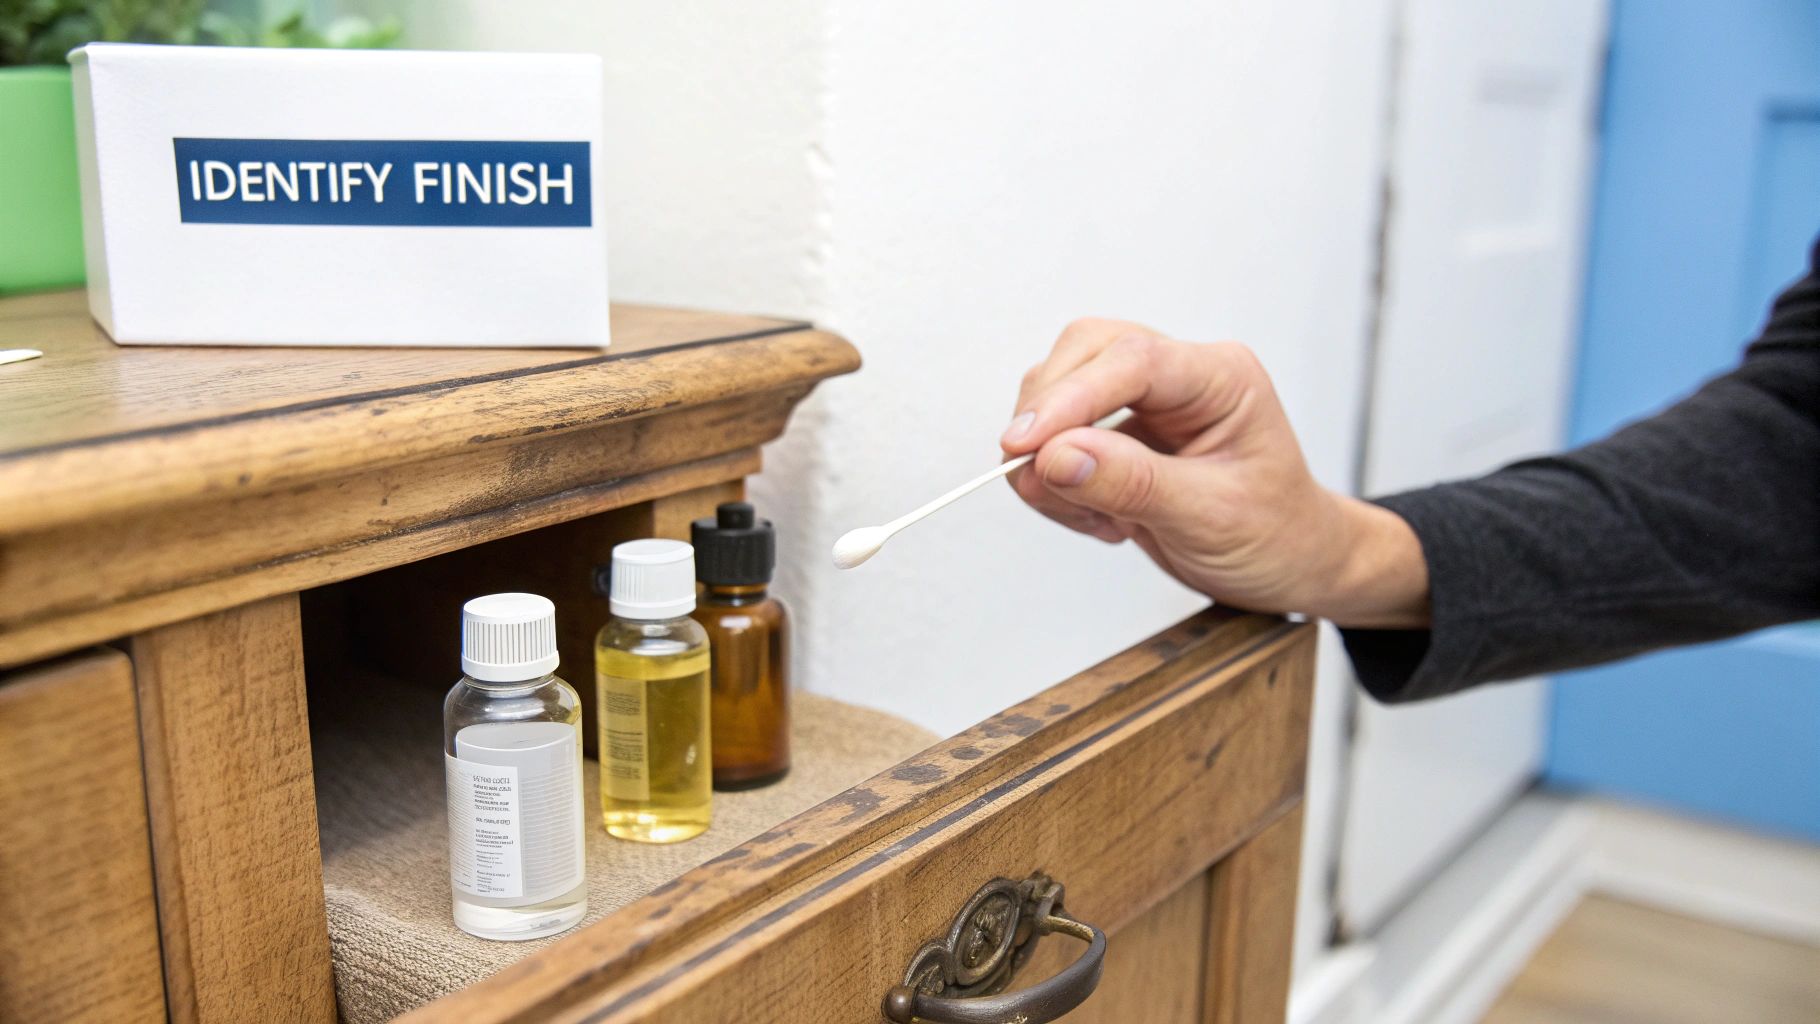
Performing the Key Solvent Tests
With your hidden spot selected, it’s time for a hands-on investigation. You’ll just need a few cotton swabs and small amounts of denatured alcohol and lacquer thinner. These solvents react differently with each type of traditional finish, giving you surprisingly clear answers.
Testing for Shellac
First, dip a cotton swab in denatured alcohol and gently touch it to your test spot. Shellac is essentially a resin that’s soluble in alcohol, so it will react almost immediately.
If the finish gets soft, sticky, or tacky, you’ve got shellac. This was the go-to furniture finish for much of the 18th and 19th centuries. It's prized for its warm glow but is notoriously vulnerable to alcohol and heat.
Identifying Lacquer
Next, grab a clean cotton swab and dip it in lacquer thinner. Apply it to a fresh part of your test area. Lacquer finishes dissolve very quickly when exposed to lacquer thinner, often within just a few seconds.
If the finish wrinkles up and lifts away easily, you are almost certainly dealing with lacquer. This finish grew popular in the early 20th century, especially during the Art Deco period.
A Quick Conservator's Tip: When you're testing, use a light touch. You aren't trying to scrub the finish off, just observe a reaction. A gentle dab is all it takes to see if a finish will soften or dissolve.
Uncovering Varnish and Oil Finishes
What if neither alcohol nor lacquer thinner has a significant effect? You're likely looking at a varnish or an oil finish. These are much more resistant. Varnish might soften very slightly with lacquer thinner after prolonged contact, but it won’t dissolve like lacquer.
An oil finish, common on mid-century Danish modern pieces, will show no reaction to either solvent. It usually has a more natural, low-sheen appearance and feels more like raw wood than a separate film on top.
Quick Guide to Identifying Antique Finishes
Use this simple reference table to perform your tests and figure out the original finish on your antique furniture.
| Finish Type | Simple Test on a Hidden Spot | What to Look For | Common Time Period |
|---|---|---|---|
| Shellac | Dab with denatured alcohol | The finish becomes soft and sticky very quickly | Early 1800s - Early 1900s |
| Lacquer | Dab with lacquer thinner | The finish wrinkles and dissolves within seconds | 1920s - 1960s |
| Varnish | Dab with lacquer thinner | The finish may soften slightly after prolonged contact, but does not dissolve | Late 1800s - Present |
| Oil Finish | Test with both solvents | No reaction to alcohol or lacquer thinner; has a natural, matte look | Primarily Mid-20th Century |
Knowing exactly what you're working with is empowering. It removes all the guesswork and gives you the confidence to move forward with the correct, safe materials. You'll be able to clean and polish your piece properly, ensuring you preserve its beauty and history for another generation.
Assembling Your Gentle Polishing Toolkit
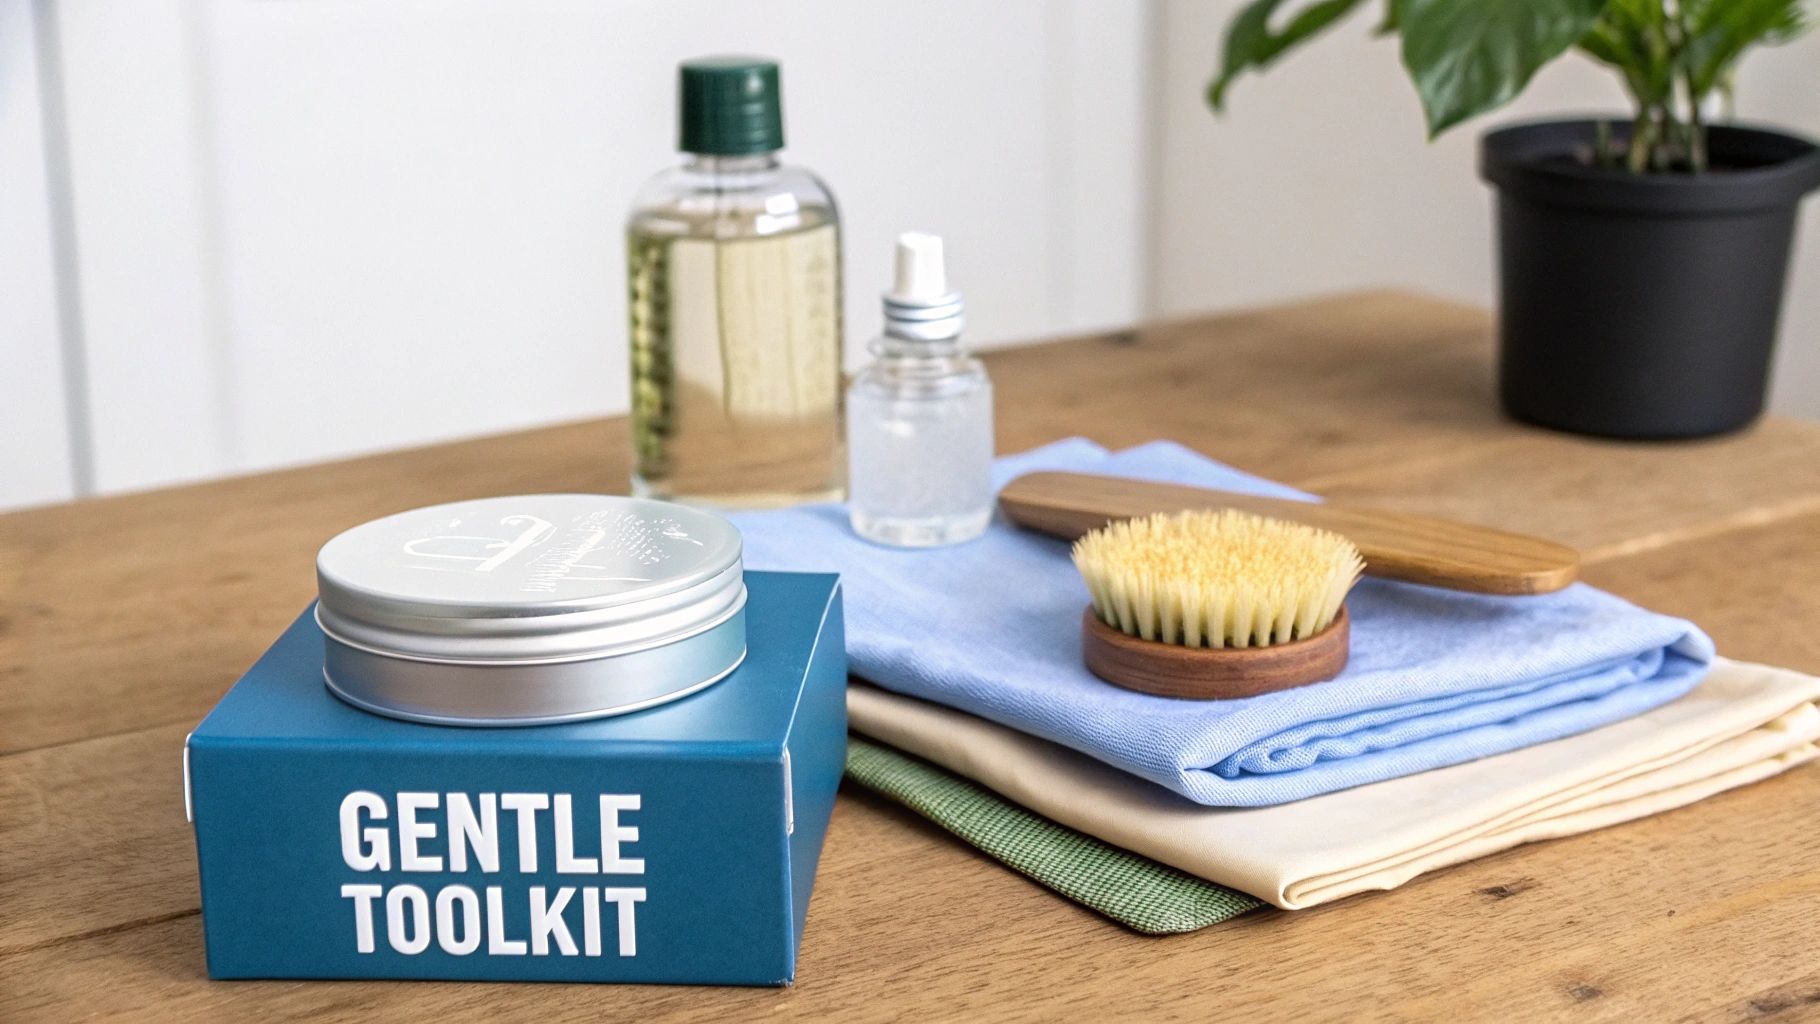
Before you touch that beautiful old piece, you need to step away from the supermarket cleaning aisle. I can't stress this enough. The aggressive chemicals and silicones packed into modern household polishes are the sworn enemies of historic finishes. What you really need is a small, specialized kit focused on gentle preservation—the kind of thing a professional restorer would have on their bench.
Putting this toolkit together isn't just about buying supplies; it's an investment in the health and value of your furniture. The right materials will clean and protect the wood without causing the irreversible harm that common sprays are known for. It’s all about choosing products that work but are also reversible.
Choosing the Right Cloths
The first things you'll need are your applicators and buffers, and your choice of cloth is surprisingly important. You want something that won't scratch a delicate surface or leave behind tiny fibers that get trapped in the wax.
- Microfiber Cloths: These are my go-to for initial dusting. Their fine fibers are amazing at trapping dust particles instead of just smearing them around.
- Old Cotton T-shirts: A soft, well-worn cotton rag is perfect for applying wax. It’s gentle, absorbent, and you probably have some lying around. Just make sure it’s 100% cotton and perfectly clean.
- Cheesecloth or Tack Cloths: These are brilliant for getting wax into intricate carvings or detailed areas where a thicker cloth just can’t reach.
Whatever you do, don't use paper towels. They feel soft, but they're far more abrasive than you might think and can leave microscopic scratches on a fragile finish like old shellac.
The Heart of Your Kit: Quality Paste Wax
The centerpiece of any antique polishing kit is a high-quality paste wax. Unlike the liquid or aerosol polishes you see everywhere, a good wax provides a hard, protective barrier that buffs to a soft, beautiful sheen. It actually nourishes the wood while shielding it from dust and minor moisture.
Look for waxes made from natural ingredients like beeswax or carnauba wax. There’s a reason these have been used for centuries—they work, and they’re safe for historic finishes. The best part is that a wax finish is reversible; a professional can remove it later if needed without damaging the original surface underneath. This honors the first rule of conservation: do no harm.
A common mistake is thinking you should polish antique furniture to a high-gloss, mirror-like shine. The real goal is to achieve a deep, soft luster—what we call a "patina glow"—that beautifully reflects the piece's age and character.
It's clear that people are becoming more aware of what's in their products. In the UK, for instance, the furniture polish market is projected to grow at a CAGR of 5.6% between 2025 and 2035. This is largely driven by people seeking out green, non-toxic options for their homes. You can dig into these trends in this full furniture polish market report.
What to Keep Out of Your Toolkit
Knowing what not to use is just as important as knowing what to use. Certain products are infamous in the restoration world for causing long-term damage that’s expensive—or even impossible—to fix.
- Aerosol Sprays with Silicone: These are a huge no. They create a cloudy, almost plastic-like film on the surface. Over time, this buildup gets sticky, attracts dirt, and is a nightmare to remove without harsh solvents that can strip the original finish right off.
- "Orange Oil" or "Lemon Oil" Polishes: They might smell nice, but many of these products are full of petroleum distillates that never fully dry. They just leave a greasy residue that attracts dust and can actually soften some older finishes.
- All-Purpose Cleaners: Any cleaner with ammonia, bleach, or other harsh detergents will wreak havoc on antique finishes like shellac and varnish. They are designed to strip things away, and that’s exactly what they’ll do.
- Steel Wool (for general cleaning): While a very fine #0000 steel wool has its place for specific, advanced restoration tasks, it should never be used for routine cleaning or polishing. It's an abrasive and will absolutely scratch and dull the finish, destroying the very patina you're trying to preserve.
Cleaning and Waxing: A Step-by-Step Guide
Now that you've figured out what kind of finish you're working with and gathered the right supplies, it's time to roll up your sleeves. This is where patience really pays off. We're going to gently clean away decades of grime and then apply a protective wax coat that will bring out the wood's inner glow.
These are two distinct phases, and you can't rush the first one. Trying to wax over a dirty surface just traps the gunk, leaving you with a cloudy, sticky mess. A truly beautiful finish starts with a perfectly clean foundation.
The Gentle Art of Deep Cleaning
First things first, we need to get rid of all that built-up grime, old polish, and everyday dirt. The key is to do this without harming the original finish hiding underneath. Forget household sprays or soap and water—those can be a death sentence for old shellac or varnish.
The go-to for professionals is a gentle solvent like mineral spirits (often called white spirit). It's just strong enough to dissolve old, soft waxes and greasy buildup without touching the hard, cured finish you want to save. Always, always work in a room with good airflow and wear gloves.
A Quick Word of Warning: Steer clear of denatured alcohol, lacquer thinner, or acetone for general cleaning. As you discovered when identifying the finish, these are powerful strippers, not cleaners. Mineral spirits are your safest bet for this job.
To get started, just dampen a soft, lint-free cotton cloth with the mineral spirits. You want it damp, not soaking wet. Gently wipe a small section at a time, always moving in the same direction as the wood grain. You’ll be amazed at how much dirt comes off onto the cloth.
Keep folding your cloth to a clean spot. If you don't, you'll just be smearing the grime right back onto the furniture. The goal here is to lift the dirt off the piece, not just move it around.
Applying a Protective Wax Coating
Let the piece air dry for a few hours after cleaning. Once it's completely dry, you're ready for the most satisfying part: applying a good-quality paste wax. This step gives you that soft, rich luster and creates a tough barrier against dust and moisture.
The golden rule of waxing is that less is more. A thick coat won't look better; it will just feel tacky and attract even more dust.
Grab a clean, soft cotton cloth (an old t-shirt is perfect for this) and scoop up a small dab of wax. A little really does go a long way.
Work the wax into the wood using small, circular motions to get an even layer. Then, finish with a few light passes following the wood grain. I find it's best to work in small, manageable sections, like a single drawer front or a two-foot square patch on a tabletop. This keeps the wax from drying out before you get a chance to buff it.
Some woods, particularly dense and oily ones like teak, have their own set of rules. For instance, this guide on cleaning teak furniture for a lasting finish offers specific techniques tailored to that type of wood.
The Final Buff for That Perfect Sheen
After you've applied the wax to a section, step back and let it haze over. This usually takes about 15-20 minutes, but always double-check the instructions on the can. The surface will look dull and cloudy, which is exactly what you want. It's a sign that the solvents have evaporated, leaving the protective carnauba and beeswax behind.
Once the wax has hazed, grab a fresh, clean, soft cloth—microfiber towels or another clean t-shirt work great. Start buffing the surface with firm, steady pressure, making sure to follow the grain of the wood.
Think of it like shining a good pair of leather shoes. As you buff, that dull haze will disappear, revealing a deep, soft glow. This is the magic step that brings the wood's character to life and gives you that beautiful, hand-rubbed look.
Pro-Tip for Intricate Details:
Carvings, moldings, and other ornate details can be tricky. A soft-bristled brush is your secret weapon here.
- Apply the Wax: Use a small, stiff brush (a stencil brush is great) to lightly dab a tiny bit of wax into the nooks and crannies.
- Let it Haze: Give the wax time to dry, just like you did on the flat surfaces.
- Buff it Out: Use a larger, soft-bristled brush to buff the carvings. A clean shoe-shine brush is perfect for this. It gets into the details and brings out the shine without leaving any waxy buildup behind.
Damaging Mistakes You Must Avoid
Now that we’ve covered the right way to polish your furniture, it's just as important to talk about what not to do. I’ve seen it time and again: a well-meaning owner grabs a seemingly harmless product and causes damage that’s incredibly difficult, if not impossible, to reverse. These are the common pitfalls that can strip a piece of its history, character, and value in an instant.
Knowing what to steer clear of isn't just about avoiding a bad outcome. It's about being a responsible caretaker for the pieces you love. Let’s make sure your hard work preserves, rather than diminishes, the beauty of your furniture.
The Lure of Modern Convenience Sprays
If there's one thing you take away from this guide, let it be this: stay away from modern aerosol furniture polishes. These cans, loaded with silicone, are the single biggest cause of damage I see. They're designed for modern, bulletproof finishes like polyurethane, but on an old shellac or varnish, they create a cloudy, plastic-like film that’s a nightmare to remove.
That silicone buildup doesn't just look awful; it also attracts dust and grime, creating a sticky layer that completely hides the wood's natural grain. What starts as a quick shine ends up as a costly restoration project down the road.
A conservator once told me that 90% of the damage he repairs comes from well-intentioned owners using the wrong modern cleaning products. It's a sobering reminder that what's easy is rarely what's best for antiques.
Believing the "Nourishing Oils" Myth
Another common trap is using products marketed with citrus or other food-based oils, like lemon or orange oil. While they might smell nice, these polishes rarely contain any actual fruit oil. They’re usually petroleum-based distillates with fragrance added, and they never fully dry.
This leaves an oily residue on the surface that acts like a magnet for dust and fingerprints. Even worse is using actual food oils like olive oil—that’s a true disaster. They don’t harden, eventually turning rancid and creating a gummy, dirt-caked mess that can permanently damage the original finish. It’s a great example of why knowing your materials is so critical; similarly, these safe upholstery cleaning tips highlight how the right product prevents damage.
Overlooking the Danger of Water
Water is one of an antique's greatest enemies. While a very lightly dampened cloth is okay for lifting initial surface grime, anything more is asking for trouble. Water can easily get under the finish, causing it to lift, bubble, or develop those dreaded white rings.
The risk is even greater on veneered pieces. Moisture can dissolve the old animal glue holding that thin layer of wood in place, causing it to lift, warp, and crack. Given that the global furniture polish market is projected to hit US$39.3 billion by 2032, there are a lot of products out there, and many contain far too much water for antique finishes.
Trying to Erase History
Perhaps the most fundamental mistake is trying to make an antique look brand new. The goal of polishing isn't to erase a piece's story, but to celebrate it. That means preserving its patina—the soft glow, subtle darkening, and gentle wear that a piece has acquired over a century or more.
Aggressively scrubbing, over-polishing, or trying to remove every tiny scratch strips away this history and dramatically reduces the piece's value, both financially and aesthetically. For instance, if your piece has antique brass hardware, aggressive cleaning can remove the beautiful, aged patina that collectors prize. You can learn more by checking out our guide to carefully cleaning antique brass.
Remember, you are polishing to protect the journey, not to erase the miles.
Your Antique Polishing Questions Answered
Even when you have a plan, questions are bound to pop up when you're working with a piece of history. It can feel a little nerve-wracking, but getting straight answers to common problems is the best way to build your confidence. Let's tackle some of the frequent "what-ifs" I hear all the time.
This isn't about memorizing rigid rules. It's about understanding why we do what we do—to preserve, not just to clean. The real goal is to get you comfortable making smart, safe decisions for the pieces you love.
How Often Should I Really Polish My Antique Furniture?
The single biggest mistake I see is over-polishing. A good wax treatment is a protective shield, not something you do every time you dust. For most antiques, a proper waxing is only needed once or twice a year. That's it.
When you polish too often, you get a thick, sticky buildup of wax that makes the finish look dull and cloudy. Instead of repelling dust, that gummy layer actually attracts it, hiding the beautiful wood grain you're trying to show off.
For day-to-day care, all you need is a quick wipe with a soft, dry microfiber cloth. A dining table that sees a lot of action might need a touch-up every six months, but a display cabinet or a chest of drawers will be perfectly happy with its annual polish.
Less is always more with antiques. Think of waxing as an annual check-up to protect the finish, not a constant treatment. The real beauty of an old piece shines through with minimal meddling.
Can I Just Use Olive Oil or a Household Cleaner?
Please, don't. This is an emphatic and absolute no. Using household sprays or food oils is one of the fastest ways to cause permanent damage to an antique. It’s a shortcut that leads straight to an expensive restoration bill.
Those all-purpose cleaning sprays you have under the sink are designed for tough, modern surfaces. They're loaded with chemicals, detergents, and silicones that can fog, soften, or even strip a fragile old finish like shellac.
Food oils like olive oil are just as bad, if not worse. They never truly dry, instead turning into a rancid, sticky film that becomes a magnet for grime and bacteria. Getting that gummy mess off without destroying the original finish underneath is a nightmare, even for a professional.
What Is the Best Way to Deal with White Water Rings?
Ah, the dreaded white ring. It happens when moisture gets trapped in the very top layer of the finish. They look terrible, but if you catch them early, you can often fix them with a surprisingly gentle approach.
If the ring is fresh, give this a try—but be careful:
- Lay a clean, dry, white cotton cloth (an old t-shirt is perfect) over the ring.
- Set your iron to its lowest, dry heat setting. No steam!
- Press the warm iron onto the cloth for just a few seconds at a time.
- Lift the iron and cloth often to check on your progress.
The gentle warmth can be just enough to help that trapped moisture evaporate. But if the ring is old, has turned dark, or doesn't budge after a couple of tries, stop. Pushing it further with abrasives will just strip the finish completely, leaving you with a much bigger problem. For stubborn rings, it's time to call a professional restorer.
Should I Try to Remove the Original Patina?
Absolutely not. Preserving the patina is the whole point of owning an antique. Patina is that soft glow, those tiny marks, and the subtle signs of use that a piece has earned over a hundred years or more. It's the visual proof of its history—it's what gives it character and value.
Trying to make an antique look brand new is a huge mistake. Aggressively cleaning or stripping a piece erases its story and can cause its value to plummet. Collectors prize authenticity, and that includes the signs of a long life well-lived. Our goal is always to clean and protect the surface as it is, not to erase the beautiful history it holds.
Ready to uncover the stories hiding in your own home? The Curio app turns your phone into an antique expert. Snap a photo to instantly identify items, learn their history, and get a quick appraisal. Download Curio today and start your journey of discovery at https://www.curio.app.