A good restoration furniture polish does more than just make a piece shiny—it actually nourishes the wood and helps protect its fragile, original finish. The best one for the job really depends on the piece sitting in front of you. Think of it this way: wax-based polishes are like a protective topcoat, creating a durable layer, while oil-based polishes are more like a deep conditioner for reviving dry, thirsty wood.
Choosing the Right Restoration Furniture Polish
Bringing an antique back to life is all about making careful, thoughtful choices. The polish you use isn't just a cleaning product; it's a treatment that can either enhance or completely ruin the character and value of your furniture. It’s a world away from those modern, silicone-based sprays that just sit on the surface and can cause real damage over time. A proper restoration polish works with the wood's original finish, not against it.
The real goal here is to preserve the patina. That’s the soft glow and subtle signs of age that furniture earns over decades, and it’s what gives an antique its soul. Choosing the wrong polish can strip that history away in seconds. This is why getting to know the different types of polish is your most important first step.
Understanding the Main Polish Categories
When you get right down to it, your choice will likely be one of three primary types of restoration polish. Each one has a specific job and works best on different woods, finishes, and conditions.
Wax-Based Polish: These are the classics, often made with beeswax or carnauba wax. They form a hard, protective barrier on the surface. They’re fantastic for things that see a lot of use, like tabletops or desks, because they defend against moisture and minor scuffs while building a deep, rich luster.
Oil-Based Polish: Formulated with ingredients like lemon oil, tung oil, or mineral oil, these are made to sink in and feed dry, brittle wood. They work wonders on neglected pieces or furniture with an original oil finish that’s looking a bit dull and lifeless.
Cream Emulsions: These products are a gentle blend of wax, oil, and water, offering a bit of cleaning power along with a soft shine. They’re a great middle-ground option for routine maintenance on furniture that’s in pretty good shape but could use a little pick-me-up.
This move toward preservation is part of a bigger trend. The global furniture polish market was valued at US$22.9 billion in 2023 and is expected to hit US$37.8 billion by 2030. Interestingly, eco-friendly polishes now make up 25% of that market. People want low-VOC, bio-based products that can extend the life of their wood furniture by up to 30%. You can dig deeper into these industry trends over at GlobeNewswire.
Matching Polish to Your Furniture
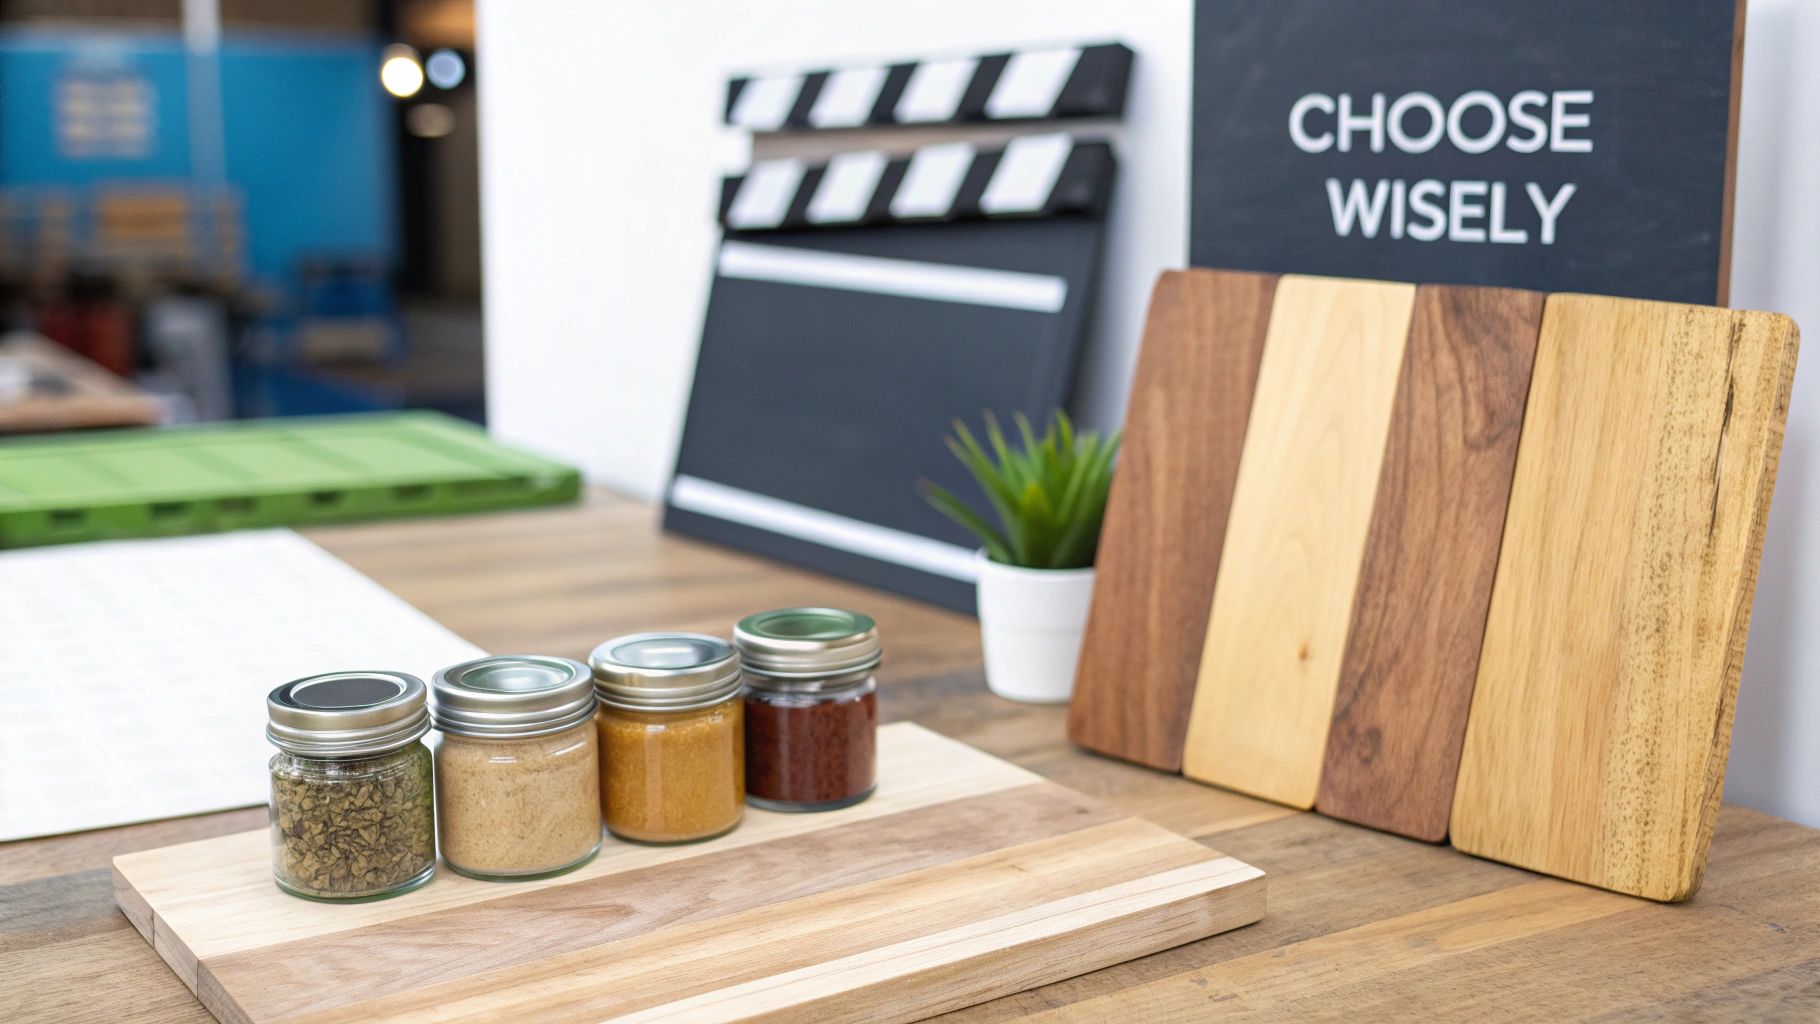
So, how do you make the right call for your specific piece?
Let's say you've found a beautiful 19th-century oak chest, but it looks incredibly dry. An oil-based polish would be the perfect choice to feed that thirsty wood. On the other hand, a high-gloss mahogany dining table would benefit much more from a hard carnauba wax to protect its delicate French polish from spills and daily wear.
A common mistake is treating all antique furniture the same. A delicate, shellac-finished Victorian chair requires a much gentler approach than a sturdy, wax-finished farmhouse table. Always consider the piece's construction, original finish, and current condition.
To help you sort through the options, I’ve put together a quick comparison table.
Quick Guide to Restoration Polish Types
This table breaks down the main types of restoration furniture polish to help you quickly decide which one is right for your project.
| Polish Type | Best For | Key Benefit | Use With Caution On |
|---|---|---|---|
| Wax-Based | High-use surfaces (dining tables, desks), sealing finishes | Durable protection, deep patina | Oily or unfinished woods |
| Oil-Based | Dry, thirsty, or faded wood; oil finishes | Nourishes and revitalizes wood fibers | Lacquered or painted surfaces |
| Cream Emulsion | Regular maintenance, lightly soiled furniture | Gentle cleaning and soft luster | Heavily damaged or delicate finishes |
This should give you a solid starting point for making a decision.
Of course, before you apply anything, you need to know what you’re working with. If you’re not sure about your piece’s history, our guide on how to identify antique furniture can help you figure out its origin and construction—details that are critical for choosing the right polish.
Choosing Your Polish: Wax, Oil, or Cream?
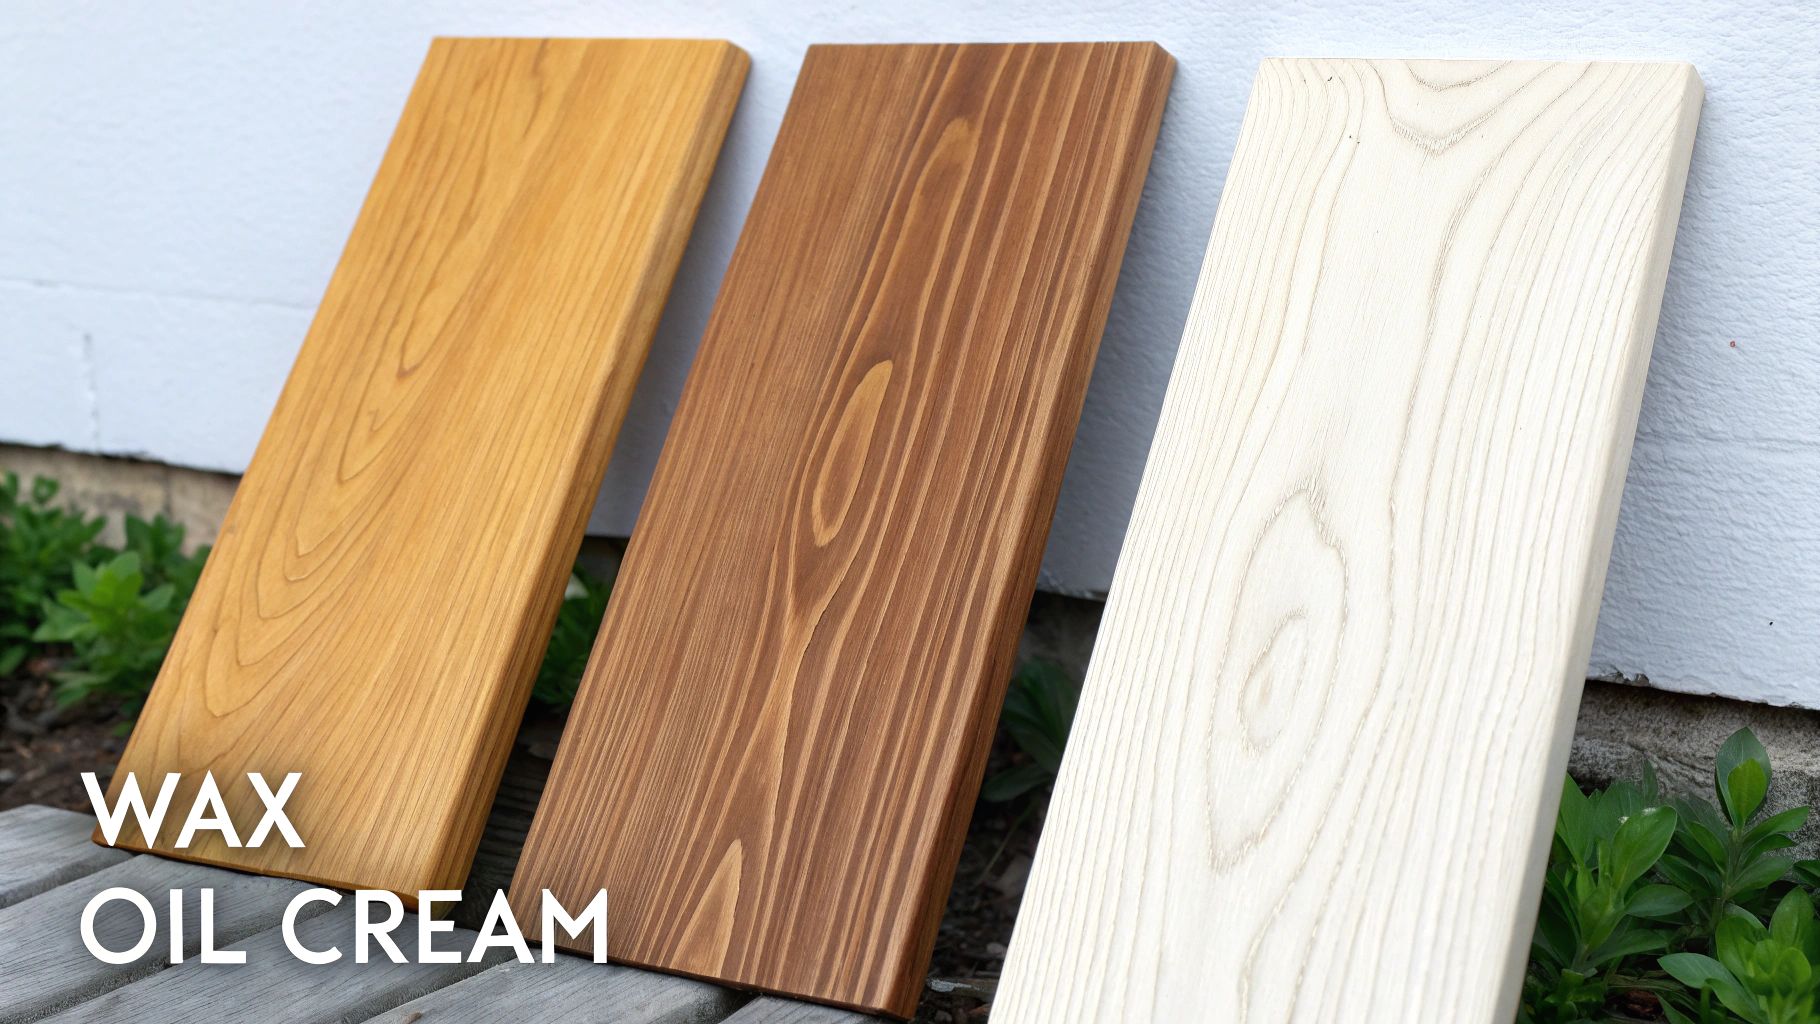
When you're standing in front of an antique, you have to understand what it needs. Choosing between a wax, oil, or cream polish isn't about picking the "best" one—it's about listening to the wood. Each type works differently, offering its own unique benefits for protecting, feeding, and beautifying a piece.
A delicate Georgian mahogany table, for instance, requires a completely different approach than a rustic pine farmhouse chest. One needs a hard, protective shield against spills and use, while the other might be bone-dry and desperate for deep conditioning. Your choice of a restoration furniture polish will have a huge impact on both the health and the historical character of your furniture.
Wax Polishes: The Protective Shield
Think of traditional wax polishes—those made with beeswax or carnauba—as the guardians of the furniture world. Their job isn't to soak deep into the wood but to form a tough, protective barrier on top of the existing finish. It’s a surface-level defense, and it’s incredibly effective.
Carnauba wax, which comes from a Brazilian palm tree, is famous for its hardness. When buffed, it creates a deep, rich sheen that isn’t greasy and does a fantastic job of repelling moisture and warding off minor scratches. Beeswax is a bit softer and gives off a warmer, satin-like glow that many collectors love for its classic, traditional feel.
Over time, this thin, protective layer is what builds up into a beautiful, authentic patina.
The secret to using wax is to apply a micro-thin, even coat. You’re not trying to slather on a thick, glossy shell. You buff it until it feels like it has become part of the wood itself, enhancing the grain's natural depth and character.
Imagine a high-traffic piece like a writing desk or a sideboard you use every day. These are perfect candidates for a quality paste wax. The wax acts as a sacrificial layer; dust, fingerprints, and small spills sit on the wax, not the original finish. That wax can be easily cleaned and reapplied, leaving the precious finish underneath unharmed.
Oil Polishes: A Long Drink for Thirsty Wood
While waxes sit on the surface, oils are all about penetration. They’re designed to soak deep into the wood fibers, making them the go-to solution for reviving dry, neglected, or faded antiques. This is especially true for pieces with an original oil finish or even those made from unfinished wood. Common choices include lemon oil, tung oil, or specially formulated mineral oils.
When you apply an oil polish to a parched piece of wood, you can almost see it drink it in. The oil replaces lost moisture, deepens the color, and makes the natural grain pop in a way it hasn't for years.
Many modern products, like Osmo Polyx Oil, actually combine natural oils and waxes. This gives you the best of both worlds: deep nourishment from the oil and durable surface protection from the wax.
Think of an old oak rocking chair that’s been forgotten in a dry attic. The wood looks pale, almost ghostly. A good oil polish will saturate those thirsty fibers, bringing back its deep, warm tones and preventing the wood from becoming brittle and starting to crack.
Cream Polishes: The Gentle Maintenance Option
Cream and emulsion polishes are the convenient middle ground. They’re usually a blend of waxes and oils mixed into a creamy, often water-based, lotion. This formulation allows them to do two things at once: they gently clean light surface grime while leaving behind a thin, protective layer of polish.
These are fantastic for routine maintenance on furniture that’s already in good shape. Their biggest advantage is convenience—you can clean and polish in a single step. It’s a practical way to dust and brighten up an entire room of furniture without committing to the more intensive process of a full waxing.
However, because they contain water, you need to be careful. Use them sparingly on delicate finishes like old shellac, which can easily get water spots. Always apply with a soft cloth and never oversaturate the surface.
This ease of use has made liquid polishes a powerhouse in the market. In fact, projections show the furniture polish sector will hit US$24.3 billion by 2025, with liquid polishes making up 45% of all sales, largely because they are so easy to apply, especially on pieces with lots of intricate carvings.
How to Prepare Antique Furniture for Polishing
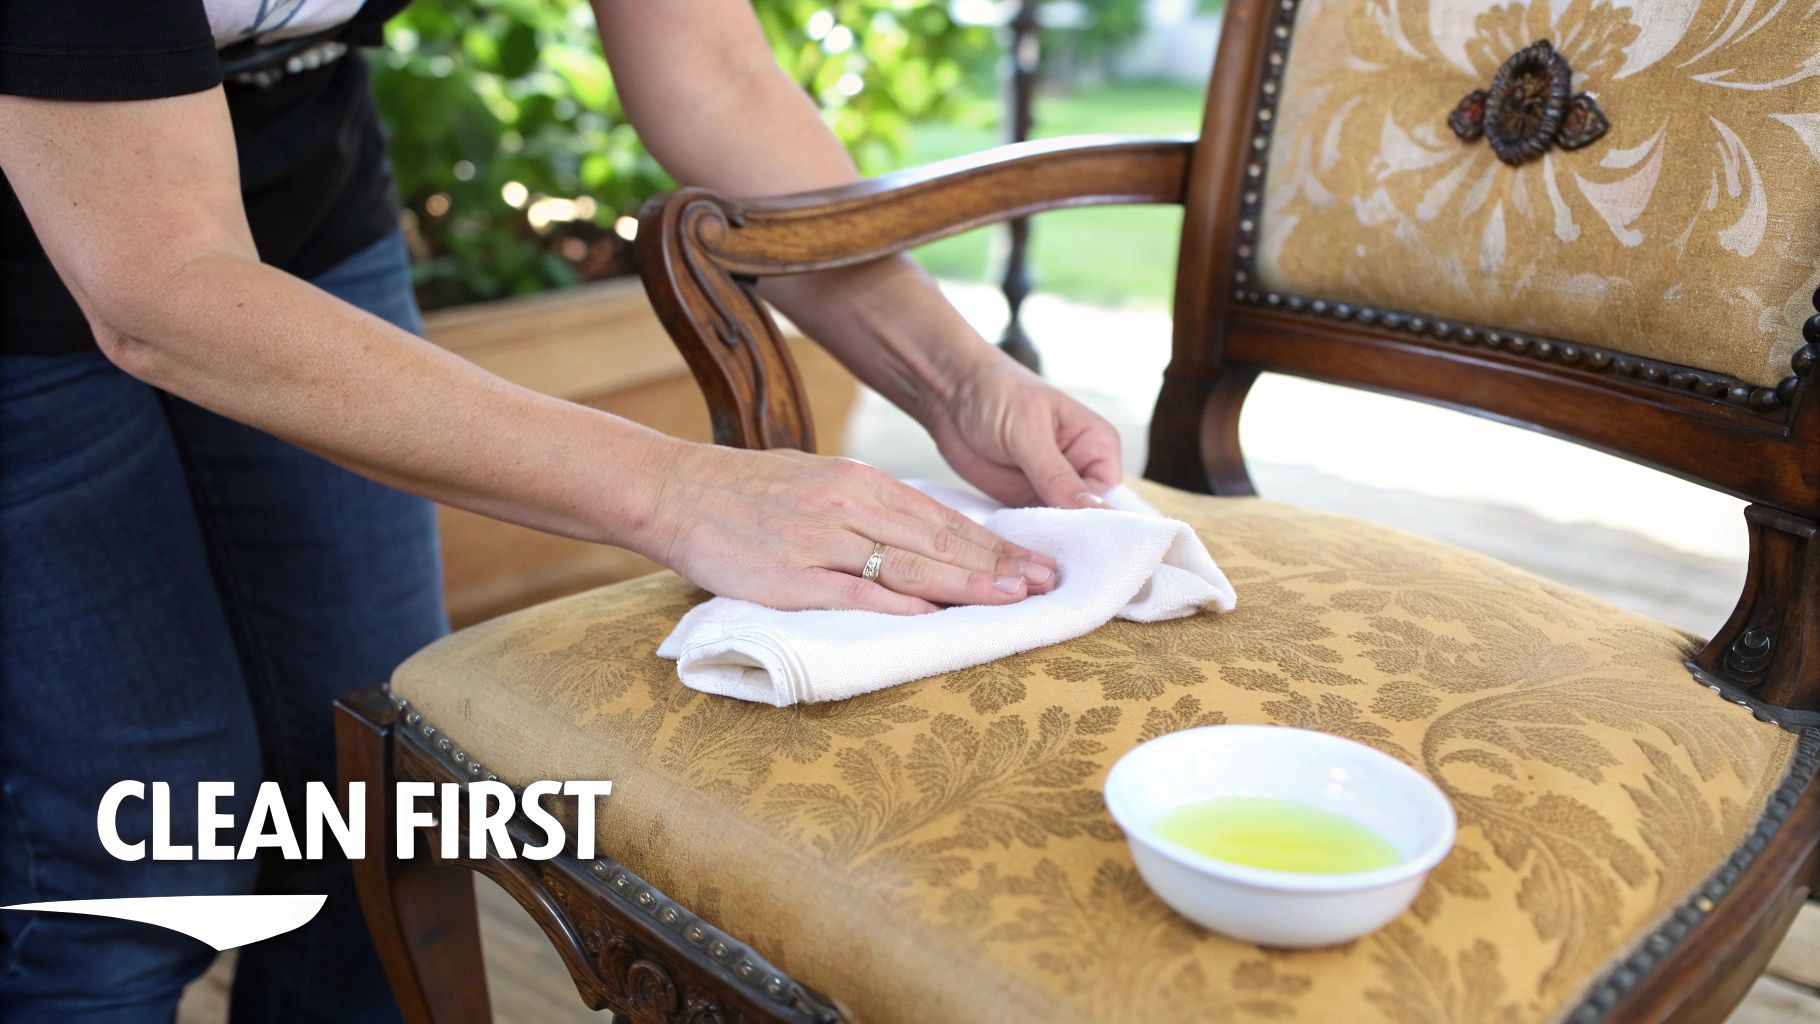
You can have the best restoration furniture polish in the world, but if you apply it to a dirty surface, you’re just sealing in the grime. This is probably the single biggest mistake I see people make. The result? A cloudy, dull finish that completely hides the wood's beauty.
Before you even think about popping open a can of wax, you need to give the piece a proper cleaning. We're not talking about aggressive scrubbing here. The goal is to gently lift away years of dust, oils, and old residue without harming the original finish underneath. A little prep work goes a long way.
Gentle Cleaning for Surface Dirt
For most pieces that have been reasonably well-cared-for, a simple, gentle clean is all it takes. You'd be surprised how much life you can bring back just by removing a light layer of dust and grime. Always start with the mildest method first.
Start with a thorough dusting using a soft, lint-free microfiber cloth. This gets rid of any loose grit that could scratch the finish. Then, mix a few drops of a mild, pH-neutral soap into some warm water.
Dip a soft cloth into the mixture and wring it out until it’s barely damp—never soaking wet. Water is the enemy of many old finishes. Wipe down the furniture in small sections, always moving with the grain of the wood. Use a second cloth dampened with plain water to rinse off any soap residue, and immediately dry the spot with a third, clean cloth.
Tackling Stubborn Grime and Old Wax
What if your piece has a sticky, built-up layer of old wax and gunk? This is common on pieces that have been "cared for" with spray polishes for years. In this case, soapy water just won't cut it. It’s time to bring out the mineral spirits (also called white spirit).
Mineral spirits are fantastic for dissolving greasy buildup and old wax without eating through traditional finishes like shellac or varnish. But you have to use them correctly.
Here’s my process:
- Get Some Air: First things first, open a window or work outside. The fumes are no joke.
- Go Easy: Dampen a clean, soft rag with a little mineral spirits—don't saturate it.
- Wipe with the Grain: Gently wipe the surface, following the wood grain. You’ll see the grime start to lift right onto your rag. It's incredibly satisfying.
- Keep Your Rag Clean: Once a section of your cloth is dirty, fold it to a clean side or grab a new one. You don't want to just smear the gunk around.
This isn’t a quick job, but it’s the right way to get a truly clean surface ready for a fresh polish. If you're diving into a bigger project, a full guide on how to restore antique furniture can provide more context.
The Non-Negotiable Patch Test
I can't stress this enough: always, always do a patch test. Before you touch the main surface with any cleaner or polish, you have to test it somewhere hidden. This one simple step has saved me from disaster more times than I can count.
Pick a spot nobody will ever see, like the back of a leg or the underside of the top.
Apply a very small amount of your cleaner or polish to the test spot. Wait a few minutes, wipe it off, and look closely. Are there any changes? Discoloration, dullness, or softening of the finish are all red flags. If it looks unchanged, you’re good to go.
Think of it as your insurance policy. It confirms that your products are a good match for your furniture's specific finish. We go into more detail on safe cleaning techniques in our guide on how to clean antique wood. Taking this precaution is what separates a careful restoration from a costly mistake.
Mastering Your Polish Application Technique

Getting the polish on the wood correctly is where the real magic happens. This is the moment that turns a clean but lifeless piece into something with genuine depth and character. The right technique makes the polish do its job, nourishing the wood and leaving a flawless finish instead of a sticky, streaky mess.
The approach you take really depends on the type of polish you've chosen. A hard paste wax calls for a different touch than a penetrating oil. Learning how to handle both will give you the confidence to tackle any project that comes your way. It's much more about finesse and patience than brute force.
Applying Wax Polishes The Right Way
If you remember one thing about working with wax, make it this: less is more. The most common mistake I see is people slathering it on way too thick. All you get is a cloudy, smeary surface that’s impossible to buff to a real shine. Your goal is a paper-thin, even layer that protects the finish without hiding that beautiful wood grain.
Start by dabbing a small amount of paste wax onto a clean, lint-free cotton cloth. Think of it like buttering toast—you want just enough to cover the surface without any globs.
Work the wax into the wood in small, manageable sections. Always move in the direction of the grain, using gentle circular motions to spread it out. Once you've applied it, let it sit for a few minutes until it gets a little hazy. That's your signal that the solvent has evaporated, leaving the protective wax behind.
Now for the fun part: the buffing. Grab a separate clean cloth and buff the surface vigorously, again, following the grain. This is how you build the shine. The friction from buffing slightly melts the wax, creating a hard, lustrous, and durable finish. Your reward is a deep, warm glow that feels silky-smooth.
Working with Oil Polishes
Oil-based polishes require a totally different mindset. While wax sits on top of the finish, oil is meant to soak in, nourishing the wood fibers from within. With oils, the key is giving the wood enough time to drink up what it needs.
Apply the oil liberally with a soft cloth, moving with the grain. Don't be shy, especially if the wood looks dry and thirsty. You'll literally see the piece come back to life as it absorbs the oil.
The most crucial step with any oil polish is removing the excess. Let the oil sit for about 15-20 minutes, then take a clean, dry cloth and wipe off every last bit of residue from the surface. If you skip this, the leftover oil will turn into a tacky, dust-attracting nightmare.
After wiping it clean, let the piece rest for several hours, or even overnight. Then, come back with another clean cloth for one final buff to bring out a gorgeous, natural sheen. A properly oiled piece should feel nourished and smooth, never greasy.
Handling Tricky and Ornate Details
Let's be honest, antiques rarely have large, flat surfaces. You're usually dealing with carved details, turned legs, and intricate corners. These spots need special attention to avoid polish buildup that can obscure the very details you're trying to highlight.
A few simple tools will become your best friends for these tricky areas:
- A Soft Brush: An old, soft-bristled toothbrush or a small, natural-bristle paintbrush is perfect. You can work wax into carvings without leaving behind ugly clumps. Just apply the wax to the brush, gently work it into the details, and use a clean brush or cloth to buff it out.
- Cotton Swabs: These are your go-to for applying oil to tight corners and for getting excess polish out of crevices where a cloth just can’t reach.
This is an area where different polishes really show their strengths. While challenging for pastes, aerosol sprays hold a 52% market share globally, partly because they make it so easy to restore ornate pieces without residue. On the other hand, pastes are preferred for 22% of institutional heritage projects because they can extend the life of wood by up to 40%. You can find more insights into these market trends for furniture polishes at Strategic Market Research.
Ultimately, your goal is a consistent, beautiful finish across the entire piece. Taking your time on the details is what separates an amateur job from a truly professional restoration. It’s that attention to the little things that really brings an antique back to its full glory.
Knowing When Not to Polish Your Antiques
In the world of antique restoration, sometimes the best move is to do nothing at all. While a good restoration furniture polish can breathe new life into a piece, using it on the wrong surface or at the wrong time can do real, irreversible harm. Knowing when to put the cloth down is just as crucial as knowing how to pick it up.
Never, ever polish a dirty or damaged surface. This is a cardinal rule. Polishing over a layer of grime doesn't actually clean the wood; it just traps the dirt and oils under a new seal. This creates a cloudy, dull film that hides the wood's grain and makes any future professional cleaning much harder and more expensive.
Think of it this way: you wouldn't paint a wall without washing it first. It’s the same principle. You’re just sealing in the problem, creating a bigger headache down the line.
Preserve the Priceless Patina
The single biggest reason to hesitate before polishing is to protect the patina. Patina is that soft, warm glow and the collection of subtle marks a piece of furniture earns over a hundred years or more. It’s the story of its life, written on its surface. It's what gives an antique its character, its soul, and a huge chunk of its financial value.
An aggressive polish or the wrong formula can strip that history away in seconds. And once it's gone, it’s gone for good. A piece that’s been over-polished can look sterile and new, killing its appeal for serious collectors.
The goal of restoration is to conserve, not erase. A thoughtful approach respects the signs of age as part of the furniture's authentic narrative. Removing the patina is like tearing a chapter out of a rare book.
Identifying Finishes That React Poorly
Not all finishes are created equal. Some react very badly to the solvents and oils found in common polishes, which can dissolve or permanently discolor these delicate surfaces. You have to learn to spot the fragile ones.
Here are a few finishes to be extremely careful with:
- Original Painted Surfaces: Antique painted furniture, like an old Pennsylvania Dutch chest, often has a fragile, chalky milk-paint finish. The oils in a polish can easily darken or stain the paint, and strong solvents can lift it right off the wood.
- Gilded or Gold Leaf Details: The incredibly thin layers of gold leaf on a mirror frame or chair leg are delicate. Even the mildest abrasive or chemical action can wipe them away. These areas should only ever be dusted with a soft, dry brush.
- Japanned or Lacquered Finishes: Traditional Asian lacquerware and its European imitations (known as Japanning) are notoriously sensitive to alcohol and other solvents. Using the wrong product can make the finish turn cloudy or become permanently tacky to the touch.
If you are ever in doubt about a finish, the safest thing to do is simply dust it with a dry microfiber cloth and leave it alone. And when it comes to metal hardware on your furniture, that requires a whole different approach. You can learn more about how to clean bronze in our related guide.
When to Call a Professional Conservator
Finally, there are simply times when a piece is too valuable, too fragile, or too historically important for you to touch. Recognizing your limits is the mark of a truly responsible owner.
You should always bring in a professional conservator if you see:
- Flaking or Peeling Finish: This is a clear sign the finish is unstable and could be lost with even gentle cleaning.
- Structural Instability: Wobbly legs, lifting veneer, or deep structural cracks are jobs for a restorer, not a polish.
- Extreme Value or Rarity: If you know the piece is a documented work by a famous maker or has a significant history, don’t risk it. Leave its care to the experts.
A professional has the right training and specialized materials to stabilize a delicate finish and make repairs without compromising the piece’s integrity. Their job is to preserve antiques for the next generation, a goal we all share.
Common Questions About Restoration Furniture Polish
Even with the best instructions, you're bound to run into a few head-scratchers when working with antique furniture. Restoring and maintaining these old pieces is all about navigating their unique quirks. Here are some straightforward answers to the questions I hear most often about using a restoration furniture polish.
Think of this as a quick-reference guide to reinforce what we've already covered and get you unstuck when you need it.
How Often Should I Polish My Antique Furniture?
This is the big one, and the honest-to-goodness answer is: it depends. The right schedule really comes down to the kind of polish you’re using and the environment the piece lives in.
For a hard paste wax, once or twice a year is plenty. Seriously. Over-waxing is a common mistake that leads to a cloudy, unattractive buildup that hides the very wood grain you’re trying to show off. On the other hand, if you're using a nourishing oil on a particularly thirsty piece of wood, you might apply it every few months to start. Once the wood seems conditioned, you can back off.
My best advice? Just look at your furniture. When the finish starts to look a bit dull or lifeless, that's your cue. For regular upkeep, a simple dusting with a soft, dry cloth is all it takes.
Can I Use Homemade Restoration Furniture Polish?
You've probably seen the DIY recipes online using olive oil and vinegar. For anything you truly value, please don't do it. There are solid reasons restorers avoid these concoctions.
Olive oil is a non-drying oil, which means it will eventually go rancid. This creates a sticky, smelly film that doesn't protect the wood; in fact, it actively attracts dirt. Vinegar is an acid, plain and simple. It can easily wreck delicate finishes like shellac, leaving permanent cloudy spots or even stripping it right off.
For genuine restoration and long-term care, stick with professionally formulated products. They're made with stable oils and refined waxes designed to nourish and protect antique wood without causing harm down the road.
What Is the Difference Between Polishing and Waxing?
People often use these terms as if they mean the same thing, but in the world of furniture care, they are two very different jobs. Getting this right is crucial for treating your antiques properly.
- Polishing is really about cleaning the surface and bringing up a shine. Polishes are usually liquids or creams containing mild solvents to lift away grime and oils to add a bit of luster.
- Waxing is about applying a protective, sacrificial layer over the existing finish. A quality paste wax builds a durable barrier against dust, moisture, and small scratches, developing that deep, rich patina over time.
A typical professional approach is to first clean and lightly polish a piece. Then, a final coat of wax is applied for long-term protection and that beautiful, hand-rubbed glow.
How Do I Fix Applying Too Much Polish?
Don't panic—it happens to the best of us! If you've gone a bit heavy-handed with wax and ended up with a streaky, cloudy mess, the fix is pretty simple.
Take a clean, soft cloth and lightly dampen it with a small amount of mineral spirits, then gently wipe the surface. This will dissolve the excess wax without touching the original finish below. Immediately follow up with a fresh, dry cloth and buff thoroughly.
If an oil finish feels sticky or tacky, you can often fix it by wiping the piece down with another cloth that's just barely dampened with the same oil. This helps re-liquefy the gummy layer. Buff it immediately with a dry cloth until the surface feels completely smooth.
Have a piece of furniture you're curious about? The Curio app can help you uncover its history, origin, and value with just a photo. Get expert insights right in your pocket and turn your finds into treasures. Find out more at Curio.